This is meant to be a super simple example/tutorial of HTML, CSS, and JavaScript for the complete newbie.
Your challenge is to follow the setup instructions, then read through the code yourself and see what you can make or break (pro-tip: start with breaking, it's more fun!).
Simply follow the steps.
Each step is followed by a short explanation (italicized) for why it's important or other noteworthy bits of info, but don't worry about reading/understanding that for now.
Feel free to completely ignore anything in italics.
-
You will need to install Visual Studio Code, Node.js/npm, and git.
- link to VSCode download
- VSCode is basically a super advanced text editor, kind of like Microsoft Word, that's capable of tons of crazy stuff like checking, building, running, and debugging your code. If you'd like to check out other options, try looking up "code editors" or "integrated development environments".
- link to Node.js and npm download
- npm is the really important one right now, but we'll probably use Node later too. npm is what we'll use to grab tools and code that other people have made and open sourced (for free!). Node is required if you plan to build a back-end server using JavaScript.
- link to git download instructions
- git is a way to keep track of and manipulate any changes made to a set of documents. It's pretty awesome and you should definitely check it out, but for our purposes we're just using it to grab the code you'll be working with.
- link to VSCode download
-
Search for and install the following VSCode extentions by opening VSCode and clicking the square icon on the left side of the display.

-
All of these will basically make your life a little easier as you're trying to figure things out. They'll highlight or autocorrect (possible) errors, prompt you if it thinks it knows what you need next, and make the code itself a bit easier to read.
- Auto Close Tag - Jun Han
- Auto Rename Tag - Jun Han
- Code Spell Checker - Street Side Software
- HTMLHint - Mike Kaufman
- indent-rainbow - oderwat
- jshint - Dirk Baeumer
- Rainbow Brackets - 2gua
-
While those are installing we can use npm to bring in live-server.
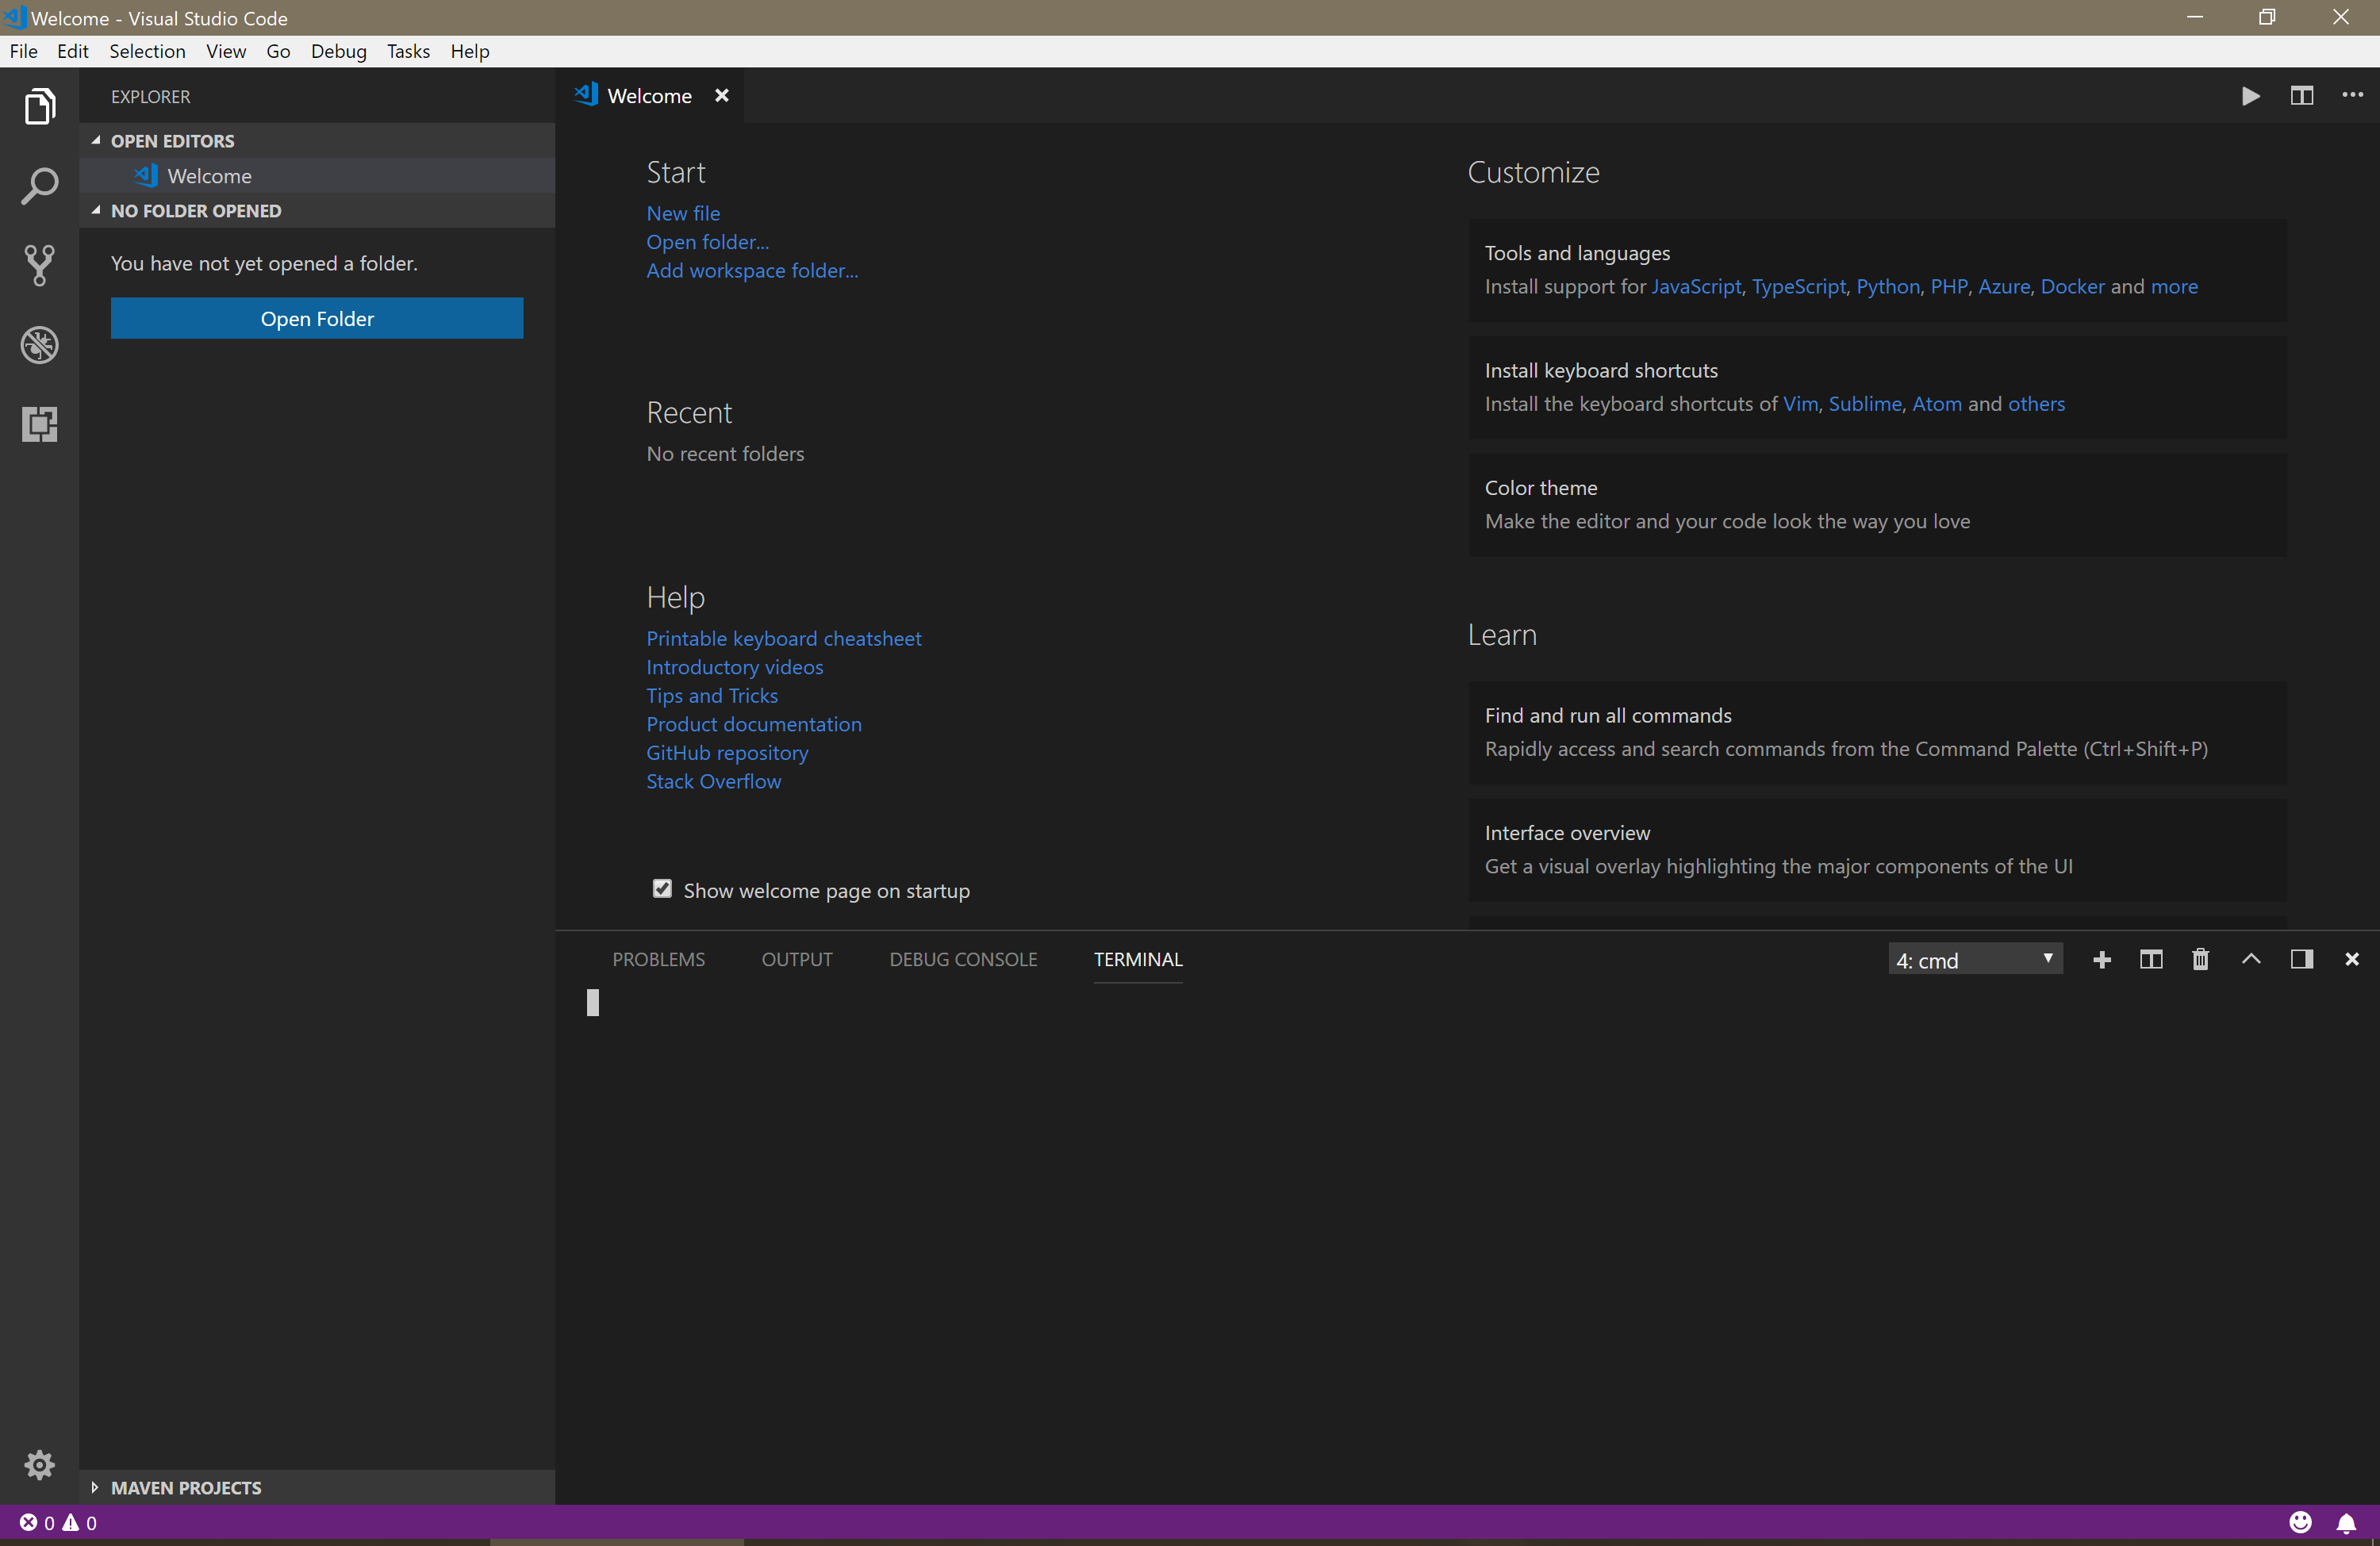
- installing things with npm is easy! First open your Integrated Terminal by hitting
ctrl+~. It should appear at the bottom of the window.- If that doesn't work, you'll have to select "Integrated Terminal" from "view" on the menu bar.
- then make sure that TERMINAL (to the right of DEBUG CONSOLE) is open.
- since we just installed it, make sure npm is working by typing
into the console and hitting
npm --versionEnter. You should get back three numbers separated by periods, eg.5.3.0- if it's not working, you may have to restart vscode
- finally, actually use npm by running
npm install -g live-server
- installing things with npm is easy! First open your Integrated Terminal by hitting
-
After the extentions and live-server are all installed, reload VSCode to get everything running.
-
First things first, if you don't have a GitHub account, make one of those. Once you have that, go to this repo's page and hit the Fork button in the top right corner to make a copy of the contents for yourself.
-
For this next step, make sure you're in your copy of the repo. At the top left under the github logo should be your username followed by
/ first step. On the right of the page should be a green button "Clone or Download". Click it and click the "Copy to clipboard" button that appears to the right of the link. -
You can now go to the Integrated Terminal in VSCode and type in
git clonefollowed by the address you copied to your clipboard (ctrl+v). It should look something like thisgit clone https://github.com/DaNish808/first-step.gitonly with your username instead of mine. Hit enter to pull it all down.
-
Finally, enter
code -r first-stepinto your terminal and you're ready to go!

You're finally gotten to the fun part! There's really only one step from here, and once you do that the rest is up to you.
You'll be given a horrible website and it's up to you to dive into the code and see what you can make of it. Don't worry though, what you see in the files corresponds directly to what you see in the browser, and if you pay close attention the names of things you might find some things starting to make sense!
- Final Step: enter
into the Integrated Terminal and you're ready to go!
live-server - click the file icon at the top left of the VSCode window (below the "File" menu option and above the magnifying glass) to jump into the code. I'd take a look at index.html first if I were you *hint hint
-
if you don't want to delete a line, you can deactivate/reactivate it by clicking on it and hitting
ctrl+/- this is known as "commenting out code" and is useful for writing notes to yourself/other programmers and for temporarily inactivating lines of code. You'll find a bunch of comments in the code already.
- html, css, and javascript all do this a little differently. Try it out to see how they each comment out code.
-
the Chrome browser has some amazing tools built in to let you see what's going on, including where it's coming from, how it's working, and so much more. This is super helpful for figuring out code, even for industry pros.
- For now, try right-clicking on the page and selecting the "inspect" option.
- When the devtools window slides out, click on "Elements" in the top menu to see your HTML and CSS or "Console" to interact with your JavaScript