echo "vm.max_map_count=1048576" >> /etc/sysctl.conf
sudo sysctl -p
vi /etc/default/grub

GRUB_CMDLINE_LINUX="cgroup_enable=memory cgroup_memory=1 systemd.unified_cgroup_hierarchy=1"
sudo update-grub
**Kernel reboot is required**
sudo snap install microk8s --channel 1.27/stable --classic
Follow the etcd installation guide to create your etcd cluster.
sudo microk8s kubectl apply -f /var/snap/microk8s/current/args/cni-network/cni.yaml
sudo vi /var/snap/microk8s/current/args/kube-apiserver
Add the following line:
--etcd-servers=http://<ETCD-NODE-0>:2379,http://<ETCD-NODE-1>:2379,....
sudo microk8s stop
sudo microk8s start
sudo microk8s status
   microk8s is running
     datastore endpoints:
       <ETCD-NODE-0>:2379
       <ETCD-NODE-1>:2379
       ...
sudo systemctl stop snap.microk8s.daemon-k8s-dqlite.service
microk8s enable hostpath-storage
kubectl apply -f ./configs/ssd-raid-sc.yaml
kubectl apply -f ./configs/nvme-raid-sc.yaml

kubectl patch storageclass  ssd-raid -p '{"metadata": {"annotations":{"storageclass.kubernetes.io/is-default-class":"true"}}}'
kubectl patch storageclass  microk8s-hostpath -p '{"metadata": {"annotations":{"storageclass.kubernetes.io/is-default-class":"false"}}}'
This must be done after the default storage class is changed to ensure that the registry uses a PV created from the ssd-raid
pool vs. the root partition. It is also important to perform this step BEFORE you install any software on microk8s that
requires an image download, e.g. microk8s enable cert-manager, otherwise there won't be a place to store the images that
are downloaded from the internet and the installation will hang.
microk8s enable registry:size=250Gi # Specify whatever size you like.
This allows microk8s to assign static IPs on your internal router network so that they are publicly accessible inside your network
microk8s enable metallb
(Enter 192.168.1.100-192.168.1.120 for the IP range) this will give you a pool of 20 IP addresses that can be used to
expose services running inside microk8s.
echo "alias kubectl='microk8s.kubectl'" > ~/.bash_aliases
token=$(microk8s kubectl -n kube-system get secret | grep default-token | cut -d " " -f1)
microk8s kubectl -n kube-system describe secret $token

microk8s kubectl port-forward -n kube-system service/kubernetes-dashboard 10443:443 &
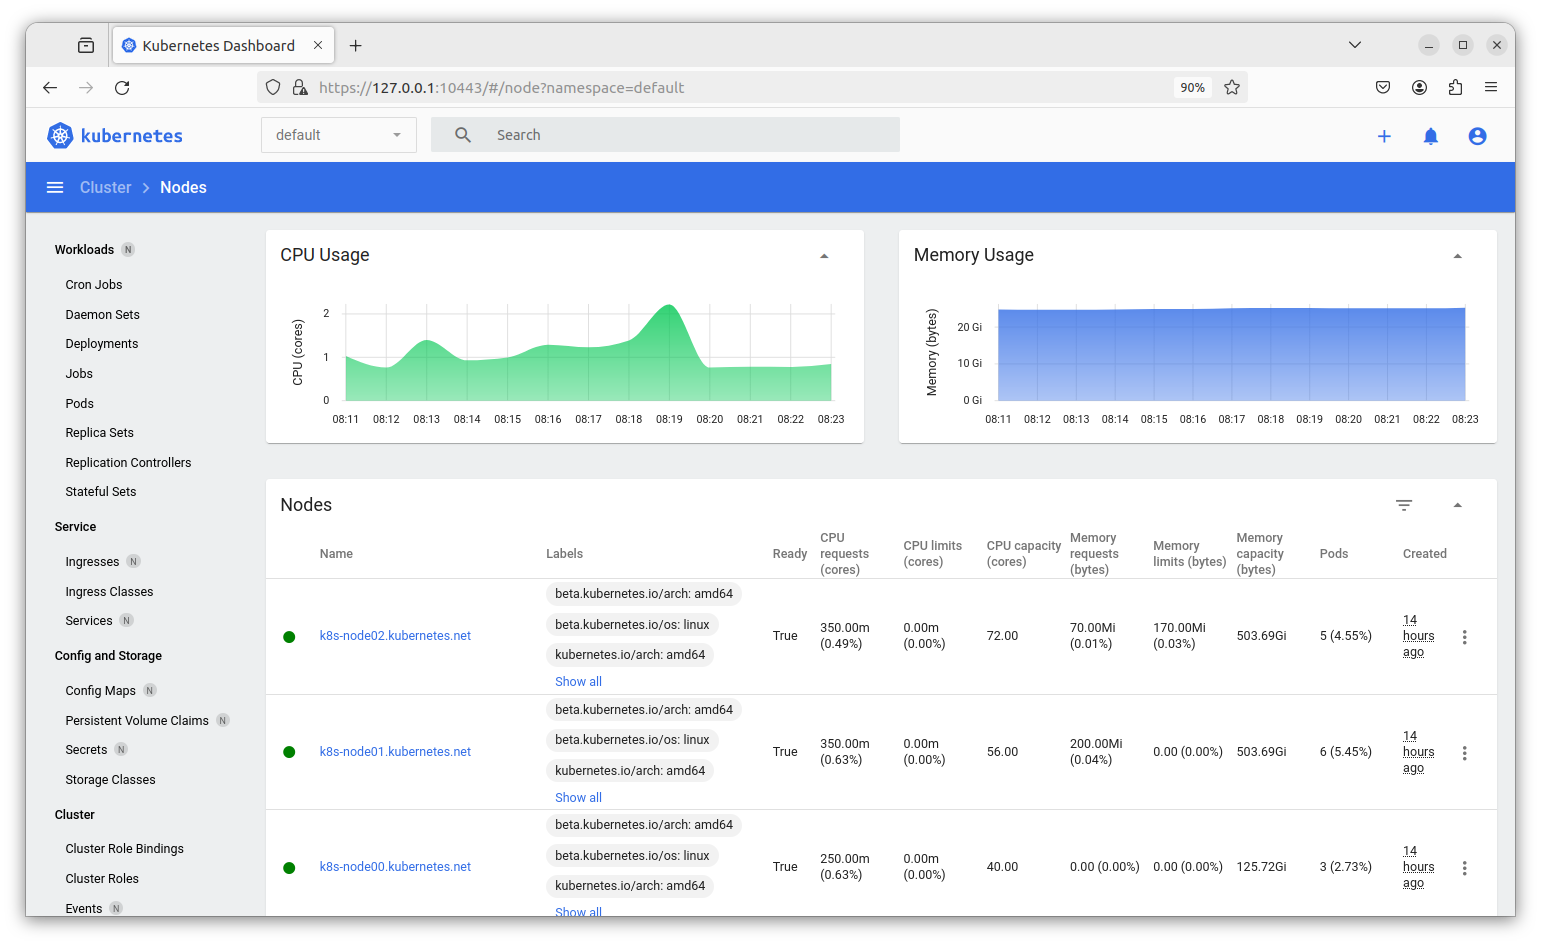
You can then access the Dashboard at https://127.0.0.1:10443
