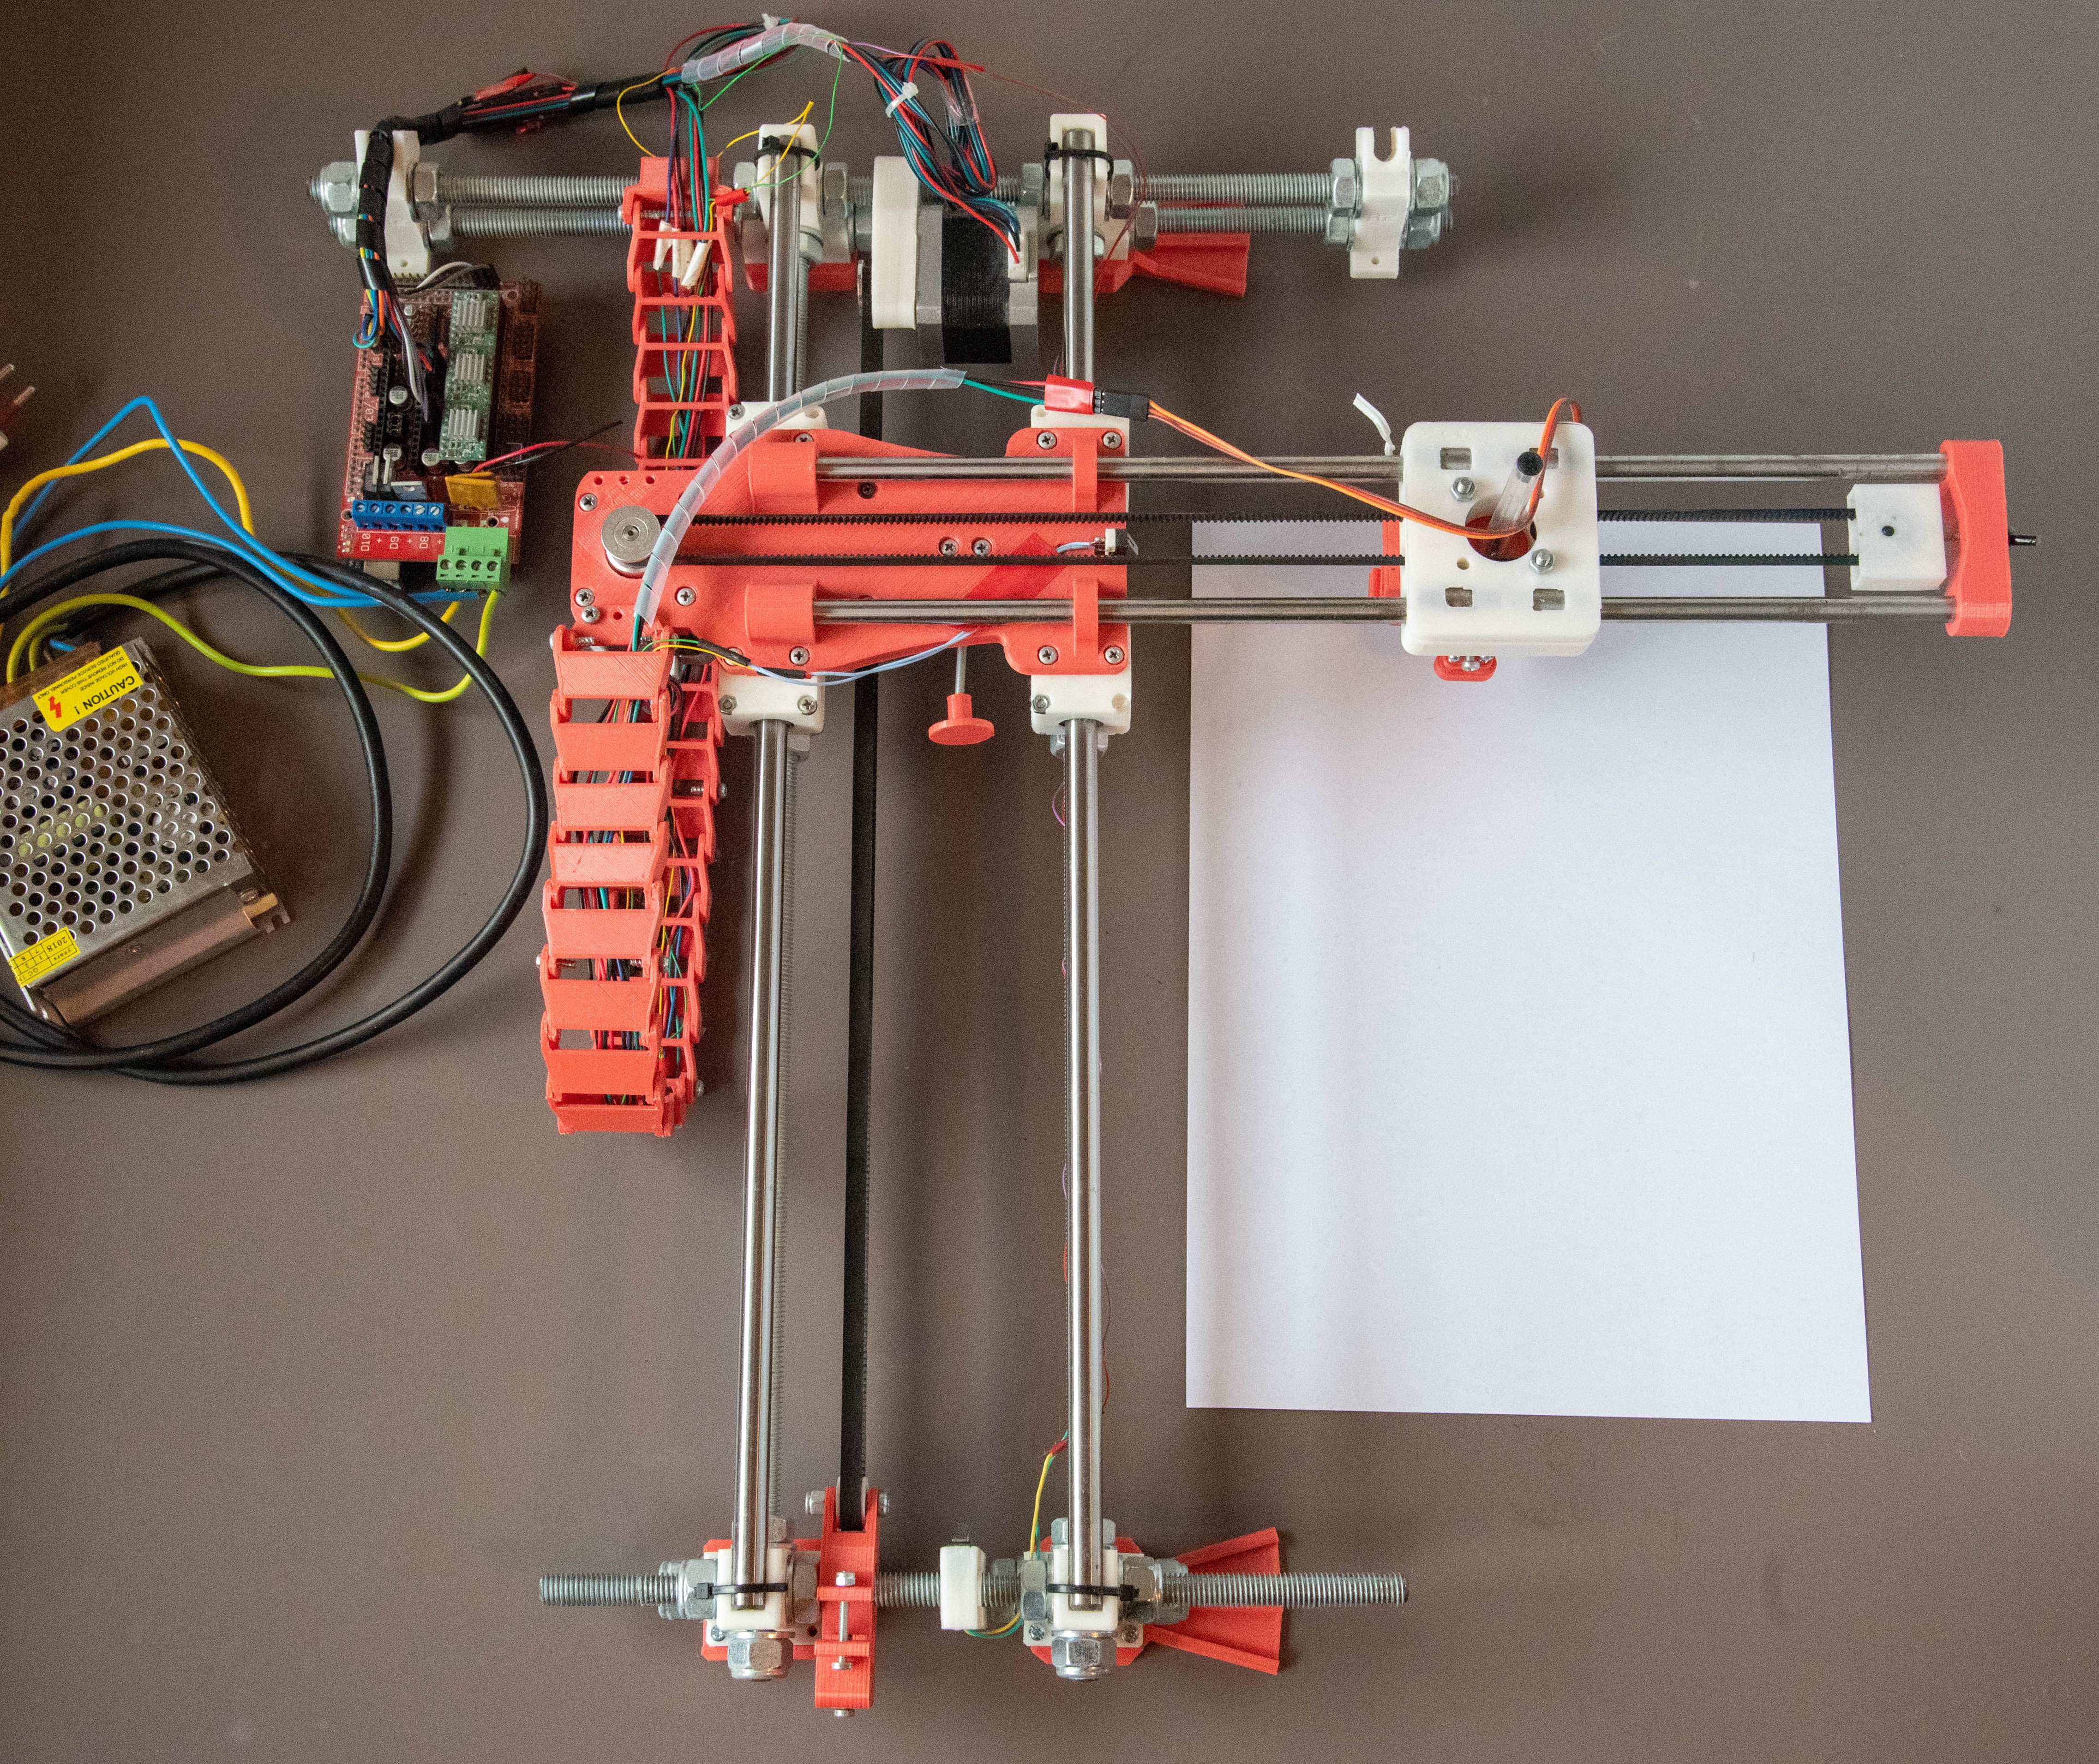
Arduino plotter made with a 3d printer capable to draw G-Code on paper.
Video demo of the DuckPlotter in action:
-
Create the physical structure of the DuckPlotter
-
Send code to Arduino
-
Install all python requirements:
go into
computer_codefolder and runpip install -r requirements.txt
- Download and install the program
Image to gcode - DPcreated ad hoc for the DuckPlotter.
-
Download and install the Inkscape program and its Laser Tool Plug-In
-
Open your image with Inkscape
-
Convert the image to a Path image using the grey scale option
-
Ungroup the layers of the image
-
Choose the best layer and fix it removing or adding pixels
If you need help doing these steps follow this video.
-
Finally export Gcode from your image using the "Extensions" tab and selecting the option "Generate Gcode"
-
Execute the duckPlotter program:
usage: duckPlotter.py [-h] [--continue PREV_FILE_NAME] file_name serial_port

DuckPlotter pc program. Send g-code instructions to Arduino.

positional arguments:
file_name                       g-code file to plot
serial_port                     serial port of Arduino

optional arguments:
-h, --help                      show this help message and exit
--continue PREV_FILE_NAME       previous g-code file
Example of usage:
python3 duckPlotter.py my-gcode-file.gcode /dev/ttyACM0The
--continueoption allow to continue plotting without resetting to the initial position. It needs to know the previous file. -
You can split a gcode file in more files in order to avoid overheatings:
python gcodeSplitter.py gcode-file [max-lines]The
max-linesoption allow to split the gcode file everymax-lineslines. (Default value: 2500)All required gcode files will be generated. They have to be executed in order, with the
--continueoption specifying the previous g-code file.
- Arduino Mega 2560
- RAMPS 1.4 (RepRap Arduino MEGA Pololu Shield)

