A task explaining the process of deploying a React website to an AWS S3 bucket using Terraform for infrastructure management and GitHub Actions for continuous deployment.
Before you begin, ensure you have the following:
- An AWS account. Free tier is okay.
- AWSCLI installed and configured on your machine.
- Terraform installed on your local machine.
- GitHub Account to use its repository for the project.
- Node.js and npm installed on your local machine.
Here's an overview of the project structure:
$ tree
.
|-- Landing-Page-React
|   |-- README.md
|   |-- UltraDesktop.png
|   |-- UltraIPad.png
|   |-- UltraIPhone.png
|   |-- package-lock.json
|   |-- package.json
|   |-- public
|   |   |-- index.html
|   |   |-- manifest.json
|   |   `-- robots.txt
|   `-- src
|       |-- App.js
|       |-- components
|       |   |-- Footer
|       |   |   |-- Footer.elements.js
|       |   |   `-- Footer.js
|       |   |-- InfoSection
|       |   |   |-- InfoSection.elements.js
|       |   |   `-- InfoSection.js
|       |   |-- Navbar
|       |   |   |-- Navbar.elements.js
|       |   |   `-- Navbar.js
|       |   |-- Pricing
|       |   |   |-- Pricing.elements.js
|       |   |   `-- Pricing.js
|       |   |-- ScrollToTop.js
|       |   `-- index.js
|       |-- globalStyles.js
|       |-- images
|       |   |-- profile.jpg
|       |   |-- svg-1.svg
|       |   |-- svg-2.svg
|       |   `-- svg-3.svg
|       |-- index.css
|       |-- index.js
|       |-- pages
|       |   |-- HomePage
|       |   |   |-- Data.js
|       |   |   `-- Home.js
|       |   |-- Products
|       |   |   |-- Data.js
|       |   |   `-- Products.js
|       |   |-- Services
|       |   |   |-- Data.js
|       |   |   `-- Services.js
|       |   `-- SignUp
|       |       |-- Data.js
|       |       `-- SignUp.js
|       `-- reportWebVitals.js
|-- README.md
|-- Terraform
|   |-- output.tf
|   |-- provider.tf
|   |-- s3.tf
|   `-- variable.tf
`-- assets
    |-- destroy.png
    |-- page.png
    |-- s3_bucket.png
`-- s3_website.png- Fork the repository to your GitHub account if you haven't already, and clone it to your local machine:
git clone <REPOSITORY>- Create an AWS access key in AWS IAM for Terraform with Administrator permissions (overkill, but just for this task). Download the generated CSV file, and run
aws configureon your machine. Supply the access key and secret (copied from the CSV file) at the prompts. - Create an S3 bucket and DynamoDB table to use for state locking. You should create them through the AWS Dashboard. Use only stepd 2 and 5 of this guide. make sure you create them in the same region.
- Open the provider.tf file and replace the values of the
bucketanddynamodb_tablewith the ones you just created, also making sure theregionis correct.keycan be any string, but make sure it has the.tfstateextension.
backend "s3" {
    bucket         = "olatest-logger-lambda"
    key            = "terraform/s3_website/deployment.tfstate"
    region         = "us-east-1"
    dynamodb_table = "terraform-s3-backend-locking"
    encrypt        = true
}- Open the variable.tf file and replace the value of
s3_bucket_namewith a unique name. Remember, S3 buckets are globally unique, just like URLs.
variable "s3_bucket_name" {
  type        = string
  default     = "erply-test-s3-website" #REPLACE
  description = "AWS S3 Bucket Name"
}- Go to the repository you forked in your GitHub account, and create the following repository secrets. Get their values from the IAM file (CSV) downloaded earlier:
- AWS_ACCESS_KEY_ID
- AWS_SECRET_ACCESS_KEY
- Commit the code and push to the repository.
git add .
git commit -m "Pushed my code"
git push origin main- Go to the Actions tab in your repository, you'll see the
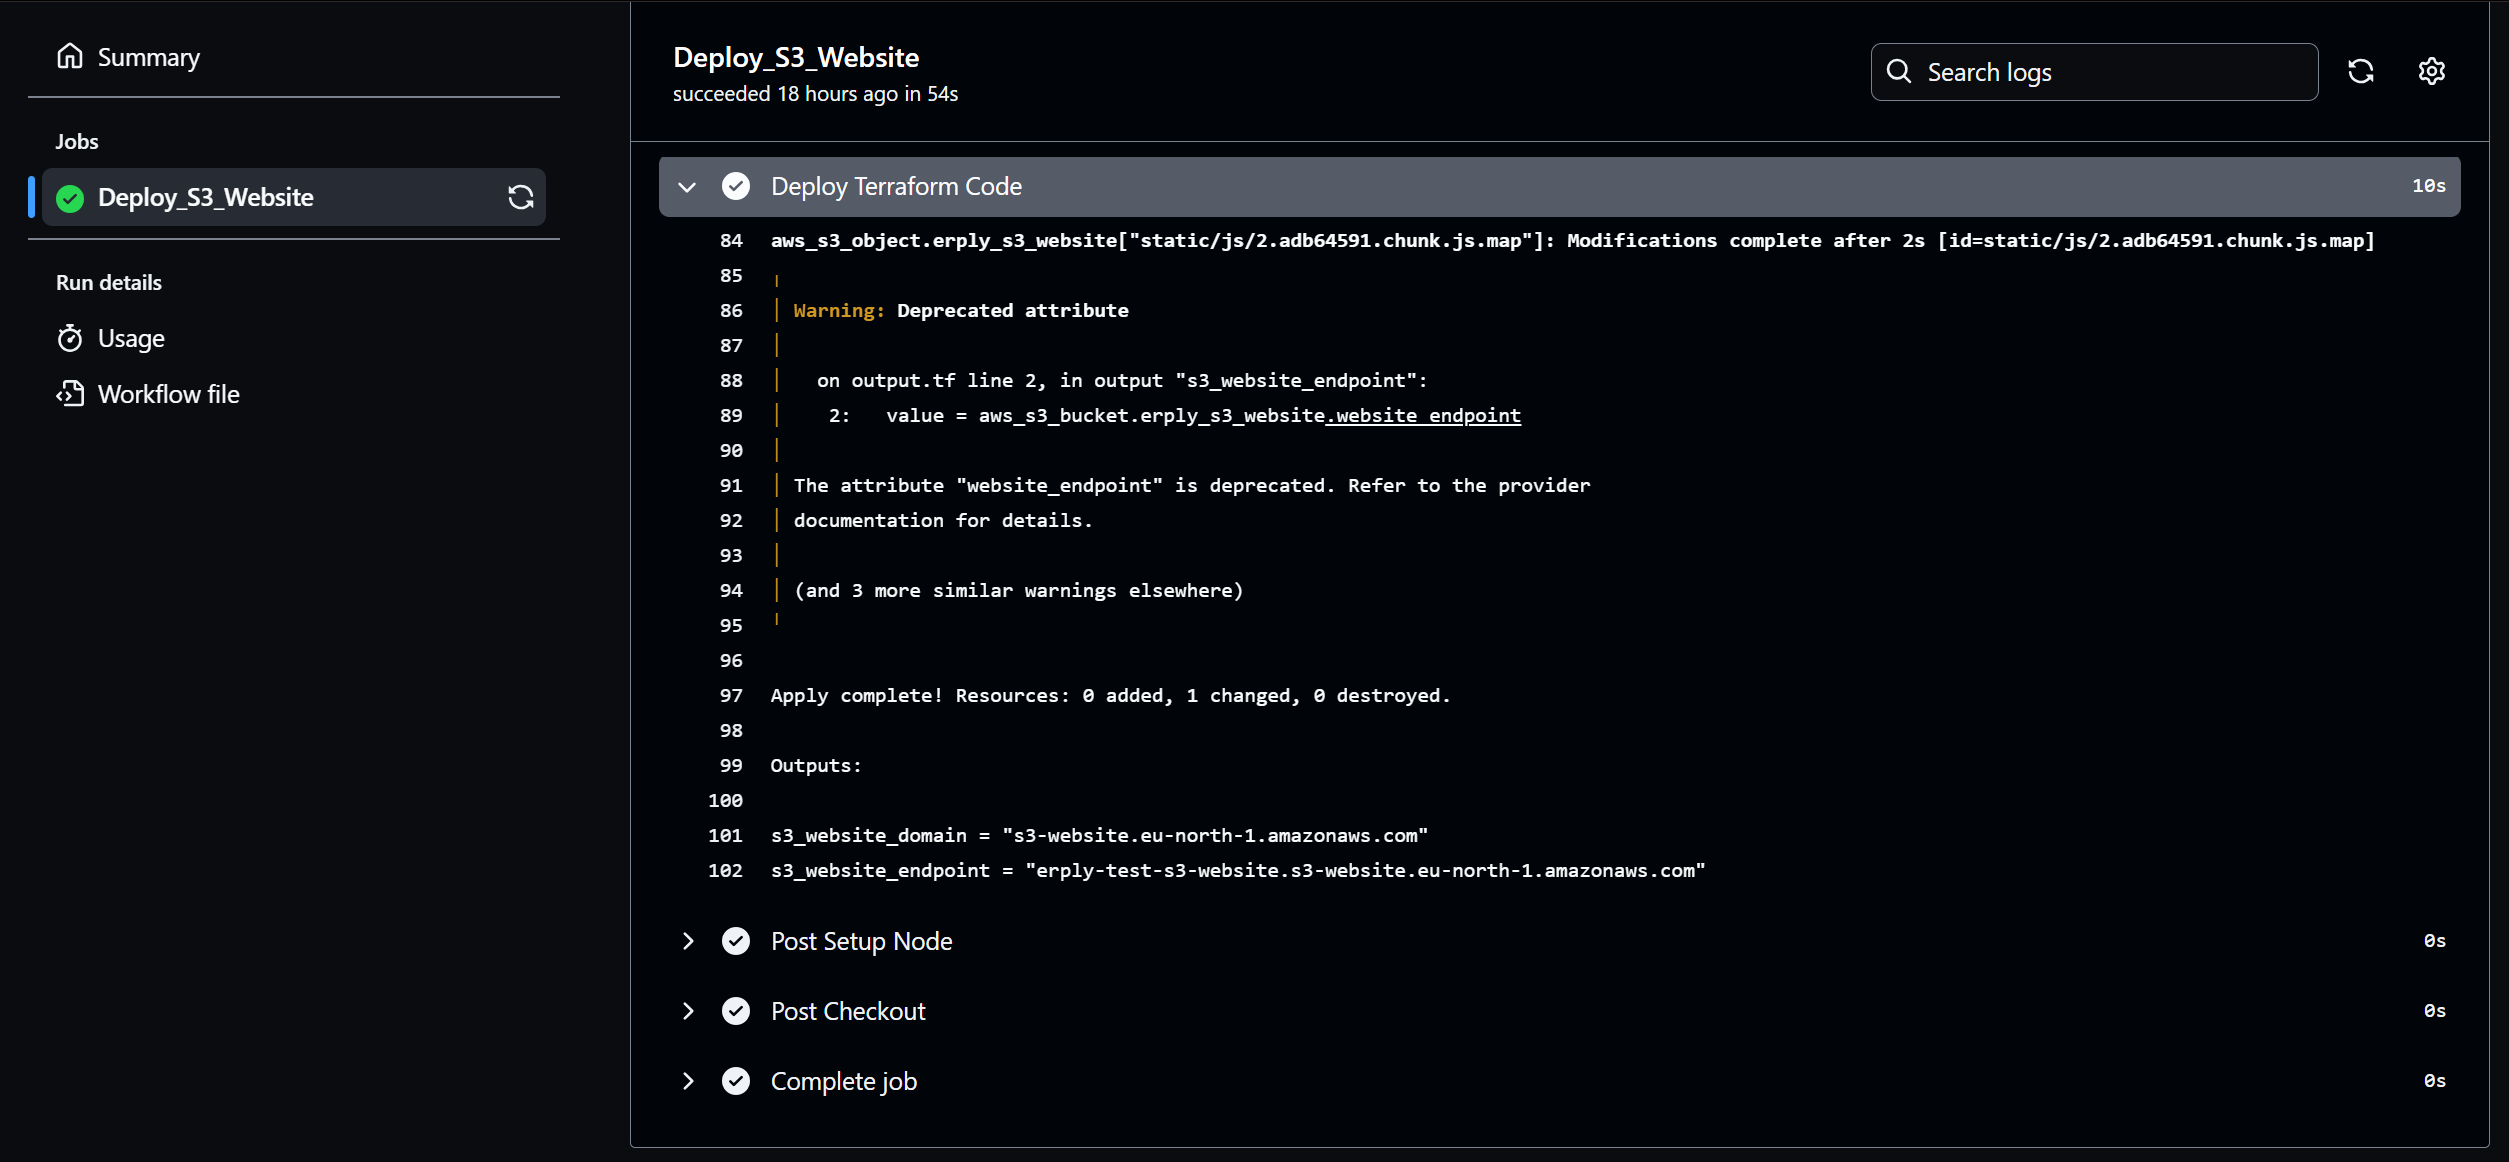
Deploy S3 Websiteworkflow running. Once the jobs finish successfully, click on theDeploy Terraformstep and go to the end of the logs to see thes3_website_endpoint.
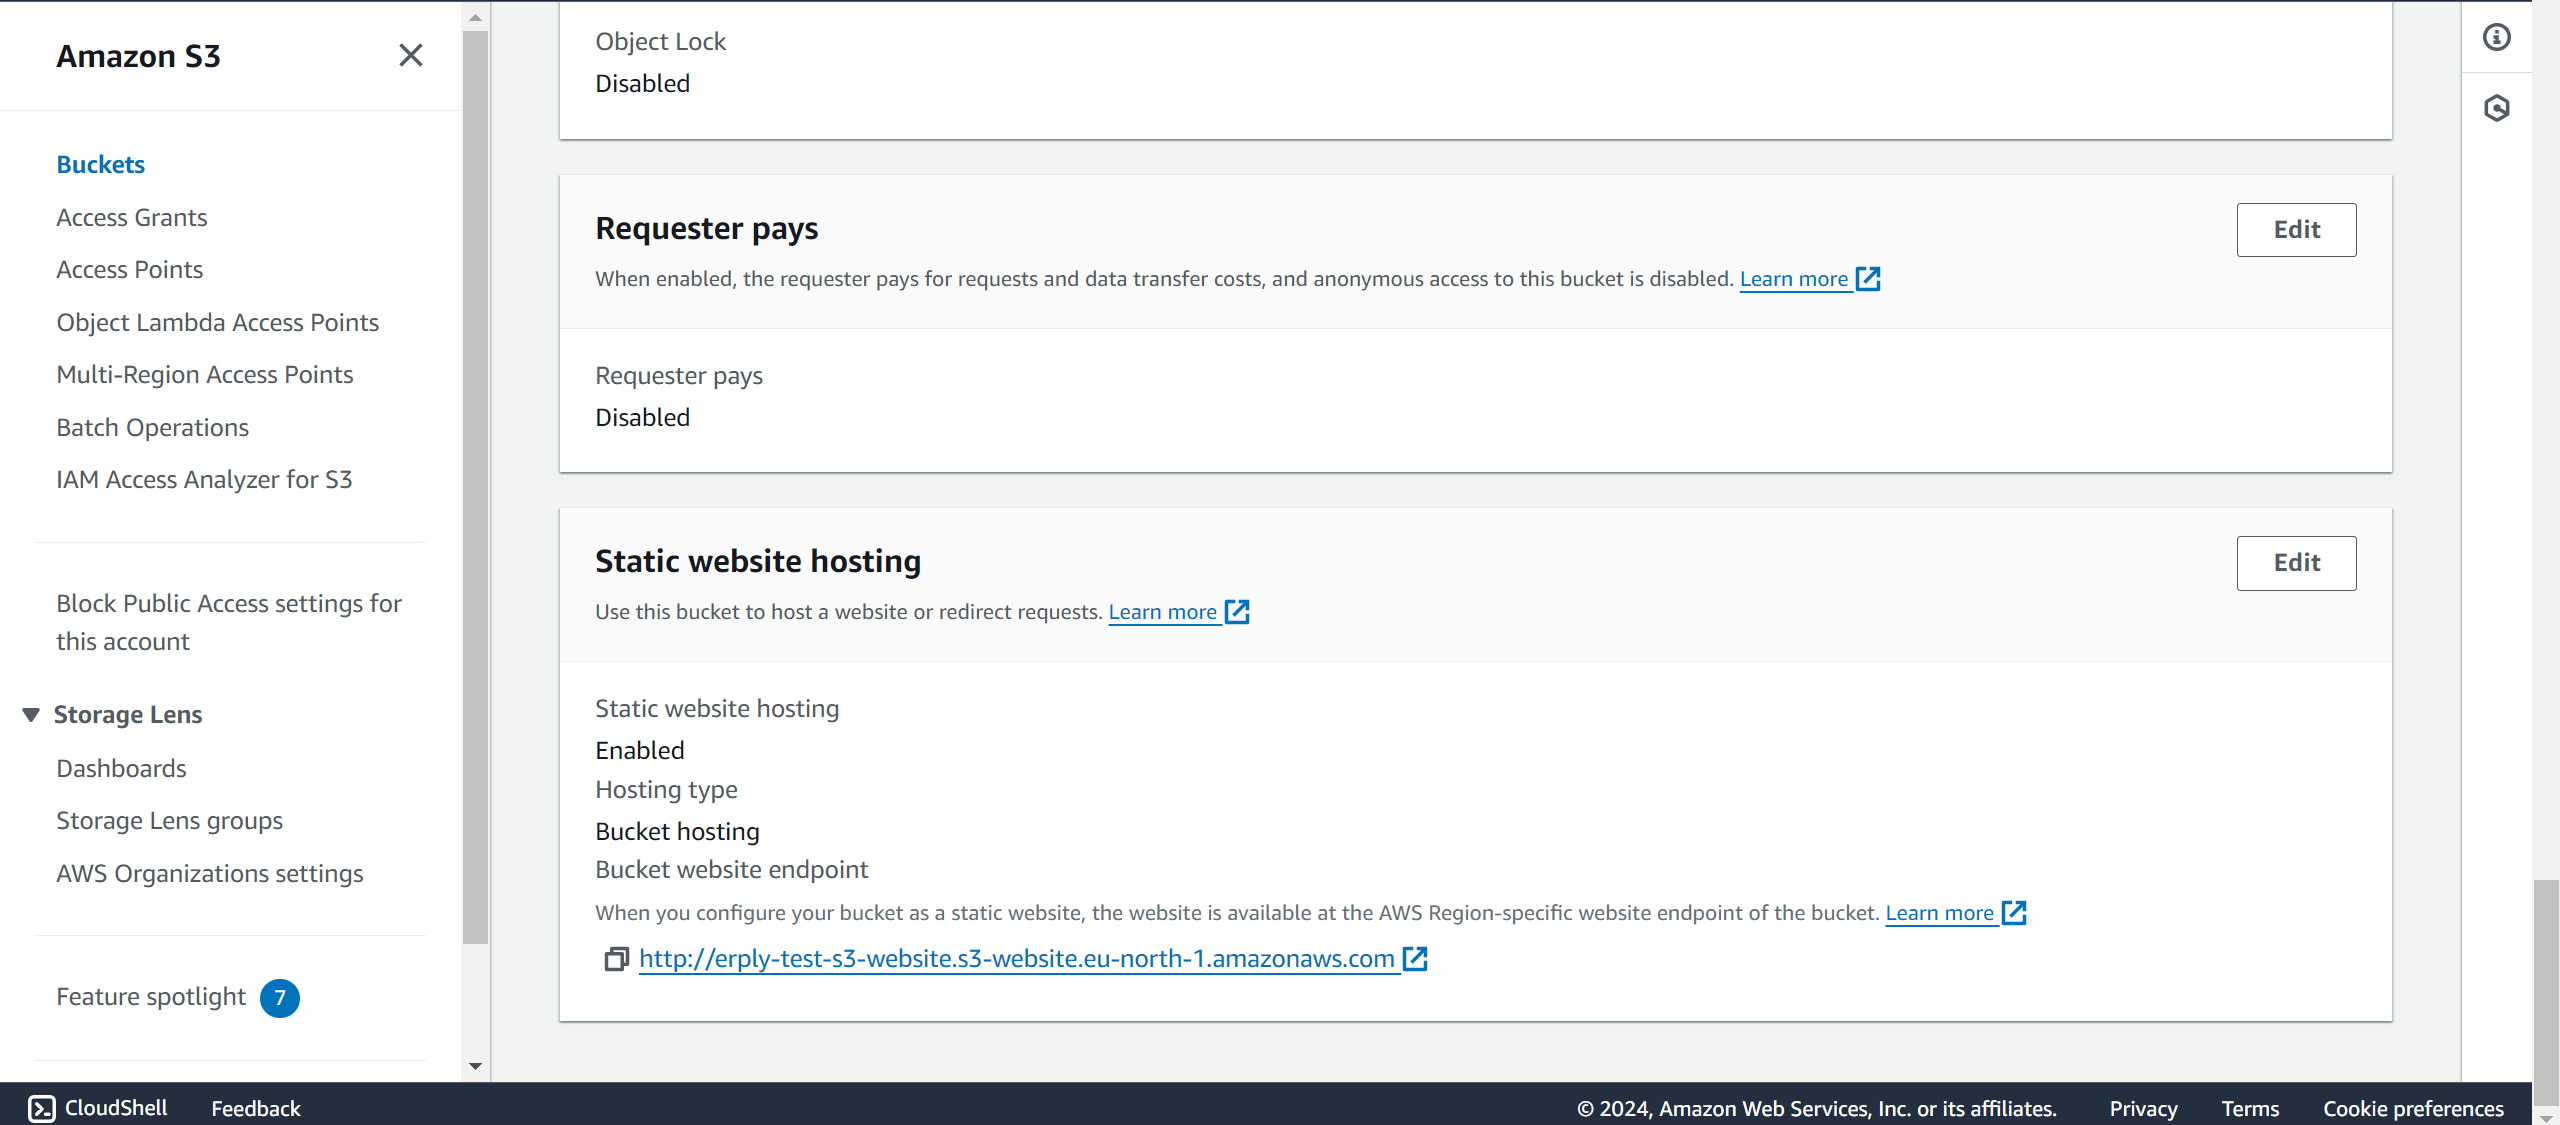
If you can't find it there, go to the s3 tab in your AWS console, and look for the bucket matching the name you specified in the variable.tf file. Select the bucket, click on Properties, and scroll to the bottom of the page to find the URL of the S3 website.
Visiting the link in a browser should show a page exactly like this.
The React website should now be automatically deployed to your S3 bucket every time you push changes to the main branch.
- Go to the Actions tab of the repository, and on the left pane, click on
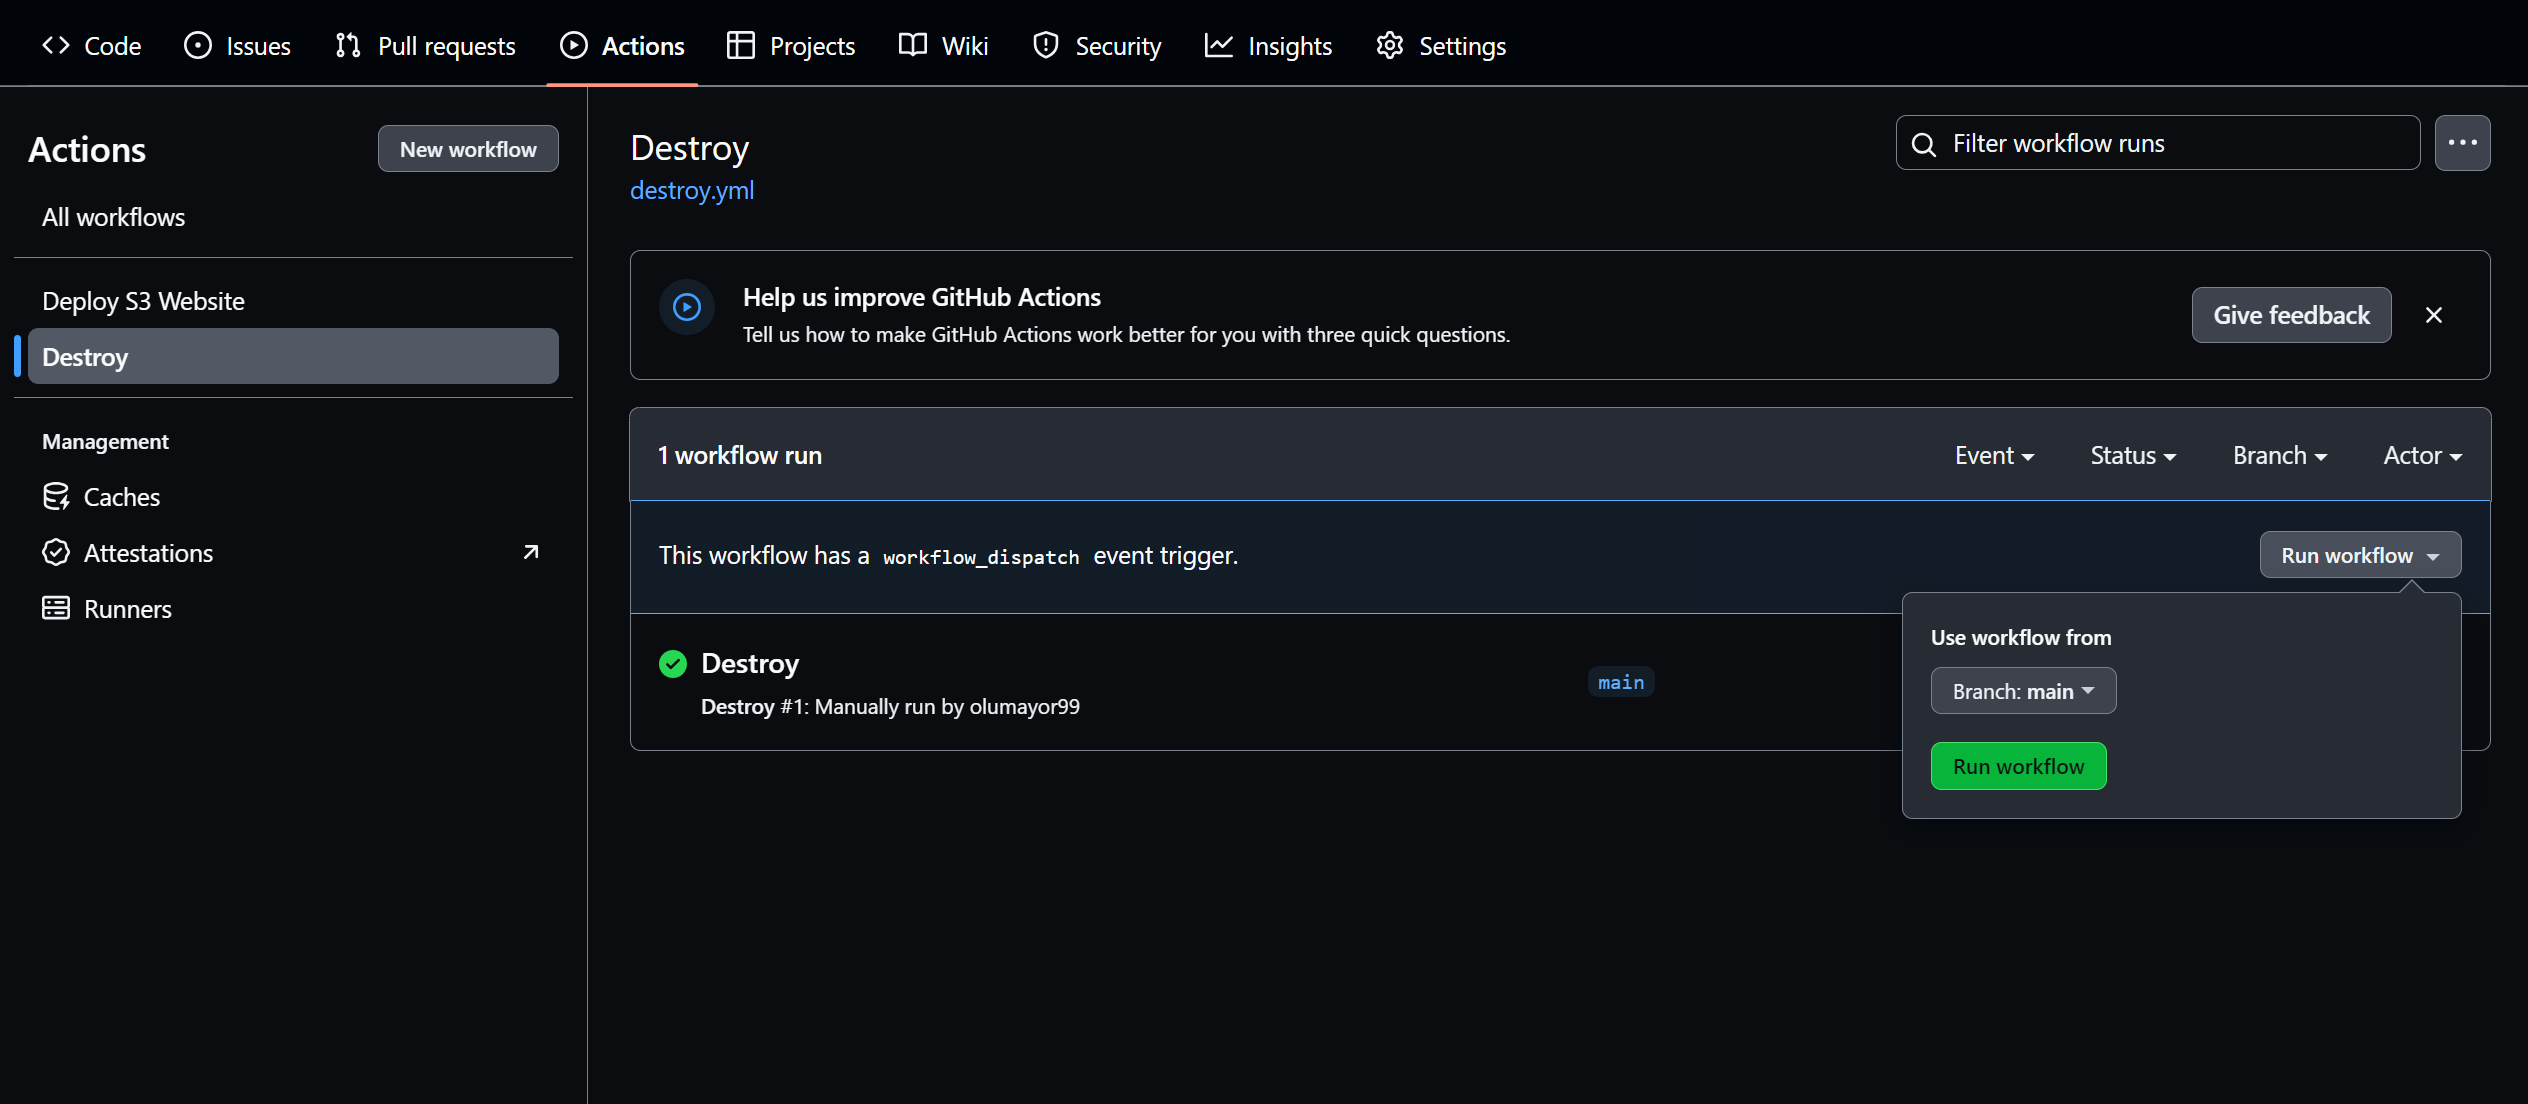
Destroy, then on the right, click onRun Workflowdropdown, then click on theRun Workflowgreen button. It will take down the infrastructure provisioned by the pipeline.
- Delete the S3 bucket and DynamoDB table created for state locking using the AWS console.
This is the deploy.yml workflow. It triggers on every commit to the main branch of the repository. It sets the needed variables, some from GitHub secrets, and the rest supplied directly. It checks out the code, sets up node with version 16 (any other version won't work), and then it builds the code. The built code is stored in the build directory which it creates during the build process. The rest of the steps initialize and deploy the workload using terraform.
name: Deploy S3 Website

on:
  push:
    branches:
      - main
env:
    AWS_ACCESS_KEY_ID: ${{ secrets.AWS_ACCESS_KEY_ID }}
    AWS_SECRET_ACCESS_KEY: ${{ secrets.AWS_SECRET_ACCESS_KEY }}
    AWS_DEFAULT_REGION: 'us-east-1'
    CI: false

jobs:


  Deploy_S3_Website:
    runs-on: ubuntu-latest

    steps:
      - name: Checkout
        uses: actions/checkout@v4

      - name: Setup Node
        uses: actions/setup-node@v4
        with:
          node-version: 16

      - name: NPM build
        run: |
          cd Landing-Page-React
          npm install
          npm run build

      - name: Set up Terraform
        uses: hashicorp/setup-terraform@v3
        with:
          terraform_version: 1.8

      - name: Inititialize Terraform
        run: terraform -chdir=Terraform init -upgrade

      - name: Format Terraform Code
        run: terraform -chdir=Terraform fmt

      - name: Deploy Terraform Code
run: terraform -chdir=Terraform apply -auto-approveThe terraform code creates an S3 bucket with all the needed configuration for an S3 website, and once that's done, it uploads the production ready code in the build directory into the S3 website so it can serve them across the internet.
This is the section that deals with uploading the production ready code to S3:
locals {
  content_types = {
    css  = "text/css"
    html = "text/html"
    js   = "application/javascript"
    json = "application/json"
    txt  = "text/plain"
    png  = "image/png"
    svg  = "image/svg+xml"
  }
}

resource "aws_s3_object" "erply_s3_website" {
  for_each     = fileset("../Landing-Page-React/build/", "**/*.*")
  bucket       = aws_s3_bucket.erply_s3_website.id
  key          = each.value
  source       = "../Landing-Page-React/build/${each.value}"
  etag         = filemd5("../Landing-Page-React/build/${each.value}")
  acl          = "public-read"
  content_type = lookup(local.content_types, element(split(".", each.value), length(split(".", each.value)) - 1), "text/plain")
  depends_on = [aws_s3_bucket_policy.erply_s3_website]
}
The content_types local is necessary so the S3 website can correctly decode the object types and serve them in a webpage, instead of as an ordinary file.


