mobile-flashcards is a mobile application that allow users to create an unlimited amount of flashcards, organize them into decks, and take quizzes on them.
The app was developed with React Native/Expo and was created with create-react-native-app. It uses Redux for state management.
The interface includes the following screens and features:
- The Main Screen displays a list of decks along with the number of cards in each deck.
- Long pressing on a deck will bring up an alert box to confirm deleting the deck. Note that this will delete all cards belonging to the deck as well.
- Tapping on a deck will navigate to its Individual Deck Screen which displays information about the deck as well as options to create a new card or start a quiz on this specific deck.
- The Quiz Screen displays the card question with ability to flip back and forth to the answer. The user can mark their guesses and progress is displayed. After the last question, the quiz score is displayed with option of starting over.
- The New Deck Screen allows the user to create new deck title.
- The Add Card Screen allows the user to create and add new cards to add to a specific deck.
Navigate between Deck Flow and Create New Deck screens using the Tab Navigator at the bottom.
The Deck Flow navigates through the remaining screens using a Stack Navigator.
Sample Usage:
- At initial launch of the app, there will be no decks. Press the New Deck button on the bottom tab navigator to start creating decks.
- At the Main Screen select a deck and add cards to the deck.
- After adding some cards, select Quiz to start taking a quiz and receive a score at the end.
- Continue adding cards or take quizzes from other decks.
npm install
This project takes advantage of Expo CLI and the Expo client to open the project on iOS and Android. Expo CLI can be installed with:
npm install --global expo-cli
An iOS/Android device or emulator is required to run the application.
This project was created with create-react-native-app. Running npm start will start the development server.
npm start
However, I find using expo CLI was more straight forward:
expo start
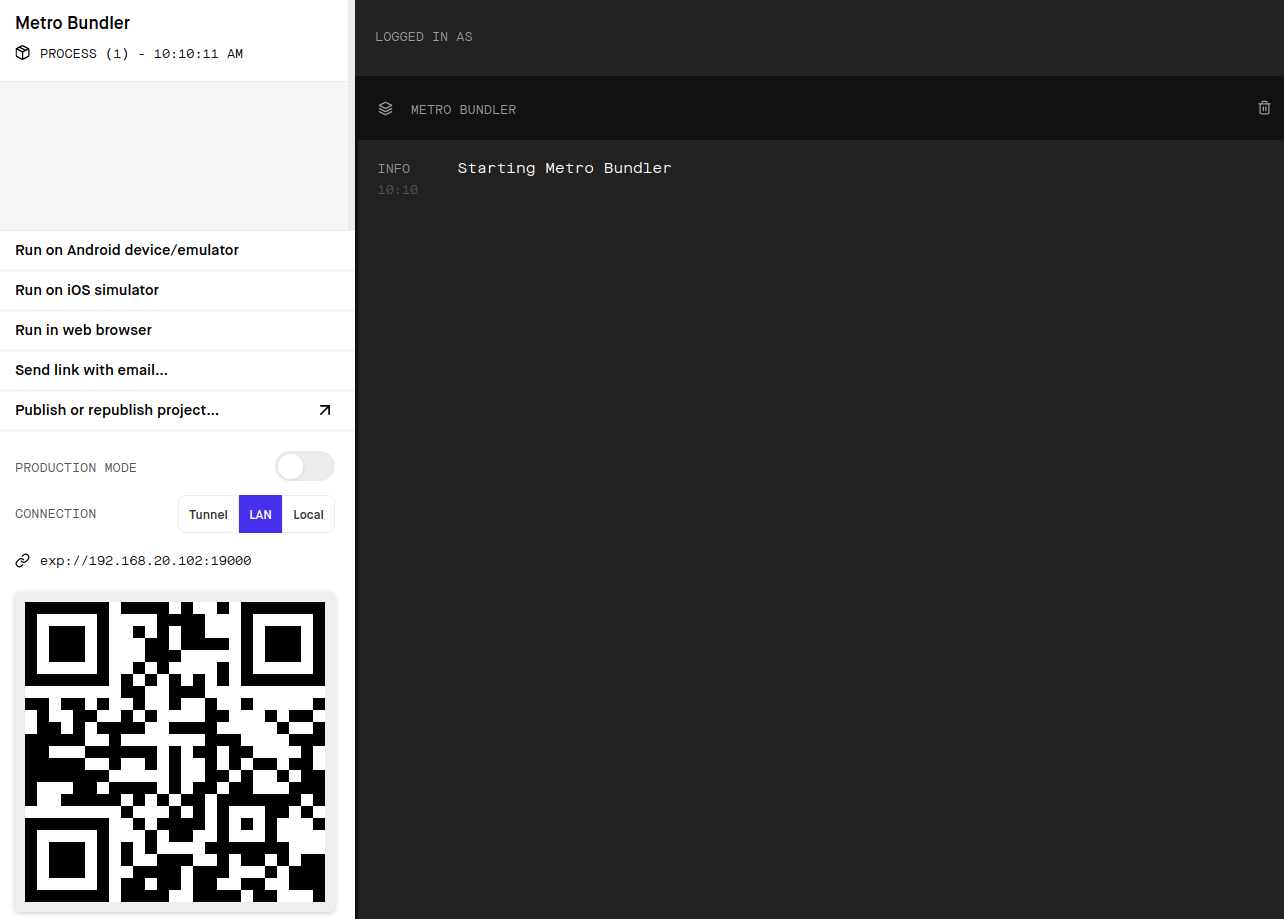
This starts Metro Bundler, an HTTP server that compiles the JavaScript code and serves it to the Expo app. From here, either scan the QR code with your device, or start an emulator and click the respective buttons on the left pane to run on the emulator.
This project is part of Udacity's React course, and built to the specifications based on the project rubric. No starter files were provided.
The backend uses React Native's AsyncStorage to store, retrieve, and persist data used by the app. Redux action creators dispatches actions to update the state and calls the API to update AsyncStorage data to keep them in sync.
The project was tested on a physical Android device and Android emulator.
This project is licensed under the MIT License - see the LICENSE file for details.

