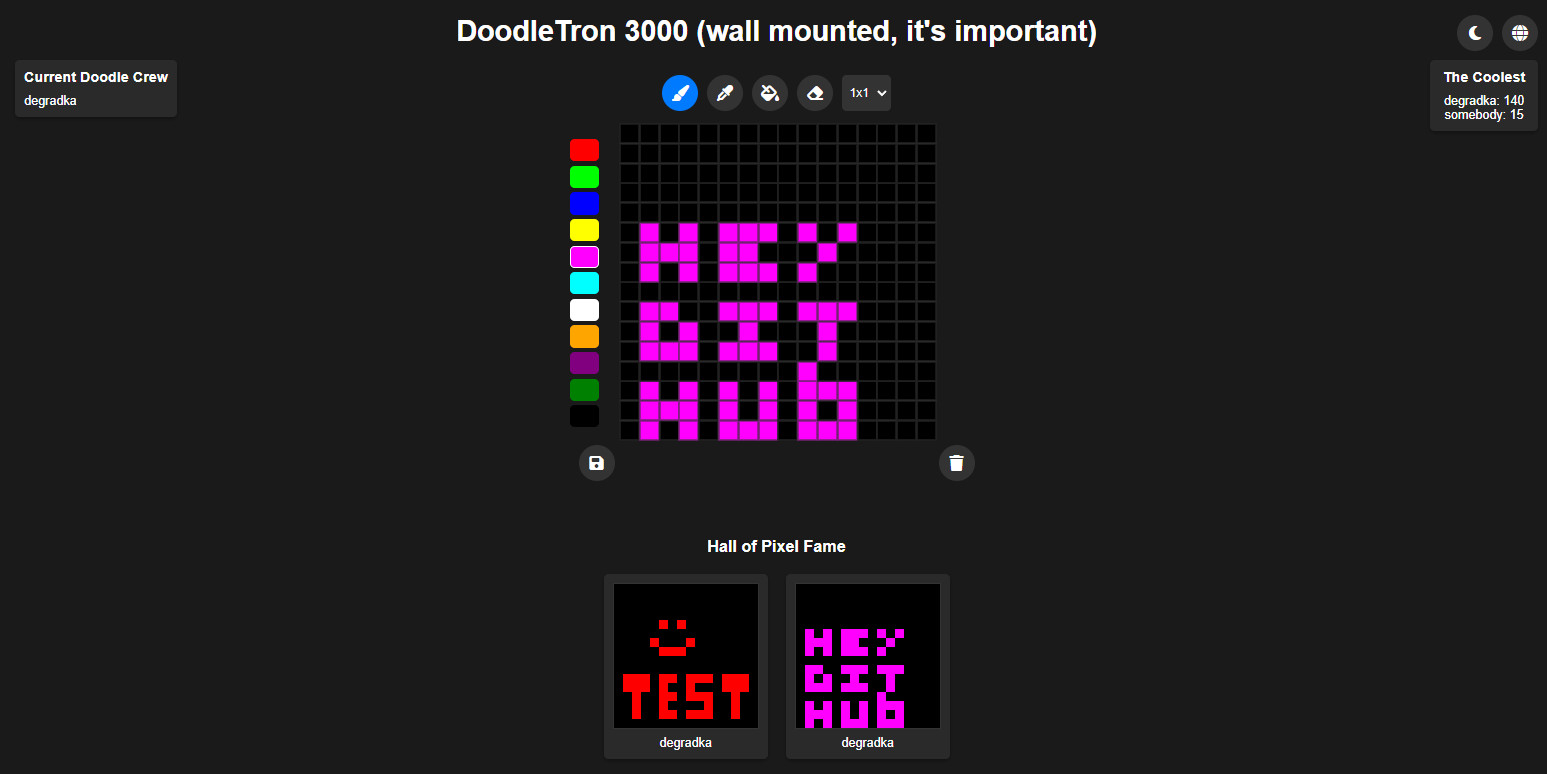
Welcome to LED Matrix Magic! This project brings a 16x16 LED matrix to life using WS2812B LED strips, an ESP8266 microcontroller, and a slick web interface. This README will guide you through setting up and running your own LED matrix display.
- Overview
- Features
- Hardware Requirements
- Software Requirements
- Setup Instructions
- Usage
- The Result
- Contributing
- License
LED Matrix Magic is a project that transforms a 16x16 LED matrix into a customizable and interactive display. The project uses WS2812B LED strips controlled by an ESP8266 microcontroller, with a web-based interface to control individual LEDs.
- Web Interface: Control the LED matrix from any device with a web browser.
- Paint Mode: Choose any color to light up the LEDs.
- Real-time Updates: See changes in real-time as you interact with the interface.
- Clean All Function: Quickly reset the entire matrix to the default color.
- Preset Effects: Premade effects for the matrix.
-
ESP8266 Microcontroller: Such as NodeMCU or Wemos D1 Mini.
-
WS2812B LED Strips: Enough to create a 16x16 matrix (256 LEDs).
-
Plywood or other Base Material: To mount the LEDs.
-
Power Supply: Suitable for the number of LEDs (e.g., 5V 10A for 256 LEDs).
-
Miscellaneous: Wires, connectors, soldering tools, etc.
-
3D Printed Parts: Designed and printed to hold the LED strips and components. STL files are available in the
stlfolder. -
Connection schematic: Smaller matrix for better visual comprehension.
- Arduino IDE: Download here.
- FastLED Library: Install via Arduino Library Manager.
- ESPAsyncWebServer Library: Install via Arduino Library Manager.
- WebSockets Library: Install via Arduino Library Manager.
- ArduinoJson Library: Install via Arduino Library Manager.
-
Clone the Repository:
git clone https://github.com/degradka/led-matrix-magic.git cd led-matrix-magic -
Open in Arduino IDE:
- Launch Arduino IDE.
- Open
led-matrix-magic.inofile from the cloned repository.
-
Install Required Libraries:
- In Arduino IDE, go to Sketch > Include Library > Manage Libraries.
- Install
FastLED,ESPAsyncWebServer,WebSockets, andArduinoJsonlibraries.
-
Configure WiFi Credentials:
- Update the following lines in
led-matrix-magic.inowith your WiFi credentials:const char* ssid = "your_SSID"; const char* password = "your_PASSWORD";
- Update the following lines in
-
Upload the Code:
- Connect your ESP8266 to your computer.
- Select the appropriate board and port from Tools menu.
- Click the Upload button.
-
Connect the Hardware:
- Connect the WS2812B LED strips to the ESP8266 (Data pin to D4, 5V, and GND).
- Ensure the power supply is correctly connected to both the LEDs and the ESP8266.
- Power on the ESP8266 and wait for it to connect to your WiFi network.
- Open a web browser and enter the ESP8266’s IP address (displayed in the Serial Monitor).
- Use the web interface to control the LED matrix:
- Use the color picker to select your desired color.
- Click on any pixel to change its color.
- Click the "Clean All" button to reset the matrix.
- Check out the premade effects by pressing the buttons under "Preset Effects".
Contributions are welcome! Please fork the repository and submit a pull request for any improvements or bug fixes.
This project is licensed under the MIT License - see the LICENSE file for details.


