Our goal is to host a website for xxxxxx solicitors on an Amazon EC2 Instance
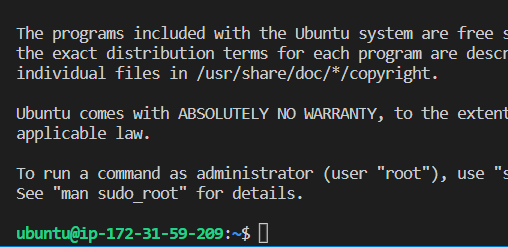
For this, we shall need the following resources An EC2 Instance running on Linux. I will go for the t2.micro An elastic IP so that the IP address will persist if the instance is stopped or interrupted SSH into the Instance and install the following: Security group to allow SSH into our instance for software installation and bootstrapping if required Security group to allow HTTP and HTTPS traffic from the internet An SSL Certificate to encrypt inflight data A Domain name and A record for forwarding to our Elastic IP
- Apache Webserver
- PHP
- Mysql
Install Wordpress
Additional Tools
- Github for version control and to document our actions
- VSCode - Code/Text Editor
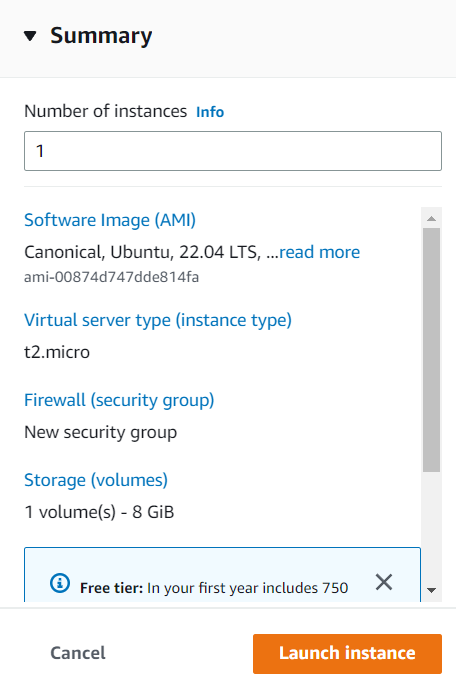
We shall go to the AWS console and launch an Instance
- We shall name our instance InstanceNameOfChoice
- Select Ubuntu for our AMI (My Preference today)
- Instance type will be t2.micro
- Security groups ingress
- SSH(Port 22) - Allow from your IP Adress only xx.xx.xx.xx/32
- http(Port 80) Allow All 0.0.0.0/0
- https(Port 443) Allow All 0.0.0.0/0
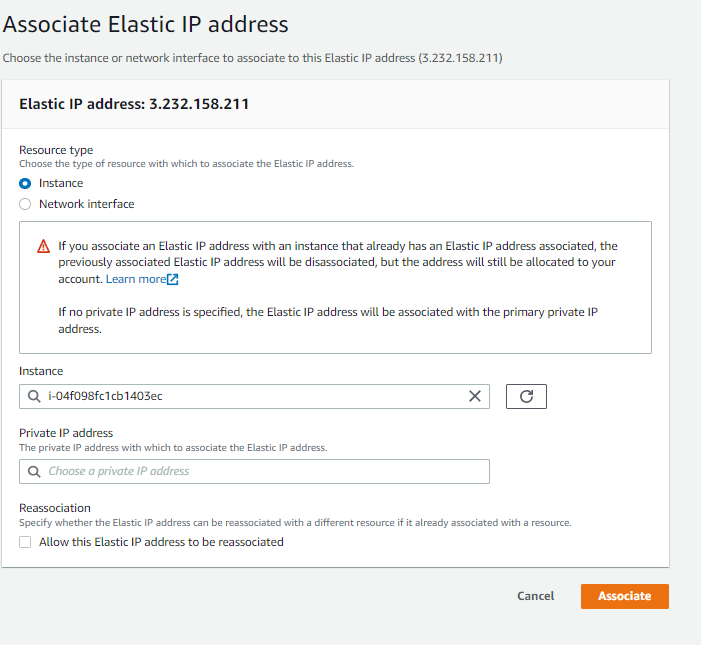
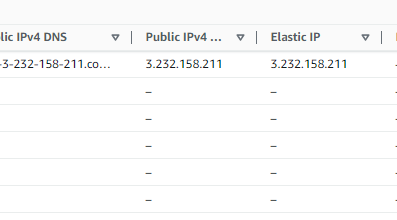
EC2 Instance's public IP addresses change when the instance is stopped and relaunched. To avoid losing the ip address to our application, we shall use an Elastic IP address and attach it to our EC2 Instance.
sudo apt update
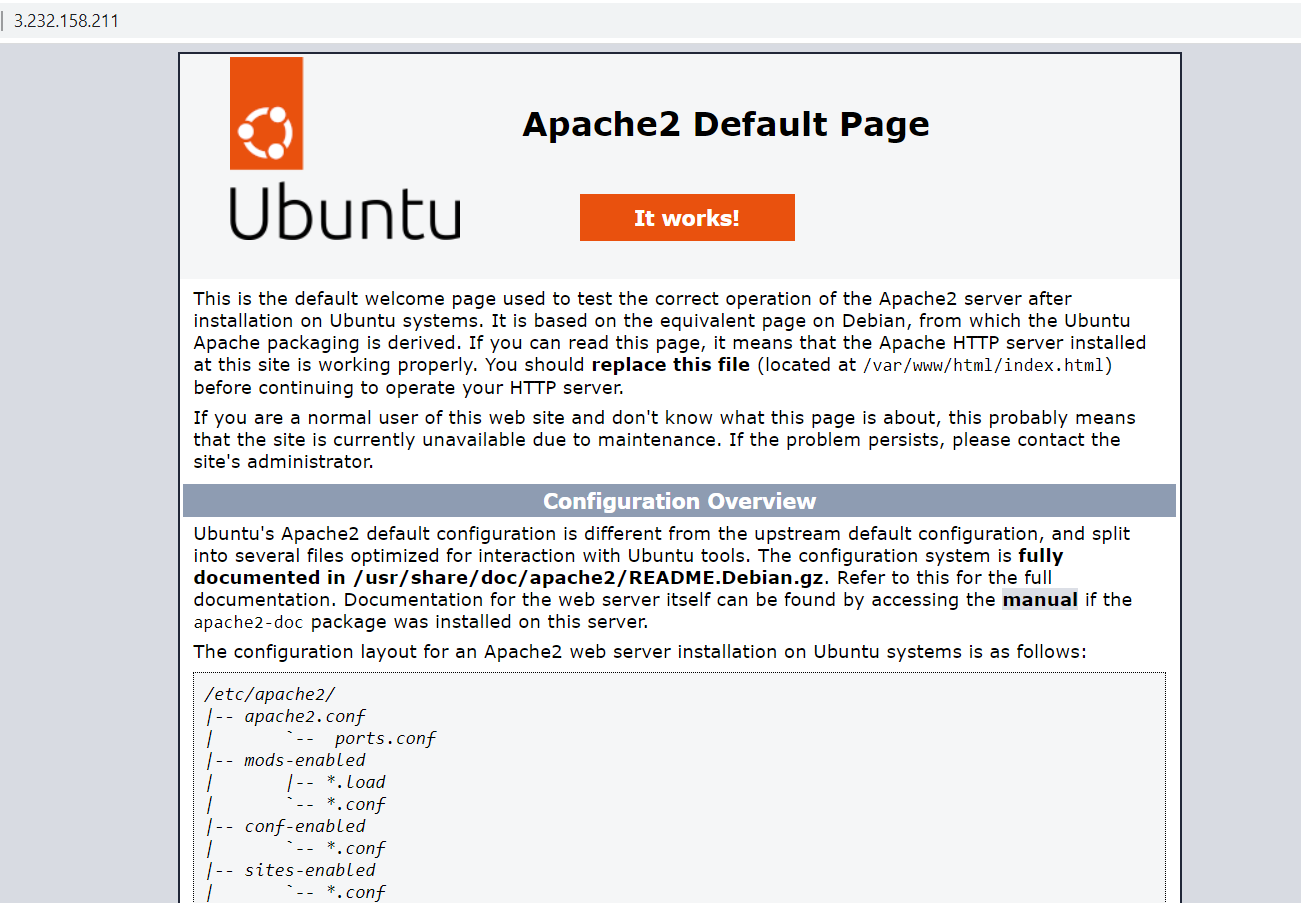
sudo apt install apache2 -y
~$ sudo systemctl status apache2
● apache2.service - The Apache HTTP Server
     Loaded: loaded (/lib/systemd/system/apache2.service; enabled; vendor preset: enabled)
     Active: active (running) since Mon 2023-02-06 22:13:21 UTC; 1min 59s ago
       Docs: https://httpd.apache.org/docs/2.4/
   Main PID: 2424 (apache2)
      Tasks: 55 (limit: 1143)
     Memory: 4.9M
        CPU: 34ms
     CGroup: /system.slice/apache2.service
             ├─2424 /usr/sbin/apache2 -k start
             ├─2426 /usr/sbin/apache2 -k start
             └─2427 /usr/sbin/apache2 -k start

Feb 06 22:13:21 ip-172-31-59-209 systemd[1]: Starting The Apache HTTP Server...
Feb 06 22:13:21 ip-172-31-59-209 systemd[1]: Started The Apache HTTP Server.
We shall instal the php package, php-mysql (a PHP module that allows PHP to communicate with MySQL-based databases, as well as libapache2-mod-php to enable Apache to handle PHP files.
sudo apt update
sudo apt install php libapache2-mod-php php-mysql
sudo apt install mysql-server
This is necessary for Wordpress to be able to log in as an ordinary user.
Lets log in to mysql as the root user
sudo mysql -u root
ALTER USER 'root'@localhost IDENTIFIED with mysql_native_password BY 'secretpassordofyourchoice'
Query OK, 0 rows affected (0.01 sec)
CREATE USER 'usertester'@localhost IDENTIFIED BY PASSWORD 'thenewuserpassword'
CREATE DATABASE databasenameofyourchoice;        ### wp_melrose       Olupero2023%melrose     'goldeneyepr'@localhost
Query OK, 1 row affected (0.00 sec)
GRANT ALL PRIVILEGES ON databasenameofyourchoice.* TO 'usertester'@localhost;
Query OK, 0 rows affected (0.00 sec)
cd \tmp
wget https://wordpress.org/latest.tar.gz
tar -xzvf latest.tar.gz
sudo mv wordpress/ /var/www/html/
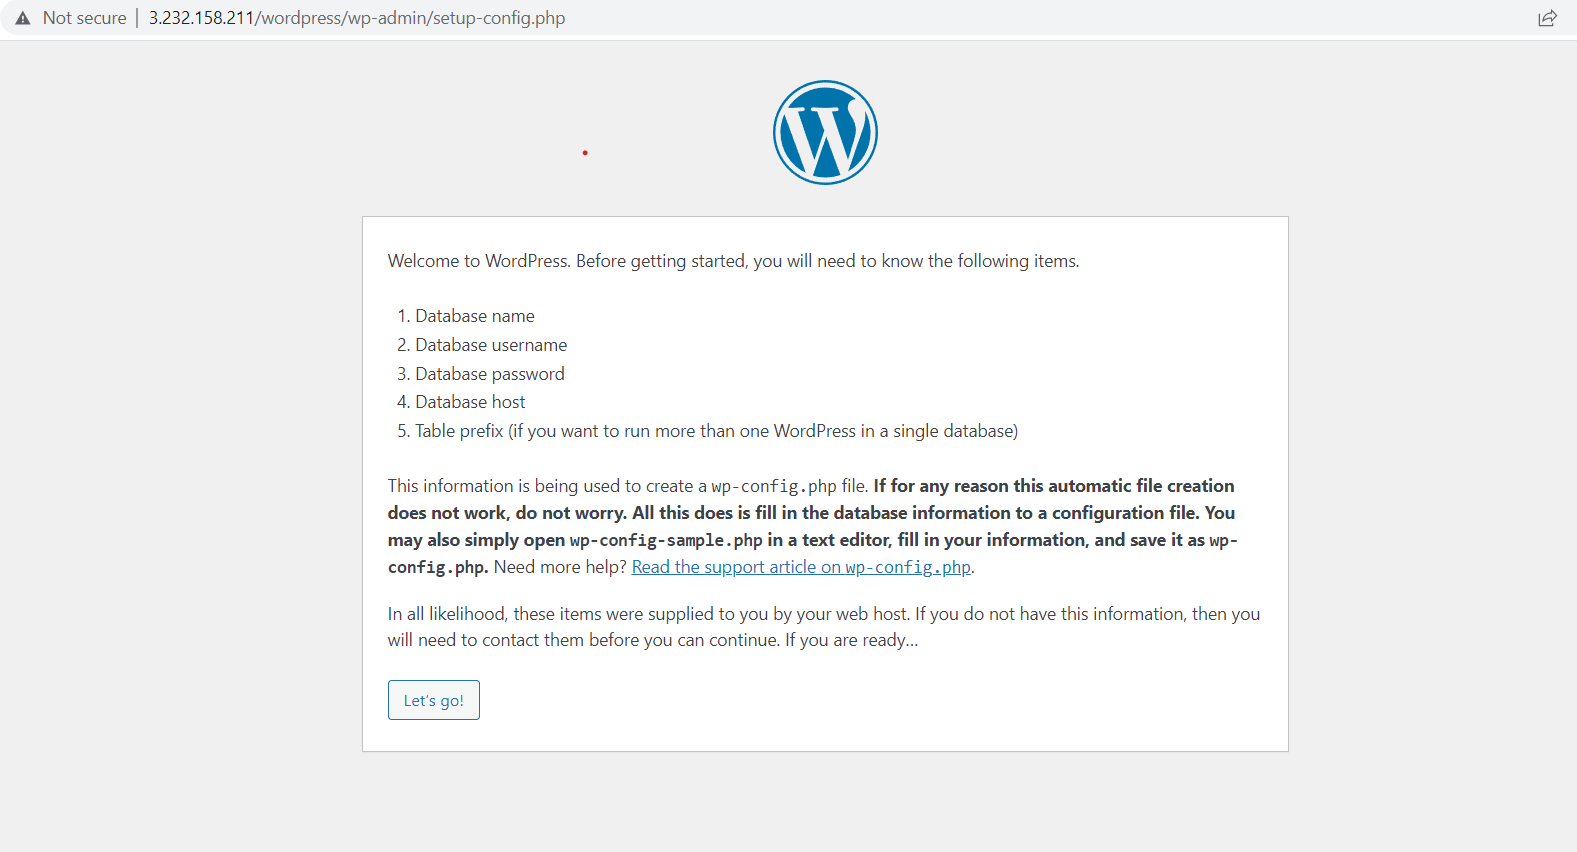
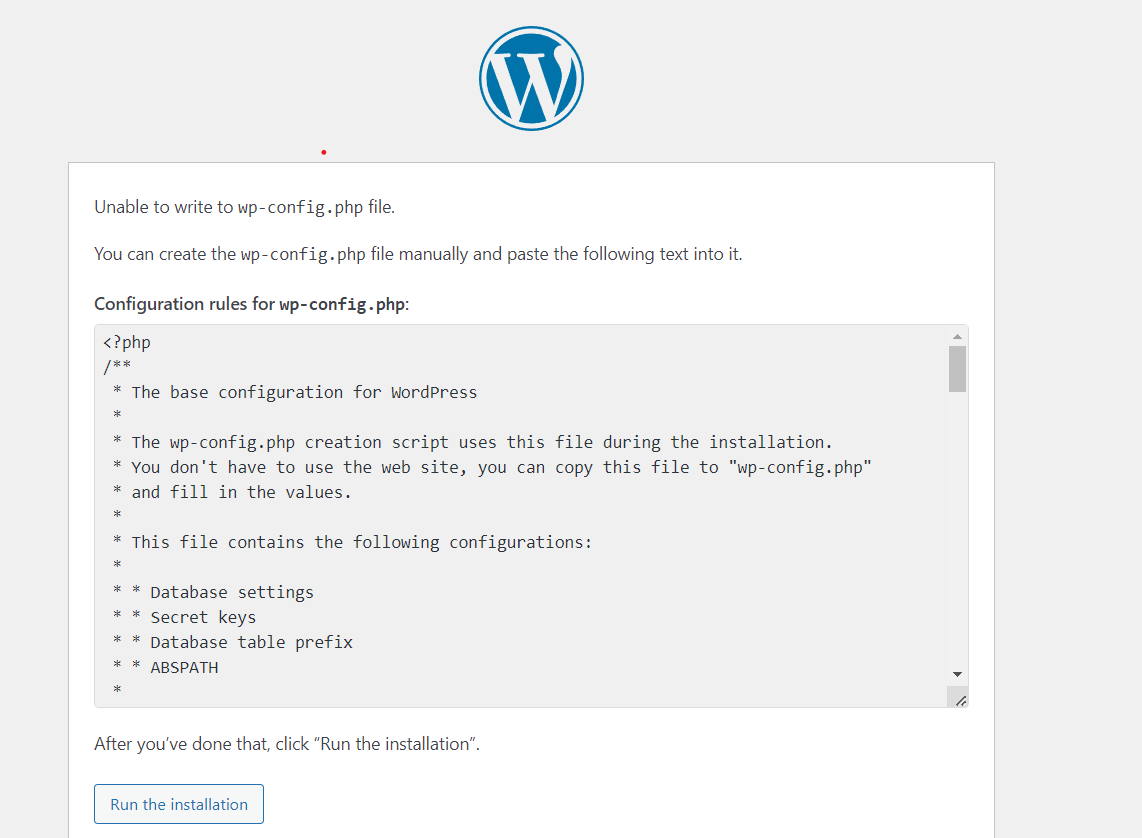
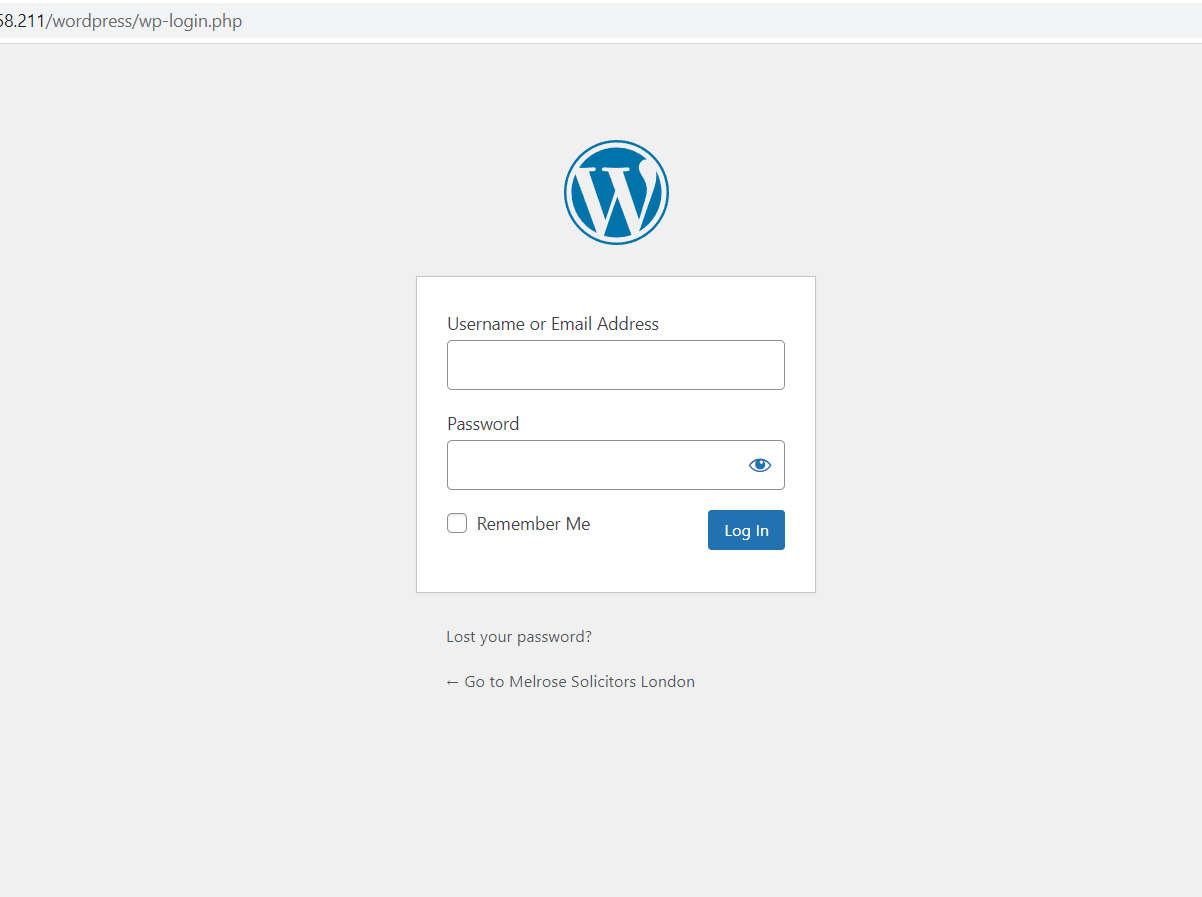
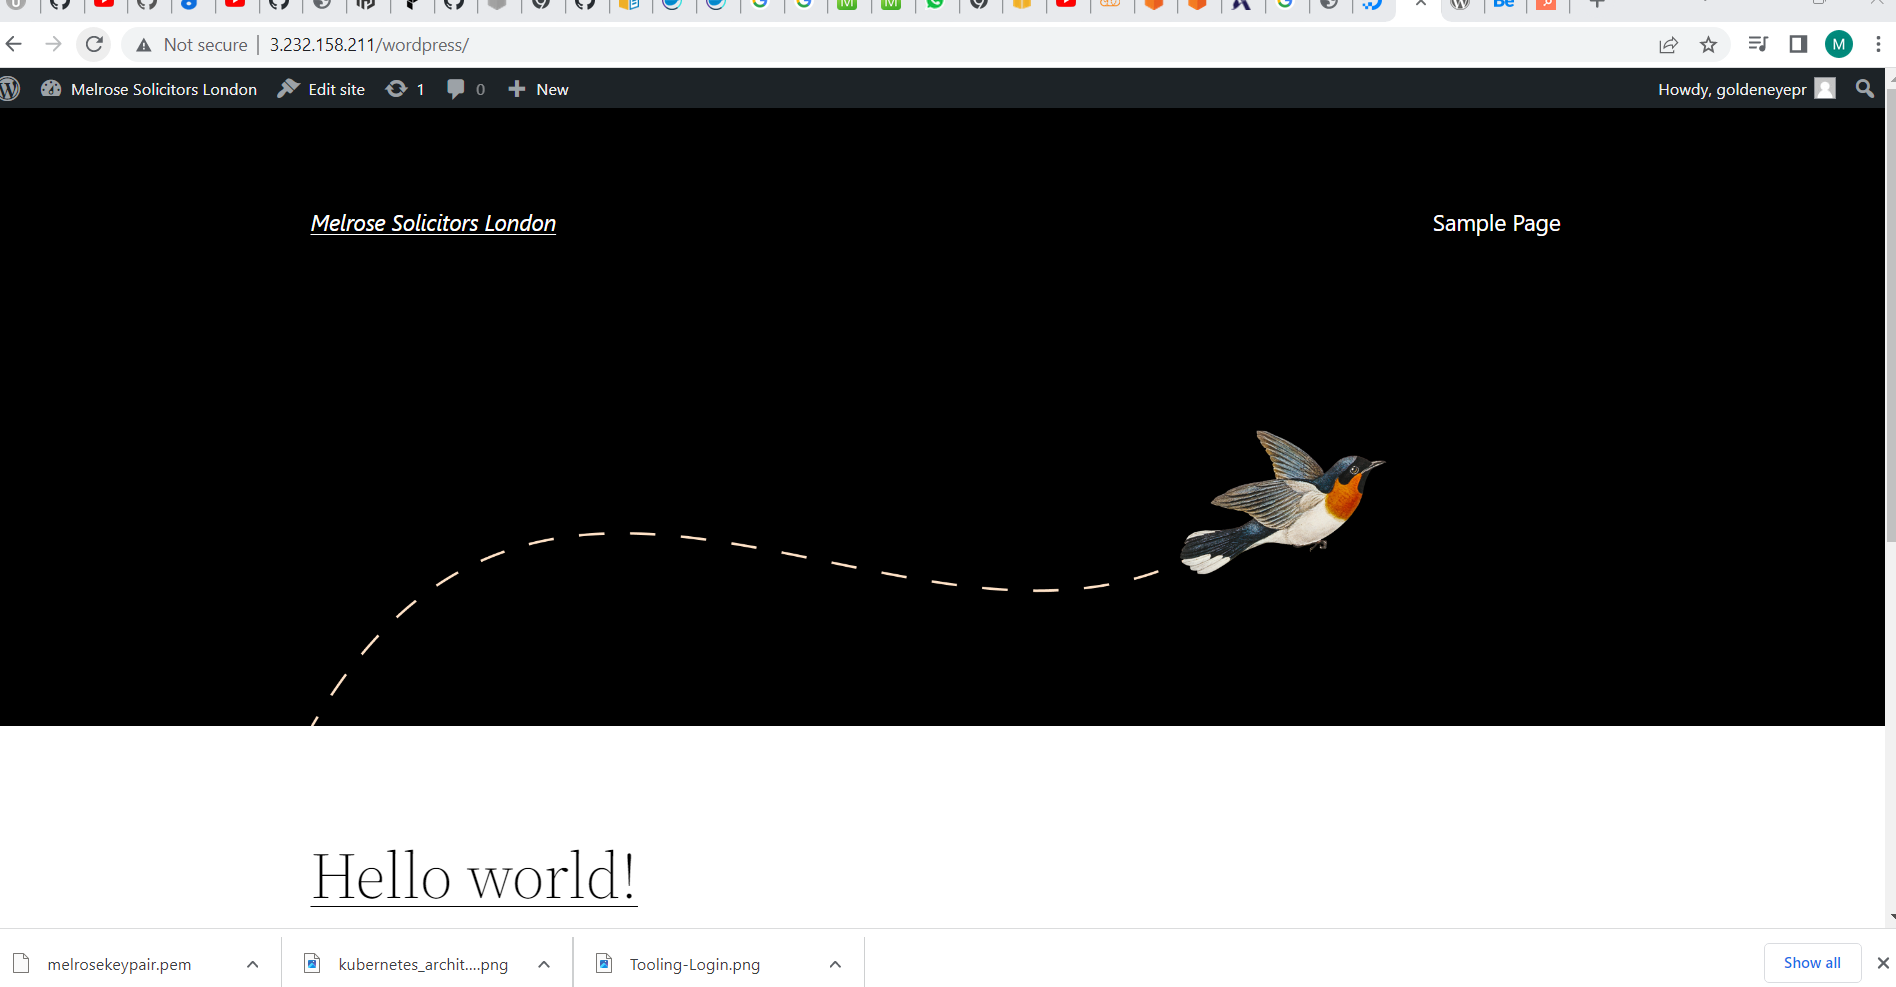
we can check out wordpress installation by going to ourelasticipaddress/wordpress in our browser
http://ourelasticipaddress/wordpress
