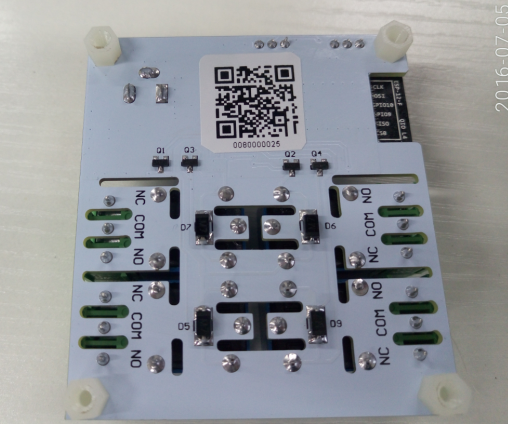
LinkNode R4 is an open source 4-Channel relay controller which is powered by the ESP8266 WiFi SoC.

The following will introduce how to use Android APP to control the LinkNode R4.
- Download the APK file from the github and install it.
- if your equipment is iphone/ipad,you can get the app form appstore and name is "LinkNode Relay".
- iOS App download link :LinkNode Relay
- If you never register an account on LinkSpriteIO, please enter Email and your password, then click the SIGN IN button
- If you have an account on LinkSpriteIO, please enter Email and your password, then click the REGISTER button

- Click the plus icon on the upper right quarter to add a new LinkNode R4.

- Get the device information and register it to your account.


- Supply the power for LinkNodeR4, the LinkNode R4 will create a AP called LinkNodeAP
- Use your mobile phone to connect this AP
- Open a browser and enter the ip address 10.0.1.1 and you will see the following website:

- Click the button configure WiFi
- Select your WiFi AP which you want to connect and enter your wifi password.
- If connecting failed, you can go to the same website to configure it again.
- After that, LinkNode R4 will connect to Linksprite IO via the internet.
- control the button on the right side to turn on or off the relays, and you can click the relay's name to change it.

If you wipe the original firmware of LinkNode R4, you now need to restore the previous firmware, then follow the following steps can be restored.
- Download the LinkNode R4 code
- Compile the code,this step can be learn from LinkNodeD1
- Upload the code by Arduino IDE
Note: Apikey,deviceID and wifi message are written into the flash inside,if you want to erase the apikey and deviceID,you could change the code.but wifi message can't be erased!

- Open the Arduino IDE Serial Monitor,you will see "start to configure..."
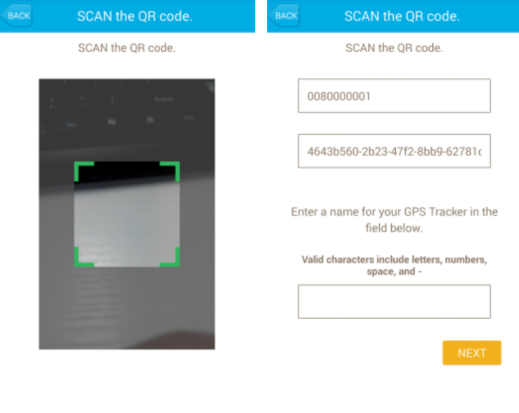
- Use your cell phone scan the qr,get the akikey and deviceID
- send the deviceID and apikey by Serial Monitor,when you see "Configuration is finished!",that's done
Note: Scan QR result is:C1:0080000xxxx,D1:xxxxxxxx-xxxx-xxxx-xxxxxxxxxxxx-xxxxxxxxxxxx,we just send:0080000xxxxxxxxxxxx-xxxx-xxxx-xxxxxxxxxxxx-xxxxxxxxxxxx,no space.
