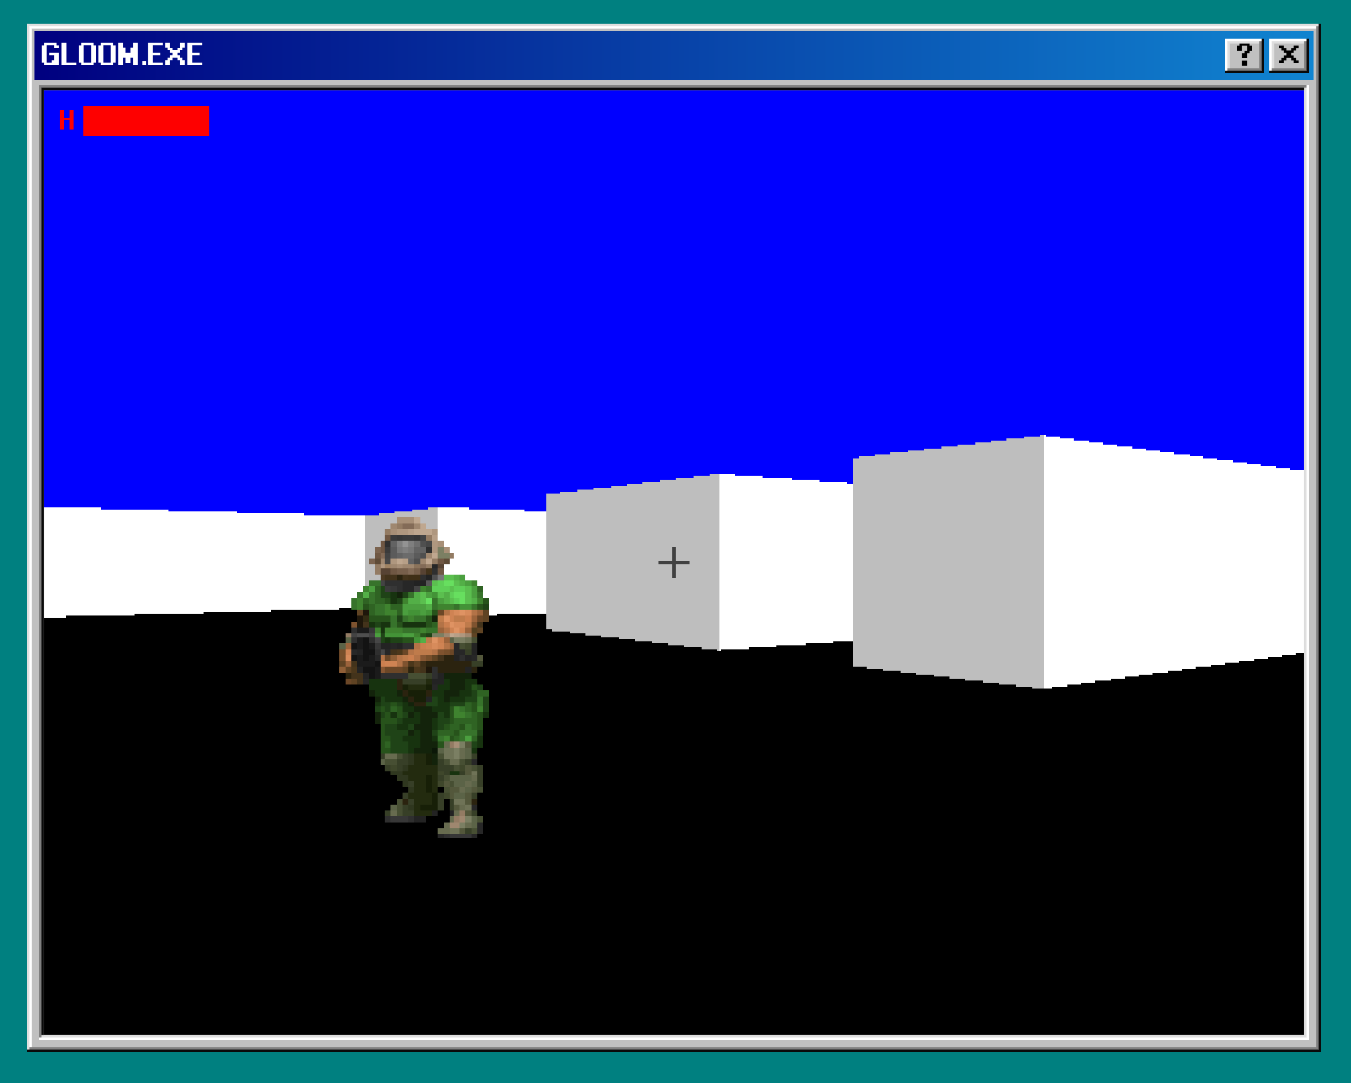
- Player textures: Marine from DOOM & DOOM II by id Software
- Bullet texture: Enemy Bullets by Wahib Yousaf (link)
- In game font: ZAP by John Zaitseff (link)
- UI style: 98.css by Jordan Scales (@jdan) (link)
- UI font: Microsoft Sans-Serif by Microsoft
- UI icons: Windows 98 Icons by Microsoft
Other projects that helped me:
- grecha.js by Alexey Kutepov (@rexim) (link), the inspiration for
reactive.js - Windows 98 Icon Viewer by Alex Meub (link), a great website for quickly previewing all of Windows 98's icons
- Lode's Computer Graphics Tutorial by Lode Vandevenne (link), a wonderful resource about raycasters and how to make them
When you visit the website without a valid session, you will see a prompt asking you to login.
If you don't have an account, you can close the window (by clicking the X button) or click on the help button (?), and click
"I want to create an account" on the help window.
Once you're on the registration page, you will need to choose a username and a password. To view the password and username requirements, click on the help button in the window title bar.
Once you're logged in, you will see a window with two options.
Clicking on Create, will tell the game server to instantiate a game. Once the game is ready, its ID will be displayed under
Your game. You can copy this ID and share it with your friends to play together.
To join a game, you have to enter the correct ID in the text-box (or leave it empty if you want to join the game you've just created),
and then click on the Join button.
In the menu you can adjust your render distance and FOV to your liking. Do note that you can also do this while you're in game.
When you are ready to go, click on > ready and you will join the game world.
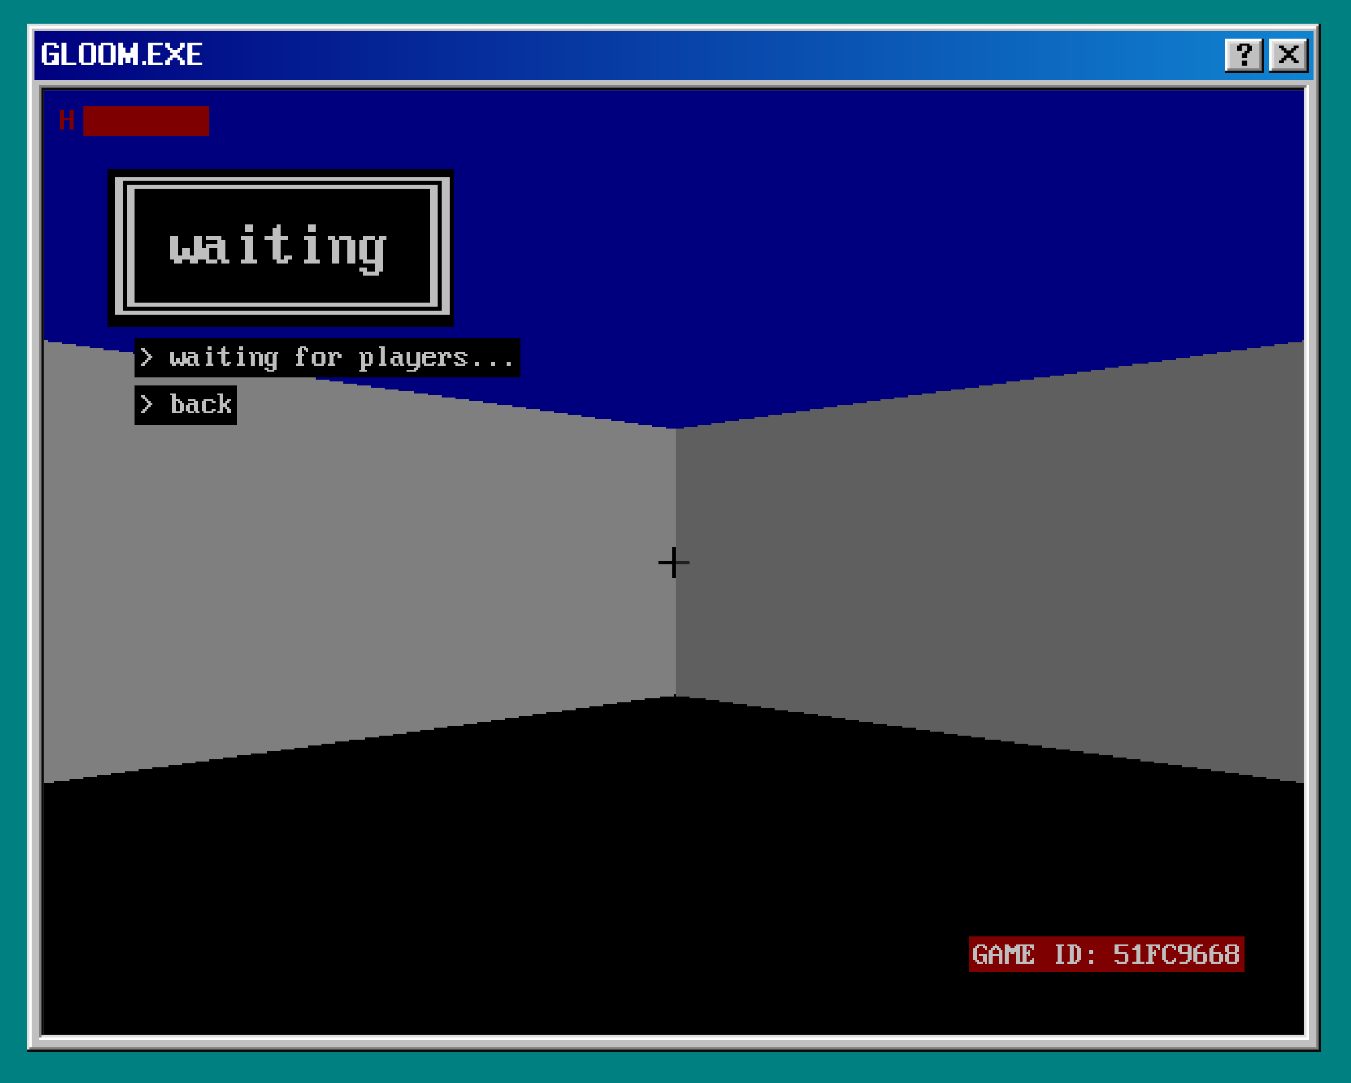
Once there are at least two players in the game, a countdown will start, at the end of which the players will be allowed to move.
If you need any help with the controls, click on the help button in window title bar.
The project has the following structure:
DockerfileThis file describes the Docker environment necessary to build the client and the server.docker-compose.ymlThis file is a working (and production ready)docker-composefile to quickly setup and host the server.package.jsonNPM project file.scriptsAll the scripts needed to build the project.toolsExtra scripts that are used to generate source files at build-time.
staticContains the files that the HTTP server will serve to the client.cssStylesheet and font files.htmlHTML files.jsJavaScript and WASM files.imgImages used by the UI.
resResources for the WASM game, such as textures and map data.srcAll the source files.clientSource code for the frontend (JavaScript).wasmSource code for the game (C)
serverSource code for the HTTP and game server (TypeScript)
To host the server you will need the Docker installed and configured on your system. The first step is to clone this repository:
git clone https://github.com/markx86/gloom.gitIf you have setup SSH access to GitHub, it is recommended you use that:
git clone git@github.com:markx86/gloom.gitAfter cloning the repository, enter the project root with cd gloom and run:
Note
Before running this command you might want to check out the configuration section.
docker compose up --build -dImportant
If you do not wish to run the server as a daemon, use
docker compose up --buildinstead. Do note that pressing Ctrl+C or closing the terminal
will also close the server.
This will take a while (up to 5 minutes or more, depending on your internet connection).
After the server is up and running you can connect to it locally, by going to http://localhost:8080,
assuming you are using the same machine the server is being hosted on.
If you have any problems, you can check the server logs by using the command:
docker compose logs -fThe server accepts the following environment variables:
LOG_VERBOSE: Enables/Disables verbose logging. Set to1to enable. By default, it's disabled.DATABASE: Path to the database file. This a SQLite3 database path, therefore things like:memory:will also work. It is set to:memory:by default, but the provideddocker-composefile will create a volume and store the database there.COOKIE_SECRET: The secret key used to sign the cookies. If it's not set, the server will generate a random one each time it is started.HTTP_PORT: Controls the port on which the HTTP server should listen for incoming requests. By default, it's set to 8080.- 'WSS_PORT': Controls the port on which the WebSocket server should listen for incoming connections. By default, it's set to 8492.
Important
If you're using docker-compose, you can change COOKIE_SECRET and LOG_VERBOSE, by creating a .env file in the project root,
and writing your values there, in the form PARAM_NAME=param_value. For example COOKIE_SECRET=mySuperSecret1234.


