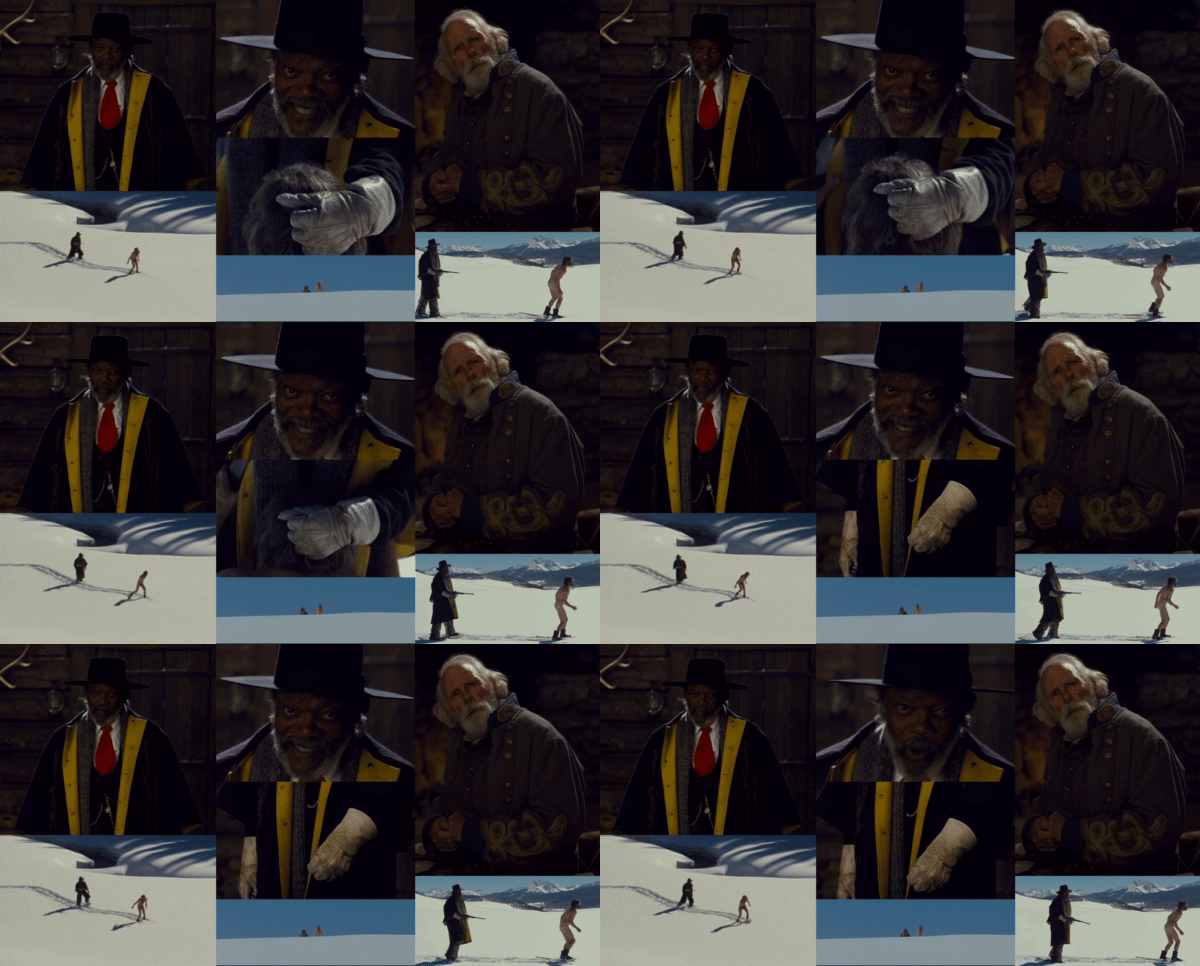
GriddedMosaic
Makes packed video mosaics and tries to find the layout with the lowest relative image resizing.
Installation
Requires Python 3 with cv2+numpy along with ffmpeg and mpv being installed on the system.
- For Python 3 https://www.python.org/
- For Ffmpeg https://ffmpeg.org/
- For numpy and cv2 once python is installed
pip install numpy opencv-python
Usage
Grid creation happens in multiple stages stages:
Additon of video clips and parameter input
One or more video files or folders full of video files are passed to makeGrid.py on the command line, or multiple video files can be dropped directly onto makeGrid.py, the user will them be prompted to input:
- outputFormat?[webm,hqwebm](enter for hqwebm as default)>
webmorhqwebmboth .webm outputs but thewebmoption limits the file size to 4M - banner?(enter for blank as default)> Infomational text to be displayed at the bottom right of the grid on playback, this may be left blank
- filename?(enter for timestamp as default)> Output filename prefix, this can be left blank and a filename prefix will not be used.
- targetDuration(enter for 60s as default)> The number of seconds the output video grid is to last, enter to use the default of 60s.
- postMoveScrollBack(enter for 1s as default)> If you choose to cut the input videos this is the number of seconds prior to the scection end the playback will start from when the cut window is moved, enter to use the default of 1 second.
- maxPerGrid(enter for 7 as default)> Maximum number of images to use in the initial grid creation run.
Optional cut selection
After the parameters are set you will be prompted with: Select cuts in interactively in mpv? ('y' to cut in mpv, anything else to use clips as input)*
If you select n then the cutting step will be skipped using the full clips as input.
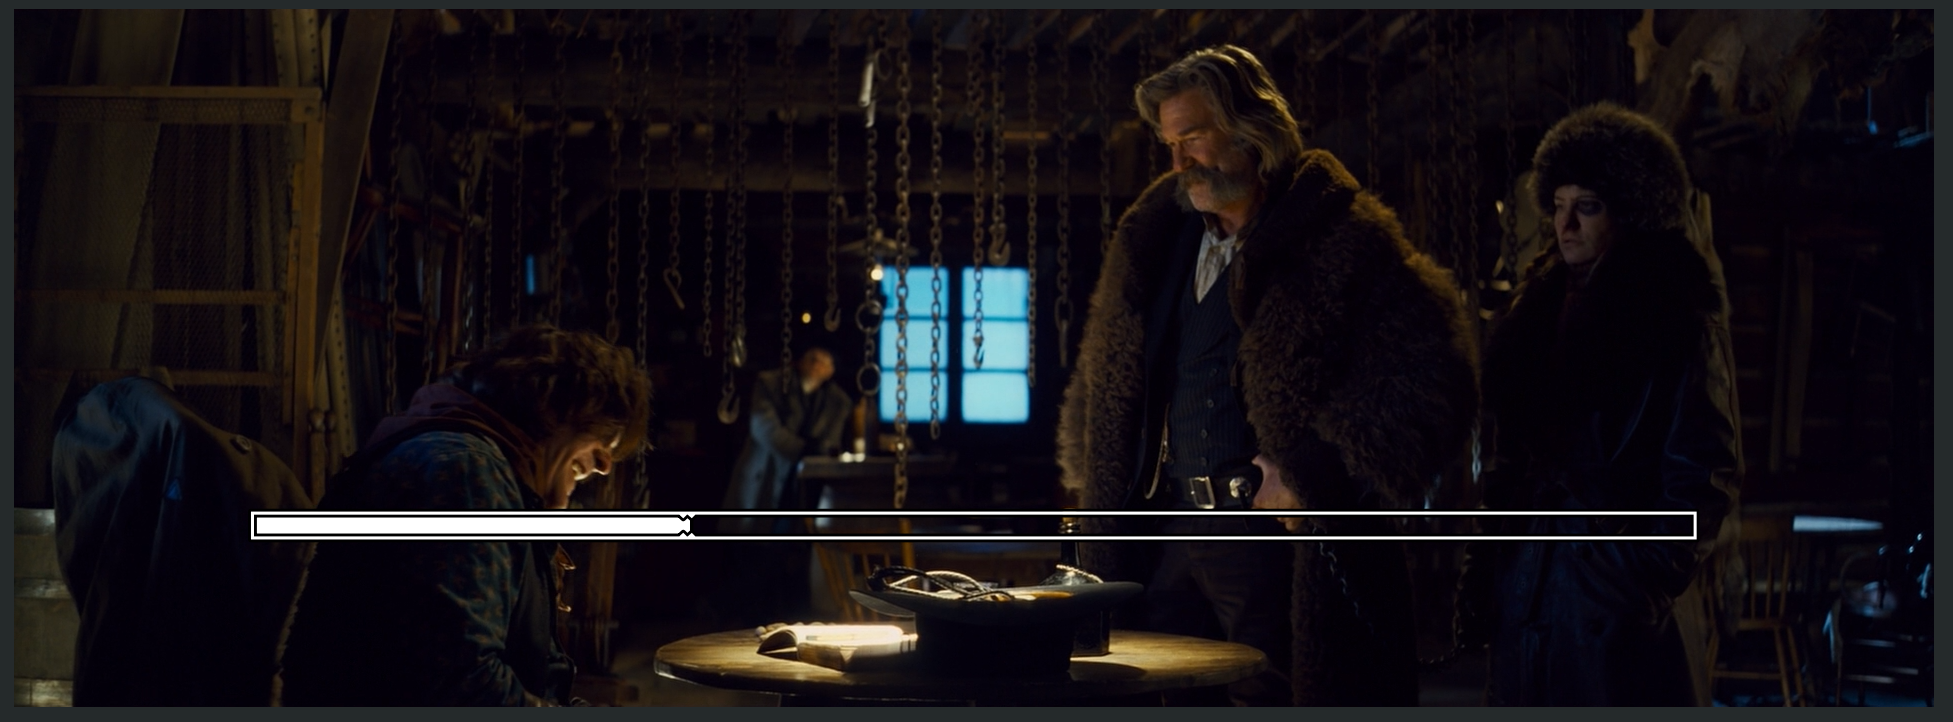
If you select 'y' an mpv player instance will be started with an initial loop window between 0 and targetDuration seconds, you can control the time window selected with the keys:
d,D,w,W= Move window fowards in increasingly large increments.a,A,s,S= Move window backwards in increasingly large increments.
After the time window is moved backwards and forwards in the clip it will skip to postMoveScrollBack prior to the end of the time window, when playback reaches the end of the time window it will loop back around to the start of the time window, playback will initially be sped up to play the entire time window once every four seconds pressing BACKSPACE will reset it to 1x speed.
When the time window is at the position you wish to clip:
y= Commit current time window and reset to choose another. to add the time window to the grid output.
Additonally you can press c to crop the video, press c to start cropping and then use the mouse to select two corners of the intended crop, press c again to remove the crop.
Finally:
q= Skip to next video.h= End cutting process.
Layout viewing and selection
After all of the sections are selected, processing will take place to cut and crop the selected video regions, after that is complete a selection of possible grid packings your your videos will be generated and displayed to you in a new window:
The 'layout plan' peview window will show you all possible arrangement of your input videos, they are ordered starting with the layouts that cause the input images to be enlarged or shrunk the least up towards the layouts that require the greatest image resizing.
You can flip through the layout options with the a and d keys, when you see a layout you'd like to queue for output press y, you can select multiple layouts to be encoded to output videos before finally pressing q to quit the plan browser and start encoding.
Encoding
If at least one layout was selected it will be encoded as an output video in the same directory as makeGrid.py, after all videos have been encoded the layout calculations will be run again, this time for maxPerGrid+1 videos included in the grid, to exit the program finally without requesting further output to be encoded press e.


