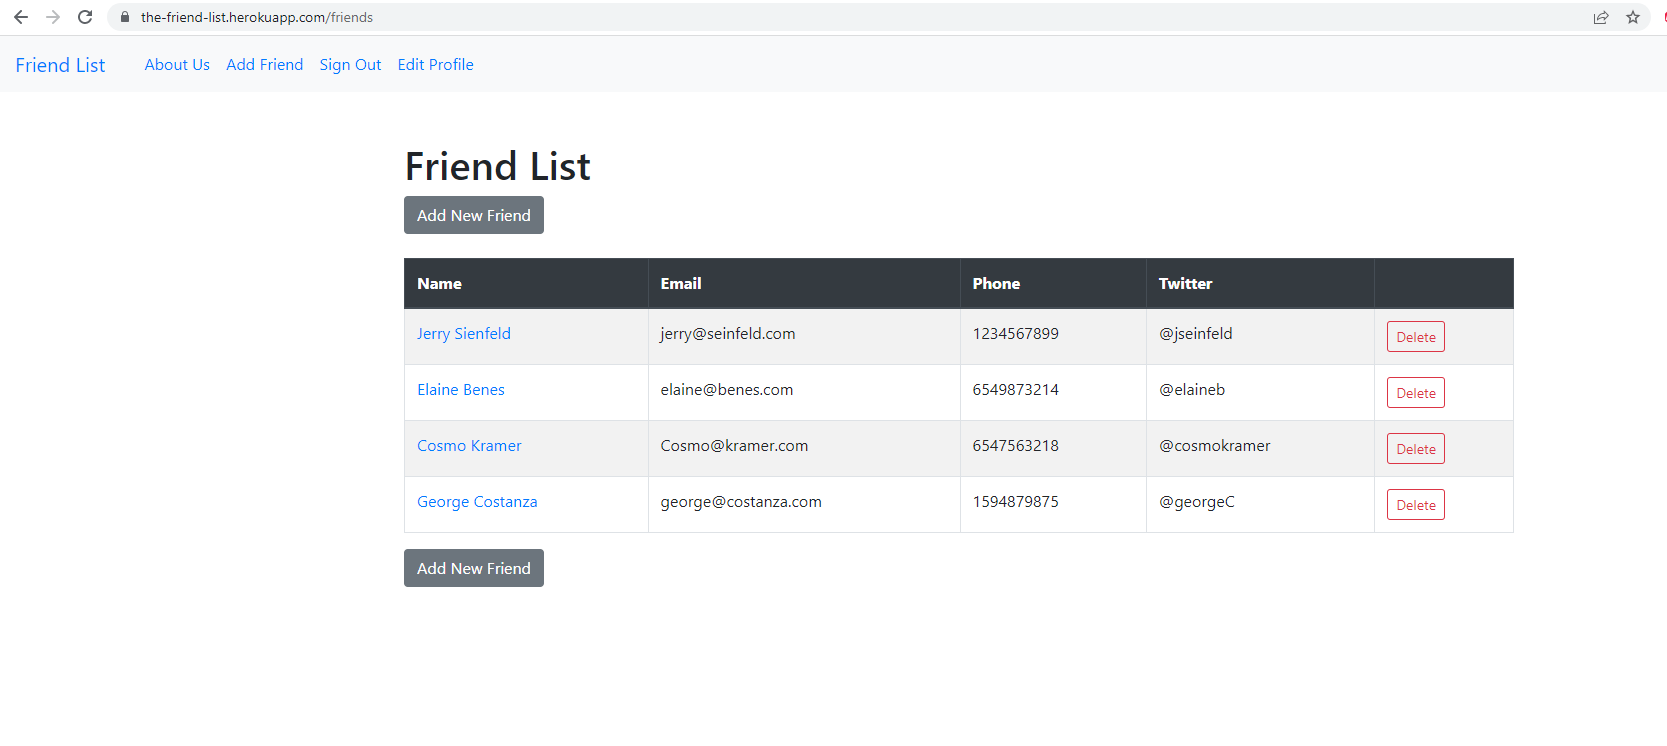
Friends List - A Ruby On Rails MVC CRUD app with authentication utilizing PostgreSQL and hosted on Heroku
Hosted on: https://the-friend-list.herokuapp.com/
For this app I mostly followed a great tutorial by John Elder at https://www.youtube.com/watch?v=fmyvWz5TUWg. The initial focus is on installing the Ruby environment and then setting up a Ruby on Rails MVC app that uses a database. The tutorial goes into the MVC components and shows how they are used in Ruby on Rails as well as different databases (ex: sqlite for development, postgresql for production). Devise is used for authentication so that each user can have access to only the associated friends list.
Process to create this project:
-
Install latest LTS version of Node.js
-
Install Yarn
-
Install Git-Bash
-
Install Sublime Text Editor
-
Install Windows Ruby 2.3 (railsinstaller.org - even though ruby is outdated - installs dependencies)
-
Install Ruby (rubyinstaller.org) (upgrades from ruby to 3+ from rails installer)
-
gitbash (ex: ruby -v) will show updated versions, however, rails will not be found
-
In gitbash type: gem install rails (this updates rails) (everything in ruby is gem based. It is a package (similar to pip in python)
-
mkdir /c/railsfriends (creates new dir)
-
rails new friends (creates new project)
-
ls (should show friends directory)
-
cd friends/ (should now show 'main' or 'master'
-
Open up Sublime text editor
-
Go to Project
-
Go to Add Folder To Project
-
Select c:/railsfriends/friends
-
In Gitbash type: rails s (s stands for server)
-
Go to http://localhost:3000/
-
In another gitbash terminal : rails generate controller home index (or: rails g)
note: ex: create link: <%=link_to 'Friend List', root_path, class:"navbar-brand" %> config/routes.rb root 'home#index' friends/app/controllers - def index end
note: rails routes (shows all the routes in the app)
CREATE DB:
- rails g scaffold friends first_name:string last_name:string email:string phone:string twitter:string (generates a scaffold/database table)
- rails db:migrate (creates schema - creates db from migration)
Install Gems or Gem Devise
-
To install gem:add line to gem file
-
Terminal: bundle install
-
but...For Devise it's a little more complicated (instructions on homepage/github):
-
add to gem file
-
bundle install (installs items in gem file - much like requirements.txt in python)
-
rails generate devise:install (follow instructions -ex: copy items to file,
-
rails g devise:views,
-
rails generate devise user (creates db for user authentication info),
-
rails db:migrate (creates schema - creates db from migration)
https://github.com/heartcombo/devise https://rubygems.org/gems/devise
Add authentication links to app/views/home/_header.html.erb * add conditional depending on if signed in: <% if user_signed_in? %>
- if sign out isn't working: change 'config/initializers/devise.rb' the line config.sign_out_via = :delete to config.sign_out_via = :get, but don't change the link_to ... method: :delete
Rails associations Associate a user table with a specific friends list https://guides.rubyonrails.org/association_basics.html
*In app/models/friend.rb add:
	belongs_to :user
	inside class Friend

*In app/models/user.rb add:
	has_many :friends
	to class User

*In Bash type: rails generate migration add_user_id_to_friends user_id:integer:index (this creates the relationship between friends and user)

*rails db:migrate

* Add a hidden field to the new friend page to associate that friend with the current user upon creation:

<%= form.number_field :user_id, id: :friend_user_id, value:current_user.id, type: :hidden %>

* Must also update app/controllers/friends_controller.rb in put parameter to now accept user_id on the creation of a new friend. Change
 def friend_params
 	params.require(:friend).permit(:first_name, :last_name, :email, :phone, :twitter)
 to
  params.require(:friend).permit(:first_name, :last_name, :email, :phone, :twitter, :user_id)


 *In app/controllers/friends_controller.rb add:
 	before_action :authenticate_user!, except: [:index, :show]
 	before_action runs before any other methods in the controller.
 	This code means that if a user is not authenticated -- don't allow anything except to see the index page and show page.

 *In app/controllers/friends_controller.rb add:
   before_action :correct_user, only: [:edit, :update, :destroy]
   		(make sure it is the correct user only for edit, update, destroy)

   and add def correct_user

    def correct_user
    	@friend = current_user.friends.find_by(id: params[:id])
    	redirect_to friends_path, notice: "Not Authorized to Edit This Friend" if @friend.nil?
  	end
  		(i.e. the correct_user is the current_user who's been associated with the id. If the correct_user is not correct -- send error message)


  	and change def new line

  	def new
		# @friend = Friend.new
		@friend = current_user.friends.build
	end
		(don't want Friend.new we want the current user to be associated)

	and change def create line

	def create
	    # @friend = Friend.new(friend_params)
	    @friend = current_user.friends.build(friend_params)

	*The above association code makes it so everyone can see all of the friends, but only the authorized user can edit/delete the associated friends.

	If want to only show associated friends  add
		<% if friend.user == current_user %>
		<% end %>
		to app/view/friends/index.html.erb
Change friends page to the home page * To change friends page to home page in friends/config/routes.rb change root 'home#index' to root 'friends#index' * Create <% if user_signed_in? %> <% else %> <% end %> in app/views/friends/index.html.erb
*Notes: when pulling from the database, you are dealing with @friends the whole db (ex: have to loop through on index page. ). On edit page we are pulling just one friend but labeling it @friend
Note on Controllers
def about
@about_me = "My name is d"
@answer = 2+2
end
Anything you want to pass into the view (api from another website, get request, instance variable) can be done through the controller. The instance variable @about_me will be accessible to the view. Instance variables have @ in front (@about_me) whereas (about_me) is just a local variable

Access the variable in the About view --> <p> <%= @answer %> </p>
Setting up Heroku Hosting
*in Gemfile move: gem "sqlite3", "> 1.4" to group :development do
*in Gemfile add:
*group :production do
*gem 'pg', '> 1.4', '>= 1.4.1'
*end
*bundle install --without production

*Sign up for a Heroku account
* Integrate github with heroku
	* https://devcenter.heroku.com/articles/github-integration
* Create Procfile (this automatically creates migration with each deployment) and add line:
	* release: rake db:migrate
