- The Challenge
- Build a Search engine
- Essential features which were expected
- Be deployed on a server
- Should get the results from different (independent sources like Job Portals, Candidate Sourcing Tools)
- Should display the search results in structured format and be relevant as per the requirements given in the JDs
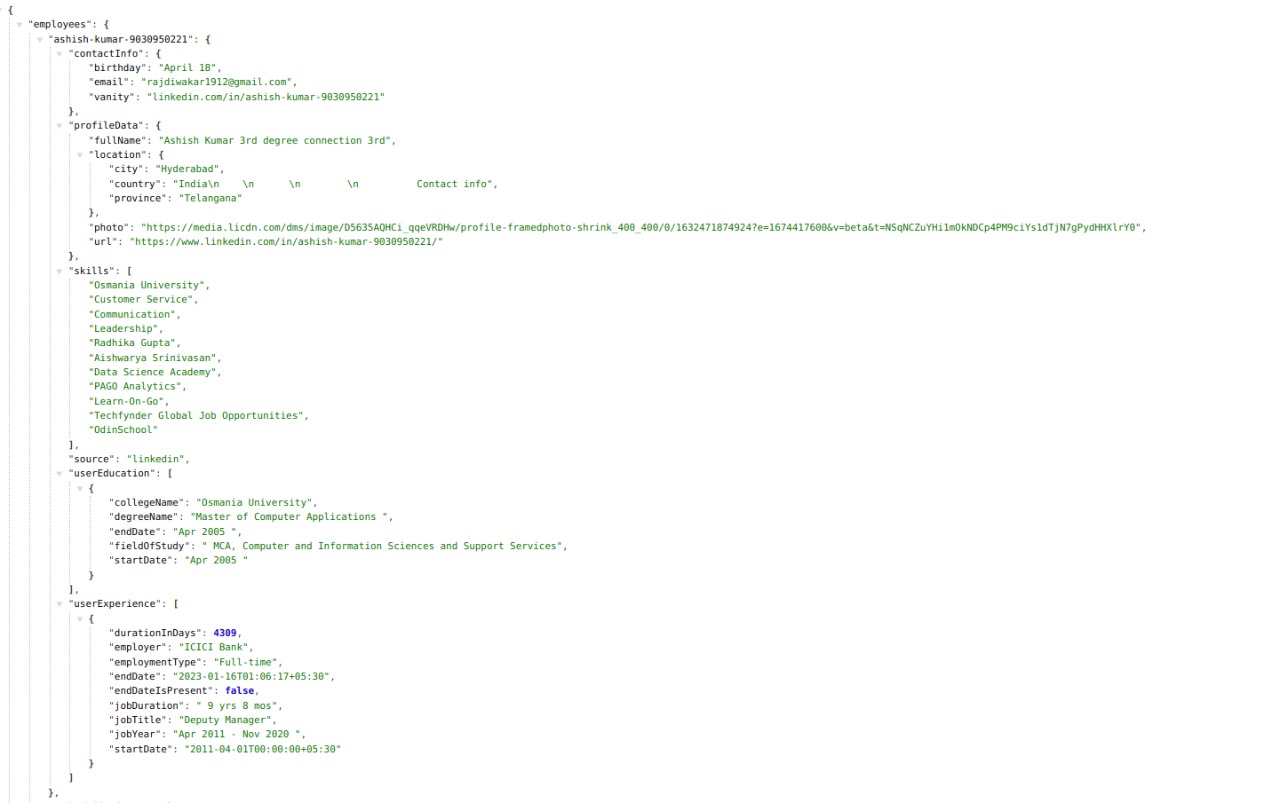
- Should display minimum 6 key highlights of the person’s profile
- Name (first and last)
- Location (city and country)
- Designation
- Current Company
- Detailed View of the Problem Statement can be found here
- Puppeteer is a Node.js library that provides a high-level API to control Chromium or Chrome over the DevTools Protocol.
- Scrapped the candidate profile based on tags such as “open to work” and keywords from the job description.
- We used cosine similarity text matching technique to obtain a relevancy score of a particular profile at a specific job description.
- We preferred this method because of its efficiency in catching the semantics of each text, the direction the text points can be thought of as its meaning, so texts with similar purposes will be similar.
- We used
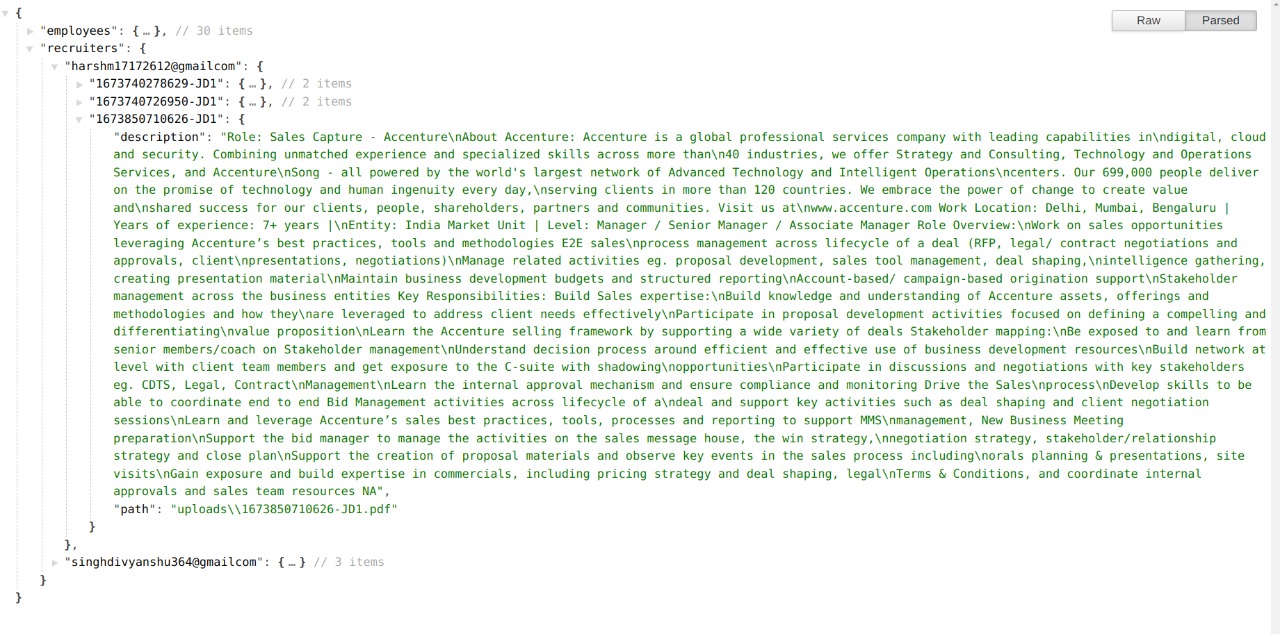
pdfjs-distlibrary, a web standards-based platform for parsing and rendering PDFs, to obtain the text from the job description. - The unique keywords from all the uploaded JDs are then used to scrape data from the sources.
- We used
RAKE(Rapid Automatic Keyword Extraction algorithm), a domain independent keyword extraction algorithm which tries to determine key phrases in a body of text by analyzing the frequency of word appearance and its co-occurance with other words in the text.
We have developed Three microservices -
- Node backend
- Node + puppeteer backend for scraping websites
- A Flask API that checks for candidate relevancy with the job description. The front end is created in React.js and Material UI. We created a very flexible and versatile foundation for our codebase, so that in future its functionality could be easily extended and new agents could be easily added into it.
- Login/Signup
- Users can login/signup via Google Sign in or email.
-
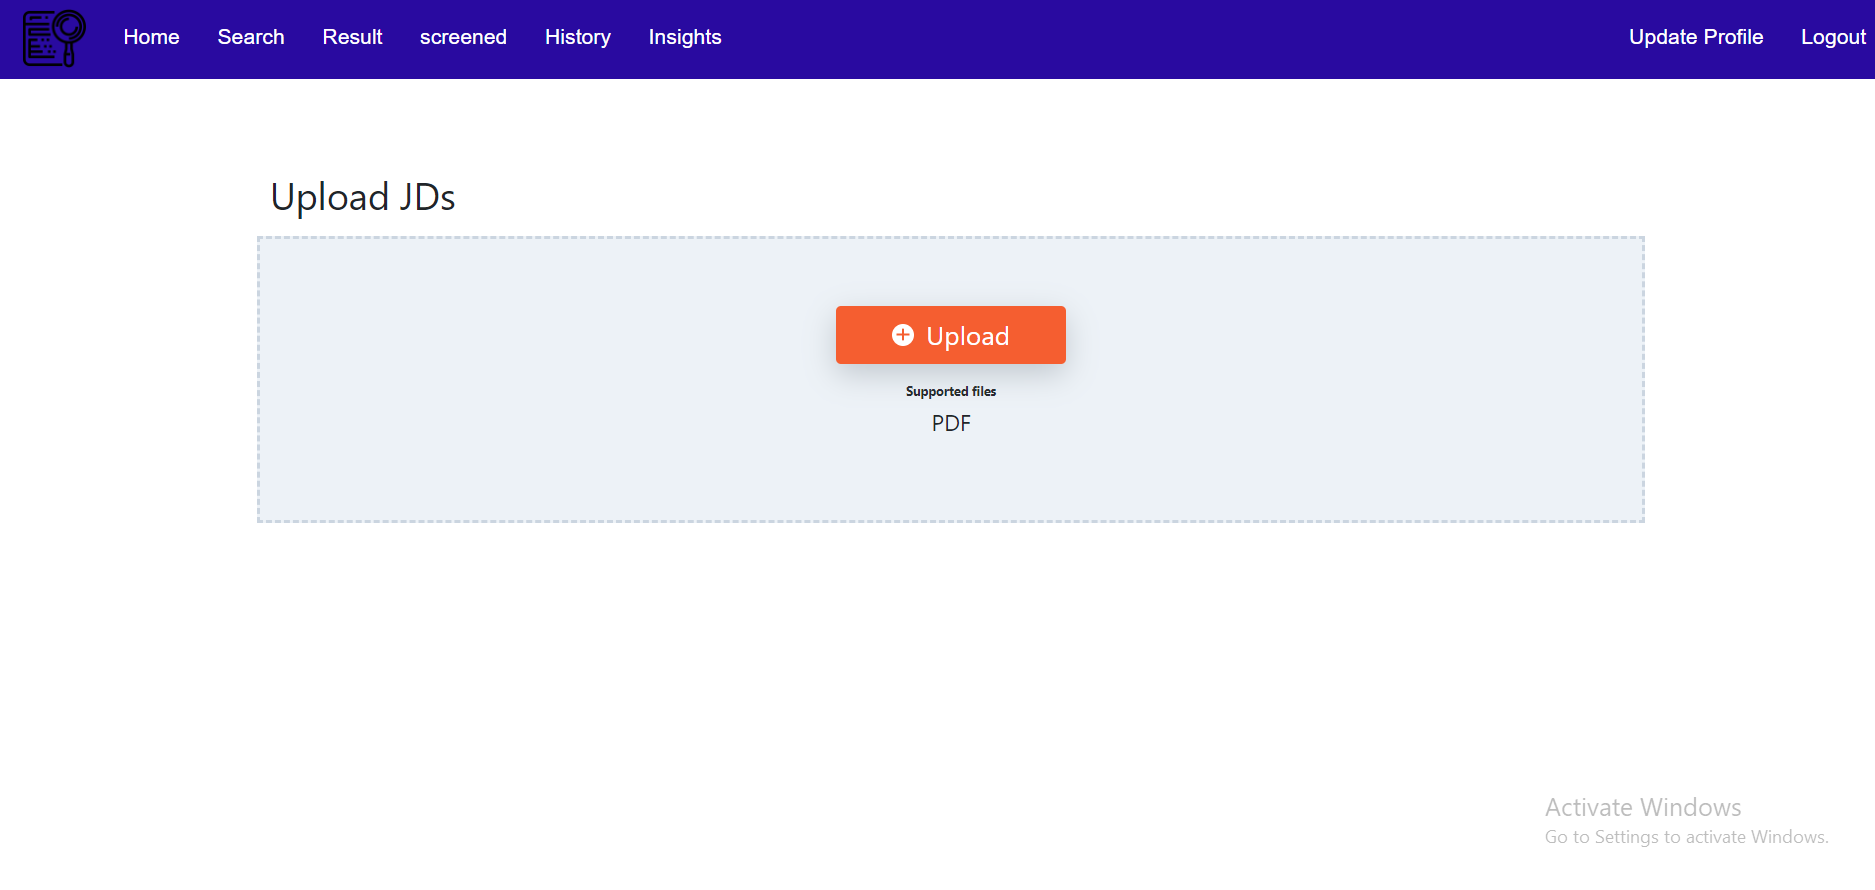
Search
- Recruiter can upload and delete multiple JD .
- JD format should be pdf only.
-
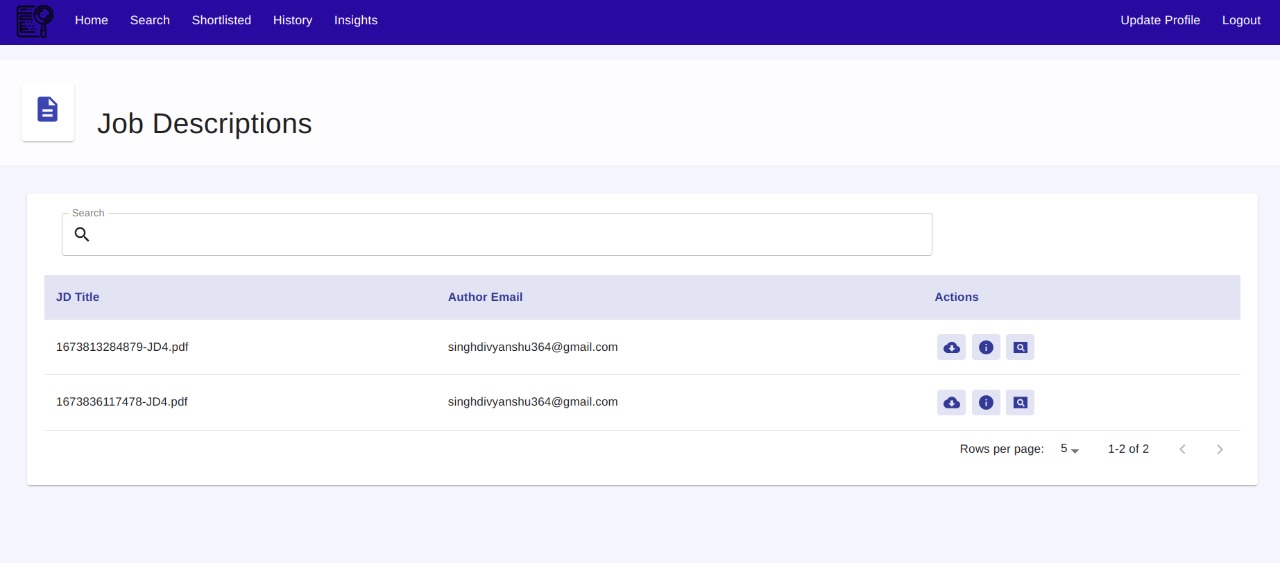
History
- Recruiter can view description of all the previously uploaded JD.
- Recruiter can rescan any previously uploaded JD.
- Recruiter can download any previously uploaded JD
- Recruiter can view all the condidates satisfying specific JD.
- Recruiter can send mail to any candidate.
- Recruiter can search and sort candidates on the basis of relevance score.
- Recruiter can also view the source of information for every candidate.
- Recruiter can view the shortlisted candidates corresponding to specific JDs.
- Recruiter can update the status of the candidate's application.
- Recruiter can mail any of the shortlisted candidates.
- User can get idea about top demanding skills.
- Functionality for recruiter to select candidates, add status such as Accepted, Rejected and Ongoing.
- Functionality for recuiter to view shortlisted condidates.
- Addition of multiple sources to get condidates.
- Use of advanced algorithm like semantic-based algorithms, machine learning-based algorithms, and statistical model-based algorithms for keyword extraction from JD.
- This repository consists of 2 directory
frontend,backend. - The
frontenddirectory the frontent code written in React. - The
backendcontainsbackend-node,backend-pythonandscraperdirectories which have webpages backend, relevancy checker, and scraper. - So, commit code to the corresponding services.
-
Fork the repo to your account.
-
Clone your forked repo to your local machine:
git clone https://github.com/divyanshu887/hireQ-2023.git (https)
or
git clone git@github.com:divyanshu887/hireQ-2023.git (ssh)
This will make a copy of the code to your local machine.
- Change directory to
hireQ-2023.
cd hireQ-2023
- Check the remote of your local repo by:
git remote -v
It should output the following:
origin  https://github.com/<username>/hireQ-2023.git (fetch)
origin  https://github.com/<username>/hireQ-2023.git (push)
or
origin	git@github.com:<username>/hireQ-2023.git (fetch)
origin	git@github.com:<username>/hireQ-2023.git (push)
Add upstream to remote:
git remote add upstream https://github.com/divyanshu887/hireQ-2023.git (https)
or
git remote add upstream git@github.com:divyanshu887/hireQ-2023.git (ssh)
Running git remote -v should then print the following:
origin  https://github.com/<username>/hireQ-2023.git (fetch)
origin  https://github.com/<username>/hireQ-2023.git (push)
upstream	https://github.com/divyanshu887/hireQ-2023.git (fetch)
upstream	https://github.com/divyanshu887/hireQ-2023.git (push)
or
origin	git@github.com:<username>/hireQ-2023.git (fetch)
origin	git@github.com:<username>/hireQ-2023.git (push)
upstream	git@github.com:divyanshu887/hireQ-2023.git (fetch)
upstream	git@github.com:divyanshu887/hireQ-2023.git (push)
- Download and Install Nodejs
- Run
cd .\backend\backend-nodeto go inside the Node.js server folder for Windows or Runcd backend/backend-nodeto go inside the Node.js server folder for Linux. - Run
npm installto install all the dependencies. - Create a new file named
.envand add the environment variables according to.env.samplefile. - Run
npm startto start the node backend server.
- Run
cd backend/backend-pythonto go inside the python server folder. - To create a virtual environment run
python3 -m venv flaskapp. - To activate the virtual environment run
source flaskapp/bin/activate. - To install the required dependencies run
pip install -r requirements.txt. - Finally, run
python3 app.pyto start the python backend server.
- Run
cd .\backend\backend-pythonto go inside the python server folder. - To create a virtual environment run
python -m venv flaskapp. - To activate the virtual environment run
.\flaskapp\Scripts\activate. - To install the required dependencies run
pip install -r requirements.txt. - Finally, run
python .\app.pyto start the python backend server.
- Run
cd .\backend\scraperto go inside the Node.js server folder for Windows or Runcd backend/scraperto go inside the Node.js server folder for Linux. - Run
npm installto install all the dependencies. - Create a new file named
.envand add the environment variables according to.env.samplefile. - Run
node index.jsto start the node-scrapper backend server.
- Run
cd frontendto go inside the frontend folder. - Run
npm installto install all the dependencies. - Create a new file named
.envand add the environment variables according to.env.samplefile. - Run
npm startto start the frontend backend server.
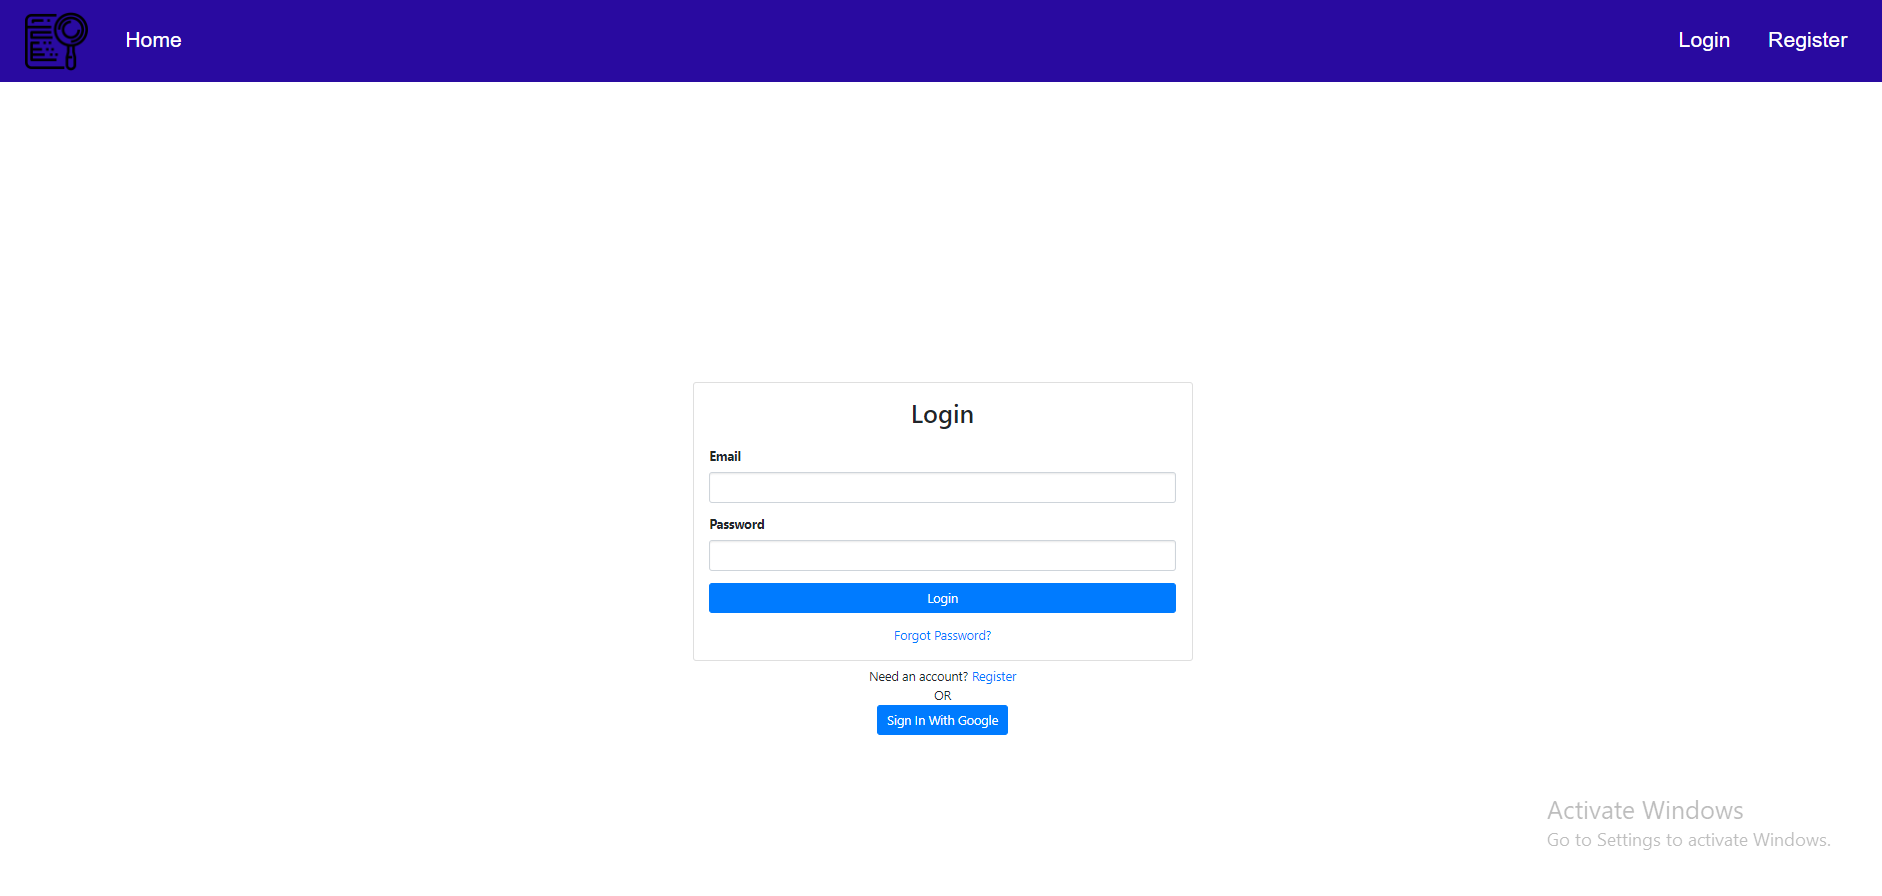 Login Page Login Page |
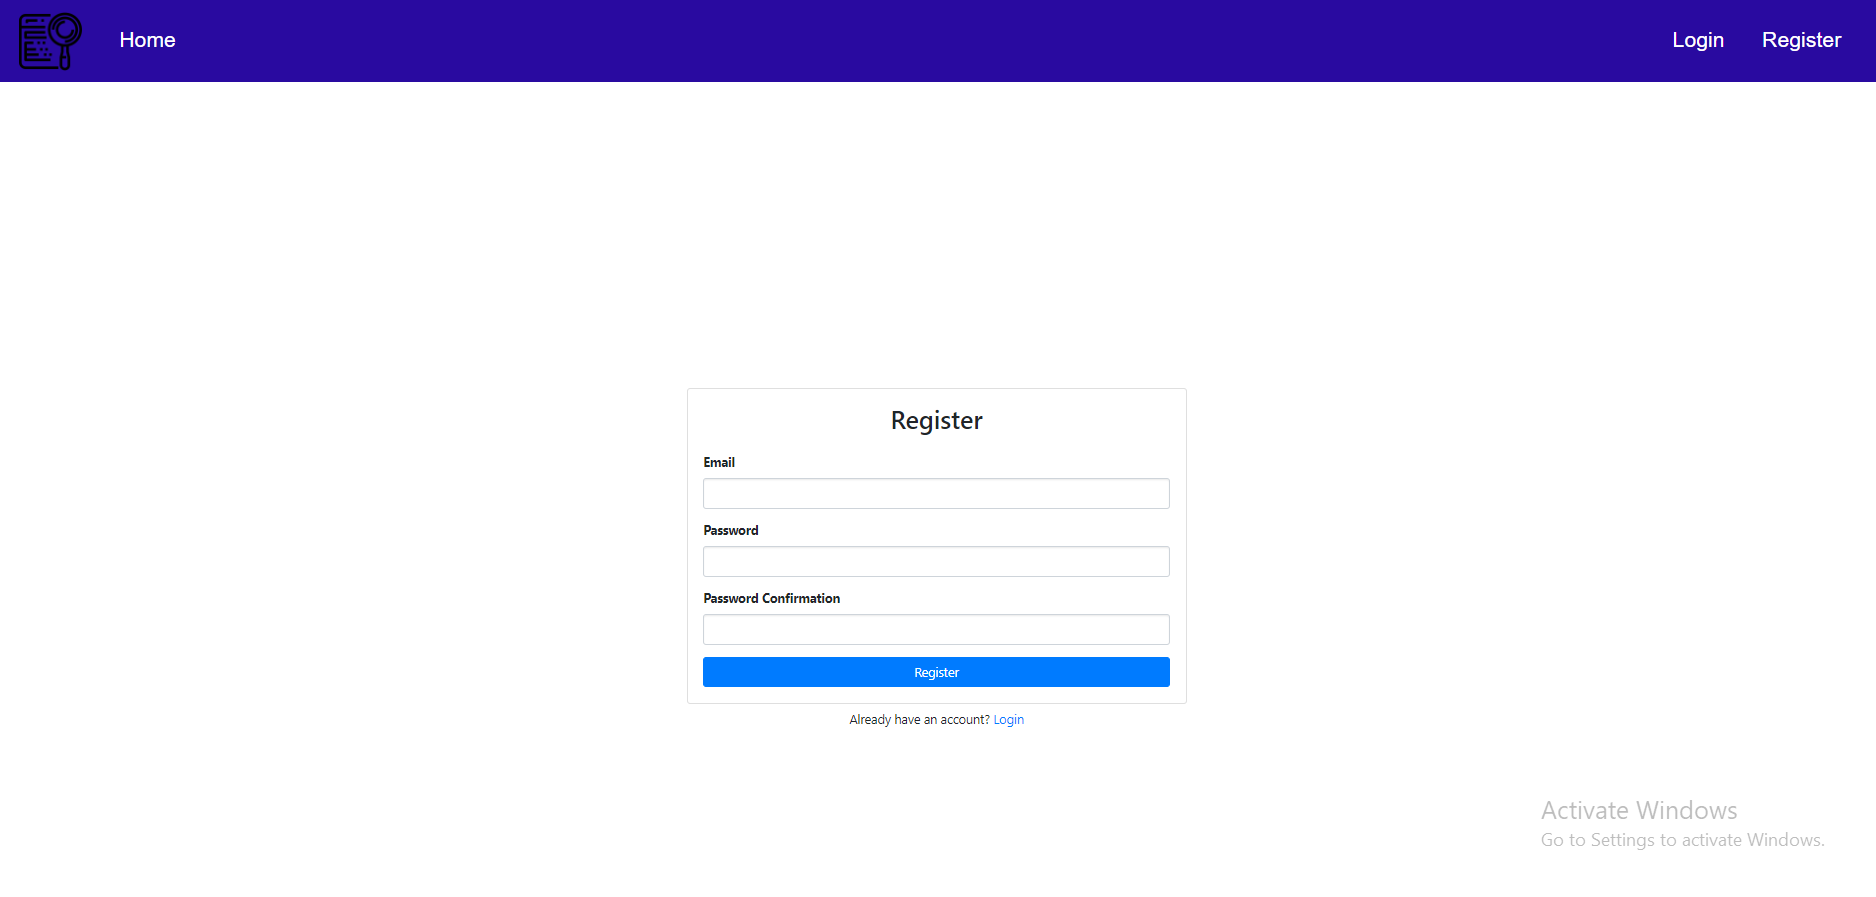 Register Register |
 Homepage Homepage |
 Search Search |
 History History |
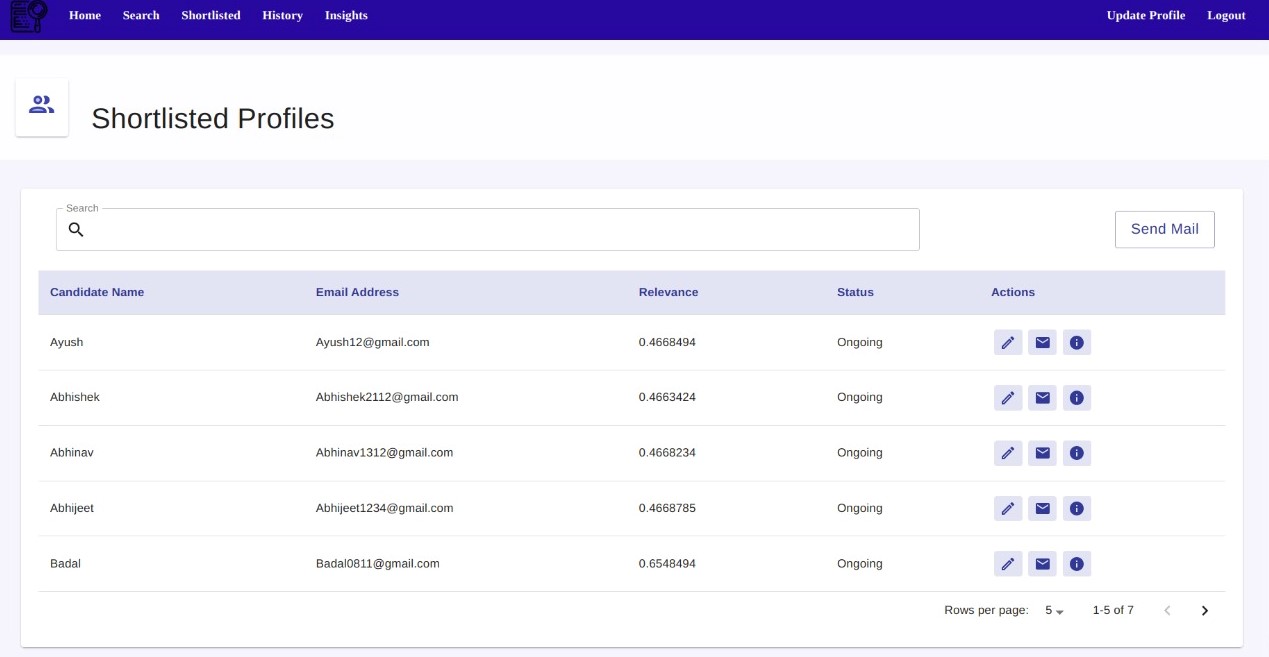 Shortlisted Profiles Shortlisted Profiles |
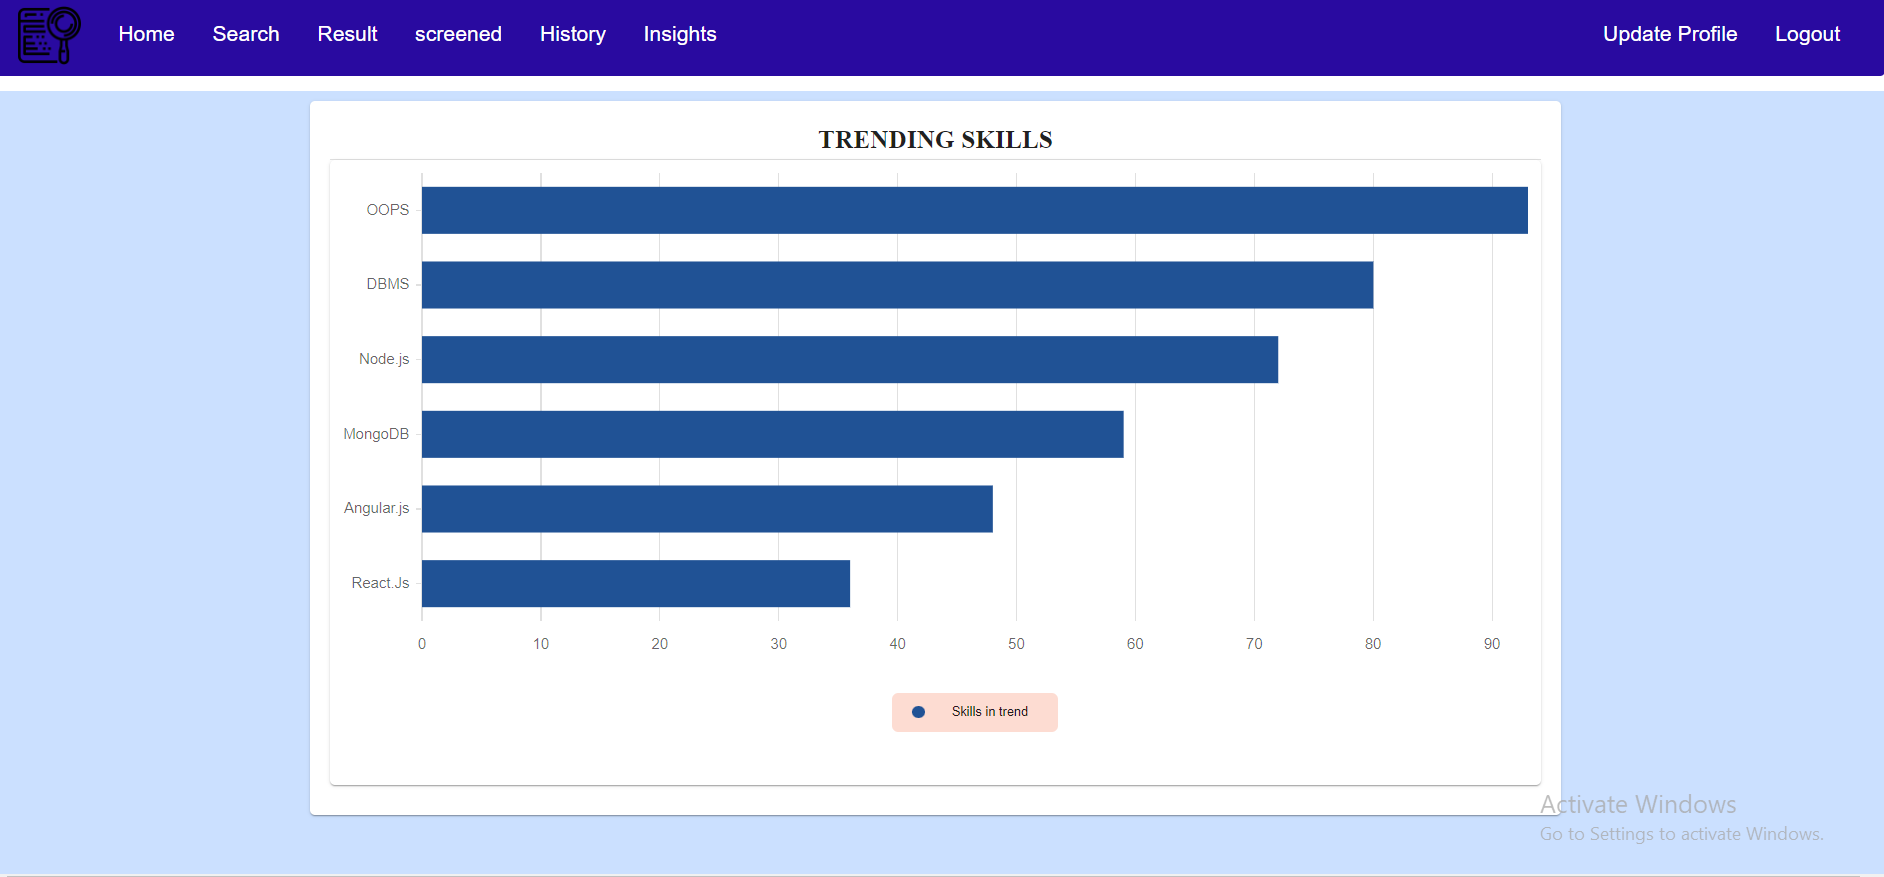 Insights Insights |
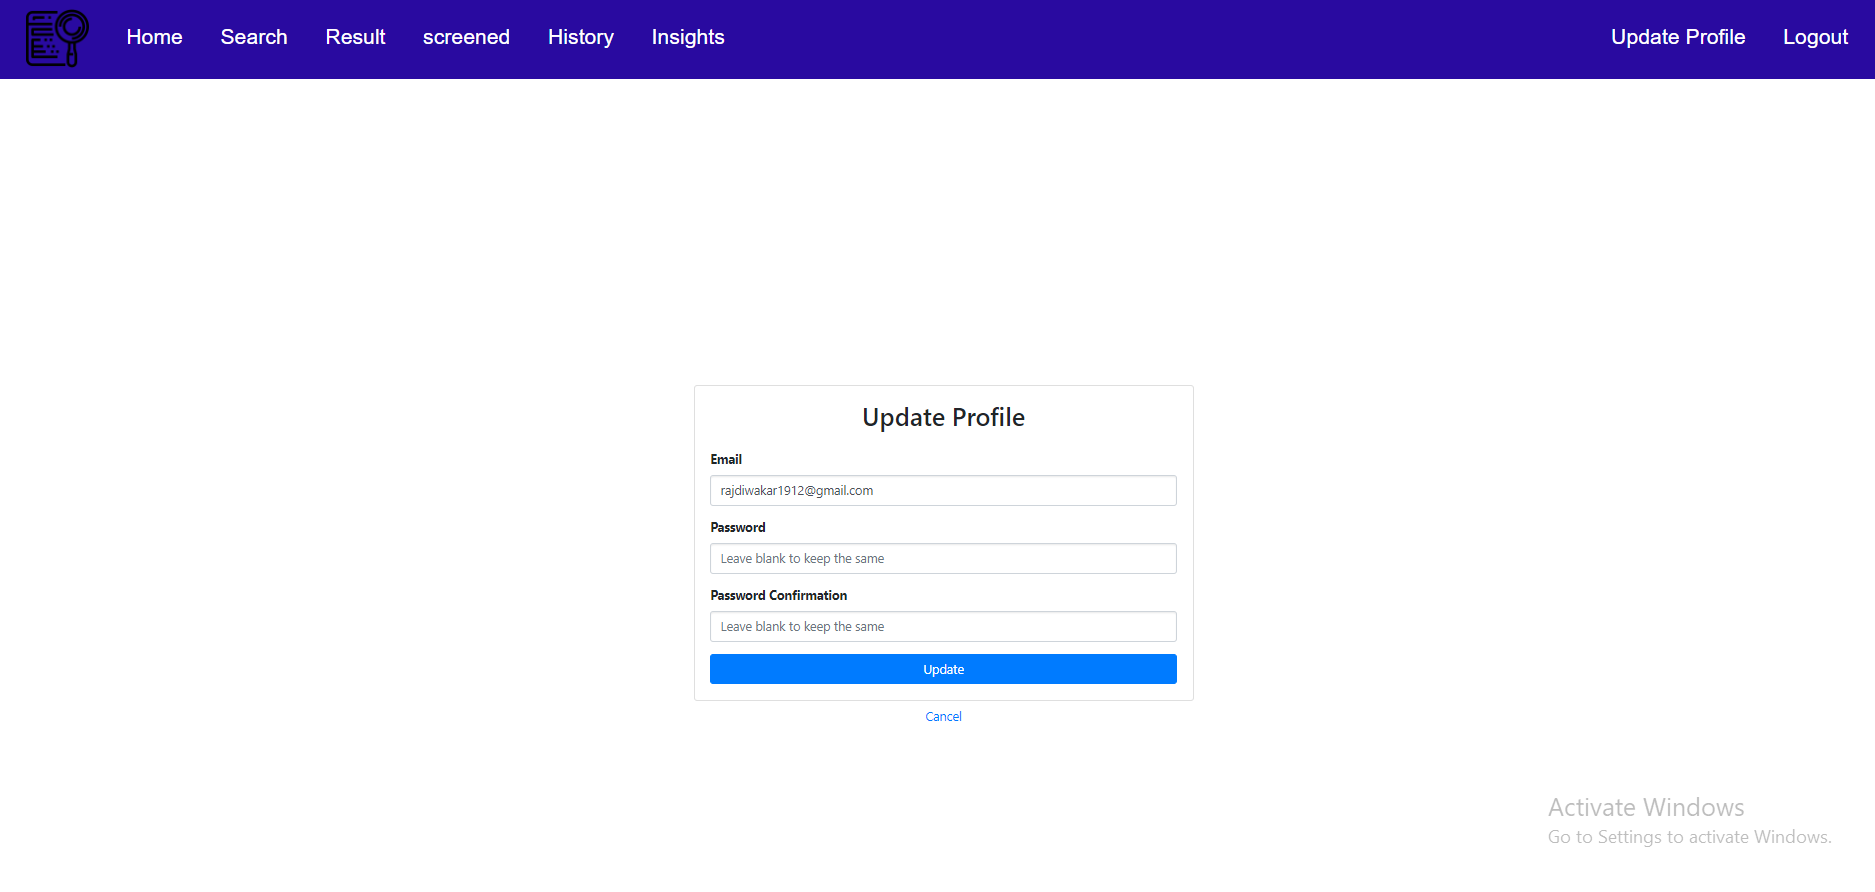 Update Profile Update Profile |
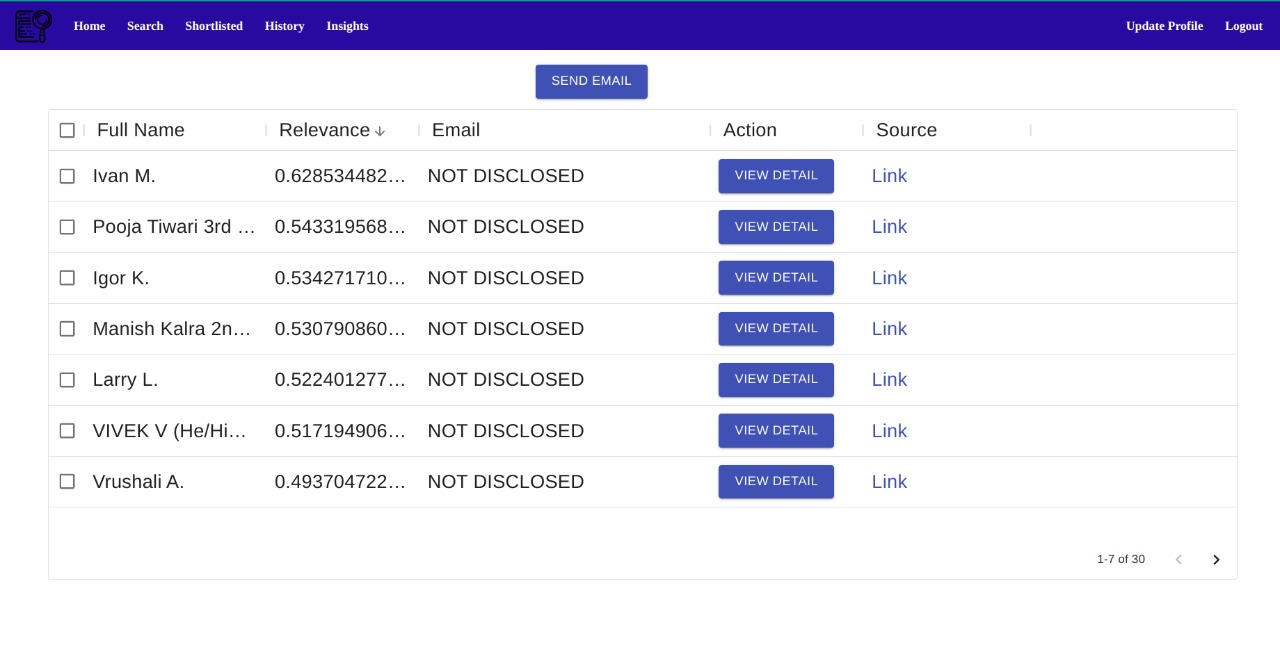 Result Result |
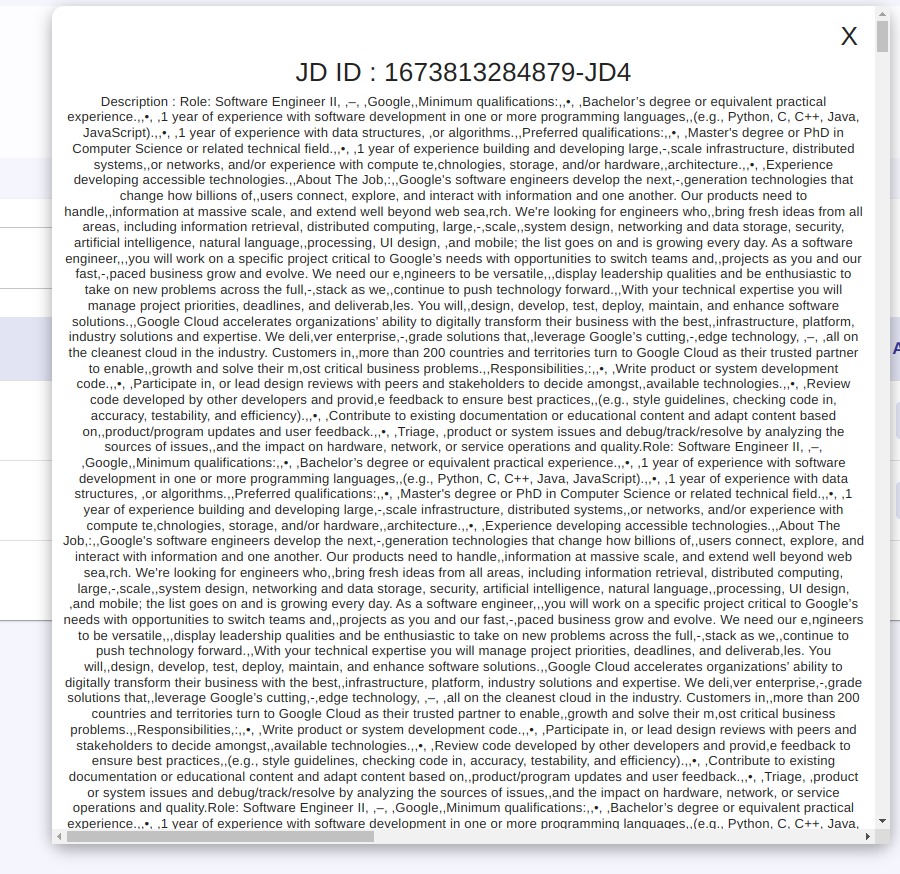 Job Discription Job Discription |
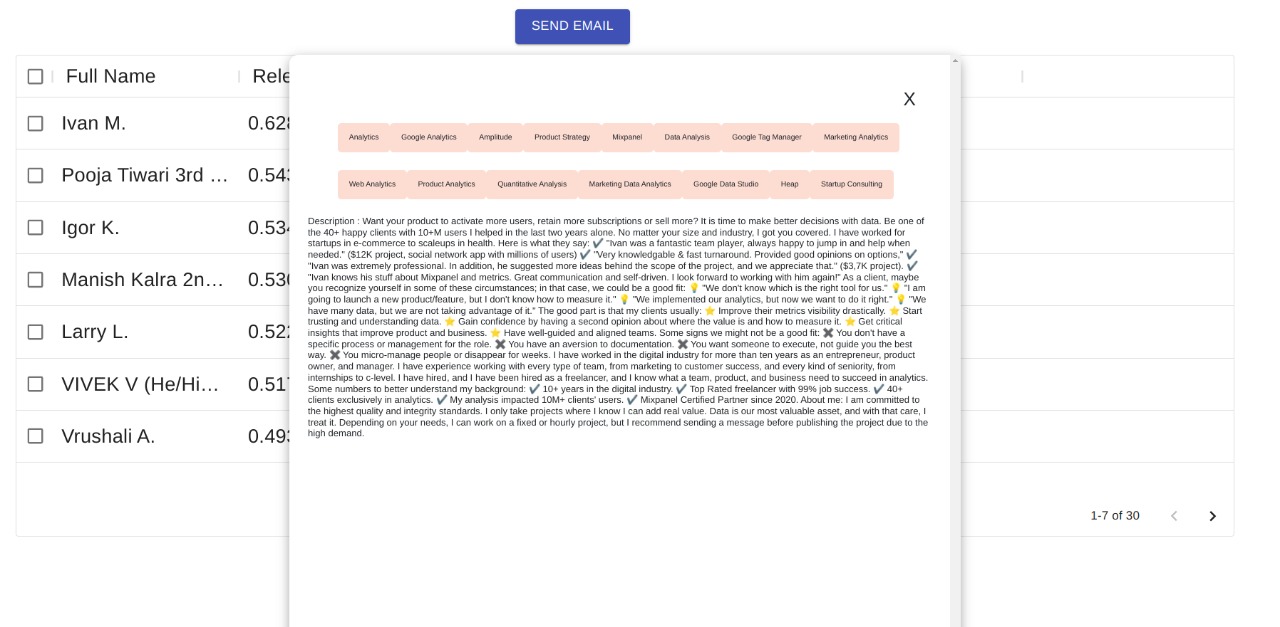 Candidate Detail Candidate Detail |
- Database Schema Employee