Atom is a hackable text editor for the 21st century, built on Electron, and based on everything we love about our favorite editors. We designed it to be deeply customizable, but still approachable using the default configuration.
Visit atom.io to learn more or visit the Atom forum.
Follow @AtomEditor on Twitter for important announcements.

Please, do not try to build it on other platforms. This fork only for armv7l machines!
All manipulations tested on Xubuntu 14.04 @ ASUS Transformer Pad TF300TG. I don't guarantee that this guide will work for all devices. I succesfully built Atom on my machine and just want to share some build advice.
-
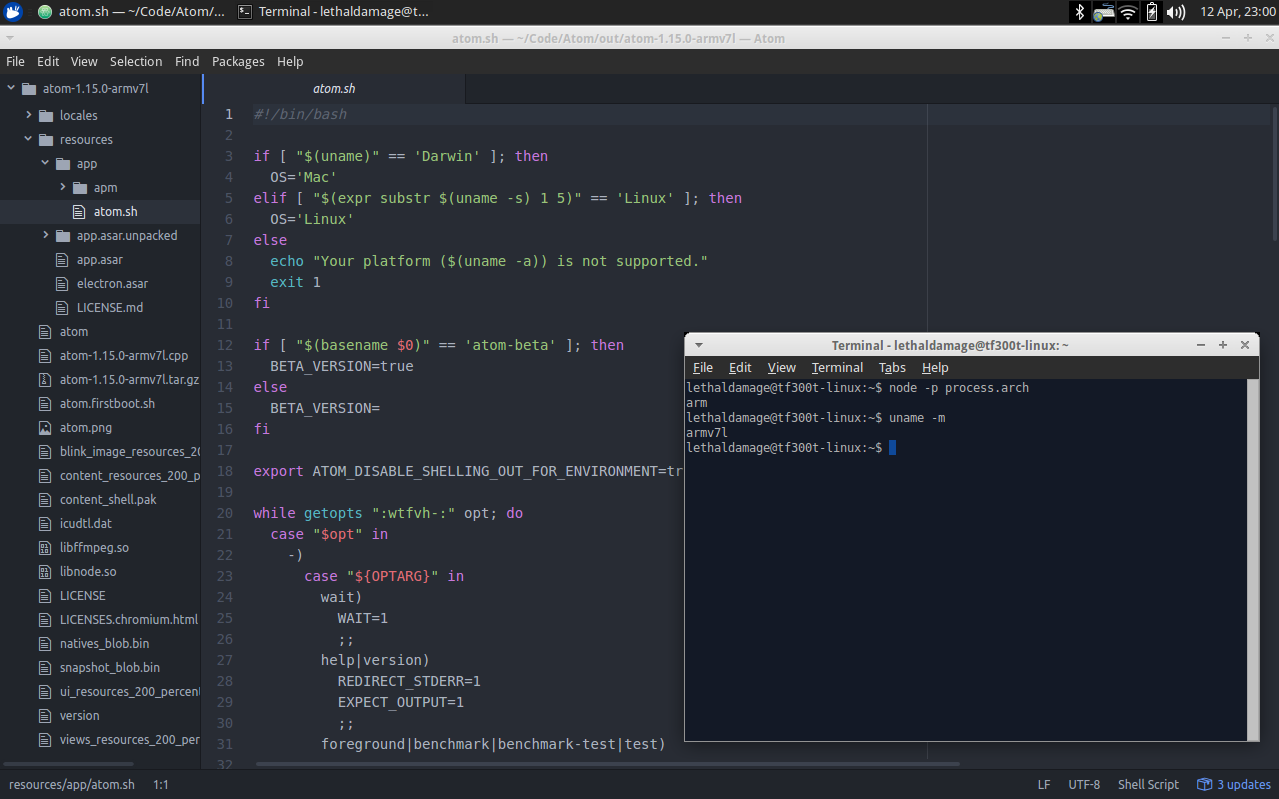
armv7l machine. You can check it by typing
uname -mto terminal emulator. -
Node.js 6.10.2. Highly recommended to install it via Node.js version manager. Installation guide can be found here.
nvm install 6.10.2 - install Node.js 6.10.2.
nvm alias default 6.10.2 - set Node.js 6.10.2 as system default Node.js version.
nvm use 6.10.2 - set Node.js version to 6.10.2 for this session.
- Node.js package manager 4.4.4.
sudo apt-get install npm - install Node.js package manager.
npm install -g npm - update Node.js package manager.
npm config set python /usr/bin/python2 - locate Python 2 path for Node-GYP.
- Git.
sudo apt-get install git
- C++ 11 Toolchain, development headers for GNOME Keyring, and other build tools.
sudo apt-get install build-essential git libgnome-keyring-dev fakeroot rpm libx11-dev libxkbfile-dev
- Clone my Atom fork via Git:
git clone https://github.com/hypersad/atom.git
- Go into your Atom repository folder:
cd atom
- Start building
node script/build
- After building and launching Atom I got white screen, developer tools and string where I can type. Where is interface?
It looks like Atom packages that are normally downloaded during install are missing. You will need to launch Atom for first time, to let it create the profile folder (~/.atom), close Atom, then, run atom.firstboot.sh from git repository.
- When I launch Atom, I got succesfull launch, but tree-view package throw error on start and didn't launch. How to fix it and launch tree-view package?
Newer versions of tree-view package works only with the newer versions of Atom. Our Atom version (1.15.0) works only with tree-view 0.214.1 (this version will be installed after executing atom.firstboot.sh). So you can have troubles with it only if you updated tree-view package. To get working tree-view package back, open terminal in your atom binaries directory (e.g if you just now compiled it cd ~/atom/out/atom-1.15.0-armv7l/) and complete following commands in terminal: ./resources/app/apm/bin/apm uninstall tree-view wait for successfull uninstal, then ./resources/app/apm/bin/apm install tree-view@0.214.1.
- Q: Can I built this fork on ia32, 64, arm, my cat, etc.?
A: No, you can't. This fork is ONLY for armv7l machines.
- Q: Do I need to avoid package updates?
A: No, you don't. You can freely update all packages exclude tree-view package, because newer versions works only with newer versions of Atom. Our version of Atom (1.15.0) works only with tree-view package 0.214.1. This version installed by atom.firstboot.sh.
- Q: Do i need to execute, edit something after build?
A: You need to execute Atom binary to let him create his folder that contains configs, packages, etc. (~/.atom/), close it, then run atom.firstboot.sh to install default packages (for unknown reasons packages installed during build are missing). After package install you can freely using Atom.
When using the Atom or other GitHub logos, be sure to follow the GitHub logo guidelines.
