The Watson Visual Recognition service can be trained to recognize your own custom classes in images. In this lab you'll learn how to train a Watson Visual Recognition custom classifier to recognition company logos using 10 images of three different company logos (Apple, IBM, Morgan Stanley) to serve as classes and 10 images that are not any of those three company logos to serve as negative examples.
After creating the custom classifier, you'll test it with different images not used to train it to validate it's accuracy.
If you are not already signed up for the IBM Cloud, sign up here
1.2.1 From the IBM Cloud Dashboard click on Create resource

1.2.2 Select the AI category project type and then click on Visual Recognition

1.2.3 Make sure the Lite plan is selected and then click Create

1.2.4 Select Service credentials at the left and then click on View credentials next to the credentials generated for your service instance

1.2.5 Click on the icon to copy the credentials to the clipboard and then save them in a text file on your Desktop (or some other convenient location). You'll need the apikey value multiple times.

In this section you'll create a custom classifier using 10 images each of logos for Apple, IBM and Morgan Stanley as well as 10 images of other company logos to serve as negative examples. Training custom classifiers can be done using the Watson Visual Recognition REST API but you'll use a web application that wraps those APIs to provide a more user friendly experience
2.1.1 In a new browser tab launch the tool http://ibm.biz/vr-tool
2.1.2 Click on API Key and enter the value of the apikey that is in your saved service credentials. Click on the arrow icon to continue.

2.2.1 Click on Create classifier

2.2.2 Create the custom classifier
- Name the classifier Logos
- Name the first class ibm and then click on choose your files to upload the file ibm.zip in the training_data sub folder of this project
- Name the first class morgan_stanley and then click on choose your files to upload the file morgan_stanley.zip in the training_data sub folder of this project
- Click on choose your file in the tile for negative examples to upload the file negative_examples.zip in the training_data sub folder of this project.
- Click on Add class, name the class apple and then click on choose your files to upload the file apple.zip
2.2.3 Click Create to create the classifier. After the training files are uploaded the new classifier will appear in the training state.

2.2.4 The training will take about 3-5 minutes. Now is a good time for a coffee break. When the new classifier is trained the state will change to ready

2.2.5 Highlight the new classifier's id and copy it to the clipboard. Paste it to the same file you used to save the service's api_key. You'll need this later.

Test the classifier with the GUI tool using single images and then test using 40 images via a standalone app. Both Python and Java are provided. Choose the one that you feel most comfortable with.
Python app requirements
- Python 3.5 or later.
Java app requirements:
- Java 1.7 or later JVM
- Gradle Build Tool
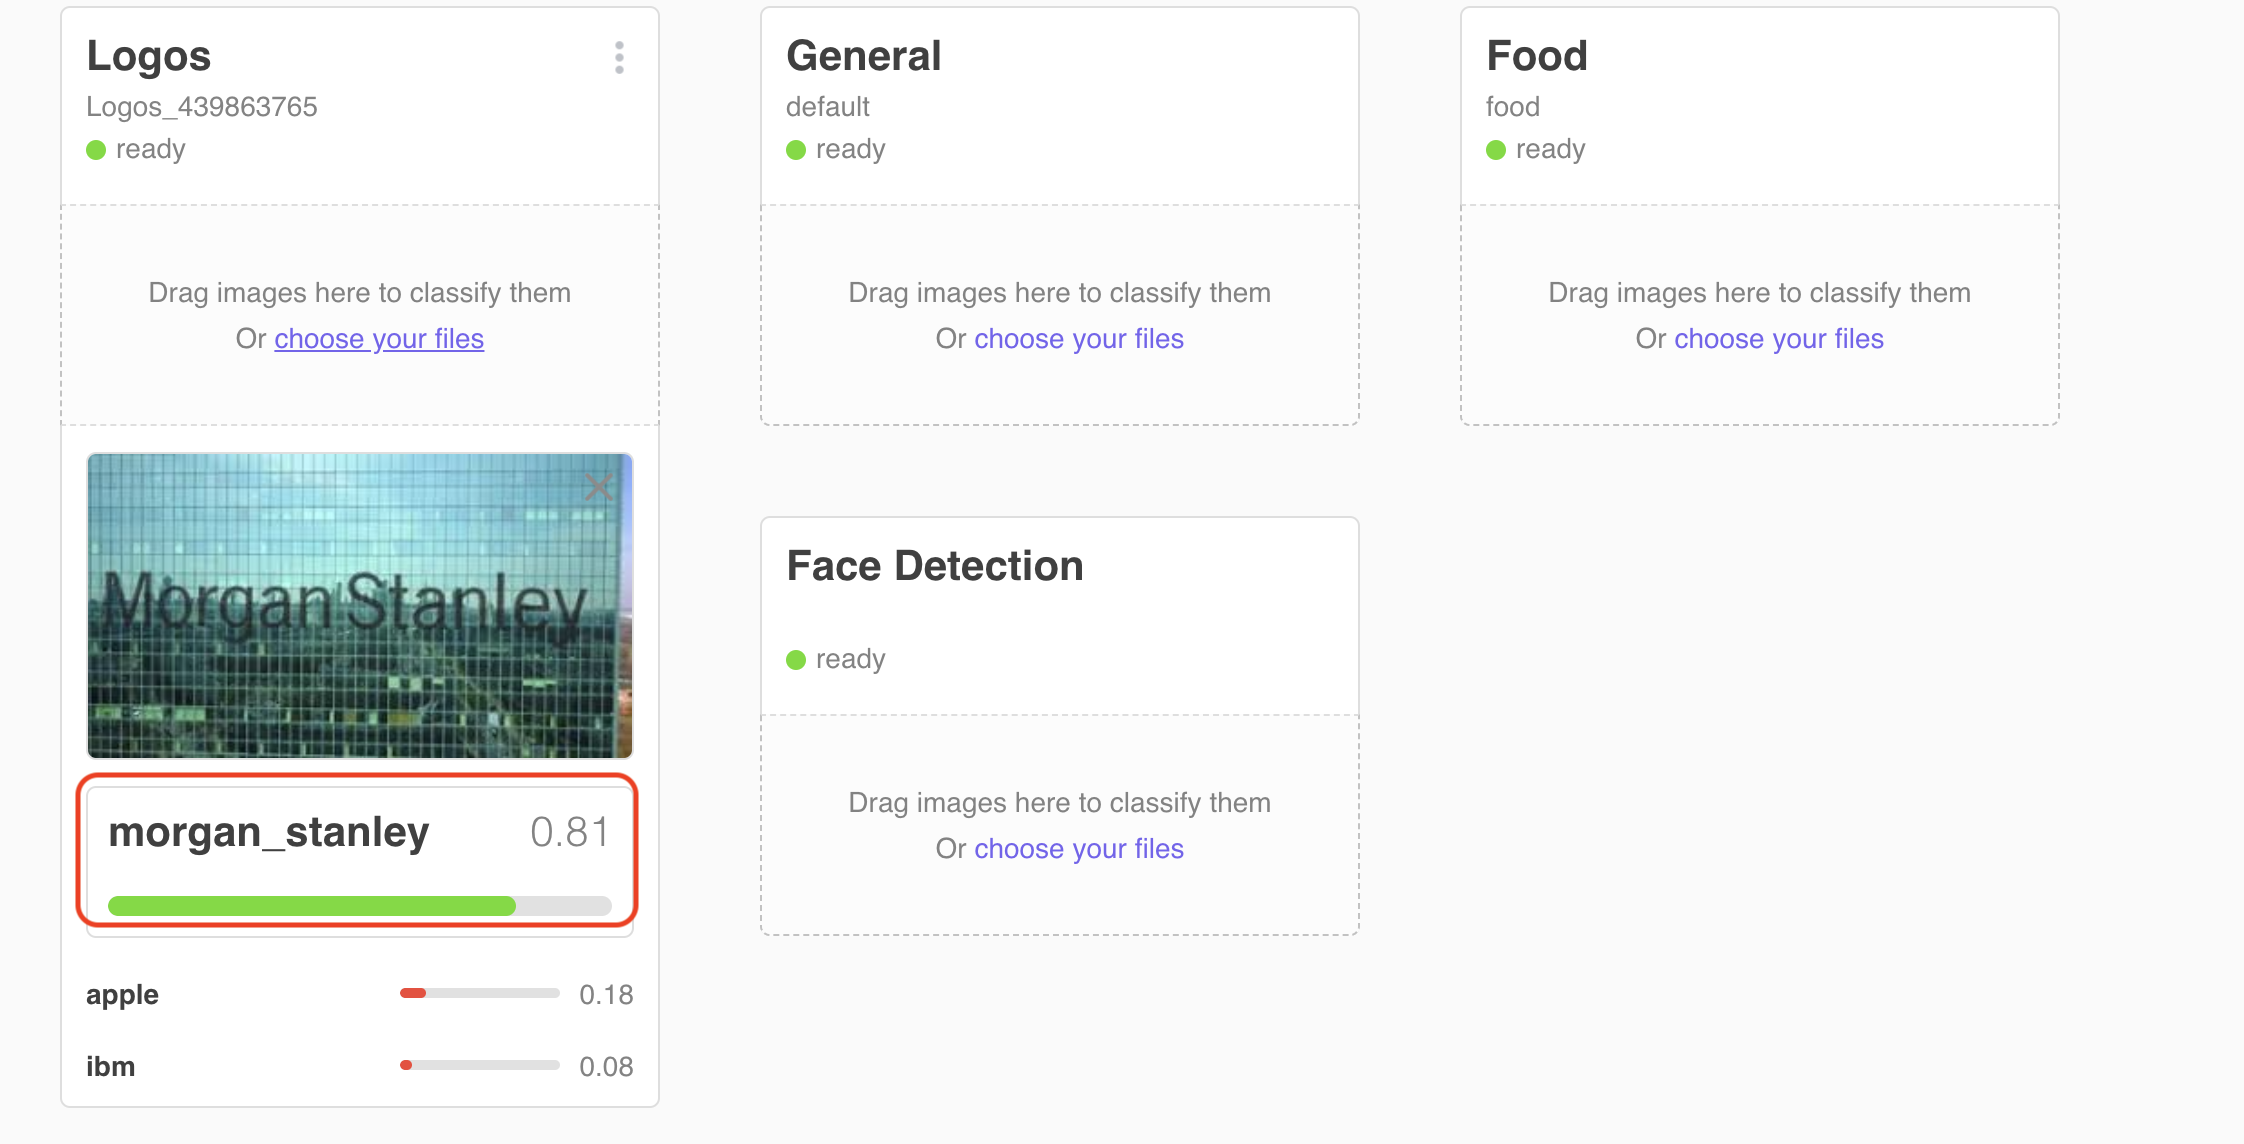
3.1.1 Click on choose your files in the tile for your new classifier. Select a file 0001.jpg from the test_data/morgan_stanley sub folder of this project. Verify that the file is classified as a Morgan Stanley logo with a high confidence level ( approx 80%) relative to the other classes

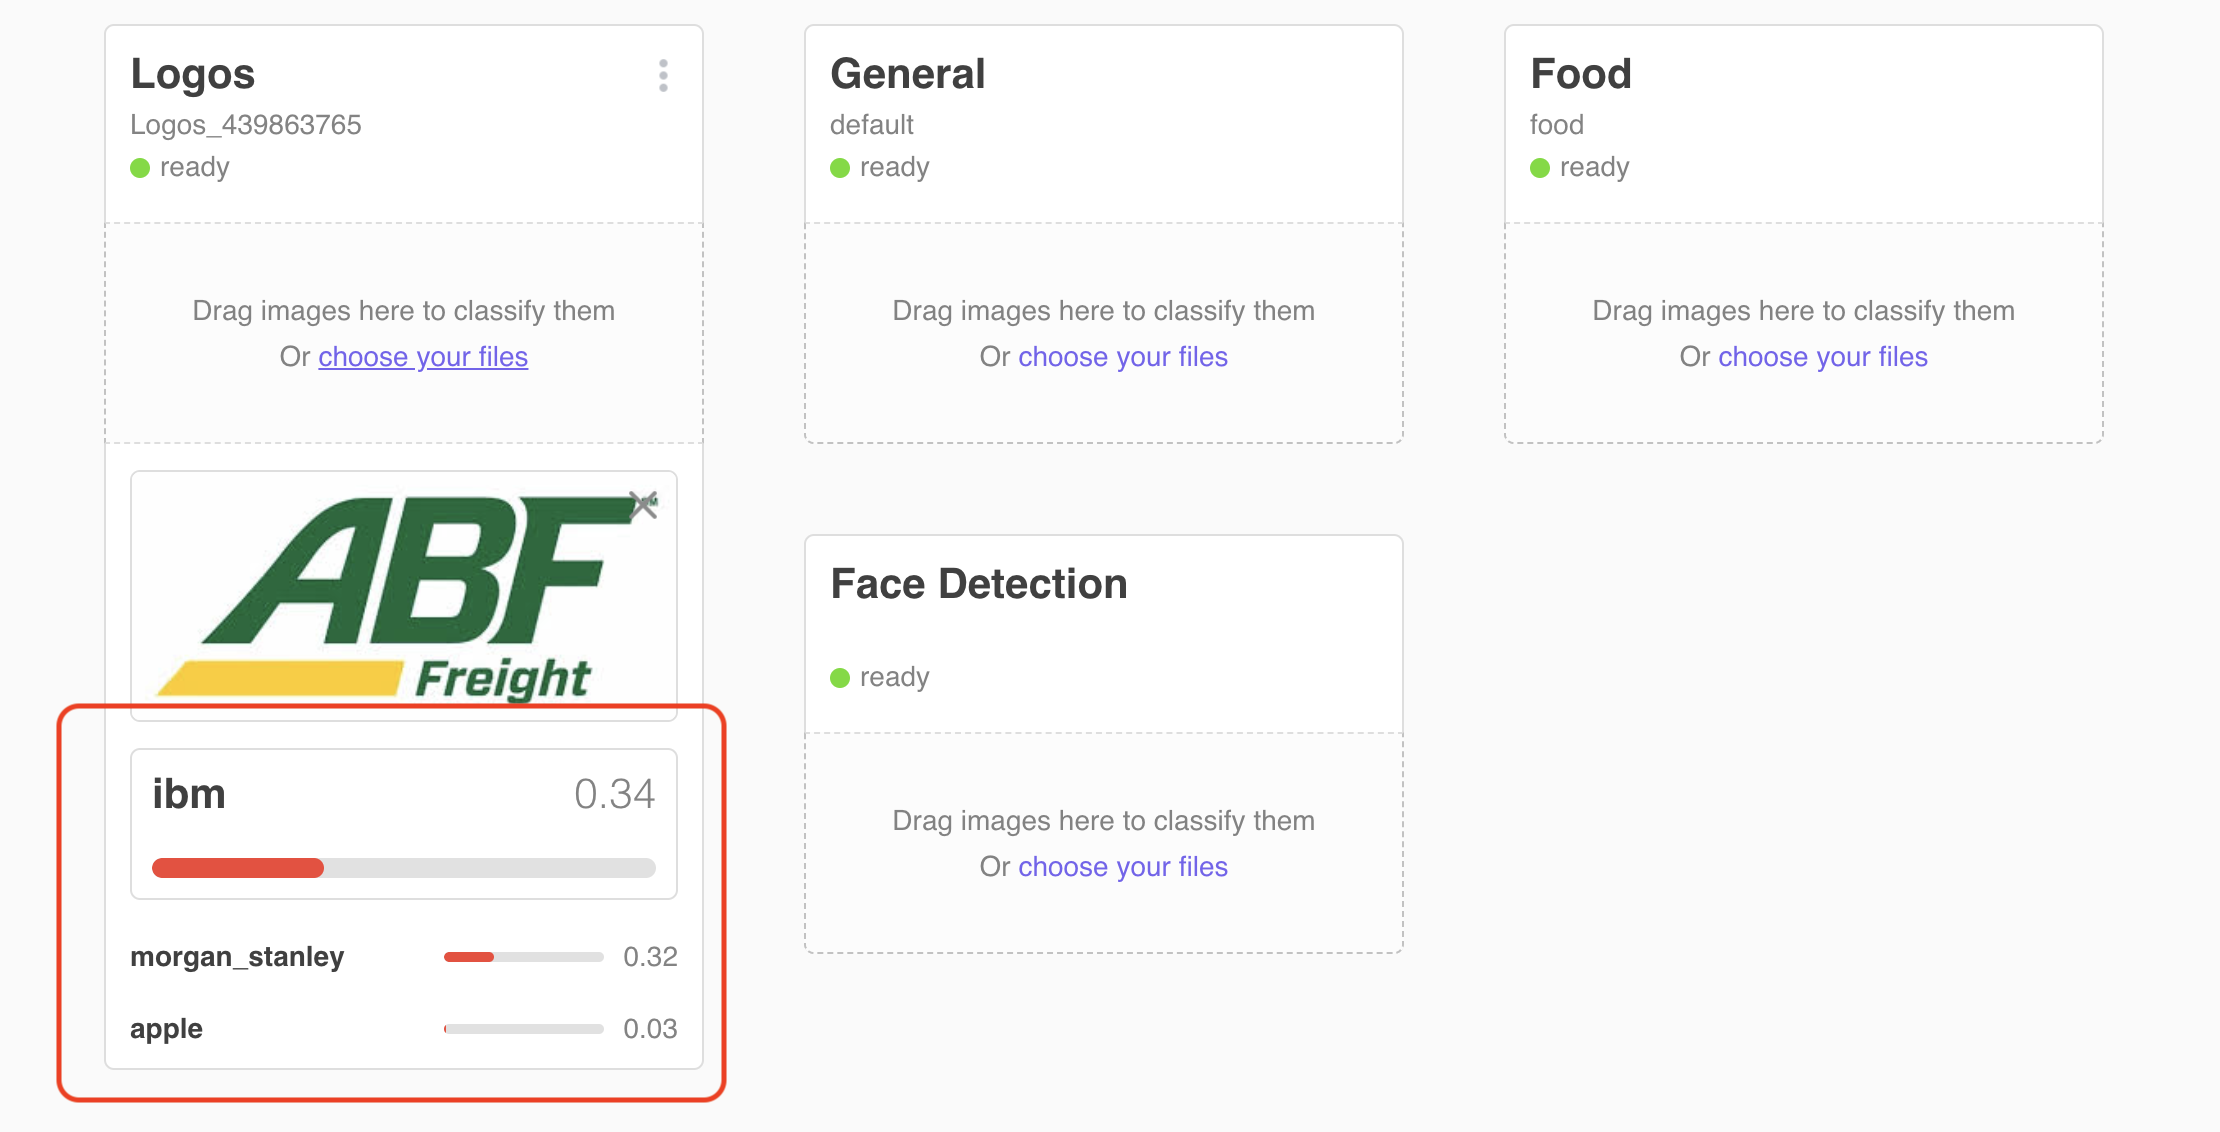
3.1.2 Click on choose your files in the tile for your new classifier. Select a file 0001.jpg from the test_data/other sub folder of this project. Verify that the file is not classified in any of the three classes with significant confidence (> 50%)

3.2.1 Edit the file settings.py in the watson-vr-python-tester sub folder of this project. Put in the values of your apikey and classifier_id that you saved earlier
3.2.2 In a command prompt or terminal navigate to the watson-vr-java-tester sub folder of this project.
We suggest you create a virtual environment to manage the dependencies for this application.
pip install -r virtualenv
Create a virtual environment
virtualenv -p python3 venv
Activate the new virtual environment
source venv/bin/activate
Now install the dependencies for this project
pip install -r requirements.txt
3.2.3 Run the following command to run the tester application
python watsonvr-logo-tester.py
3.2.4 Verify the app runs without errors and the output looks like the following.
Classifying 40 test images ...
Finished classifying  10 images
Finished classifying  20 images
Finished classifying  30 images
Finished classifying  40 images
Number of files 40
True positives 29
True negatives 10
False positives 0
False negatives 1
Accuracy  97.50%
False negative list
../test_data/ibm/005.jpg
3.2.5 Look at the files that were reported as false positives or false negatives and see if you can see why the classifier had problems with these particular images.
3.3.1 Edit the file settings.properties in the watson-vr-java-tester/src/main/resources sub folder of this project. Put in the values of your api_key and classifier_id that you saved earlier
3.3.2 In a command prompt or terminal navigate to the watson-vr-java-tester sub folder of this project. Run the following command to build the app
Linux/Mac
./gradlew build
Windows
gradle.bat build
3.3.3 Run the following command to run the tester application
Linux/Mac
./gradlew run
Windows
gradlew.bat run
3.3.4 (Optional) Run the following command to generate Eclipse artifacts so the project can be imported into Eclipse
Linux/Mac
./gradlew eclipse
Windows
gradlew.bat eclipse
Note: after running the command import this folder as an existing project into Eclipse
3.3.5 Verify the app runs without errors and the output looks like the following.
> Task :run
Classifying 40 test images
Finished classifying 10 images
Finished classifying 20 images
False negative: ../test_data/ibm/005.jpg no class matched
Finished classifying 30 images
Finished classifying 40 images
Number of files 40
True positives 29
True negatives 10
False positives 0
False negatives 1
Accuracy 97.50
False negative list
../test_data/ibm/005.jpg

BUILD SUCCESSFUL in 18s
3 actionable tasks: 1 executed, 2 up-to-date
3.3.6 Look at the files that were reported as false positives or false negatives and see if you can see why the classifier had problems with these particular images.
Congratulations ! You successfully created a classifier to detect company logos. With just 10 examples for each logo and 10 negative examples your were able to quickly created a classifier that is approximately 97.50% accurate on some randomly selected test examples.
