Implementation of Analyzing and Improving the Image Quality of StyleGAN (https://arxiv.org/abs/1912.04958) in PyTorch
I have tried to match official implementation as close as possible, but maybe there are some details I missed. So please use this implementation with care.
I have tested on:
- PyTorch 1.3.1
- CUDA 10.1/10.2
First create lmdb datasets:
python prepare_data.py --out LMDB_PATH --n_worker N_WORKER --size SIZE1,SIZE2,SIZE3,... DATASET_PATH
This will convert images to jpeg and pre-resizes it. This implementation does not use progressive growing, but you can create multiple resolution datasets using size arguments with comma separated lists, for the cases that you want to try another resolutions later.
Then you can train model in distributed settings
python -m torch.distributed.launch --nproc_per_node=N_GPU --master_port=PORT train.py --batch BATCH_SIZE LMDB_PATH
train.py supports Weights & Biases logging. If you want to use it, add --wandb arguments to the script.
This implementation experimentally supports SWAGAN: A Style-based Wavelet-driven Generative Model (https://arxiv.org/abs/2102.06108). You can train SWAGAN by using
python -m torch.distributed.launch --nproc_per_node=N_GPU --master_port=PORT train.py --arch swagan --batch BATCH_SIZE LMDB_PATH
As noted in the paper, SWAGAN trains much faster. (About ~2x at 256px.)
You need to clone official repositories, (https://github.com/NVlabs/stylegan2) as it is requires for load official checkpoints.
For example, if you cloned repositories in ~/stylegan2 and downloaded stylegan2-ffhq-config-f.pkl, You can convert it like this:
python convert_weight.py --repo ~/stylegan2 stylegan2-ffhq-config-f.pkl
This will create converted stylegan2-ffhq-config-f.pt file.
python generate.py --sample N_FACES --pics N_PICS --ckpt PATH_CHECKPOINT
You should change your size (--size 256 for example) if you train with another dimension.
python projector.py --ckpt [CHECKPOINT] --size [GENERATOR_OUTPUT_SIZE] FILE1 FILE2 ...
Closed-Form Factorization (https://arxiv.org/abs/2007.06600)
You can use closed_form_factorization.py and apply_factor.py to discover meaningful latent semantic factor or directions in unsupervised manner.
First, you need to extract eigenvectors of weight matrices using closed_form_factorization.py
python closed_form_factorization.py [CHECKPOINT]
This will create factor file that contains eigenvectors. (Default: factor.pt) And you can use apply_factor.py to test the meaning of extracted directions
python apply_factor.py -i [INDEX_OF_EIGENVECTOR] -d [DEGREE_OF_MOVE] -n [NUMBER_OF_SAMPLES] --ckpt [CHECKPOINT] [FACTOR_FILE]
For example,
python apply_factor.py -i 19 -d 5 -n 10 --ckpt [CHECKPOINT] factor.pt
Will generate 10 random samples, and samples generated from latents that moved along 19th eigenvector with size/degree +-5.
I have trained the 256px model on FFHQ 550k iterations. I got FID about 4.5. Maybe data preprocessing, resolution, training loop could made this difference, but currently I don't know the exact reason of FID differences.
Sample from FFHQ. At 110,000 iterations. (trained on 3.52M images)
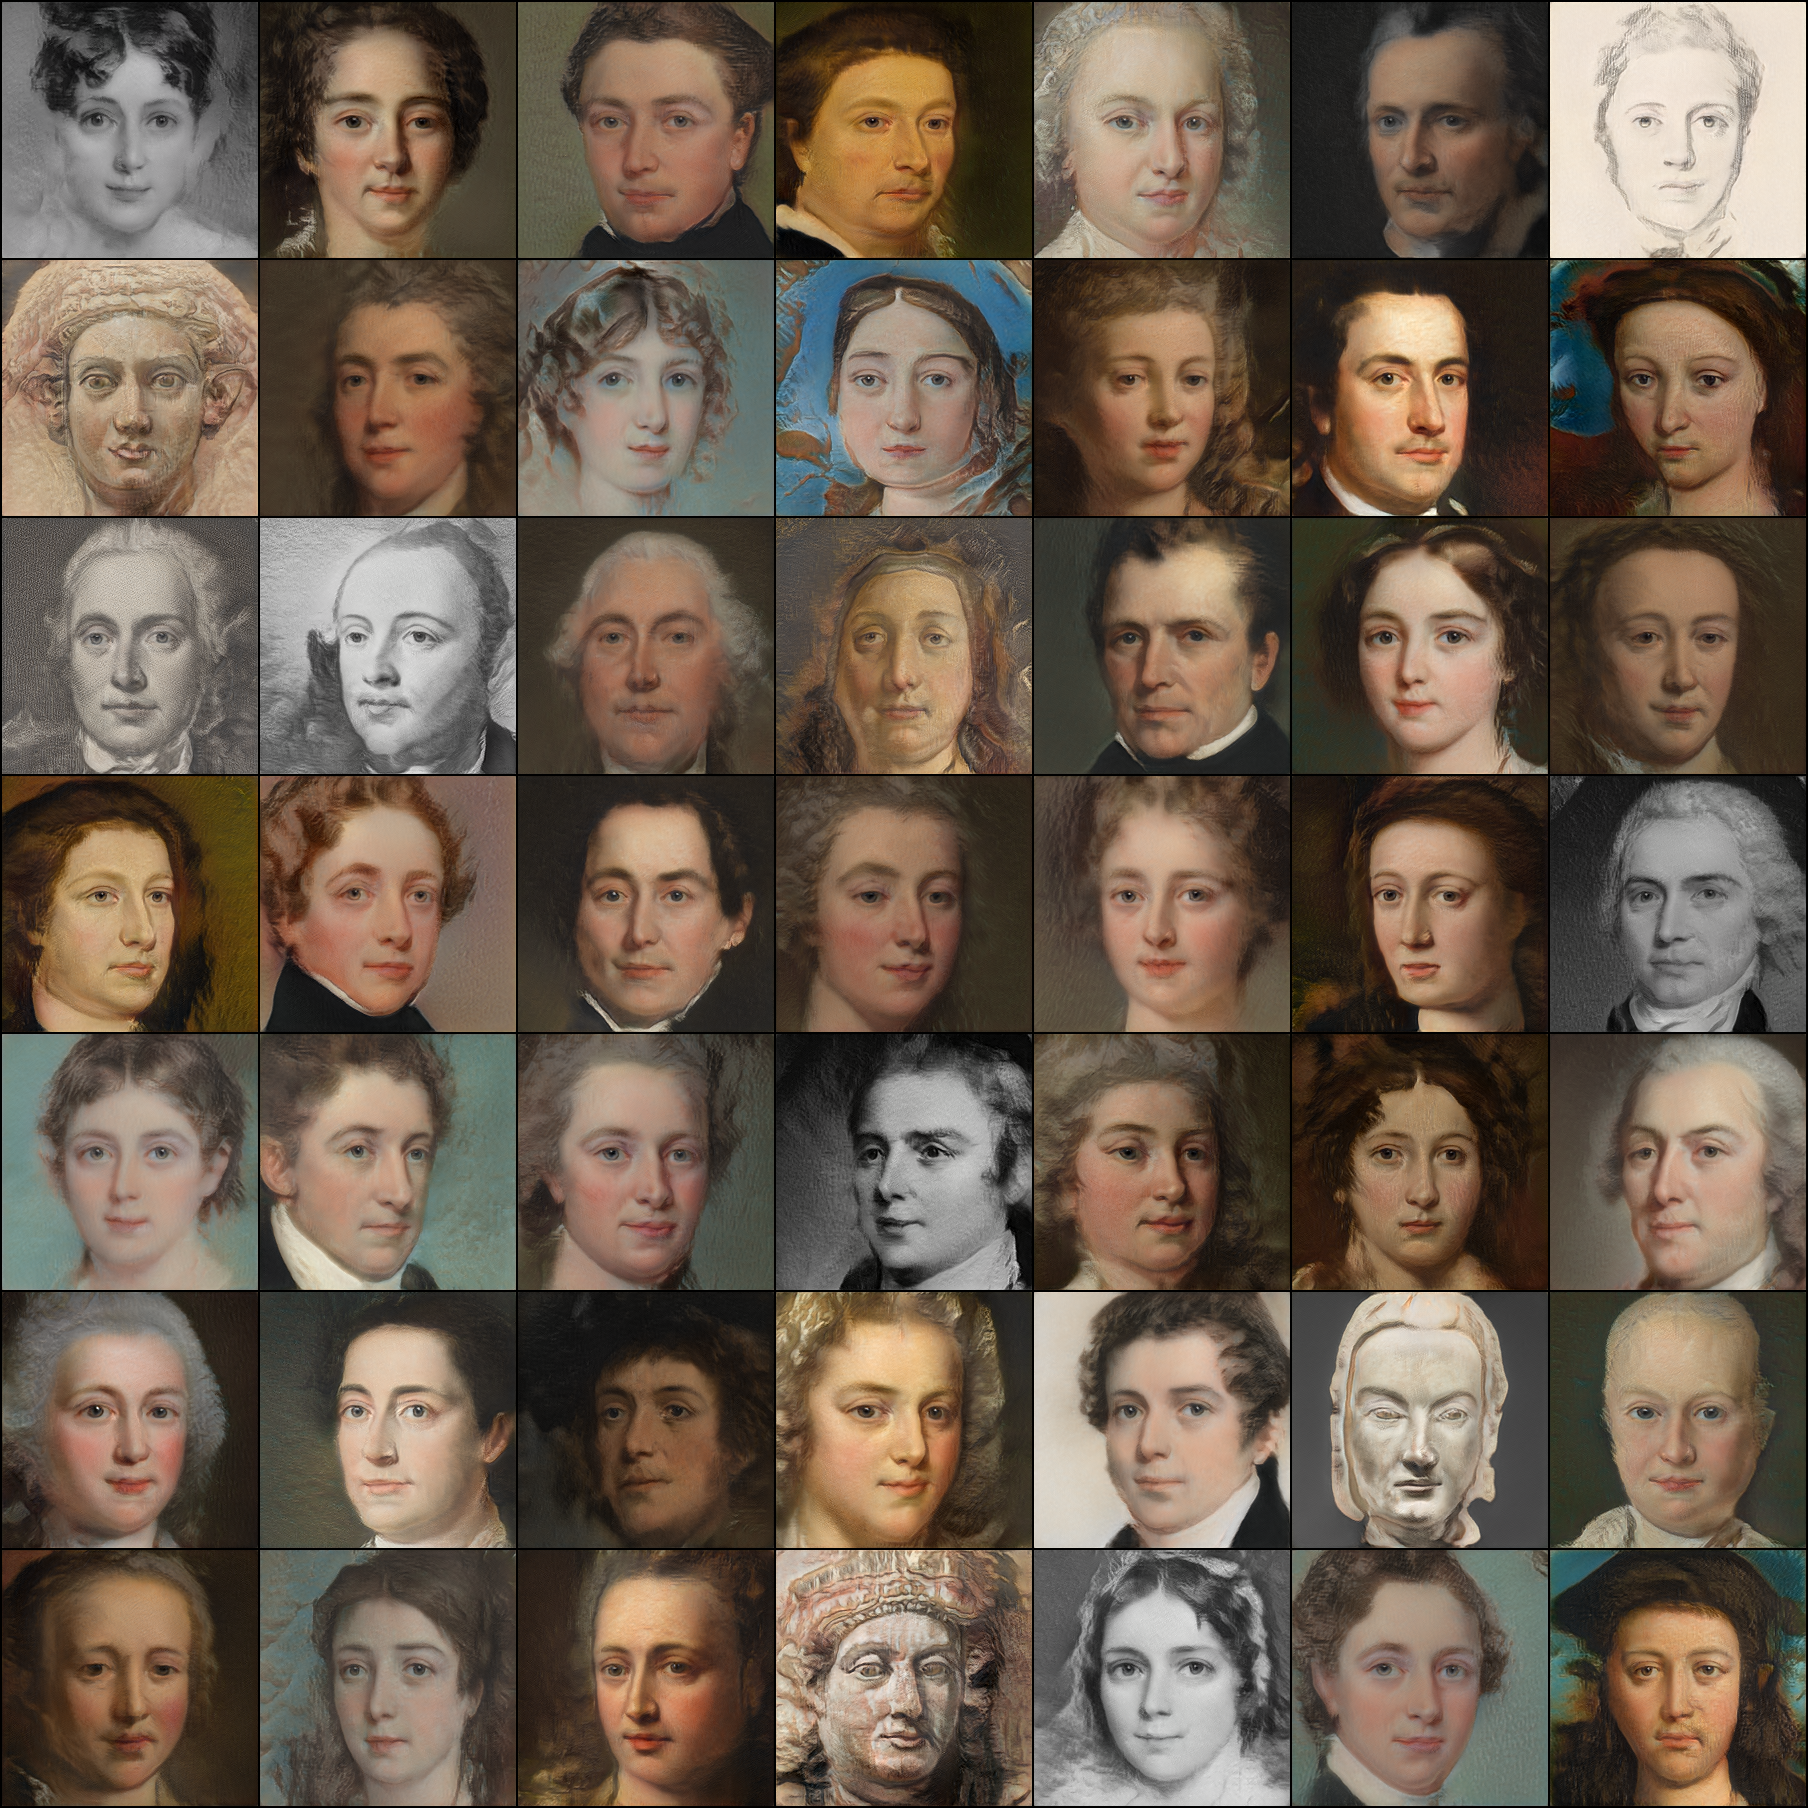
Sample from MetFaces with Non-leaking augmentations. At 150,000 iterations. (trained on 4.8M images)
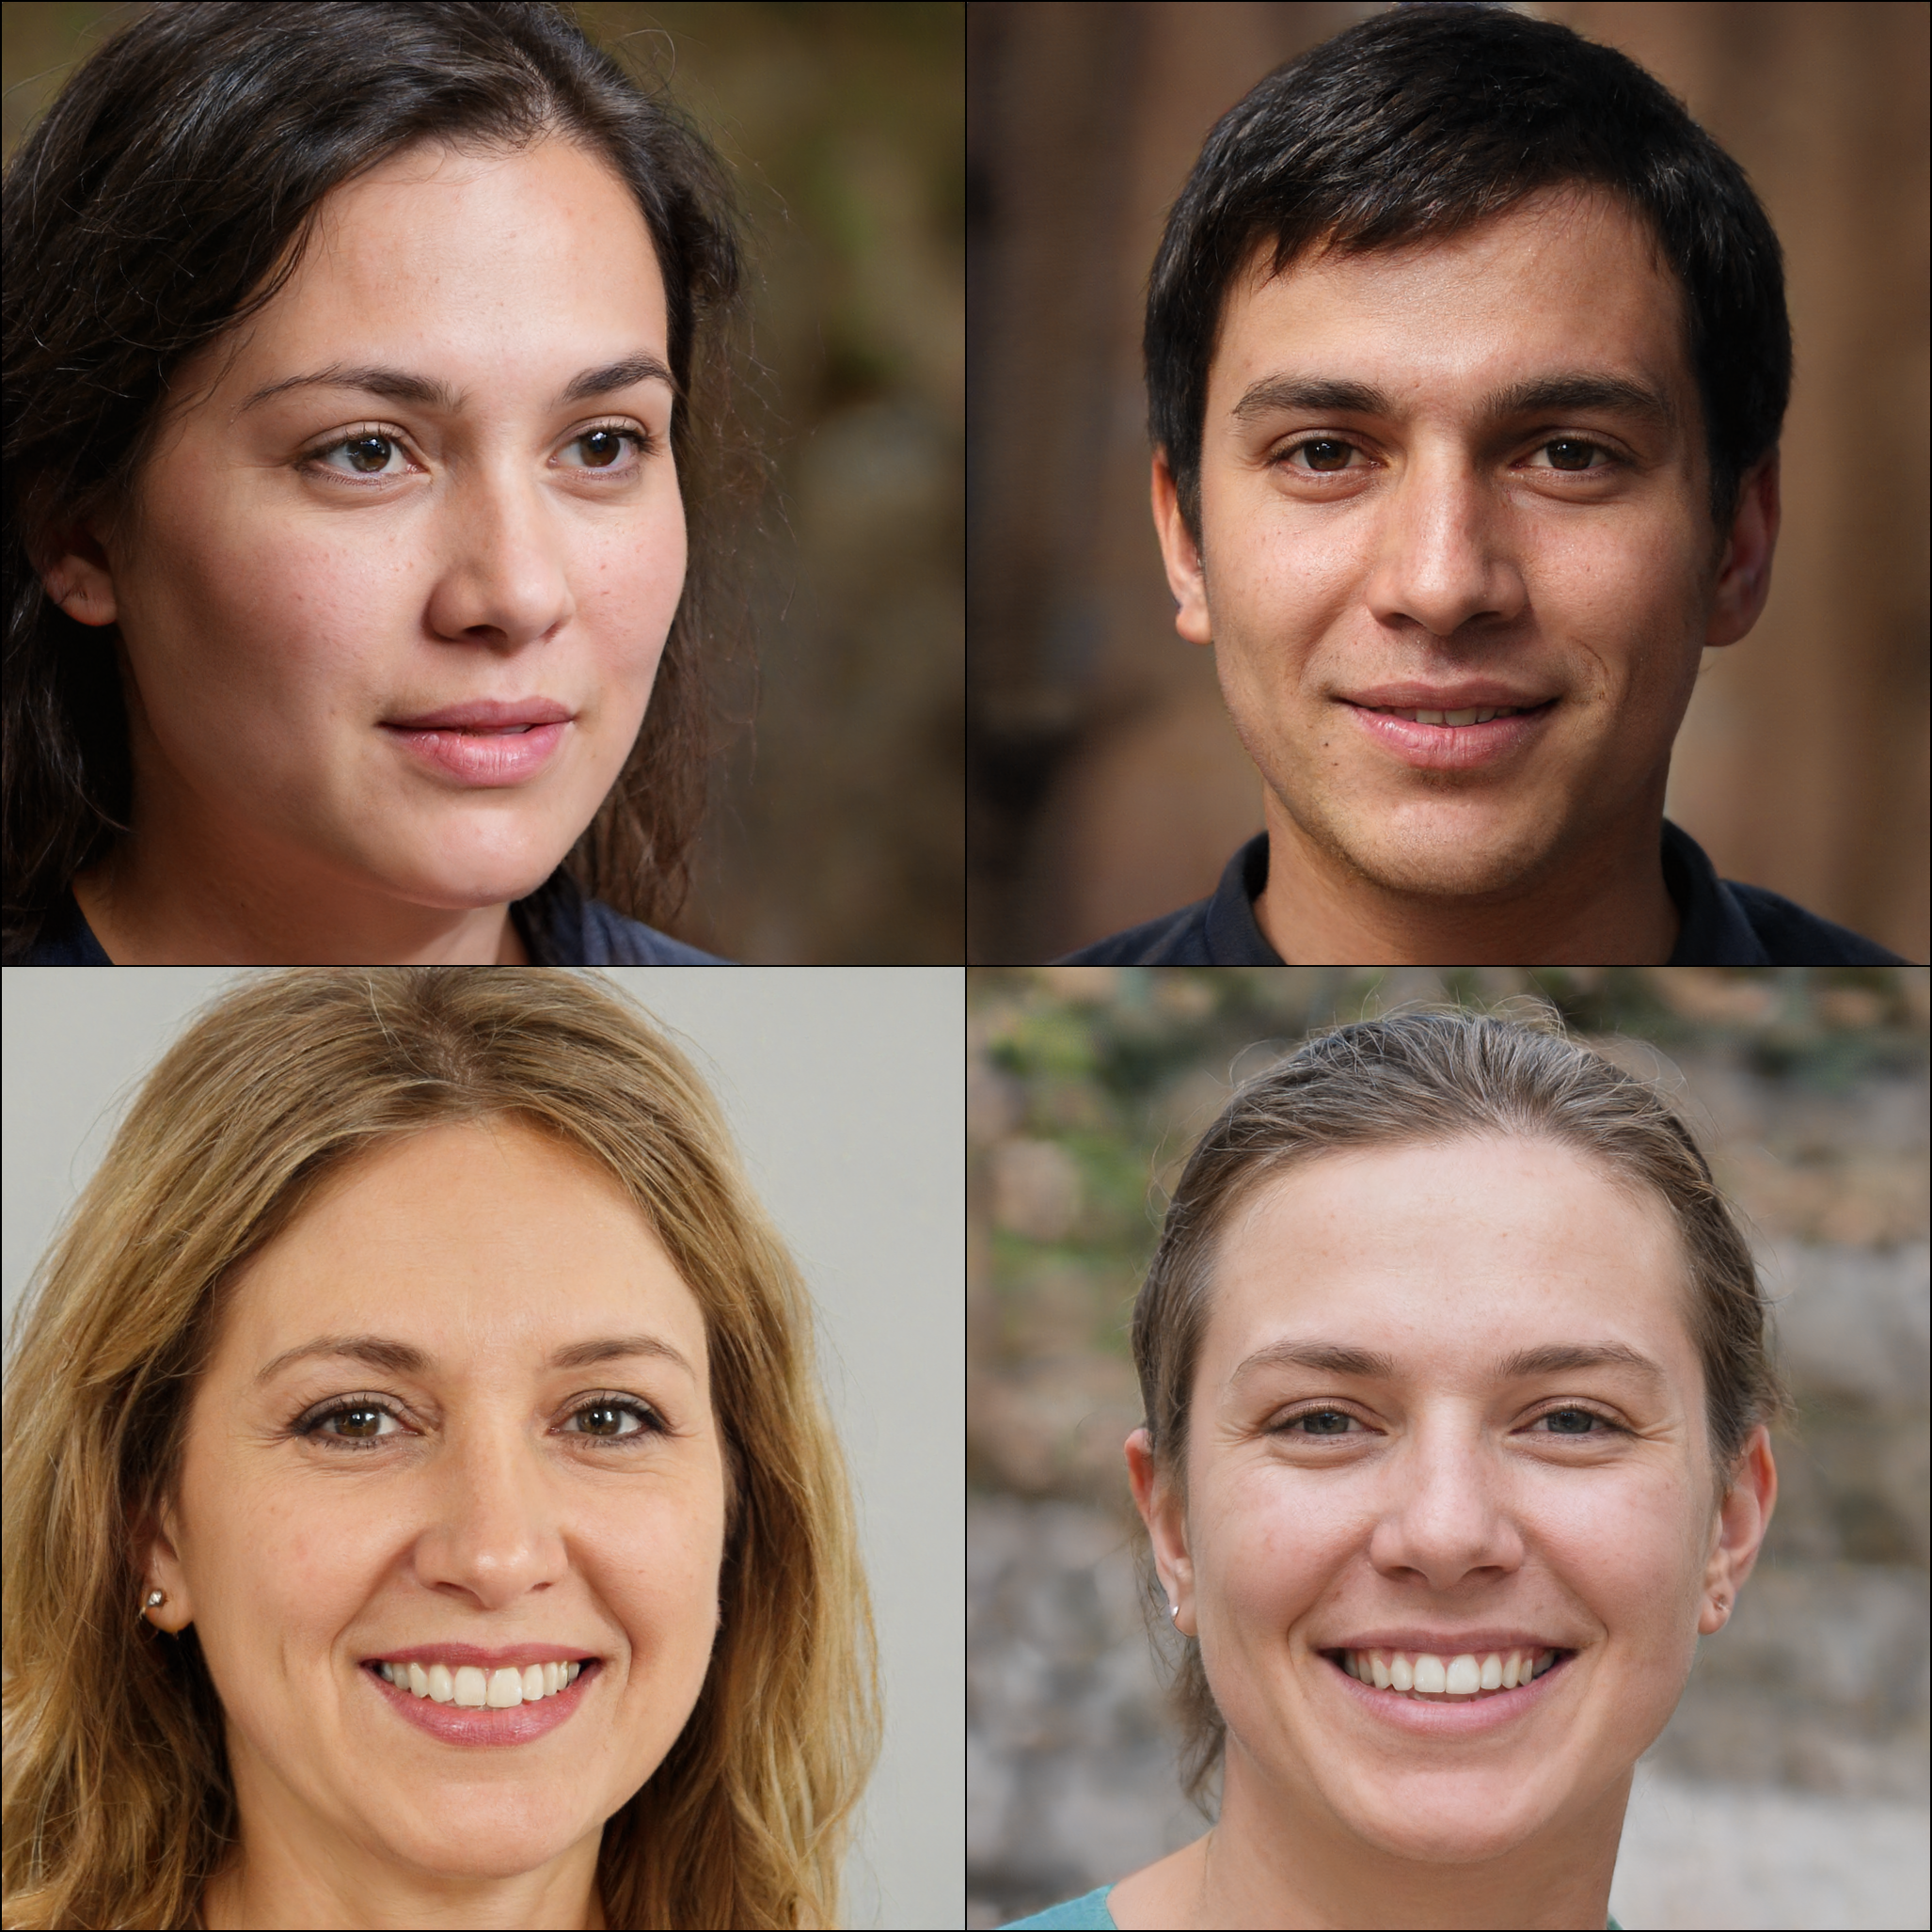
Sample from FFHQ (1024px)
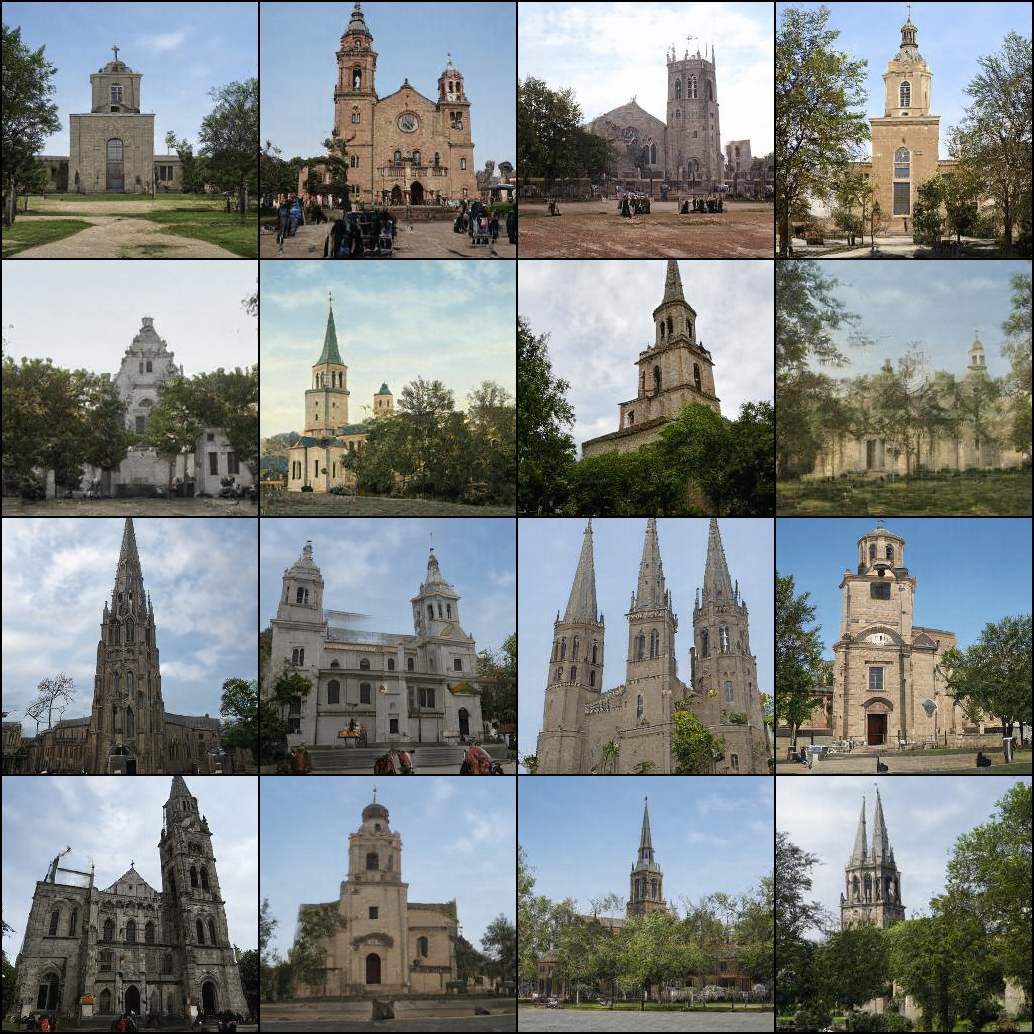
Sample from LSUN Church (256px)
Model details and custom CUDA kernel codes are from official repostiories: https://github.com/NVlabs/stylegan2
Codes for Learned Perceptual Image Patch Similarity, LPIPS came from https://github.com/richzhang/PerceptualSimilarity
To match FID scores more closely to tensorflow official implementations, I have used FID Inception V3 implementations in https://github.com/mseitzer/pytorch-fid


