Screen Space Curvature Shader Unity
A conversion of the Blender cavity style shader in Babylon.js to Unity HLSL
Description
This is my attempt at converting a post processing shader to Unity.
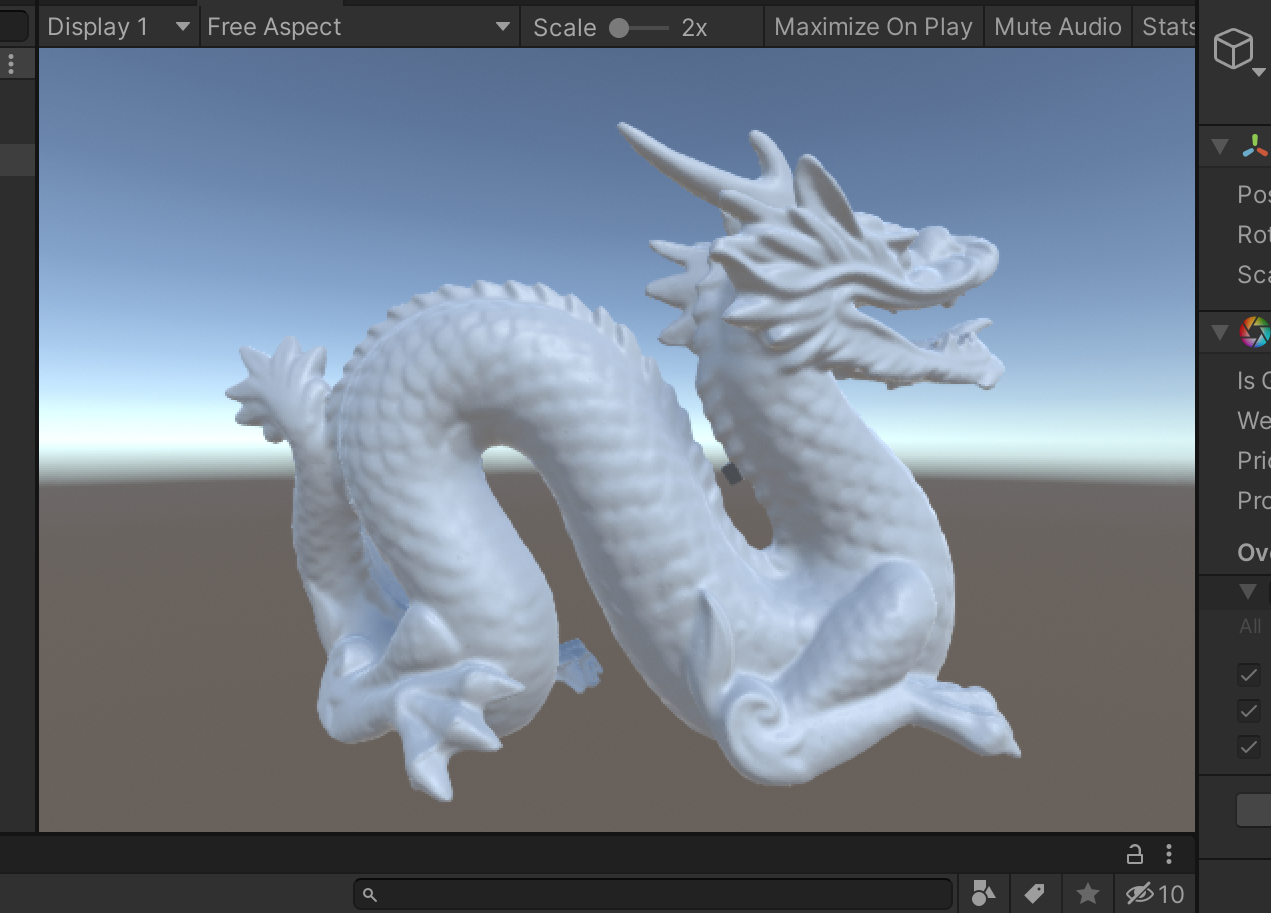
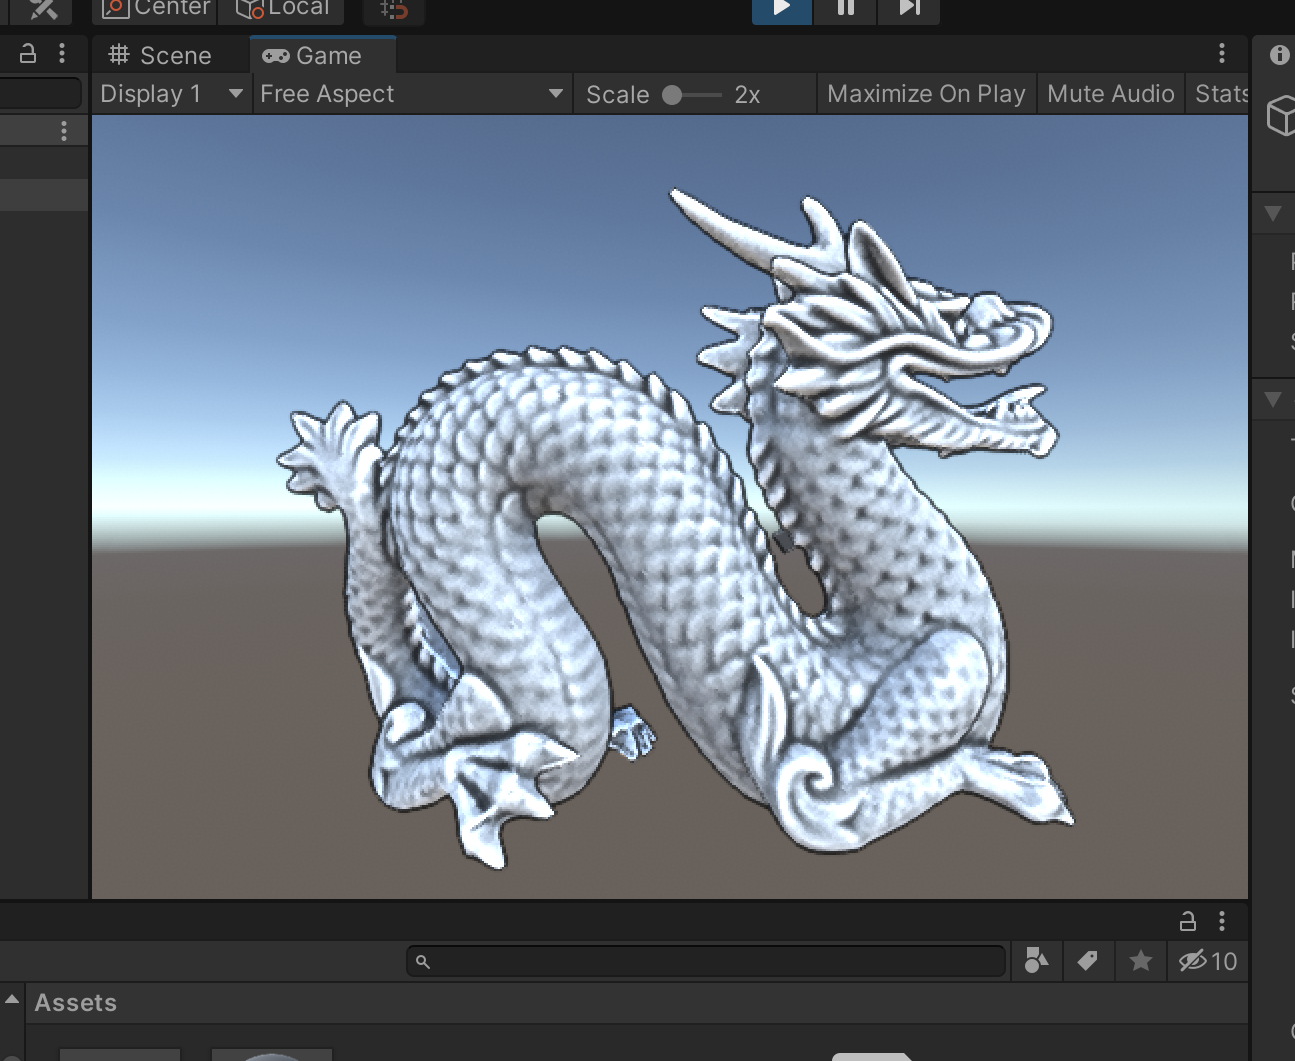
The shader is designed to accentuate the contrast between adjacent ridges and valleys in the scene.
Usage
From https://learn.unity.com/tutorial/creating-a-global-post-processing-volume#5d0b3fc0edbc2a00205f34cb
Add Post Processing package to your project
Open Unity, load or create a new project. From the Windows dropdown, select Package Manager. On the upper-left side of the Package Manager window, click the All button. Select Post-Processing from the list on the left and click the Install button on the right side of the window. After the Package Manager has refreshed, you should see Post-Processing in the In Project tab. Close the Package Manager window.
Create a Post Processing volume component
In the Hierarchy, right-click and select Create Empty. This will create an empty game object in the Scene. Rename the game object to “PostProcessingGO.” In the Inspector, click the Add Component button and search for Post-Processing Volume. Select the volume from the list to apply it to the object. At the top of the Post-Processing Volume component, check the Is Global box. Leave weight and priority at default and click the new button on the profile line to create a new profile, then underneath click Add effect and select custom -> ScreenSpaceCurvature. You can adjust the ridge and valley settings here.
Add the Post Processing layer
At the top of the Inspector, click the Layer dropdown and select Add Layer. In an available Layer slot, type “PostProcessing.” Select the PostProcessingGO again, and at the top of the Inspector, set its Layer to PostProcessing. Select the Main Camera in the Hierarchy, and in the Inspector add a Post-Processing Layer. In the Post-Processing Layer component, click on the Layer dropdown and select PostProcessing.
Don't forget to copy the Shader & script file to your Unity project.
You should now be able to see the effect in the scene and game window.
Screenshots
Original Links
https://forum.babylonjs.com/t/cavity-shader-effect-like-blender-2-8-viewport-for-babylon-js/11789/18

