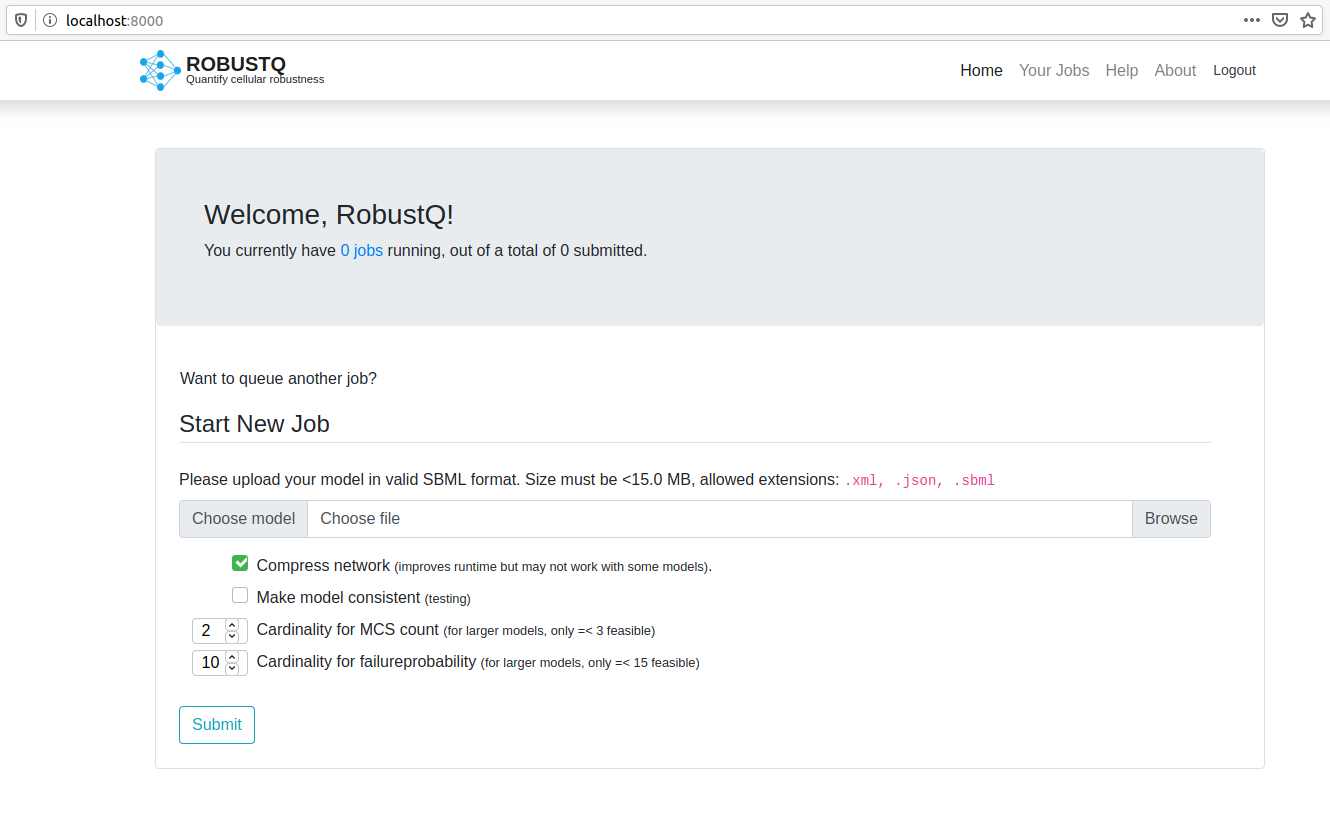
a web service to quantify cellular robustness. This repository includes everything you need to set up a local development server. It has been tested on Linux (Ubuntu 19.04 or later, Debian 10) only.
To run the development server locally, you will need
- Python 3.6
- Django 3.0.4
- Celery 4.4
- python-libsbml
- mysqlclient
- a MySQL/MariaDB database
- RabbitMQ server
- Cobrapy
Clone the repository:
git clone https://github.com/domvie/RobustQ.git
Run the following commands to install all requirements at once:
sudo apt-get update
sudo apt-get install apache2 apache2-utils mariadb-server libmariadbclient-dev python3-dev libapache2-mod-wsgi-py3 rabbitmq-server python3-pip python3-virtualenv python3-openpyxl
Create a new virtual environment in the project root folder. To do so with virtualenv:
python3 -m virtualenv --python=/usr/bin/python3 ./venv
Activate it with source venv/bin/activate
Install Python dependencies with pip3 install -r requirements.txt.
Create the database by opening the MariaDB shell and entering:
CREATE DATABASE RobustQ;
Create a User and grant him privileges:
grant all privileges on RobustQ.* TO 'USER_NAME'@'localhost' identified by 'PASSWORD';
flush privileges;
You will need to configure this login data in the Django settings file under RobustQ/settings.py under the database section to be able to connect.
Or simply create a local configuration file following this schema:
touch RobustQ/local_config.py and insert: DB = {'USER': 'DB_USER', 'PW': 'DB_PW', 'NAME': 'RobustQ','EMAILP': 'set_to_anything' }
If you prefer not to use MariaDB/MySQL, any natively supported database by Django will also work (e.g. SQLite3).
Inside the scripts/perlModules folder, copy Math/ and auto/ folder containing Fraction.pm and MatrixFraction.pm to /usr/share/perl/5.30/ for perl scripts to work. You may need to replace 5.30 with version number running on your system.
The binaries and scripts for the computational pipeline are provided.
In order to run celery (the tool that runs our tasks) you will need a message broker. I use RabbitMQ, other services such as Redis are supported however. If you've installed RabbitMQ, the default connection parameters specified in RobustQ/celery.py should work.
python3 manage.py makemigrations
python3 manage.py migrate
python3 manage.py createcachetable
python3 manage.py createsuperuser (optional)
To run the server type python3 manage.py runserver and head to http://localhost:8000/. If everything worked well so far, you should see the RobustQ landing page.
After successful setup make sure to start up your celery worker. By default, I use two workers with --concurrency=1. You may set these up in whatever way you like though, and performance may be improved by increasing concurrency setting. Keep in mind however, certain tasks (such as the MCS count) take a lot of resources and should not be run in parallel.
The following command should start two celery workers in the right configuration:
celery multi start 2 -Q:1 celery -Q:2 jobs -c:1 1 -c:2 1 -l info -A RobustQ --pidfile=%n.pid --logfile=logs/%p%n.log -B
For daemonization scripts, please refer to the official Celery docs.
After account creation, you will need a valid SBML model. Supported filetypes are .xml, .json, or (in future versions) .zip. Simply upload your model, tweak the parameters to your liking and hit submit. This will queue the job and execute it accordingly (reminder: make sure you have your celery workers running. If you are unsure, head to the official docs). Example models are included under example_models/.
The following pictures may be outdated.
You will be redirected to the overview site.
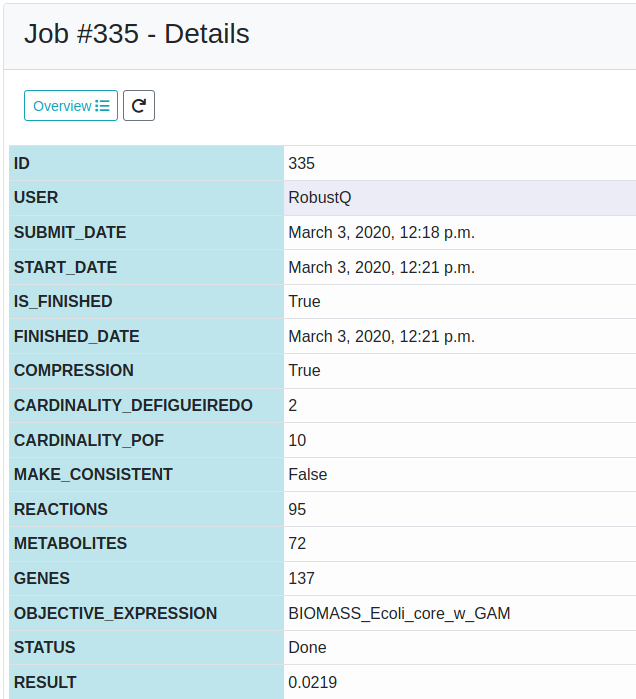
When your job is finished you can check and download the results (the PoF) by clicking on 'Details'.
If you have any questions feel free to contact me.


