Mikrotik Router
Monitor and control your Mikrotik device from Home Assistant.
- Interfaces:
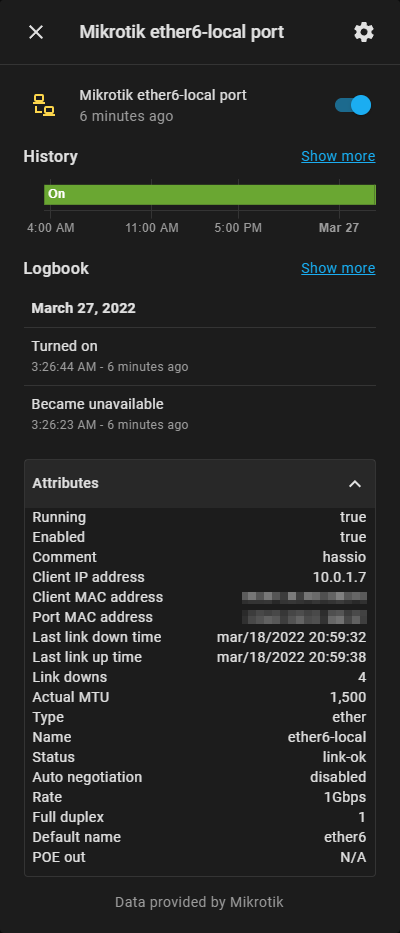
- Enable/disable interfaces
- SFP status and information
- POE status, control and information
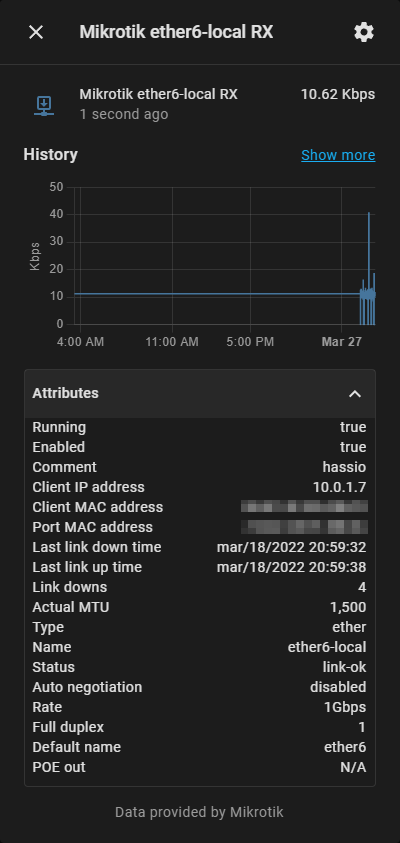
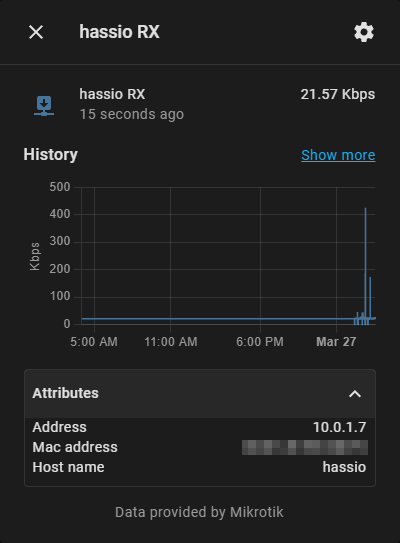
- Monitor RX/TX traffic per interface
- Monitor device presence per interface
- IP, MAC, Link information per an interface for connected devices
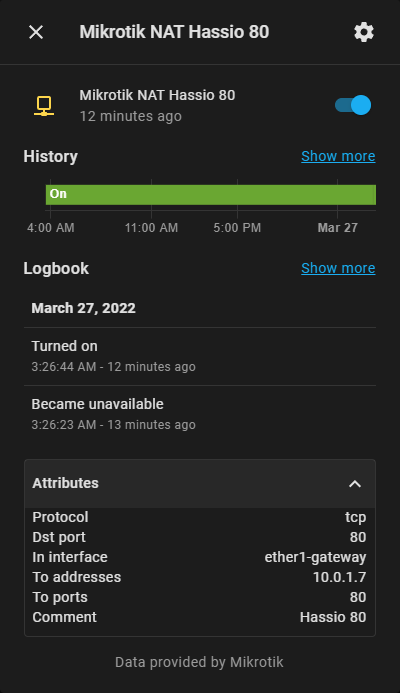
- Enable/disable NAT rule switches
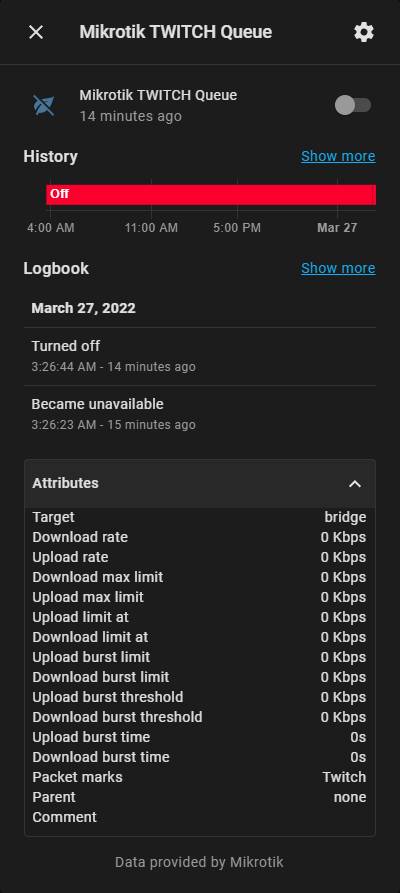
- Enable/disable Simple Queue switches
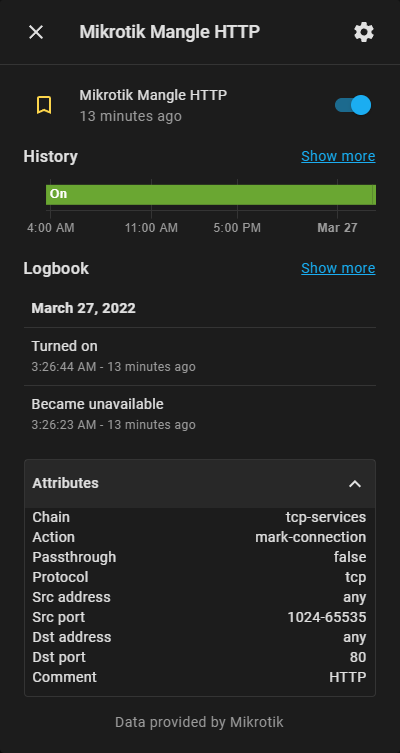
- Enable/disable Mangle switches
- Enable/disable Filter switches
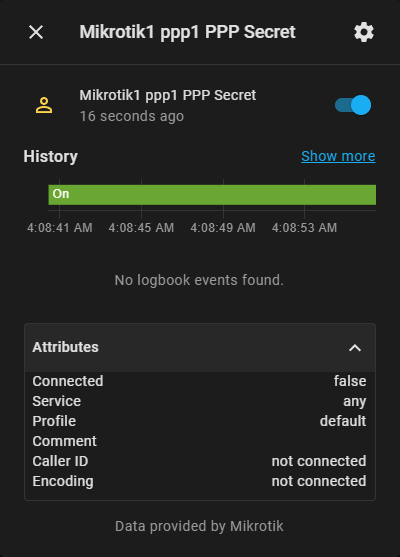
- Monitor and control PPP users
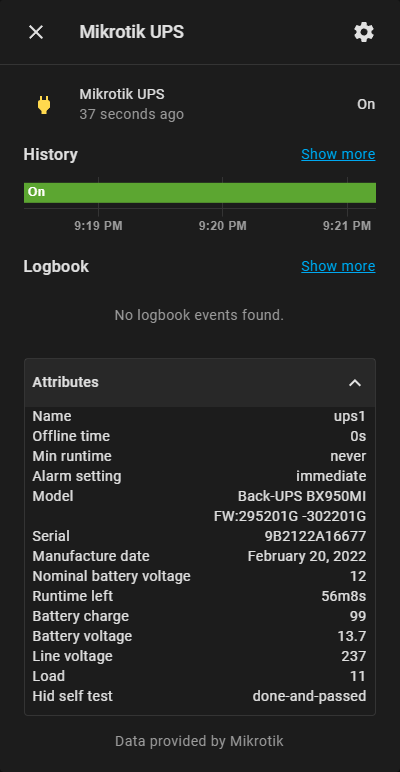
- Monitor UPS
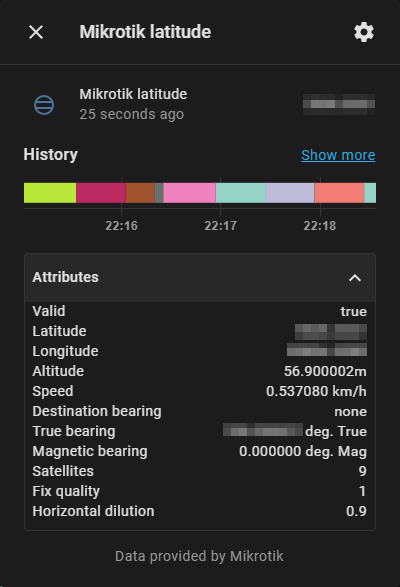
- Monitor GPS coordinates
- Captive Portal
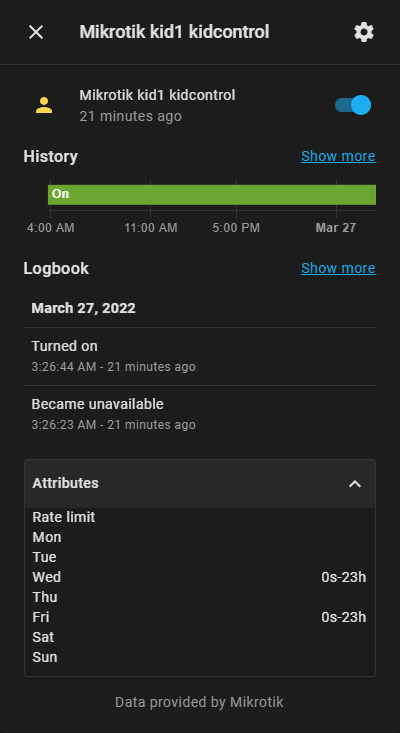
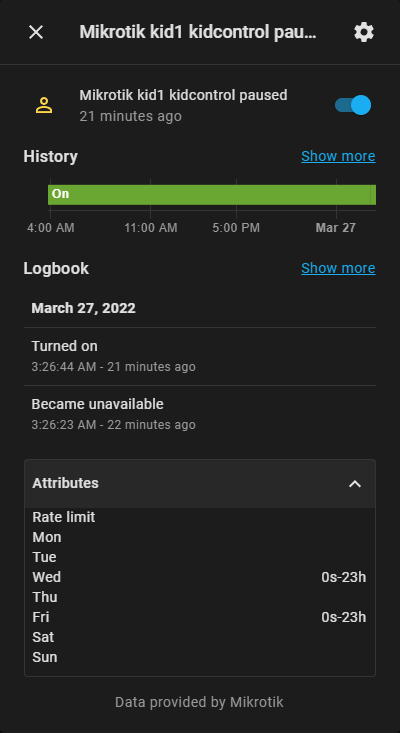
- Kid Control
- Client Traffic RX/TX WAN/LAN monitoring though Accounting or Kid Control Devices (depending on RouterOS FW version)
- Device tracker for hosts in network
- System sensors (CPU, Memory, HDD, Temperature)
- Check and update RouterOS and RouterBOARD firmware
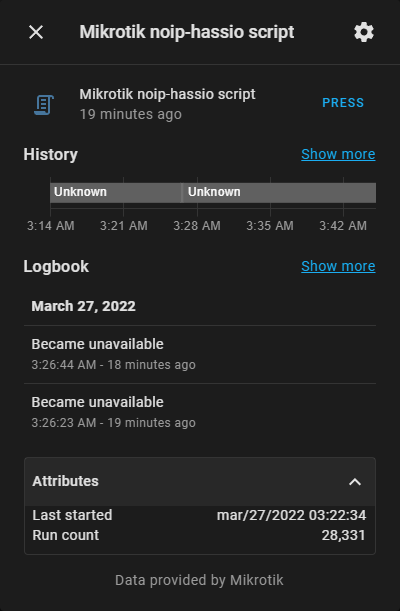
- Execute scripts
- View environment variables
- Configurable update interval
- Configurable traffic unit (bps, Kbps, Mbps, B/s, KB/s, MB/s)
- Supports monitoring of multiple mikrotik devices simultaneously
Features
Interfaces
Monitor and control status on each Mikrotik interface, both lan and wlan. Both physical and virtual.
NAT
Monitor and control individual NAT rules.
More information about NAT rules can be found on Mikrotik support page.
Mangle
Monitor and control individual Mangle rules.
More information about Mangle rules can be found on Mikrotik support page.
Simple Queue
Control simple queues.
More information about simple queues can be found on Mikrotik support page.
NOTE: FastTracked packets are not processed by Simple Queues.
PPP
Control and monitor PPP users.
Host Tracking
Track availability of all network devices. All devices visible to Mikrotik device can be tracked, including: LAN connected devices and both Wireless and CAPsMAN from Mikrotik wireless package.
Scripts
Execute Mikrotik Router scripts. You can execute scripts by automatically created switches or using services.
Kid Control
Monitor and control Kid Control.
Client Traffic
Client Traffic for RouterOS v6
Monitor per-IP throughput tracking based on Mikrotik Accounting.
Feature is present in Winbox IP-Accounting. Make sure that threshold is set to reasonable value to store all connections between user defined scan interval. Max value is 8192 so for piece of mind I recommend setting that value.
More information about Accounting can be found on Mikrotik support page.
NOTE: Accounting does not count in FastTracked packets.
Client Traffic for RouterOS v7+
In RouterOS v7 Accounting feature is deprecated so alternative approach for is to use Kid Control Devices feature (IP - Kid Control - Devices).
This feature requires at least one 'kid' to be defined, after that Mikrotik will dynamically start tracking bandwidth usage of all known devices.
Simple dummy Kid entry can be defined with
/ip kid-control add name=Monitor mon=0s-1d tue=0s-1d wed=0s-1d thu=0s-1d fri=0s-1d sat=0s-1d sun=0s-1d
UPS sensor
Monitor your UPS.
GPS sensors
Monitor your GPS coordinates.
Update sensor
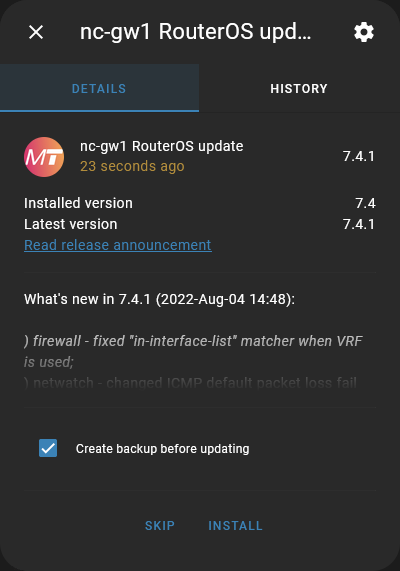
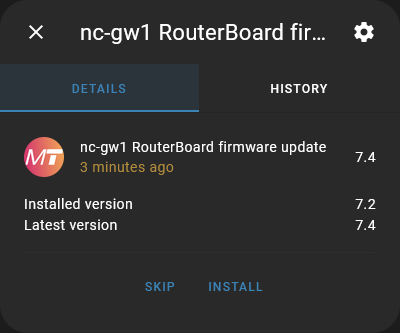
Update Mikrotik OS and firmare directly from Home Assistant.
Install integration
This integration is distributed using HACS.
You can find it under "Integrations", named "Mikrotik Router"
Minimum requirements:
- RouterOS v6.43/v7.1
- Home Assistant 0.114.0
Using Mikrotik development branch
If you are using development branch for mikrotik, some features may stop working due to major changes in RouterOS. Use integration master branch instead of latest release to keep up with RouterOS beta adjustments.
Setup integration
- Create user for homeassistant on your mikrotik router with following permissions:
- read, write, api, reboot, policy, test
- lower permissions are supported, but it will limit functionality (read and api permissions are mandatory).
- system health sensors won't be available without write permissions. this limitation is on mikrotik side.
- If you want to be able to execute scripts on your mikrotik router from HA, script needs to have only following policies:
- read, write or check "Don't Require Permissions" option
- Setup this integration for your Mikrotik device in Home Assistant via
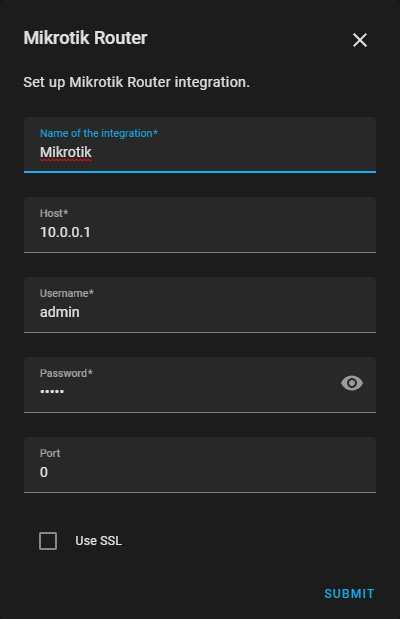
Configuration -> Integrations -> Add -> Mikrotik Router. You can add this integration several times for different devices.
NOTES:
- Do not mistake "Mikrotik Router" integration with HA build-in integration named "Mikrotik".
- If you dont see "Mikrotik Router" integration, clear your browser cache.
- "Name of the integration" - Friendly name for this router
- "Host" - Use hostname or IP
- "Port" - Leave at 0 for defaults
Configuration
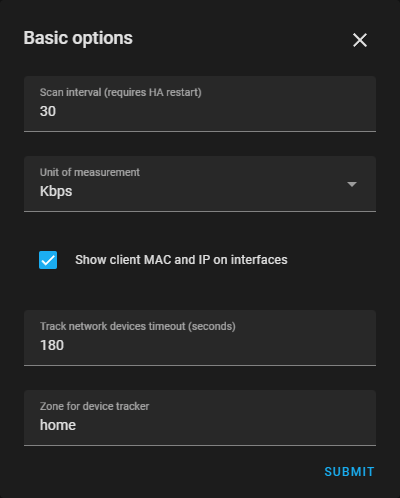
First options page:
- "Scan interval" - Scan/refresh time in seconds. HA needs to be reloaded for scan interval change to be applied
- "Unit of measurement" - Traffic sensor measurement (bps, Kbps, Mbps, B/s, KB/s, MB/s)
- "Show client MAC and IP on interfaces" - Display connected IP and MAC address for devices connected to ports on router
- "Track network devices timeout" - Tracked devices will be marked as away after timeout (does not apply to Mikrotik wireless and caps-man)
- "Zone for device tracker" - Add new tracked devices to a specified Home Assistant zone
Second options page:
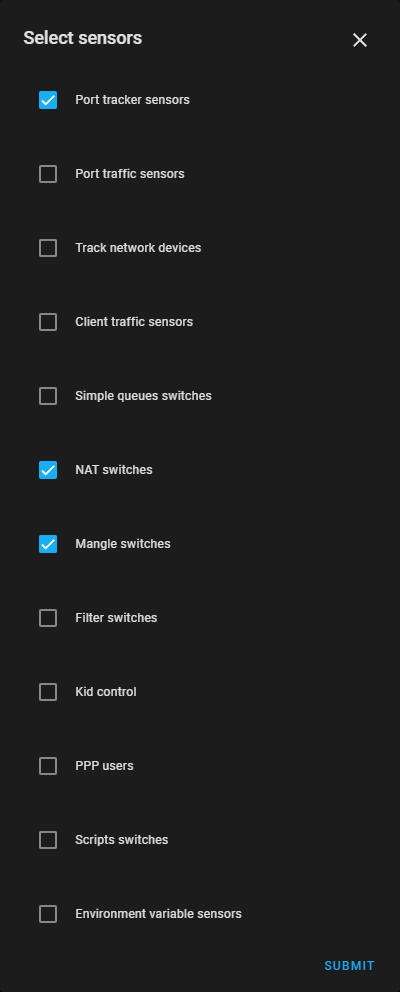
Select sensors you want to use in Home Assistant.
Development
Translation
To help out with the translation you need an account on Lokalise, the easiest way to get one is to click here then select "Log in with GitHub". After you have created your account click here to join Mikrotik Router project on Lokalise.
If you want to add translations for a language that is not listed please open a Feature request.
Diagnostics
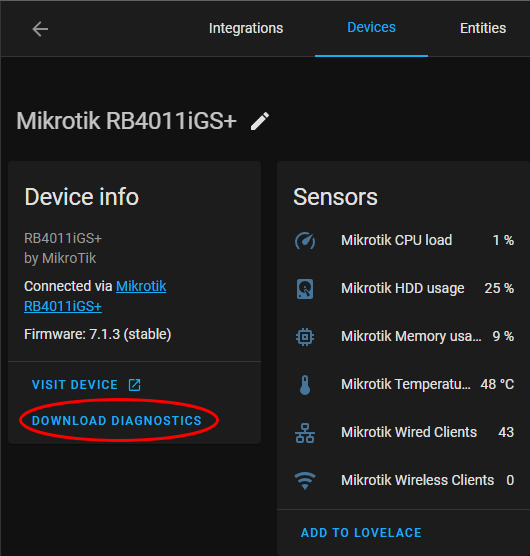
Download diagnostics data for investigation:
Enabling debug
To enable debug for Mikrotik router integration, add following to your configuration.yaml:
logger:
  default: info
  logs:
    custom_components.mikrotik_router: debug


