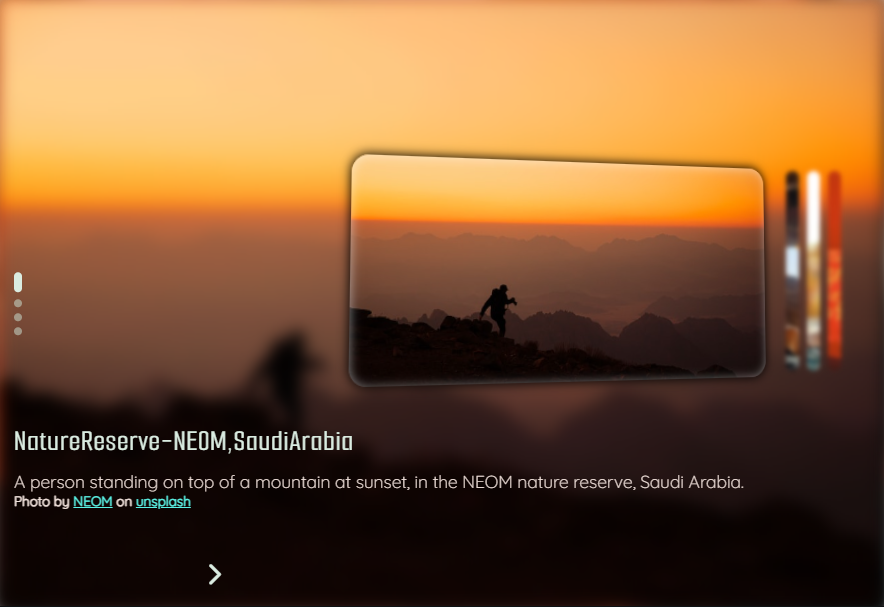
Basic structure of the Image Slider project.
└── 📁image-slider
    └── 📁assets
        └── 📁images
            └── image-slider.png
            └── large-image-1.jpg
            └── large-image-2.jpg
            └── large-image-3.jpg
            └── large-image-4.jpg
            └── small-image-1.jpg
            └── small-image-2.jpg
            └── small-image-3.jpg
            └── small-image-4.jpg
    └── 📁css
        └── styles.css
    └── 📁js
        └── main.js
    └── index.html
    └── README.md
NOTE: photos used in this project were downloaded from unsplash.
I've seen some videos on YouTube about how to create an image slider and they inspired me to create my own. I thank all the programmers who do a magnificent job in sharing their knowladge.
-
element selectors:
- querySelector()
- querySelectorAll()
// element selector
const querySelector = (element) => document.querySelector(element);
const querySelectorAll = (element) => document.querySelectorAll(element);
-
event trigger:
- eventHandler()
// event handler
const eventHandler = ($, event, callback, capture = false) => $.addEventListener(event, callback, !!capture);
-
create html element:
- createElement()
// create element
const createElement = (element) => document.createElement(element)
With the custom functions mentioned above, they help us avoid repeatedly writing document.querySelector(), document.querySelectorAll() and element.addEventListener('click', () => {}), these functions only need to be called when needed.
When you want to select an element by class, id, element or data-*, you can use the custom functions querySelector() or querySelectorAll().
const images = querySelectorAll('[data-images]')
const prevBtn = querySelector('[data-state="prev"]')
If you want to trigger an event without constantly typing element.addEventListner() method, you can use the following custom function.
const prevBtn = querySelector('[data-state="prev"');
const handlePrevImage = () => {}

eventHandler(prevBtn, 'click', handlePrevImage)
or
eventHandler(prevBtn, 'click', () => {
  // code here
})To create these custom features, I was inpired by Dave Gray on his YouTube channel, on Traversy Media's YouTube channel, on how to create an expandable cards in his 50projects50days project, on developedbyed's YouTube channel on how to create a text animation.
To get the maximum number of an element, we use the .map(), .reduce() and .filter() methods, like so.
// get maximum length
const legnth = split
  .map(string => parseInt(string.length + 1))
  .filter(index => index)
  .reduce((acc, cur) => acc + cur, 48)
The code snippet above is a modification of the meech_ward Instagram account code, below is his original code.
const output = "what's your perfect first date?"
  .split("")
  .map(parseInt)
  .filter(a => a)
  .reduce((a, b) => a + b)
  .toString()
  .split("")
  .reverse()
.join("")NOTE: as we have four headings, we use the .forEach() method to iterate over them, so we need to create a variable called length, to get the maximum number and make the text get a fancy animation and stop when the length variable is equal to the variable called char.
Example:
const selector = {
  headings: querySelectorAll('[data-title]')
}

const { headings } = selector;

const textAnimation = () => {
  headings.forEach(text => {
    const string = text.textContent;
    const split = string.split('');

    let char;
    let timeout = 30;

    text.textContent = '';

    split.forEach(element => text.innerHTML += `<span>${element}</span>`);

    const showAnimation = () =>  {
      span = querySelectorAll('span')[char];
      span.classList.add('fade');
      char++;

      // get maximum length
      const legnth = split
        .map(string => parseInt(string.length + 1))
        .filter(index => index)
        .reduce((acc, cur) => acc + cur, 48);

      if(char === length){
        completeAnimation();
        return
      }
    }

    const completeAnimation = () => {
      clearIterval(interval);
      interval = null;
    }

    let interval = setInterval(showAnimation, timeout)
  })
}

textAnimation();