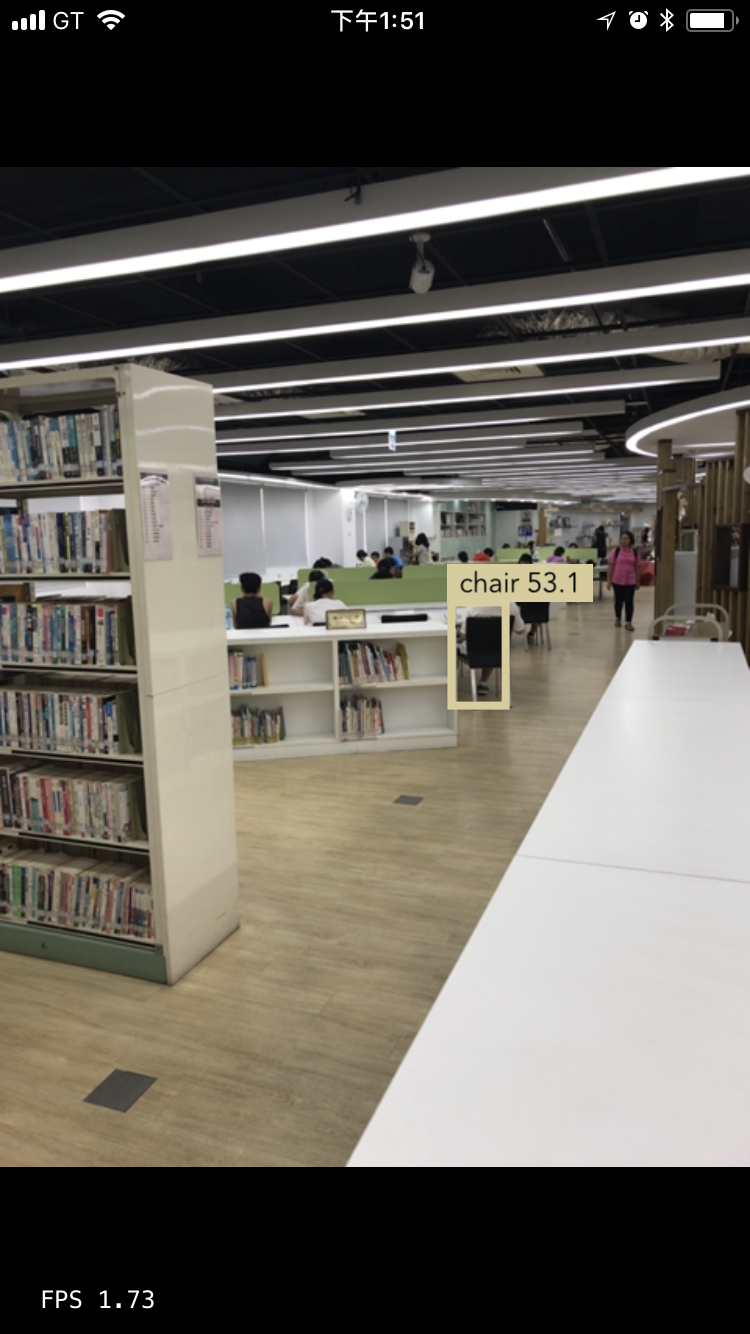
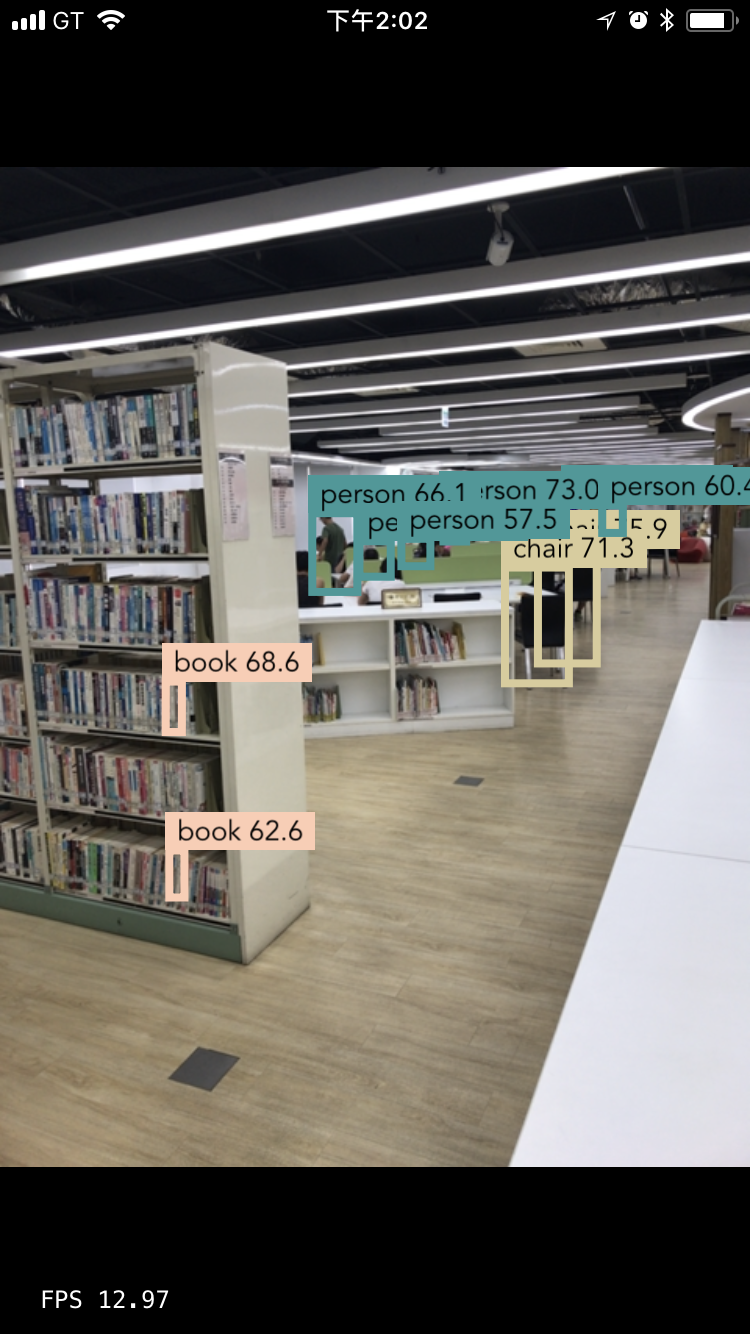
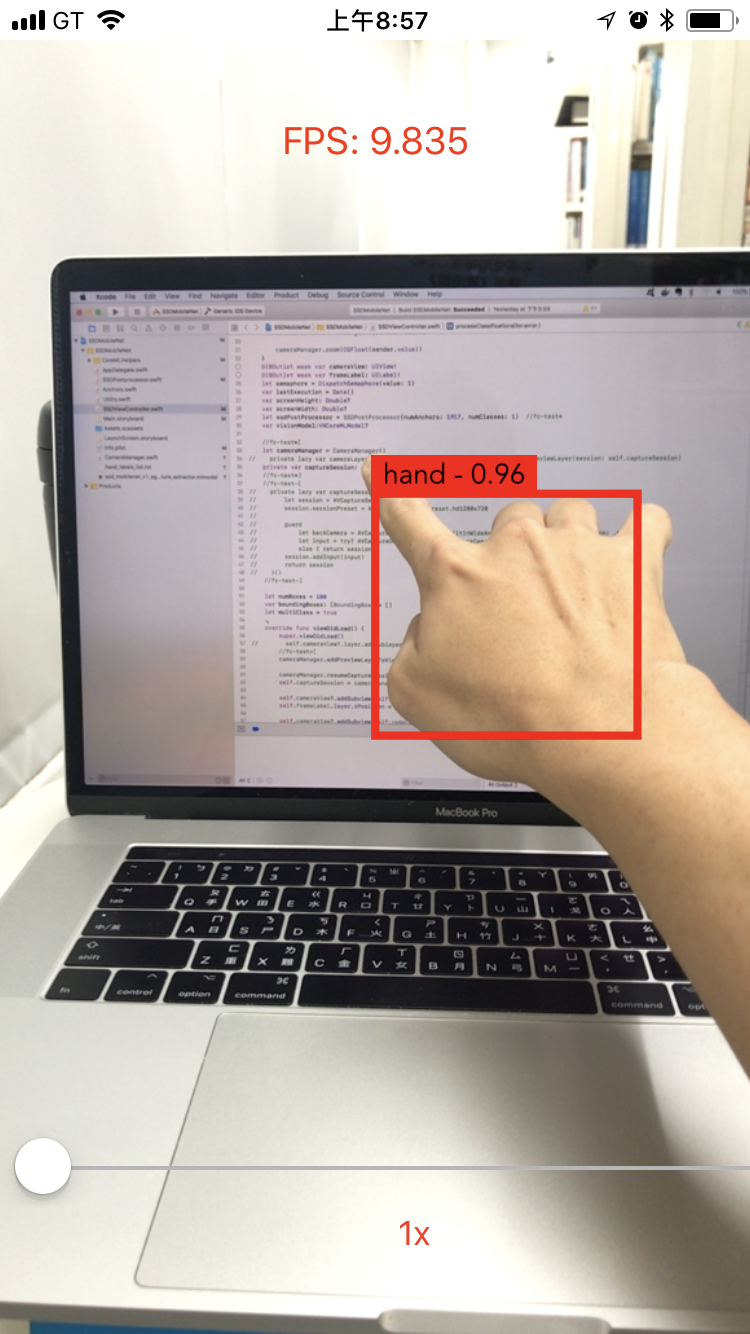
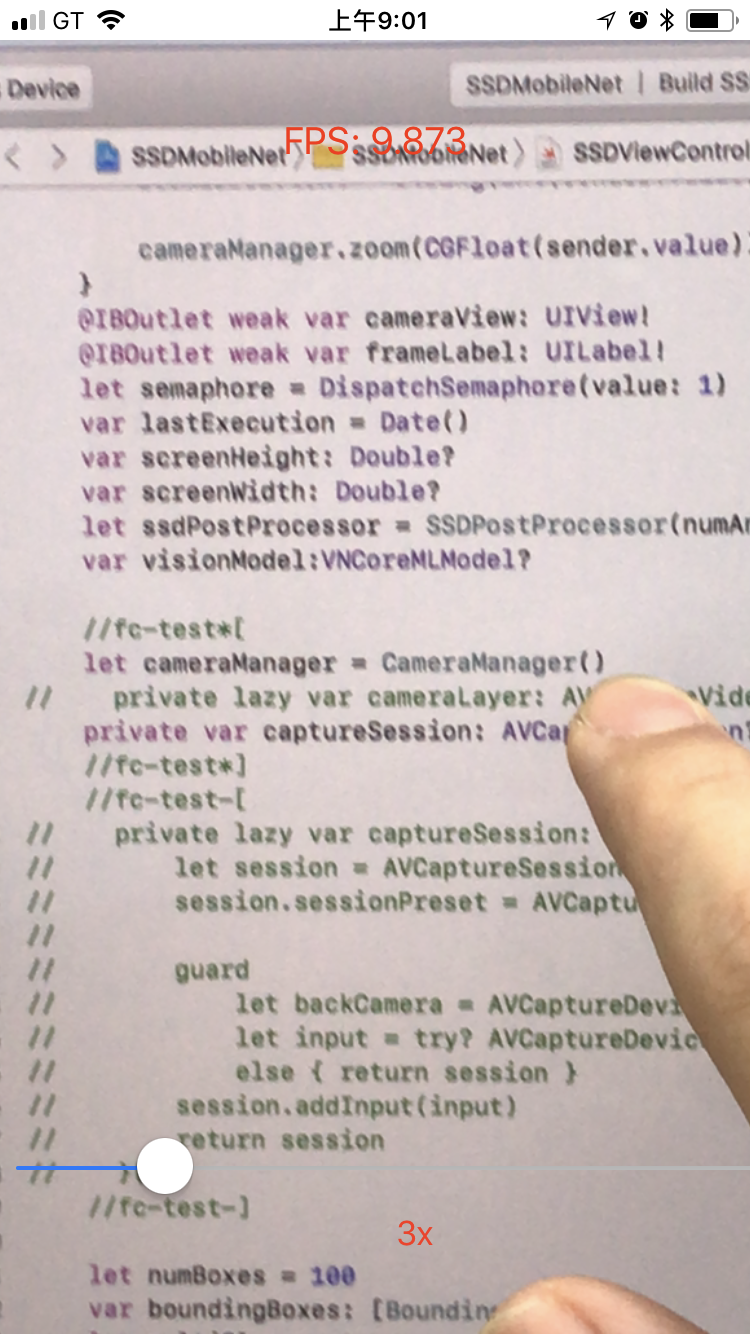
Welcome to My capstone project. In this project, I will create a real time object detection magnifier, please follow below instruction to setup and run the environment. After running the whole process, you will get the classifier to detect hand and COCO objects. After import these classifiers in iOS App, below are some screenshots captured from final iOS App.
- SSD detect hand
| Normal | Zoom in 3x |
|---|---|
 |
 |
- SSD detect COCO
| Normal | Zoom in 3x |
|---|---|
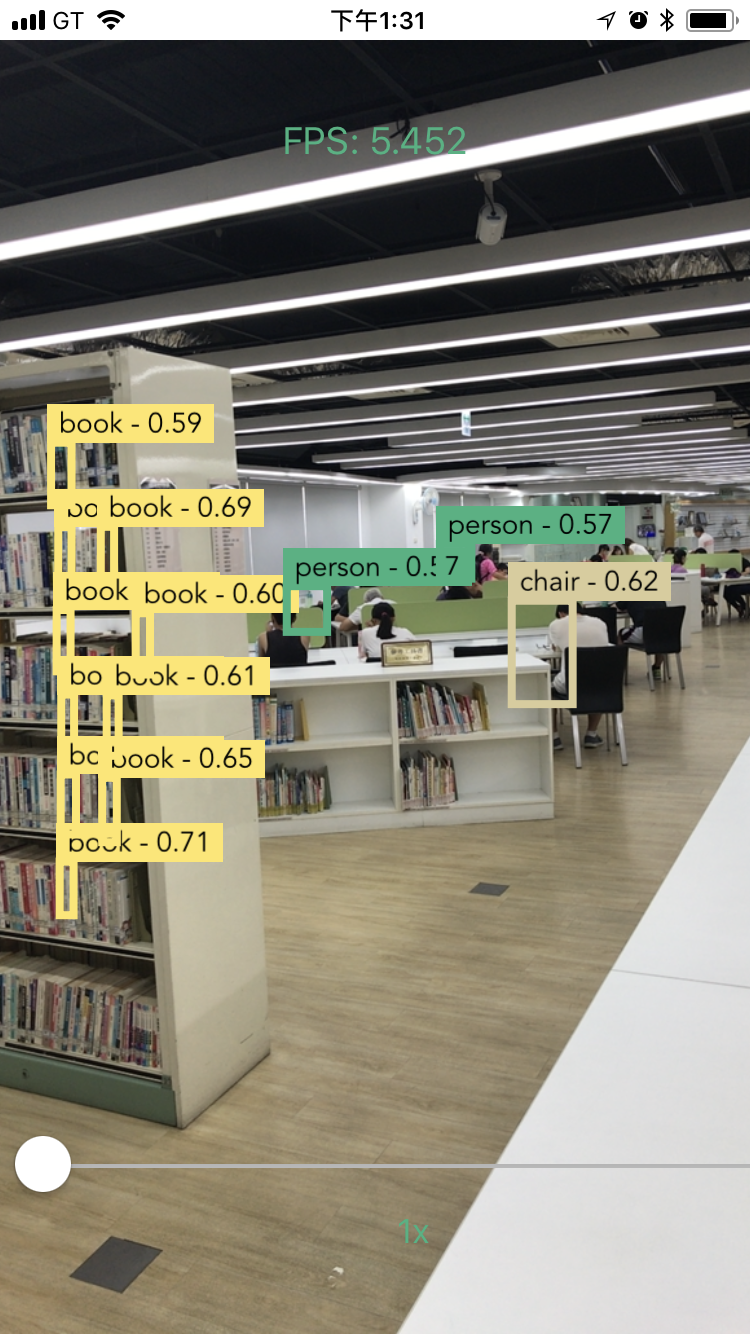 |
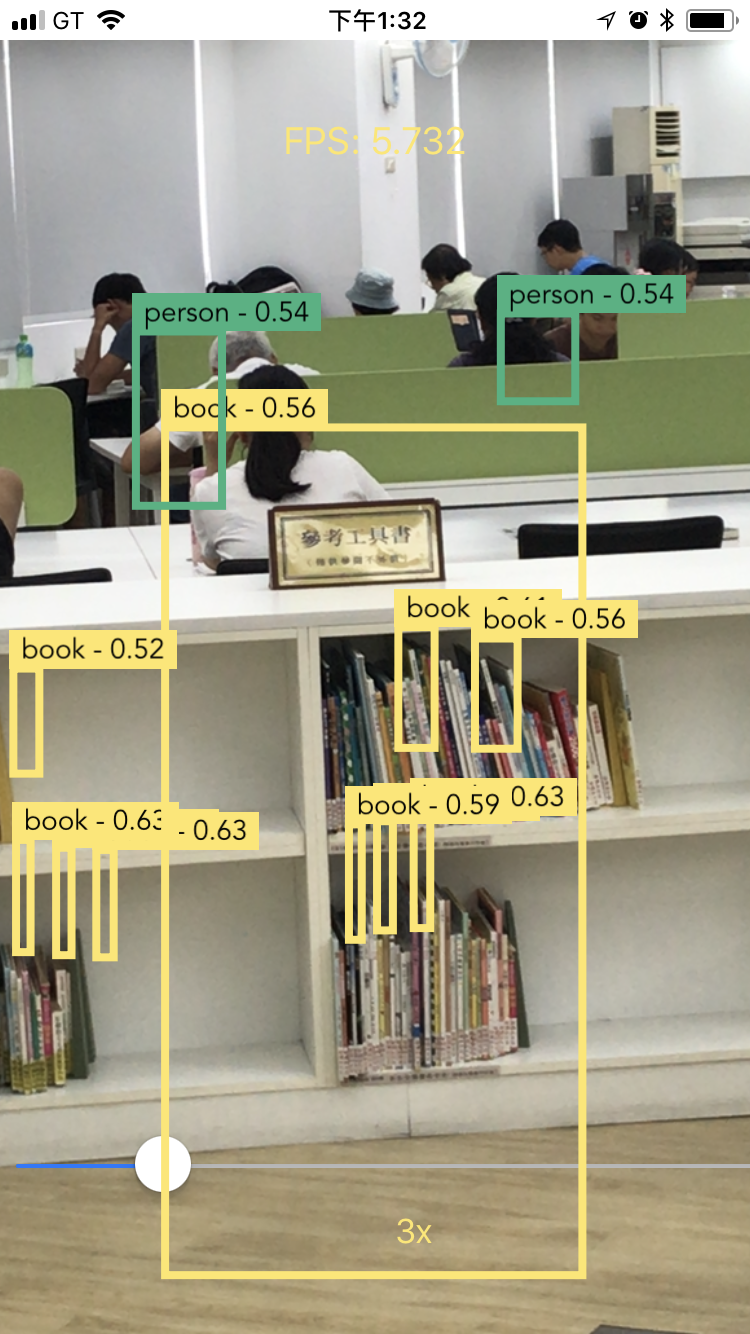 |
- YOLOv2 detect COCO
- Tiny YOLOv2 detect COCO
-
Pick one host system.
- Linux: Recommend
- Mac: Can just do the data pre-processing job.
-
Download docker image. I already setup all required software in this docker iamge, so just download and run it.
docker pull dragon7/mlnd-Capstone
-
Run X Server in host system.
- Windows: VcXsrv or Xming
- Mac: XQuartz
-
Create a _tmp folder in $HOME, to preserve the trained model file.
-
Run docker image.
- Linux
docker run --name mlnd -p 8888:8888 -p 6006:6006 \ --net=host -e DISPLAY=10.0 -v $HOME/.Xauthority:/root/.Xauthority \ -v $HOME/tmp:/root/tmp \ -d dragon7/mlnd-capstone- Mac
    docker run --name mlnd -p 8888:8888 -p 6006:6006 \
    -e DISPLAY=[IP_ADDRESS]:0 -v $HOME/.Xauthority:/root/.Xauthority --privileged \
    -v $HOME/tmp:/root/tmp \
    -d dragon7/mlnd-capstone
NOTE: [IP_ADDRESS] should be changed to your valid IP address
-
Open browser and type below URI to Login to project.
    http://localhost:8888
    Password: root
-
Open project implementation file:
Project/capstone/implementation.ipynb. -
Change the kernel to match the pyton3 environment by using the drop-down menu (Kernel > Change kernel > python3). Then, follow the instructions in the notebook.
Note: During the %run egohands_setup.py step, if the popuped GUI can't stop normally, please stop the X Server in step 3 and continue. The X Server is only used for this step.
