By Kavi Gill, Daniel Rashevsky, and Joel Renish
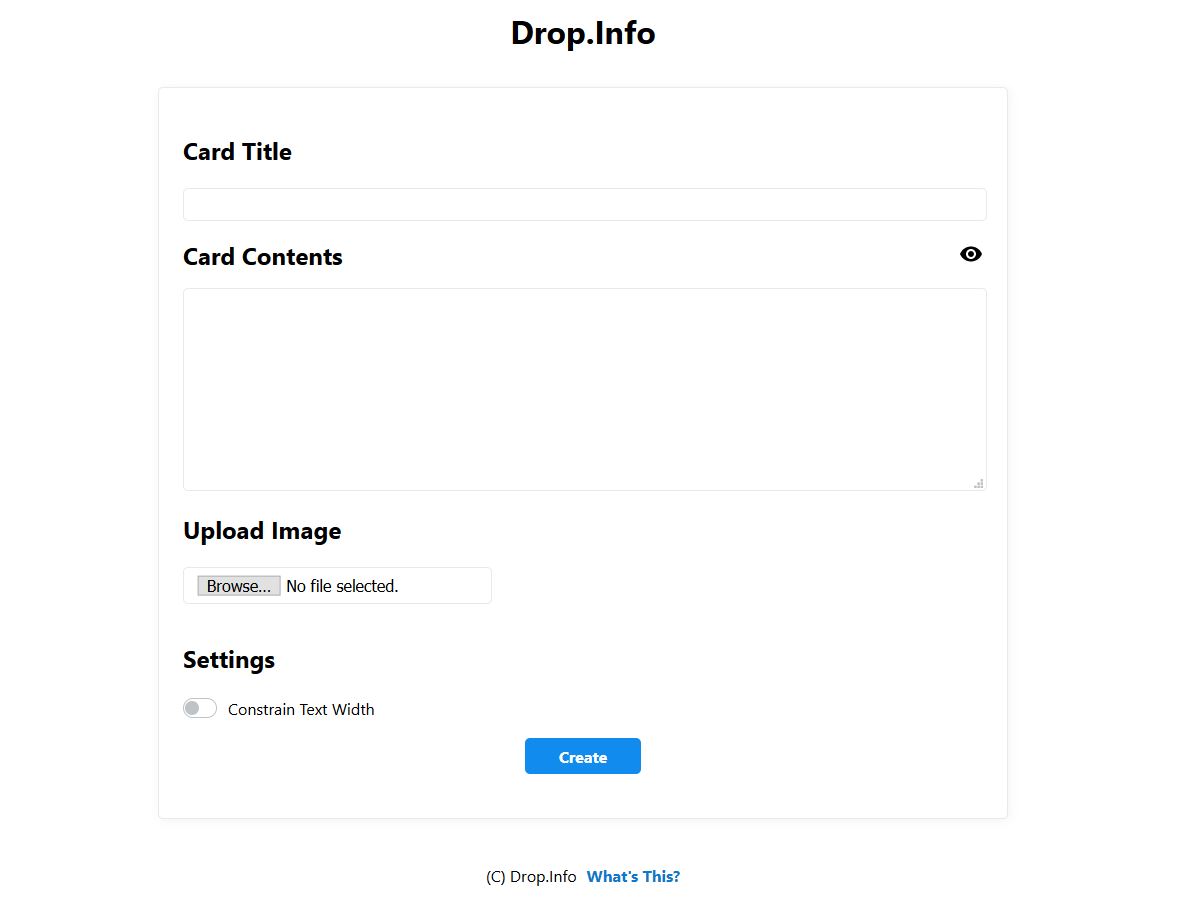
UW CSE 143 Project: Drop.Info is a website that allows users to quickly create index-card-sized posts of information about anything and share them with a short link. A video demonstrating its use is located here.
To install and run Drop.Info, you first need to clone this Git repo. This can be done by simply running:
git clone https://github.com/drashevsky/Drop.Info.git
The repo is comprised of several folders:
srccontains the uncompiled web and Java source code of the projectbuildcontains the compiled server and files, will be filled when you build the projectdepscontains Java dependenciesrunscriptscontains small scripts used in running the server
To build and run the project on Windows:
- Run
build.bat. You may need to grant UAC and SmartScreen permissions for it to run successfully. It will produce a lot of output, and pause when it is complete. Exit it. build.batwill output a server build in thebuild\folder.- Inside
build\, runrunserver.bat. You may also need to grant it UAC and SmartScreen permissions. If a prompt comes up asking for firewall access, allow it. - The server is now running on port 80, so head over to http://localhost/ to access the webapp.
To build and run the project on Linux (use the terminal):
- Run
chmod +x ./build.sh. This should give it the necessary permissions to start. - Run
sudo ./build.sh. It will produce a lot of output, and pause when it is complete. Exit it. build.shwill output a server build in thebuild/folder.- Inside
build/,build.shshould have givenrunserver.shnecessary permissions to run, but if not, runchmod +x ./runserver.sh. - Run
sudo ./runserver.sh. This should start the server. - The server is now running on port 80, so head over to http://localhost/ to access the webapp.
- Note: This build process was not tested on Macintosh.
Now that you have installed, built, and run the application, you can learn how to use it by going to the http://localhost/what page or watching this video.

