- A bash shell
- python2.7
- virtualbox
- vagrant
- A slack channel with hubot enabled (optional)
git clone git@github.com:dravetech/preso_abstract_all_the_things.git
mkvirtualenv -a preso_abstract_all_the_things preso_abstract_all_the_things
pip install -r requirements.txt
For this demo I used an online lab hosted by network.toCode(). The lab name is MULTI-VENDOR EOS (2) AND VMX (2). If you want to try it out network.toCode() has been kindly enough to provide the promotion code napalm6. The promotion code will let you run the lab to the first 100 users. Please, don't abuse it, you have 6 hours to try out this demo, which should be plenty of time if you make sure your environment is set correctly.
Note: Neither me or my employer are in any way affiliated with network.toCode()
Note 2: The lab will take a while to start so be patient.
This is optional, if you are not interested in trying the API or the slack integration you can move on to the next section.
- Go to the link
https://www.slack.com/apps/A0F7XDU93-hubot. You will probably be redirected tohttps://$your_organization_name.slack.com/apps/A0F7XDU93-hubot. Make sure your organization is selected on the box on the upper right corner.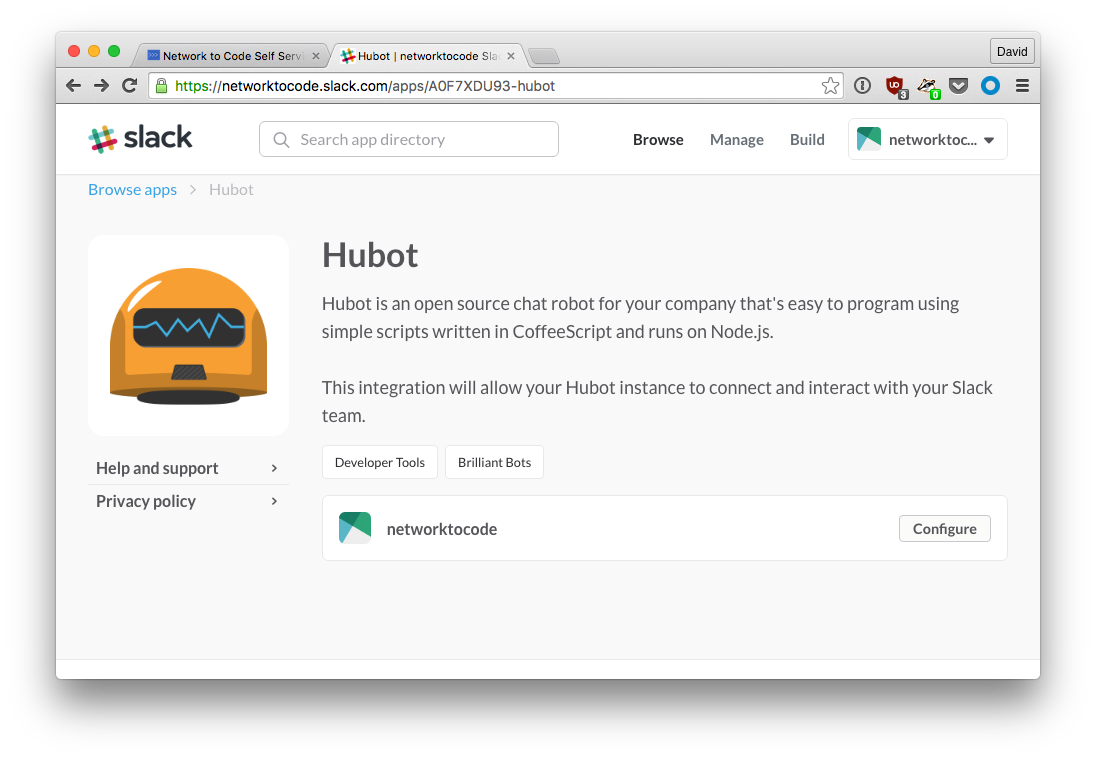
- Click on
configureand configure your hubot name, icon, etc. Make sure you save theAPI Token.
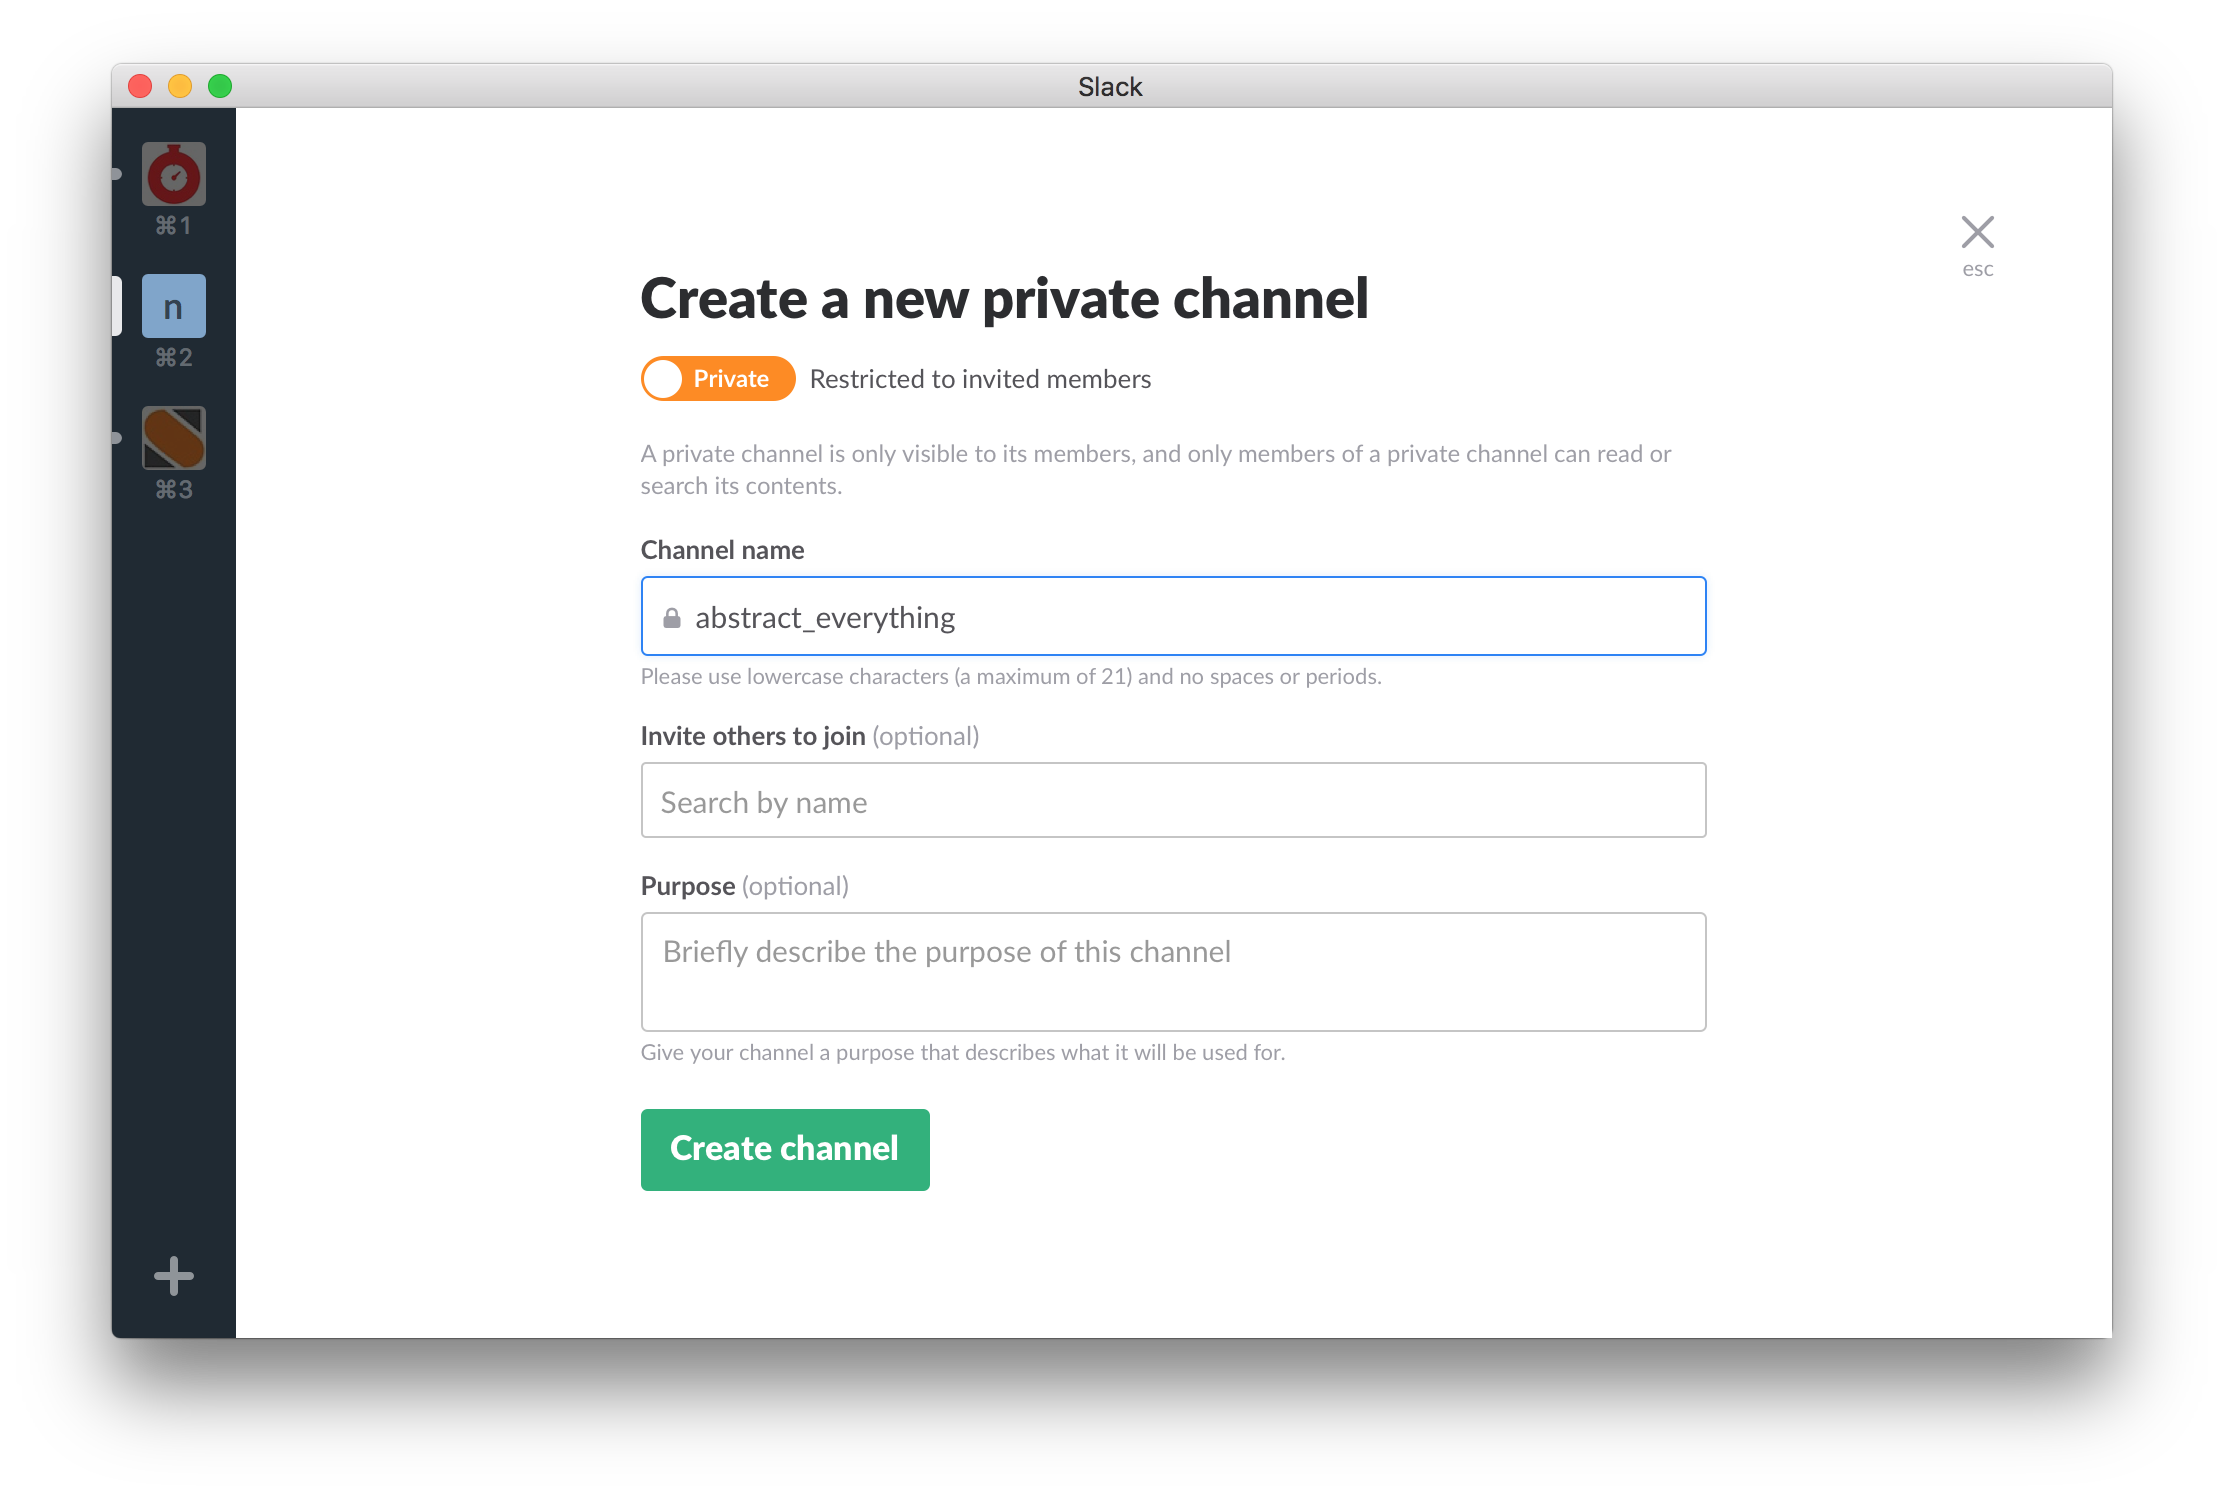
- Create a channel on your slack organization.
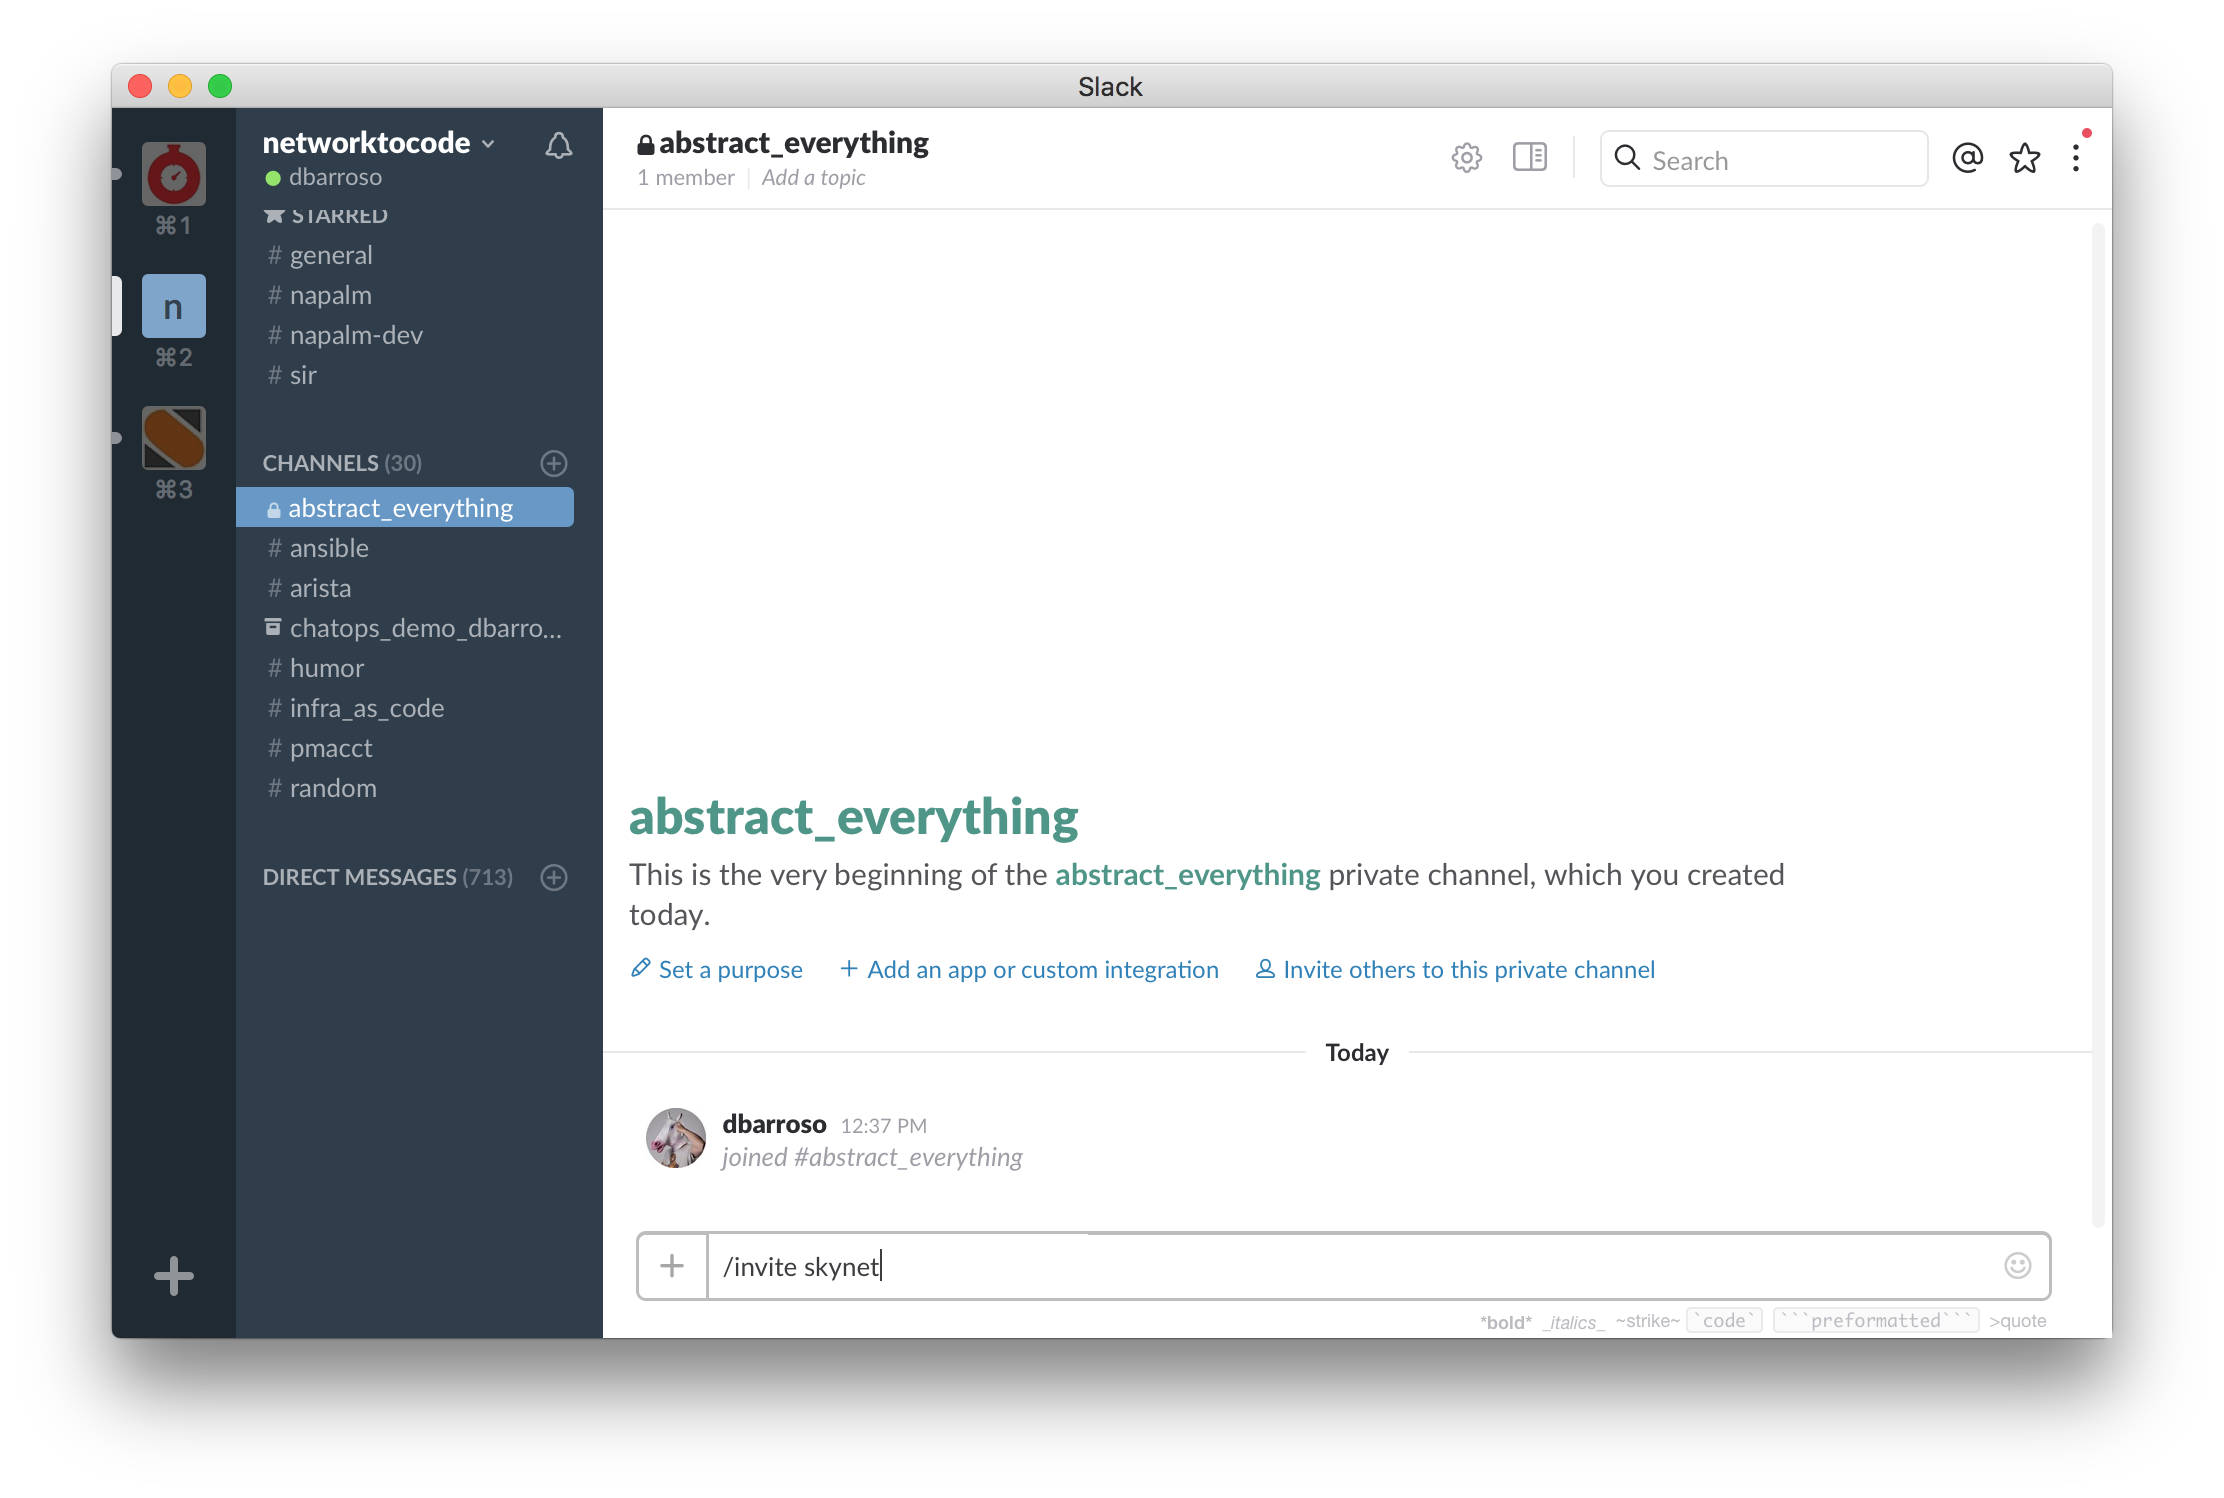
- Go to your slack channel and invite your bot.


After the lab is started and before actually starting to work with the demo you will have to configure your environment. To do so gather the following information:
- Devices' public IP's. You can find them under "Console & IP Address Information" in your lab dashboard.
- Slack channel name (optional).
- Hubot's
API Token(optional).
When you have all the needed information execute the script configure_environment.sh:
$ ./configure_environment.sh
Enter the IP vmx1: 10.190.178.172
Enter the IP vmx2: 10.220.71.117
Enter the IP eos-spine1: 10.92.38.137
Enter the IP eos-spine1: 10.190.179.82
Enter your slack channel name: abstract_everything
Enter your slack token: xoxb-37241085586-fake
This part is only necessary if you want to test the slack integration and the API. To start the vagrant box execute:
VAGRANT_CWD=./vagrant vagrant up
Note the IP and the TOKEN shown on the screen after finishing booting up the VM. 
Ansible should work by now:
$ cd ansible
$ ansible-playbook deploy_network.yml -e commit_changes=0
....................
# Deploy Configuration ****************************************************************************************************
  * vmx.core2                               - changed=True --------------------------------------------------------------
    [edit interfaces ge-0/0/1 unit 0]
    -      family inet;
    +      family inet6 {
    +          address 2001:db8:c4f3:3::/127;
    +      }
    [edit interfaces ge-0/0/2 unit 0]
    -      family inet;
    +      family inet6 {
(...)
Slack should work as well. 
And the API too:
$ curl -k -H "Content-Type: application/json" -X POST https://$IP/api/v1/webhooks/deploy_fabric -H "St2-Api-Key: $St2-Api-Key" --data '{}'
{}%
Replace the $IP and the $St2-Api-Key with the info you gathered when starting the VM.
Now it's time for you to play. Feel free to play with ansible, invoke, slack, whatever. It's all yours now : )
When you are done don't forget to destroy the VM we used for the slack/API integration. You can do that by just going to the vagrant folder on this project and executing vagrant destroy.