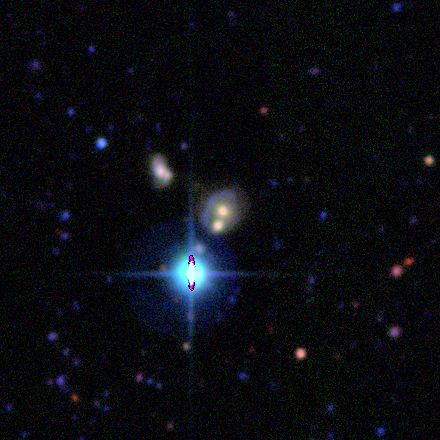
Human Viewable (color composite) Image creation.
Creates a composite colour image like the one above from sets of input FITS files, following the Lupton et al (2004) composition algorithm (with extensions by Hogg & Wherry.)
- Phil Marshall (KIPAC)
- Cato Sandford (NYU)
- Anupreeta More (IPMU)
- Hugo Buddelmeijer (Kapteyn)
This software is distributed under the MIT license - you can do whatever you like with it, but don't blame us! If you use HumVI in your research, please cite this paper as (Marshall et al 2015). If you are interested in the further development of HumVI, please get in touch via the issues. Thanks!
See the Examples notebook for how to compose RGB images from python.
The main executable script is HumVI.py. It takes in 3 FITS files as input, and returns
a color composite, color-saturated png image with an arcsinh stretch. Make sure this script is on your PATH, and than the humvi directory is on your PYTHONPATH.
Example: I have an image in each of three bandpasses, called i.fits, r.fits and g.fits, in the current directory. I wish to combine the three new images into an RGB color composite.
HumVI.py -s 0.4,1.0,1.7 -p 1.0,0.02 -o gri.png i.fits r.fits g.fits
Run HumVI.py -h to read about these options, but basically you can choose the
contrast via the parameters -p Q,alpha and then the R,G,B color balance with the
scales -s R,G,B. Good strategy is first to set alpha with Q=1 so you can just see
the noise, then adjust Q if necessary to brighten up the features, and finally choose
the scales so that the noise looks like an equal mixture of red, green and blue. This
latter step may not be possible if the different channel images have very different
sensitivity.
As well as Lupton's arcsinh stretch, a major advantage of the HumVI algorithm is that you can set the same scales and parameters for all your images, so that you can compare them across your survey. HumVI reads the zero points out of the FITS headers and uses them to put all the images on the same flux scale (ie so that all the pixel values have the same units), so do make sure your images are well calibrated and have informative, accurate headers.
Notes:
HumVI assumes that your FITS images have reasonable images and headers in them. For best results, you should use photometrically calibrated images, that is, where the pixel values can be converted into flux units as follows:
image *= (10.0**(0.4*(30.0 - ZPT))) / EXPTIMEHumVI will attempt to extract the values of EXPTIME and ZPT from the headers of your files, but if it cannot find them, it will use EXPTIME = 1.0 seconds and ZPT = 30 magnitudes by default. You may need to edit humvi/io.py to cope with your file headers, especially if the ORIGIN or TELESCOP keywords are defined but not recognised by the code.
The composition script requires:
- the Python Image Library (PIL)
- NumPy
- astropy
