bio-ai is a command line tool to run workflows for the MBARI BioDiversity project.
The fastest way to get started is to use the Anaconda environment. This will create a conda environment called bio-ai.
git clone http://github.com/mbari-org/bio-ai.git
cd bio-ai
conda env create
conda activate bio-ai- python bio.py download --help` - Download data for training an object detection model
bio -h- Print help message and exit.
Setup a .env file with the following contents:
TATOR_API_HOST=http:/mantis.shore.mbari.org
TATOR_API_TOKEN=15afoobaryouraccesstokenDownload data for model training in a format the deepsea-ai module expects with the download command, e.g.
If your leave off the concepts option, the default is to fetch all concepts.
python bio.py download --generator vars-labelbot --version Baseline --concepts "Krill molt, Eusergestes similis"Download data format is saved to a directory with the following structure e.g. for the Baseline version:
Baseline
    ├── labels.txt
    ├── images
    │   ├── image1.png
    │   ├── image2.png
    ├── labels
    │   ├── image1.txt
    │   ├── image2.txt
Once data is downloaded, split the data and continue to the training command. This requires setting up the AWS account. This should be done by an AWS administrator if you are not already setup.
If you want to download data also in the PASCAL VOC format, use the optional --voc flag, e.g.
python bio.py download --generator cluster --version Baseline --concepts "Krill molt, Eusergestes similis" --vocDownload data format is saved to a directory with the following structure e.g. for the Baseline version:
Baseline
    ├── labels.txt
    ├── voc
    │   ├── image1.xml
    │   ├── image2.xml
Use the optional --coco flag to download data in the COCO format, e.g.
download --generator vars-annotation --version Baseline --group MERGE_CLASSIFY --base-dir VARSi2MAP --concepts "Atolla" --cocoDownload data format is saved to a directory with the following structure e.g. for the Baseline version:
Baseline
    ├── labels.txt
    ├── coco
    │   └── coco.json
Use the optional --cifar flag to download data in the CIFAR format, e.g.
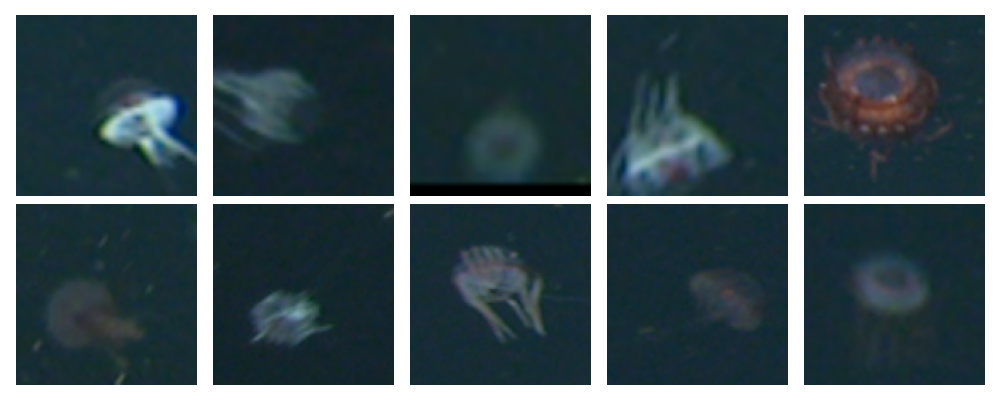
download --generator vars-annotation --version Baseline --group MERGE_CLASSIFY --base-dir VARSi2MAP --concepts "Atolla" --cifar --voc --cifar-size 128The CIFAR data is saved in a npy file with the following structure, e.g. for the data version Baseline:
Baseline
    ├── labels.txt
    ├── cifar
    │   ├── images.npy
    │   └── labels.npy
Read the data (and optionally visualize) with the following code:
import numpy as np
import matplotlib.pyplot as plt
images = np.load('Baseline/cifar/images.npy')
labels = np.load('Baseline/cifar/labes.npy')

# Visualize a few images from the CIFAR data
fig, axes = plt.subplots(nrows=2, ncols=5, figsize=(10, 4))

for i, ax in enumerate(axes.flat):
    ax.imshow(images[i])
    ax.axis('off')

plt.tight_layout()
plt.show()Running a detection model that was trained with the deepsea-ai module. Uses the FastAPI framework to serve the model. The model is served on port 8000 by default. See https://github.com/mbari-org/fastapi-yolov5 for details on setting up the model server.
Once that is setup, run the following command to run the detections against images served from a URL. For example, to run detections
- against the model at http://fasta-fasta-1d0o3gwgv046e-143598223.us-west-2.elb.amazonaws.com/predict
- on all images available at http://digits-dev-box-fish.shore.mbari.org:8080/Ctenophora_sp_A_aug/,
- then store them in the CTENOPHORA_SP_A_AUG group
python bio.py detect -detect --group CTENOPHORA_SP_A_AUG --base-url http://digits-dev-box-fish.shore.mbari.org:8080/Ctenophora_sp_A_aug/ --model-url http://fasta-fasta-1d0o3gwgv046e-143598223.us-west-2.elb.amazonaws.com/predictDownloaded data can be used to traing an object detection model. Setup and training is simplified with the deepsea-ai module, which is designed to simplify the process of training and running object detection models on AWS.
Add the appropriate AWS credentials to your environment using the aws command line tool, e.g. to setup a profile specific to this project, e.g. 901103-bio
pip install awscli
pip install deepsea-ai
aws configure --profile 901103-bio
Then follow the installation instructions to prepare for training.
Train a model by first splitting the data first, e.g.
Note this will randomly split 85% of the data for training, 10% for validation and 5% as a hold out for testing.
deepsea-ai split --input Baseline --output BaselineSplitThen train the model
deepsea-ai train --images BaselineSplit/images.tar.gz --labels BaselineSplit/labels.tar.gz --model yolov5x --epochs 50 --labels labels.txt --instance-type ml.p3.16xlarge --batch-size 32 --input-s3 901103-bio-data --output-s3 901103-bio-ckpt

