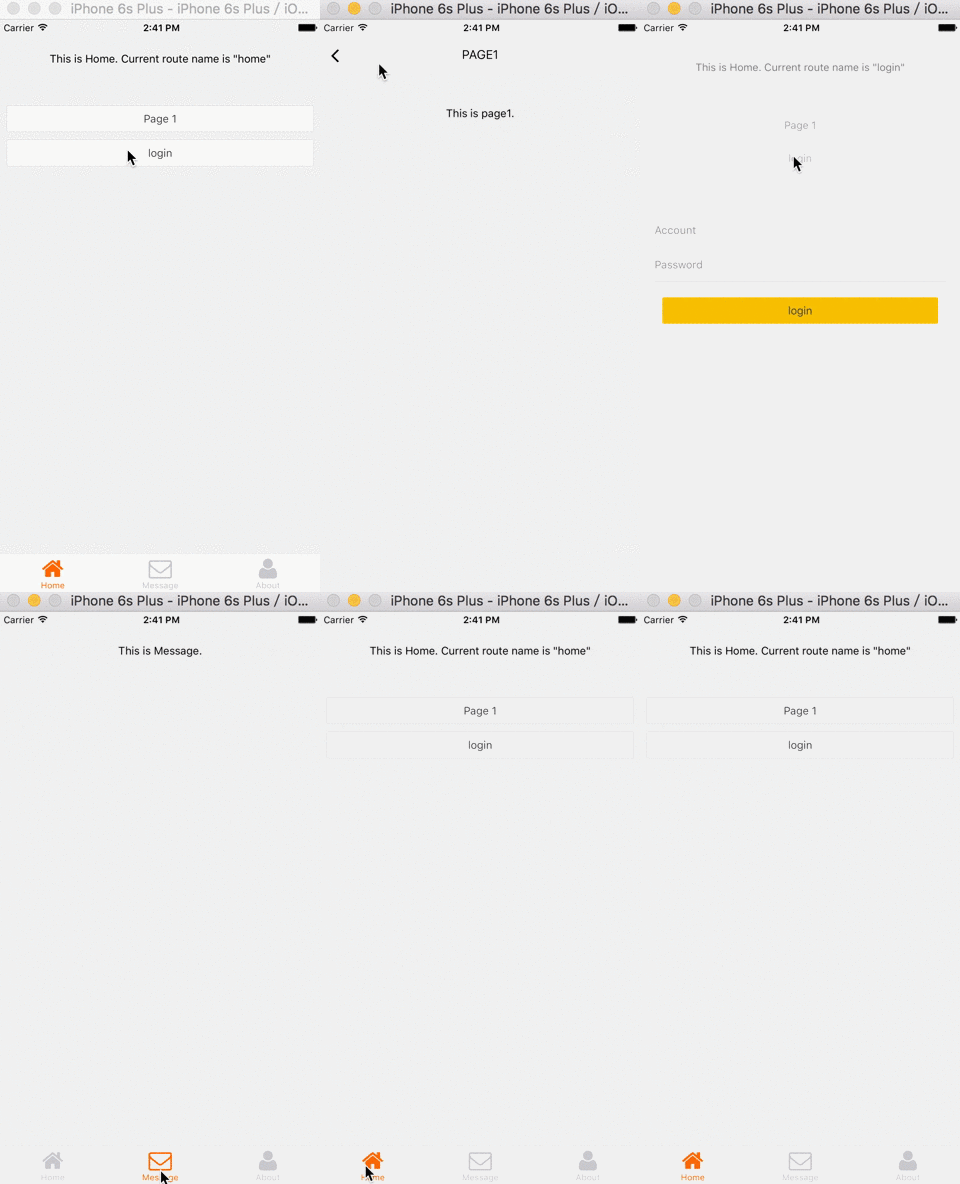
An easy and smart Router component to be used in React Native redux applications. Packed with Navbar and TabBar support.
npm install --save react-native-smart-router
rnpm link
Import and connect the router in your container:
import {actions as routerActions, Router, Route, TabRoute} from 'react-native-smart-router';

...

const mapStateToProps = state => ({
  router: state.router,
});

const mapDispatchToProps = (dispatch) => ({
  actions: bindActionCreators({
    ...routerActions,
  }, dispatch),
  dispatch,
});

export default connect(mapStateToProps, mapDispatchToProps)(App);
Full App example is as follows:
import React, {Component} from 'react';
import {Navigator} from 'react-native';
import { bindActionCreators } from 'redux';
import { connect } from 'react-redux';
import {actions as routerActions, Router, Route, TabRoute} from './react-native-smart-router';
import Home from './home';
import Page1 from './page1';
import Login from './login';
import Message from './message';
import About from './about';

class App extends Component {
  render() {
    return (
      <Router {...this.props} initial="home">
        <TabRoute name="tabbar">
          <Route component={Home} name="home" title="Home" tabIconName="home"/>
          <Route component={Message} name="message" title="Message" tabIconName="envelope-o"/>
          <Route component={About} name="about" title="About" tabIconName="user"/>
        </TabRoute>
        <Route component={Page1} name="page1" navbar={true} title="PAGE1" leftBtn={true}/>
        <Route component={Login} name="login" sceneConfig="FloatFromBottom"/>
      </Router>
    );
  }
}
const mapStateToProps = state => ({
  router: state.router,
});

const mapDispatchToProps = (dispatch) => ({
  actions: bindActionCreators({
    ...routerActions,
  }, dispatch),
  dispatch,
});

export default connect(mapStateToProps, mapDispatchToProps)(App);
In Route components (configed in tags), you can directly use this.props.actions to trigger router actions.
//go to route name='page'
this.props.actions.routes.page1()()
//go to route name='login', with specific data
this.props.actions.pushRouter({name: 'page2', data:{id:3}})}
//go back
this.props.actions.popRouter();
//reset route
this.props.actions.resetRouter();
//replace route
this.props.actions.replaceRouter()
react-native-vector-icons/FontAwesome is used to support Icon fonts in Navbar and Tabbar. You should run:
rnpm link
or follow oblador/react-native-vector-icons 's directions.
You can set boolean of navbar to show or hide navbar in a page view, and you can set visibility of leftBtn by :
<Route component={Page1} name="page1" navbar={true} title="PAGE1" leftBtn={true}/>
Or you can use self-defined Navbar
<Route component={Page1} name="page1" navbar={Mynav} title="PAGE1"/>
You can config tabbar by set props of TabRoute as:
<TabRoute name="tabbar" activeColor="#000" disactiveColor="#999" tabWrapStyle={{height:100}}>
Or you can use self-defined Component:
<TabRoute name="tabbar" component={MyTabbar}>
onDidFocus/onWillFocus is supported. You can config in Router, TabRoute or Route as:
      <Router {...this.props} initial="home" onDidFocus={(route)=>{console.log('this is Router: '+route.name)}} >
        <TabRoute name="tabbar" onDidFocus={(route)=>{console.log('this is TabRoute: '+route.name)}}>
          <Route component={Home} name="home" title="Home1" tabIconName="home" onDidFocus={(route)=>{console.log('You are entering '+route.name)}}/>
          <Route component={Message} name="message" title="Message" tabIconName="envelope-o"/>
          <Route component={About} name="about" title="About" tabIconName="user"/>
        </TabRoute>
        <Route component={Page1} name="page1" navbar={true} title="Page1" leftBtn={true} onDidFocus={(route)=>{console.log('You are entering '+route.name)}}/>
        <Route component={Login} name="login" sceneConfig="FloatFromBottom" />
      </Router>
Inspired by Qwikly/react-native-router-redux.
