🤖 Guid for launching PAWS bot
- Step 1: Preparation
- Step 2: Create and Activate Virtual Environment
- Step 3: Install Dependencies
- Step 4: Create and Fill .env File
- Step 5: Obtaining API Keys
- Step 6: Proxy Setup
- Step 7: Create Sessions or Use Existing Ones
- Step 8: Run the script
⚠️ WARNING:
Use the script at your own risk. The author of this script is not responsible for any actions taken by users and their consequences, including account bans and other restrictions. We recommend that you exercise caution and avoid sharing confidential information, as this may lead to the compromise of your data. Before using, be sure to review the terms of service of the applications you are working with to avoid violating their rules. Keep in mind that automation may result in unwanted consequences, such as temporary or permanent suspension of your account. Always act consciously and consider the potential risks.
If you have any questions or need assistance, feel free to join our community on Telegram:
| Feature | Supported |
|---|---|
| Support for pyrogram .session | ☑️ |
| Multithreading | ☑️ |
| Proxy binding to session | ☑️ |
| Generation of User-Agent for each session | ☑️ |
| Registration via your referral link without restrictions | ☑️ |
| Earning rewards for referrals | ☑️ |
| Automatic task execution | ☑️ |
| Option | Description (default values are provided, you can set your own) |
|---|---|
| API_ID / API_HASH | Telegram platform credentials for starting the session |
| USE_RANDOM_DELAY_IN_RUN | Run the session with a random delay True, without delay False |
| RANDOM_DELAY_IN_RUN | Random delay in the range [0, 36000] |
| REF_ID | Your referral link in the format 'wBuWS75s' |
| JOIN_TG_CHANNELS | True or False Be careful! You can get banned for joining channels! |
| MUTE_AND_ARCHIVE_TG_CHANNELS | True or False |
| AUTO_TASK | True or False |
| SLEEP_TIME | Time each session sleeps after completing all actions [21000, 32000] |
| USE_PROXY | True or False(default False) |
-
Ensure that
Python 3.10is installed | Installation guide for Python -
Download and extract the archive or use the command
git clone https://github.com/duonanotte/PAWS.git -
Navigate to the script folder:
cd PAWS
-
For Windows:
python -m venv venv venv/Scripts/activate -
For Linux:
python3.10 -m venv venv
source venv/bin/activate
-
Install the required libraries:
pip install -r requirements.txt
-
In the terminal enter
- For Windows:
copy .env-example .env - For Linux:
cp .env-example .env
- For Windows:
- Go to my.telegram.org and log in using your phone number.
- Select "API development tools" and fill out the form to register a new application.
- Record the
API_IDandAPI_HASHin the.envfile, provided after registering your application. For example:API_ID=45698563 API_HASH=446515f456178894a184
-
Fill in the
session_proxy.jsonfile, linking each account to a separate proxy. -
For automatic filling, add all your proxies to the
proxies.txtfile in formathttp://login:password@ip:portand name your sessions in folder sessions, for example, "1-Andrey", "2-John". If you name the sessions differently, the script will randomly get a proxy for each session. -
In the terminal run the command
python bot/config/proxies/session_proxy_matcher.py -
The script will match each proxy line with the account number and add them to the
session_proxy.jsonfile. This way, you will have a ready-made file where the first proxy line corresponds to the first account, and so on.
-
To use existing sessions, add them to the
sessionsfolder. -
To create new sessions, run in terminal:
python main.py -
select option "2" in the main menu of the program and follow the prompts
-
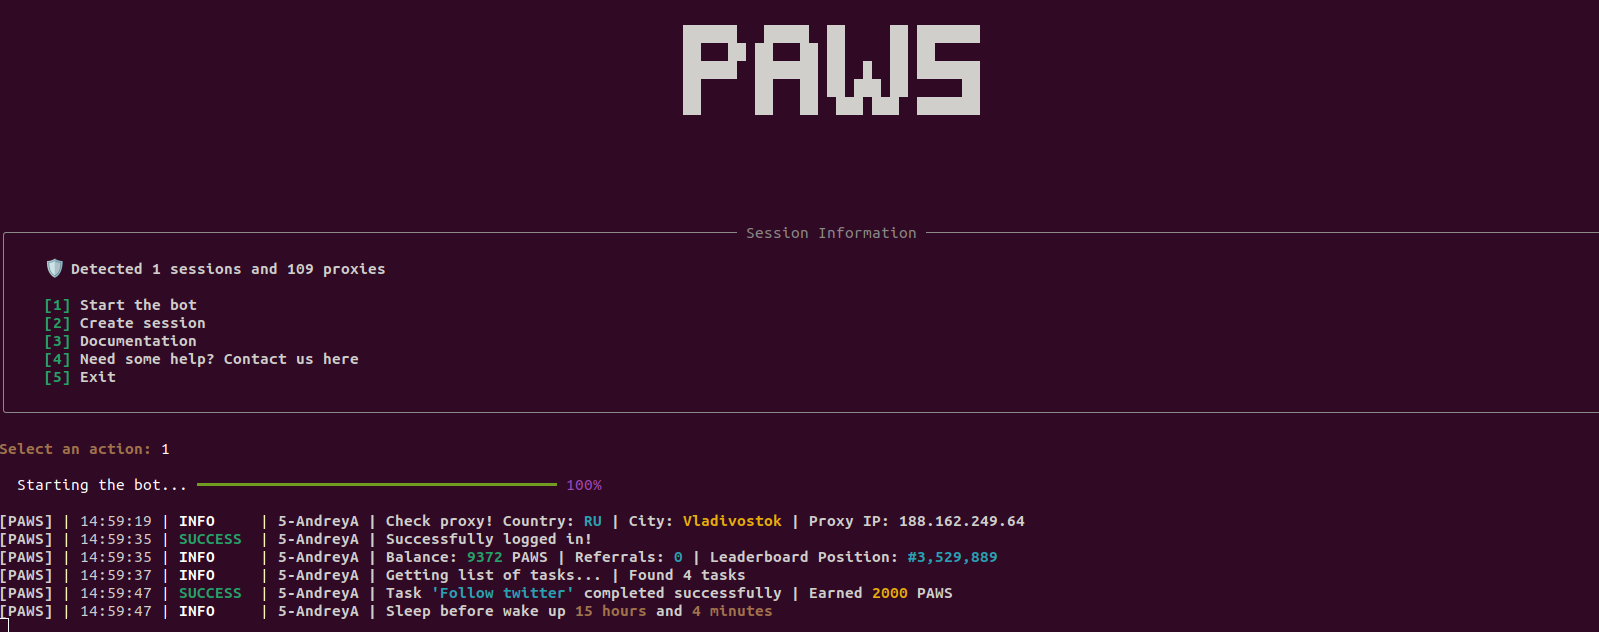
Run the script in terminal:
python main.py -
Select option "1" in the main menu, and the script will start running.

