The CLI for your next Chrome Extension. 🚀
npm install -g chrome-extension-cli
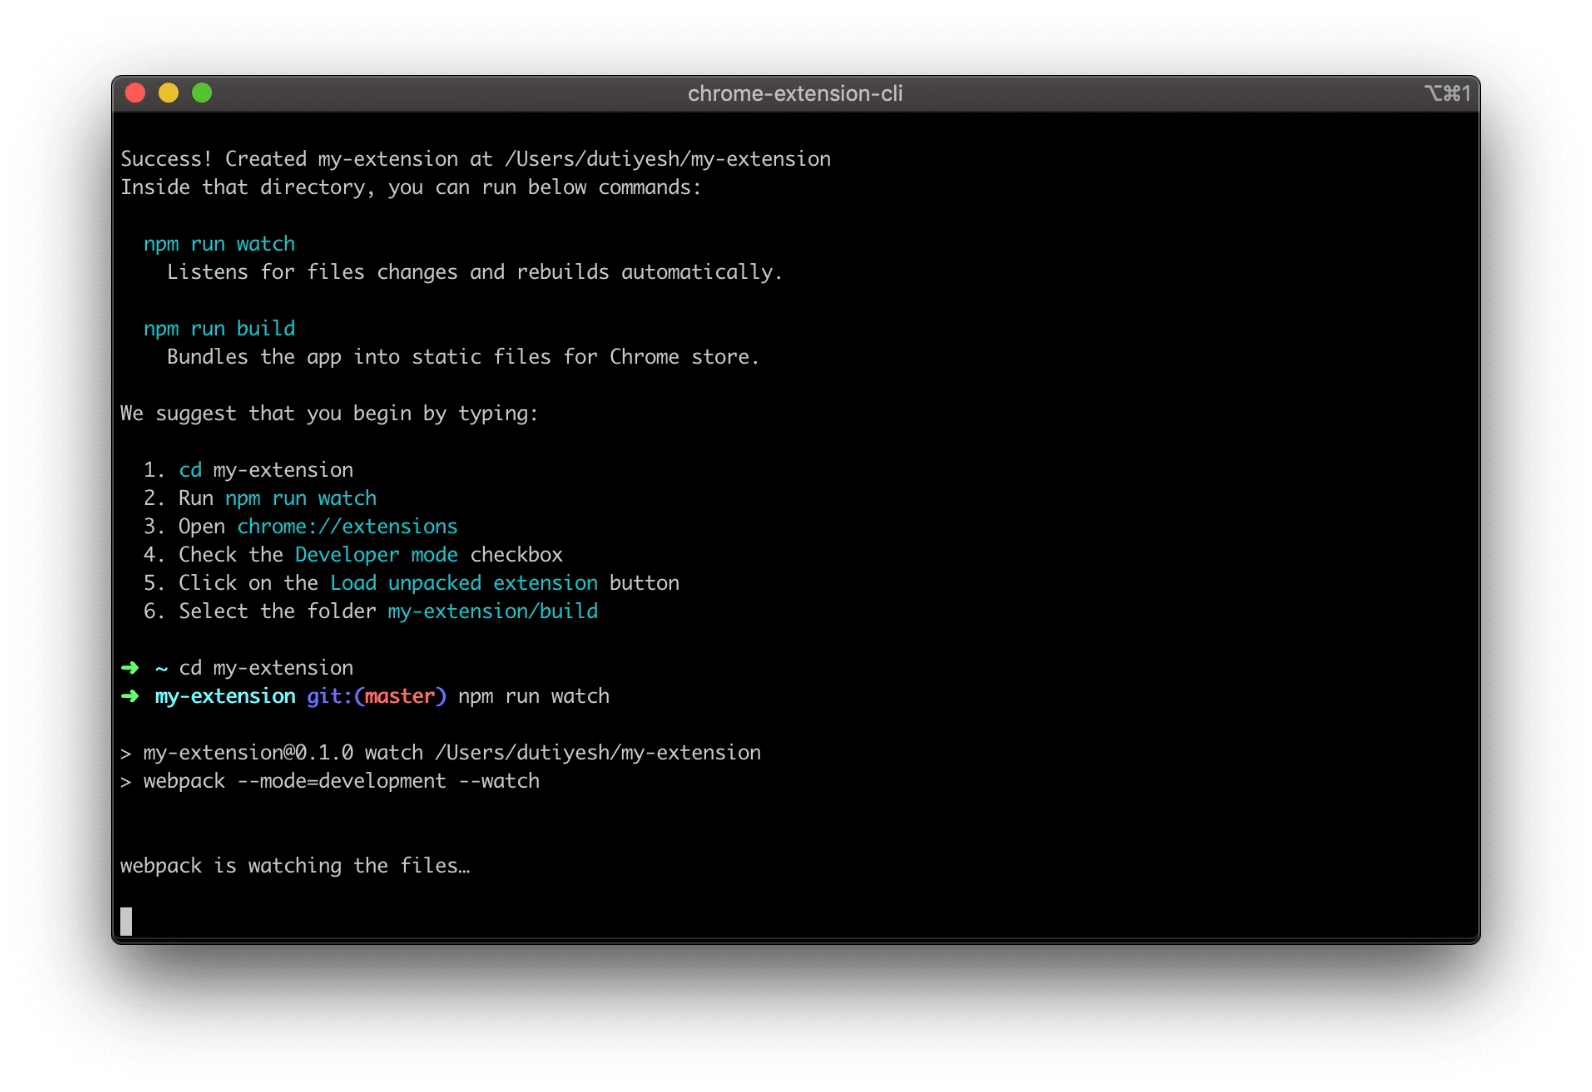
chrome-extension-cli my-extension
cd my-extension
npm run watch
Then follow these instructions to see your extension:
- Open chrome://extensions
- Check the Developer mode checkbox
- Click on the Load unpacked extension button
- Select the folder my-extension/build
When you're ready to publish to Chrome Web Store, create a minified bundle with npm run build and zip it with npm run pack.
Or you can zip the build folder manually.
You don’t need to install or configure Webpack.
Webpack comes in preconfigured, so that you can focus on the code.
Just create a project, and you’re good to go.
npm install -g chrome-extension-clichrome-extension-cli <project-name>Example:
chrome-extension-cli my-extensionIt will create a directory called my-extension inside the current folder.
Inside that directory, it will generate the initial project structure and install the transitive dependencies:
my-extension
├── README.md
├── node_modules
├── package.json
├── .gitignore
├── config                    // Webpack with minimal configurations
│   ├── paths.js
│   ├── webpack.common.js
│   └── webpack.config.js
├── public
│   ├── icons
│   │   ├── icon_16.png
│   │   ├── icon_32.png
│   │   ├── icon_48.png
│   │   ├── icon_128.png
│   ├── *.html                // HTML files will vary depending on extension type
│   └── manifest.json
└── src
    ├── *.css                 // CSS files will vary depending on extension type
    └── *.js                  // JS files will vary depending on extension type
Once the installation is done, you can open your project folder:
cd my-extensionInside the newly created project, you can run some built-in commands:
Runs the app in development mode.
Then follow these instructions to see your app:
- Open chrome://extensions
- Check the Developer mode checkbox
- Click on the Load unpacked extension button
- Select the folder my-extension/build
Builds the app for production to the build folder.
Run npm run pack to
zip the build folder and your app is ready to be published on Chrome Web Store.
Or you can zip it manually.
Packs the build folder into a zip file under release folder.
Rebuilds and packs the app into a zip file.
It is a shorthand for npm run build && npm run pack.
Formats all the HTML, CSS, JavaScript, TypeScript and JSON files.
Your environment will have everything you need to build a Chrome Extension:
- ES6 syntax support.
- A watch script to listen file changes and build automatically.
- A build script to bundle JS, CSS, and images for production.
With Chrome Extension CLI you can built any of the below extensions:
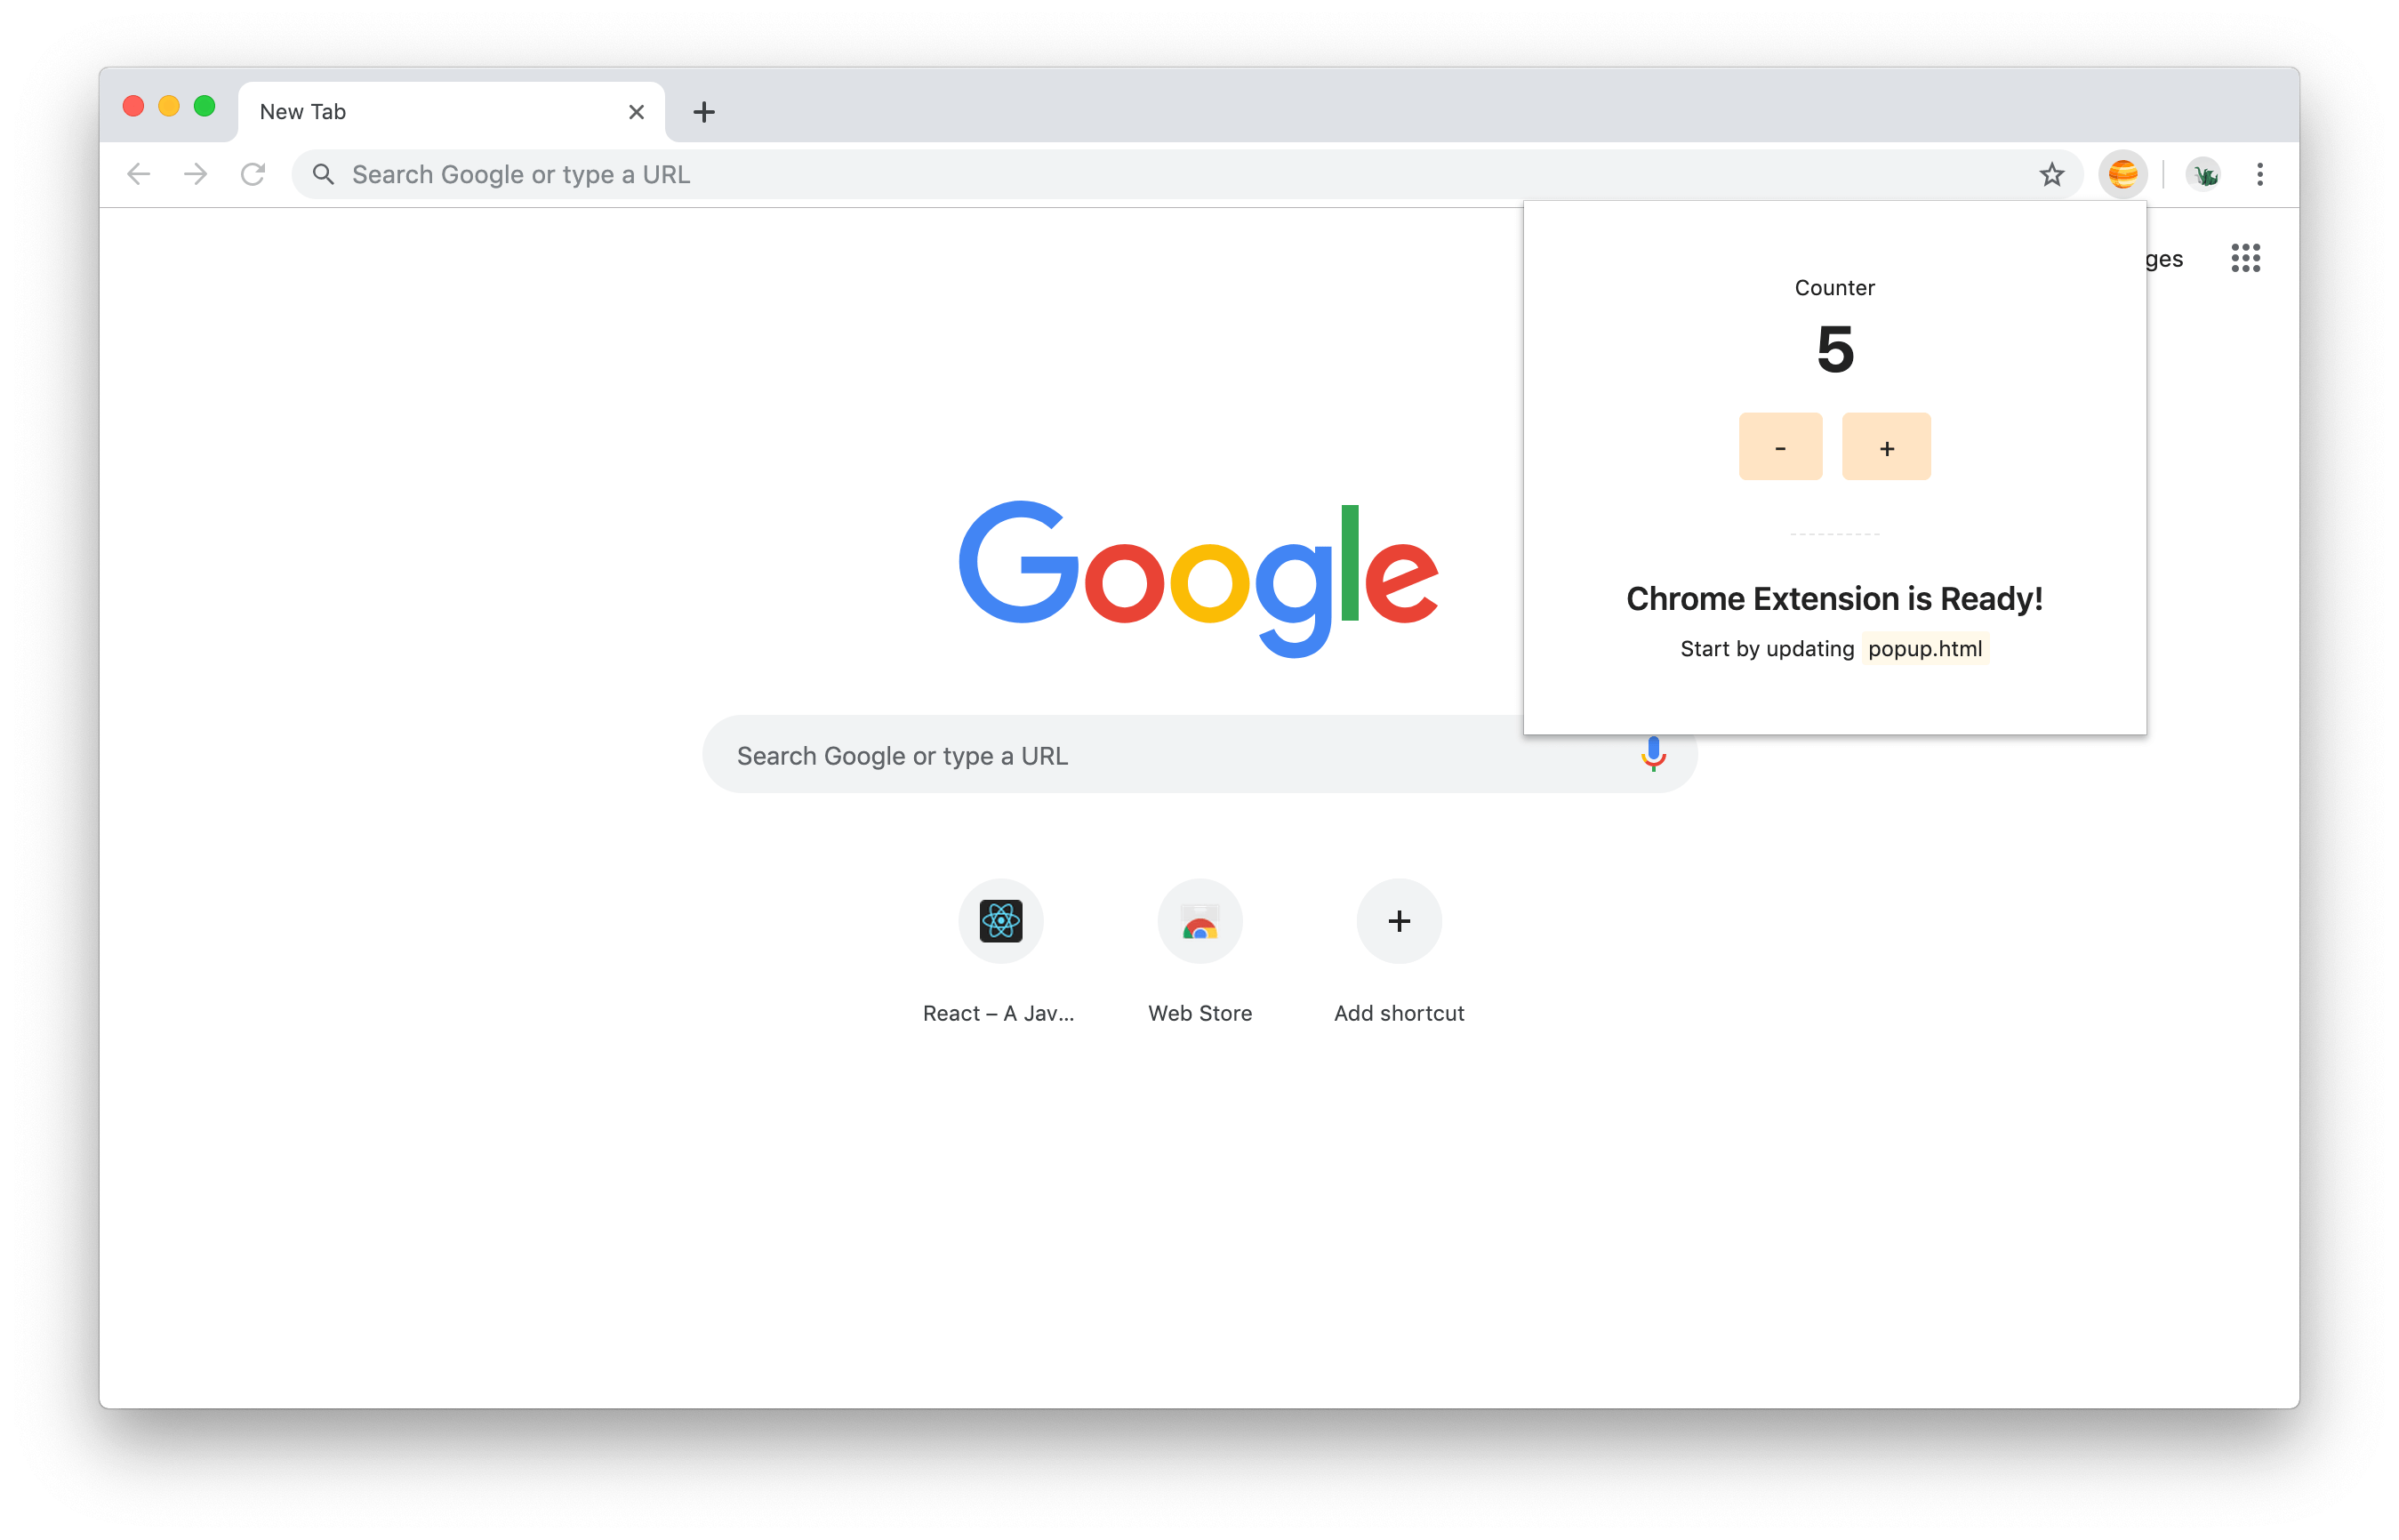
Add features to Active Tab.
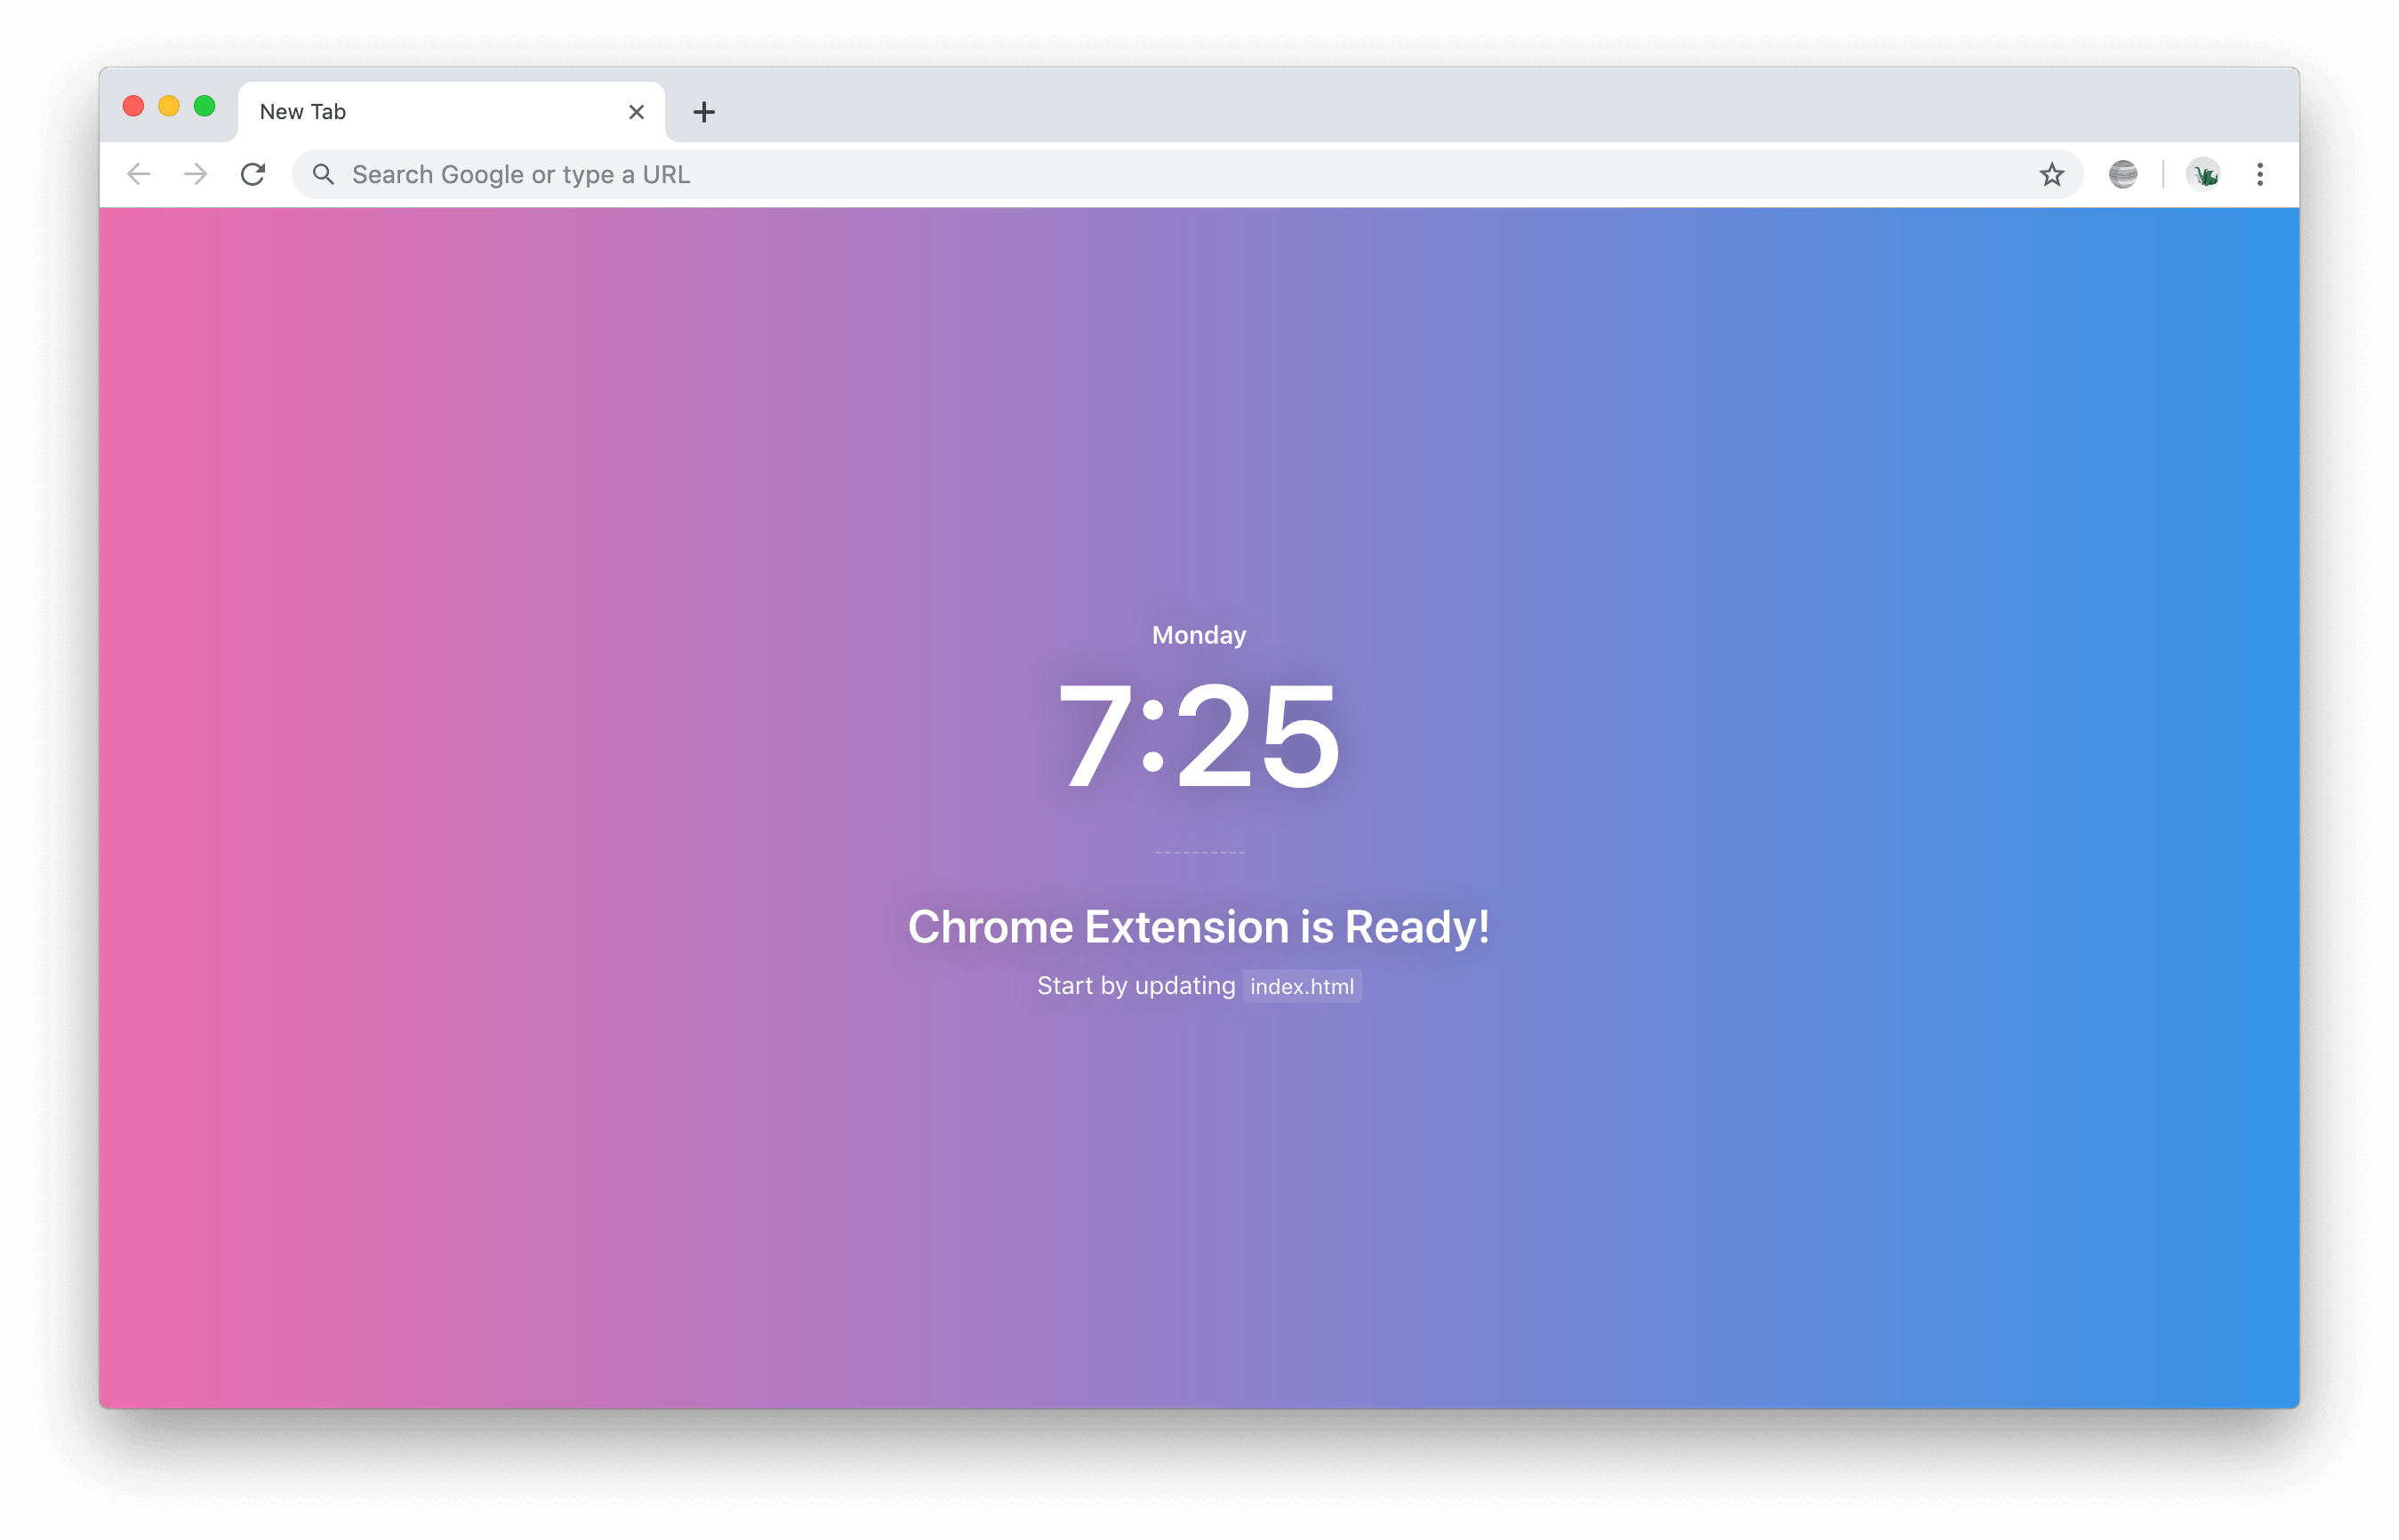
Override default page like New Tab, Bookmarks, or History page.
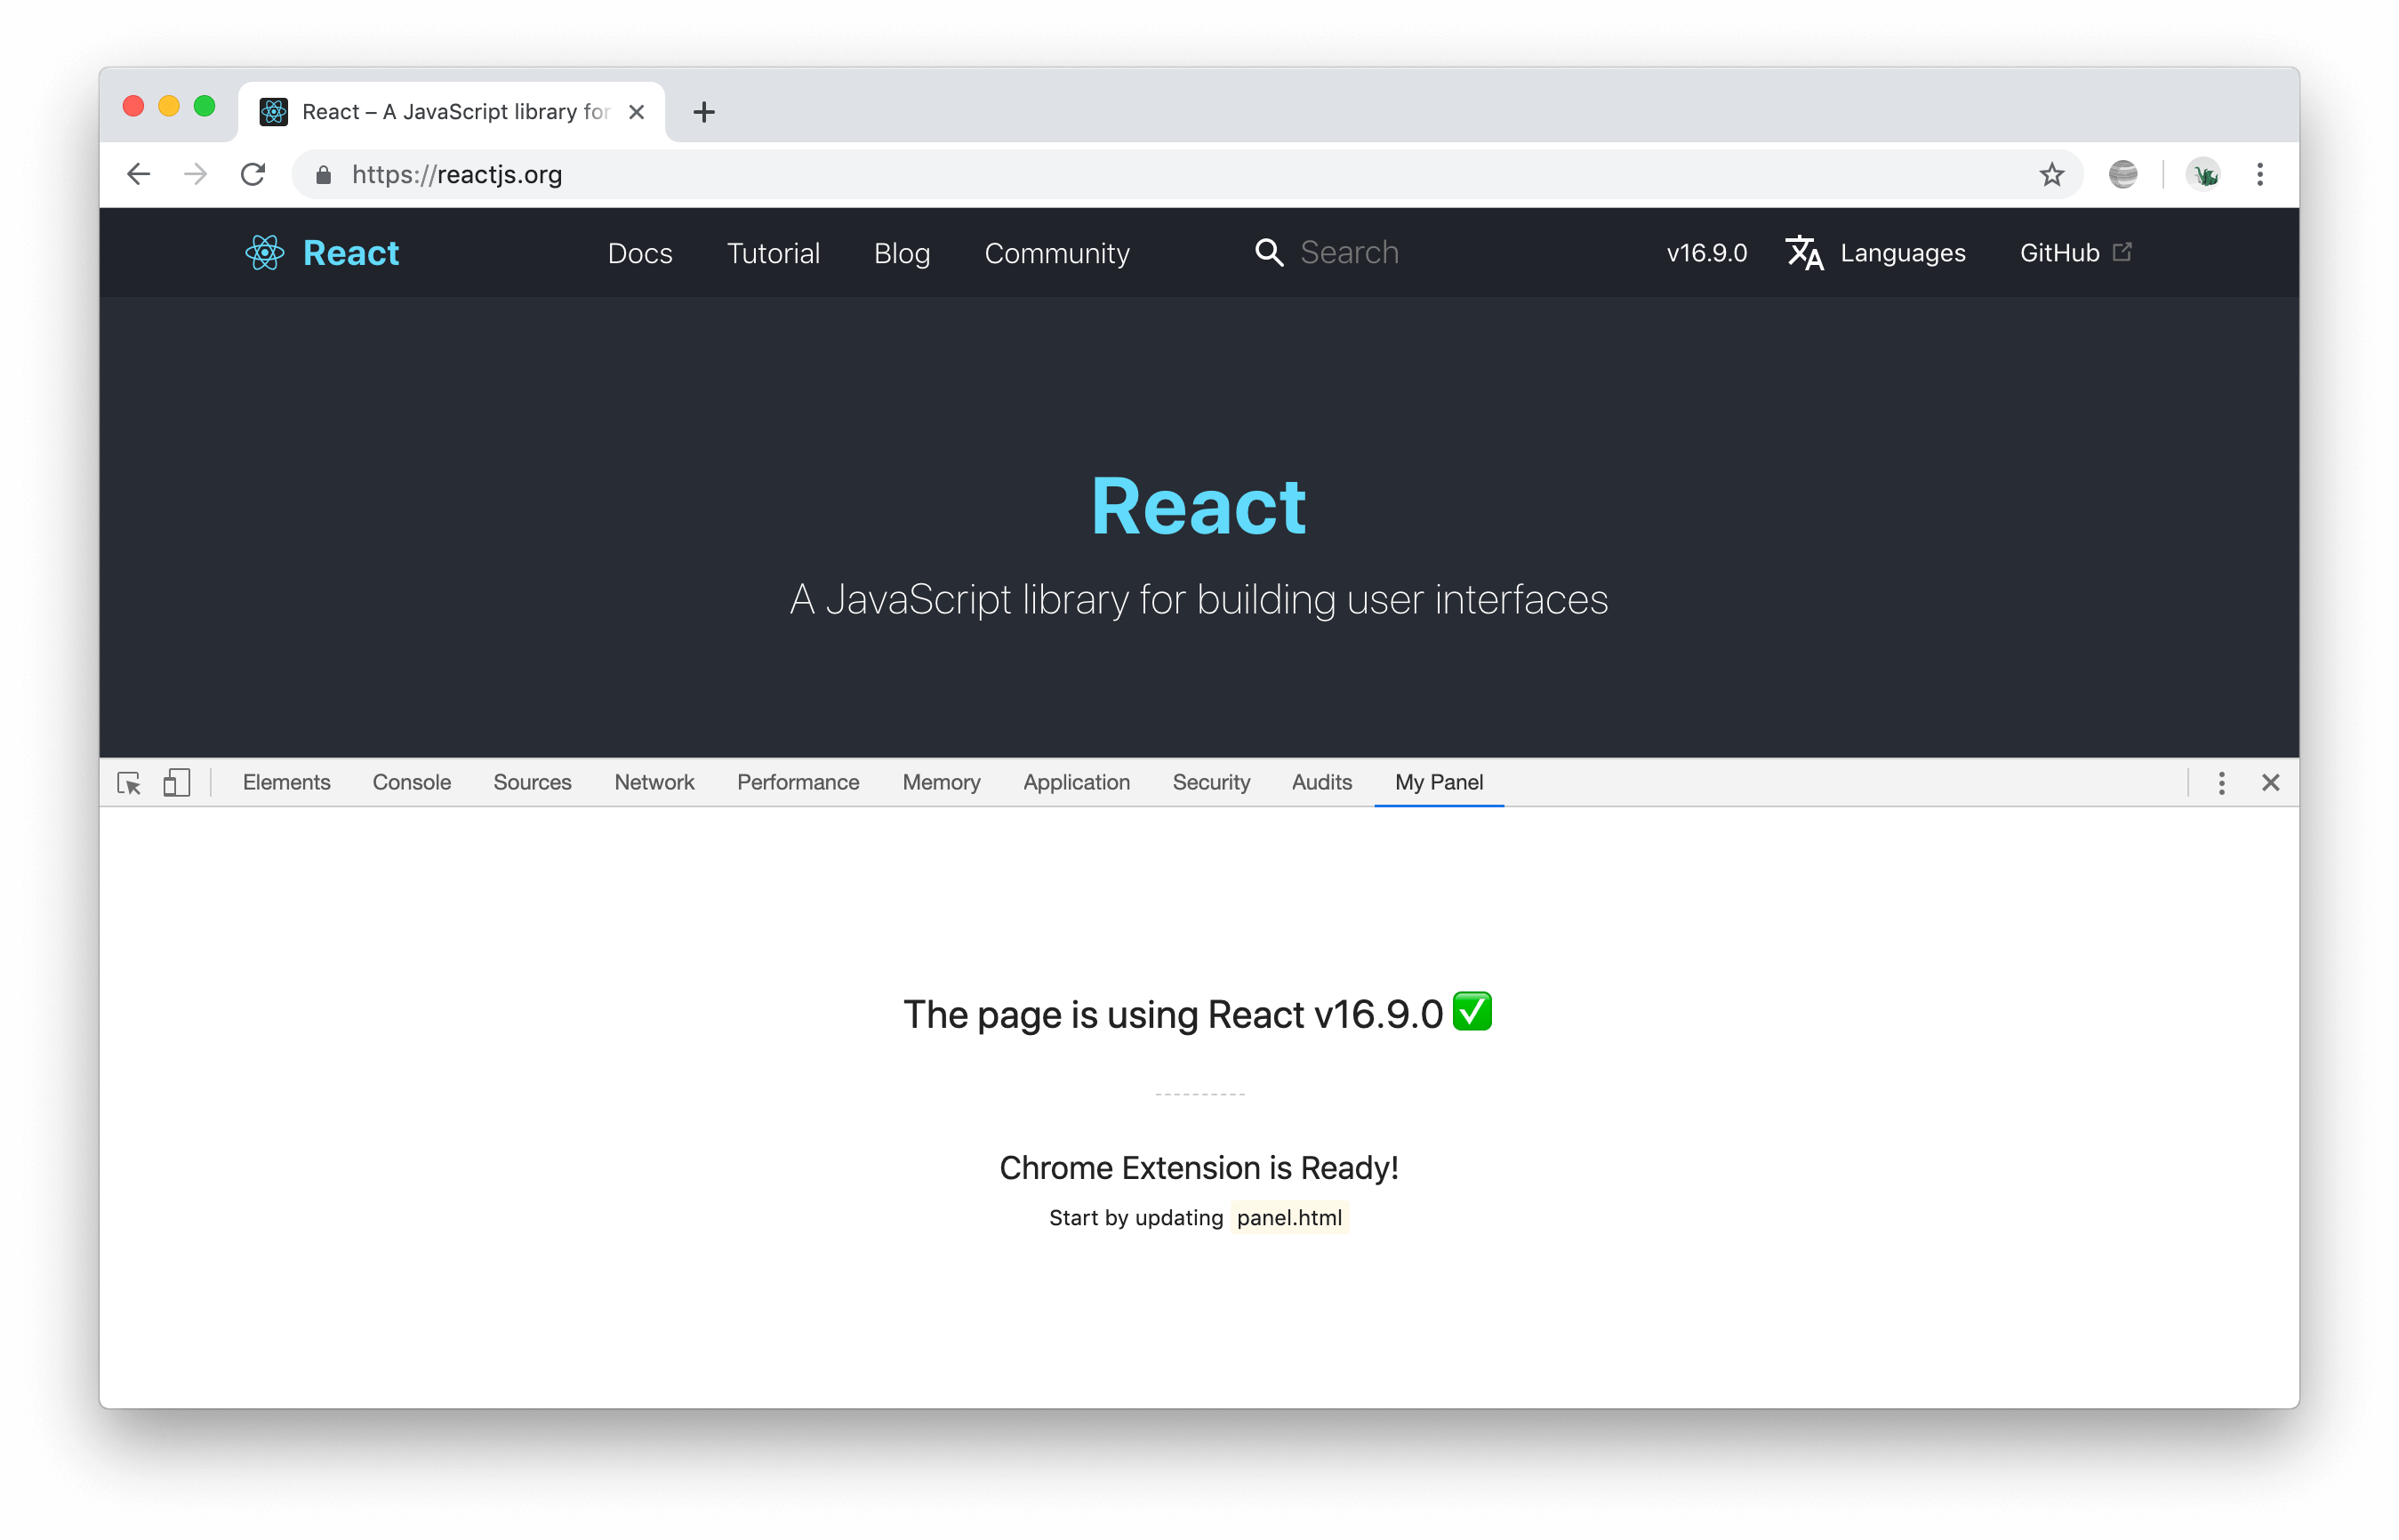
Add features to Chrome Developer Tools.
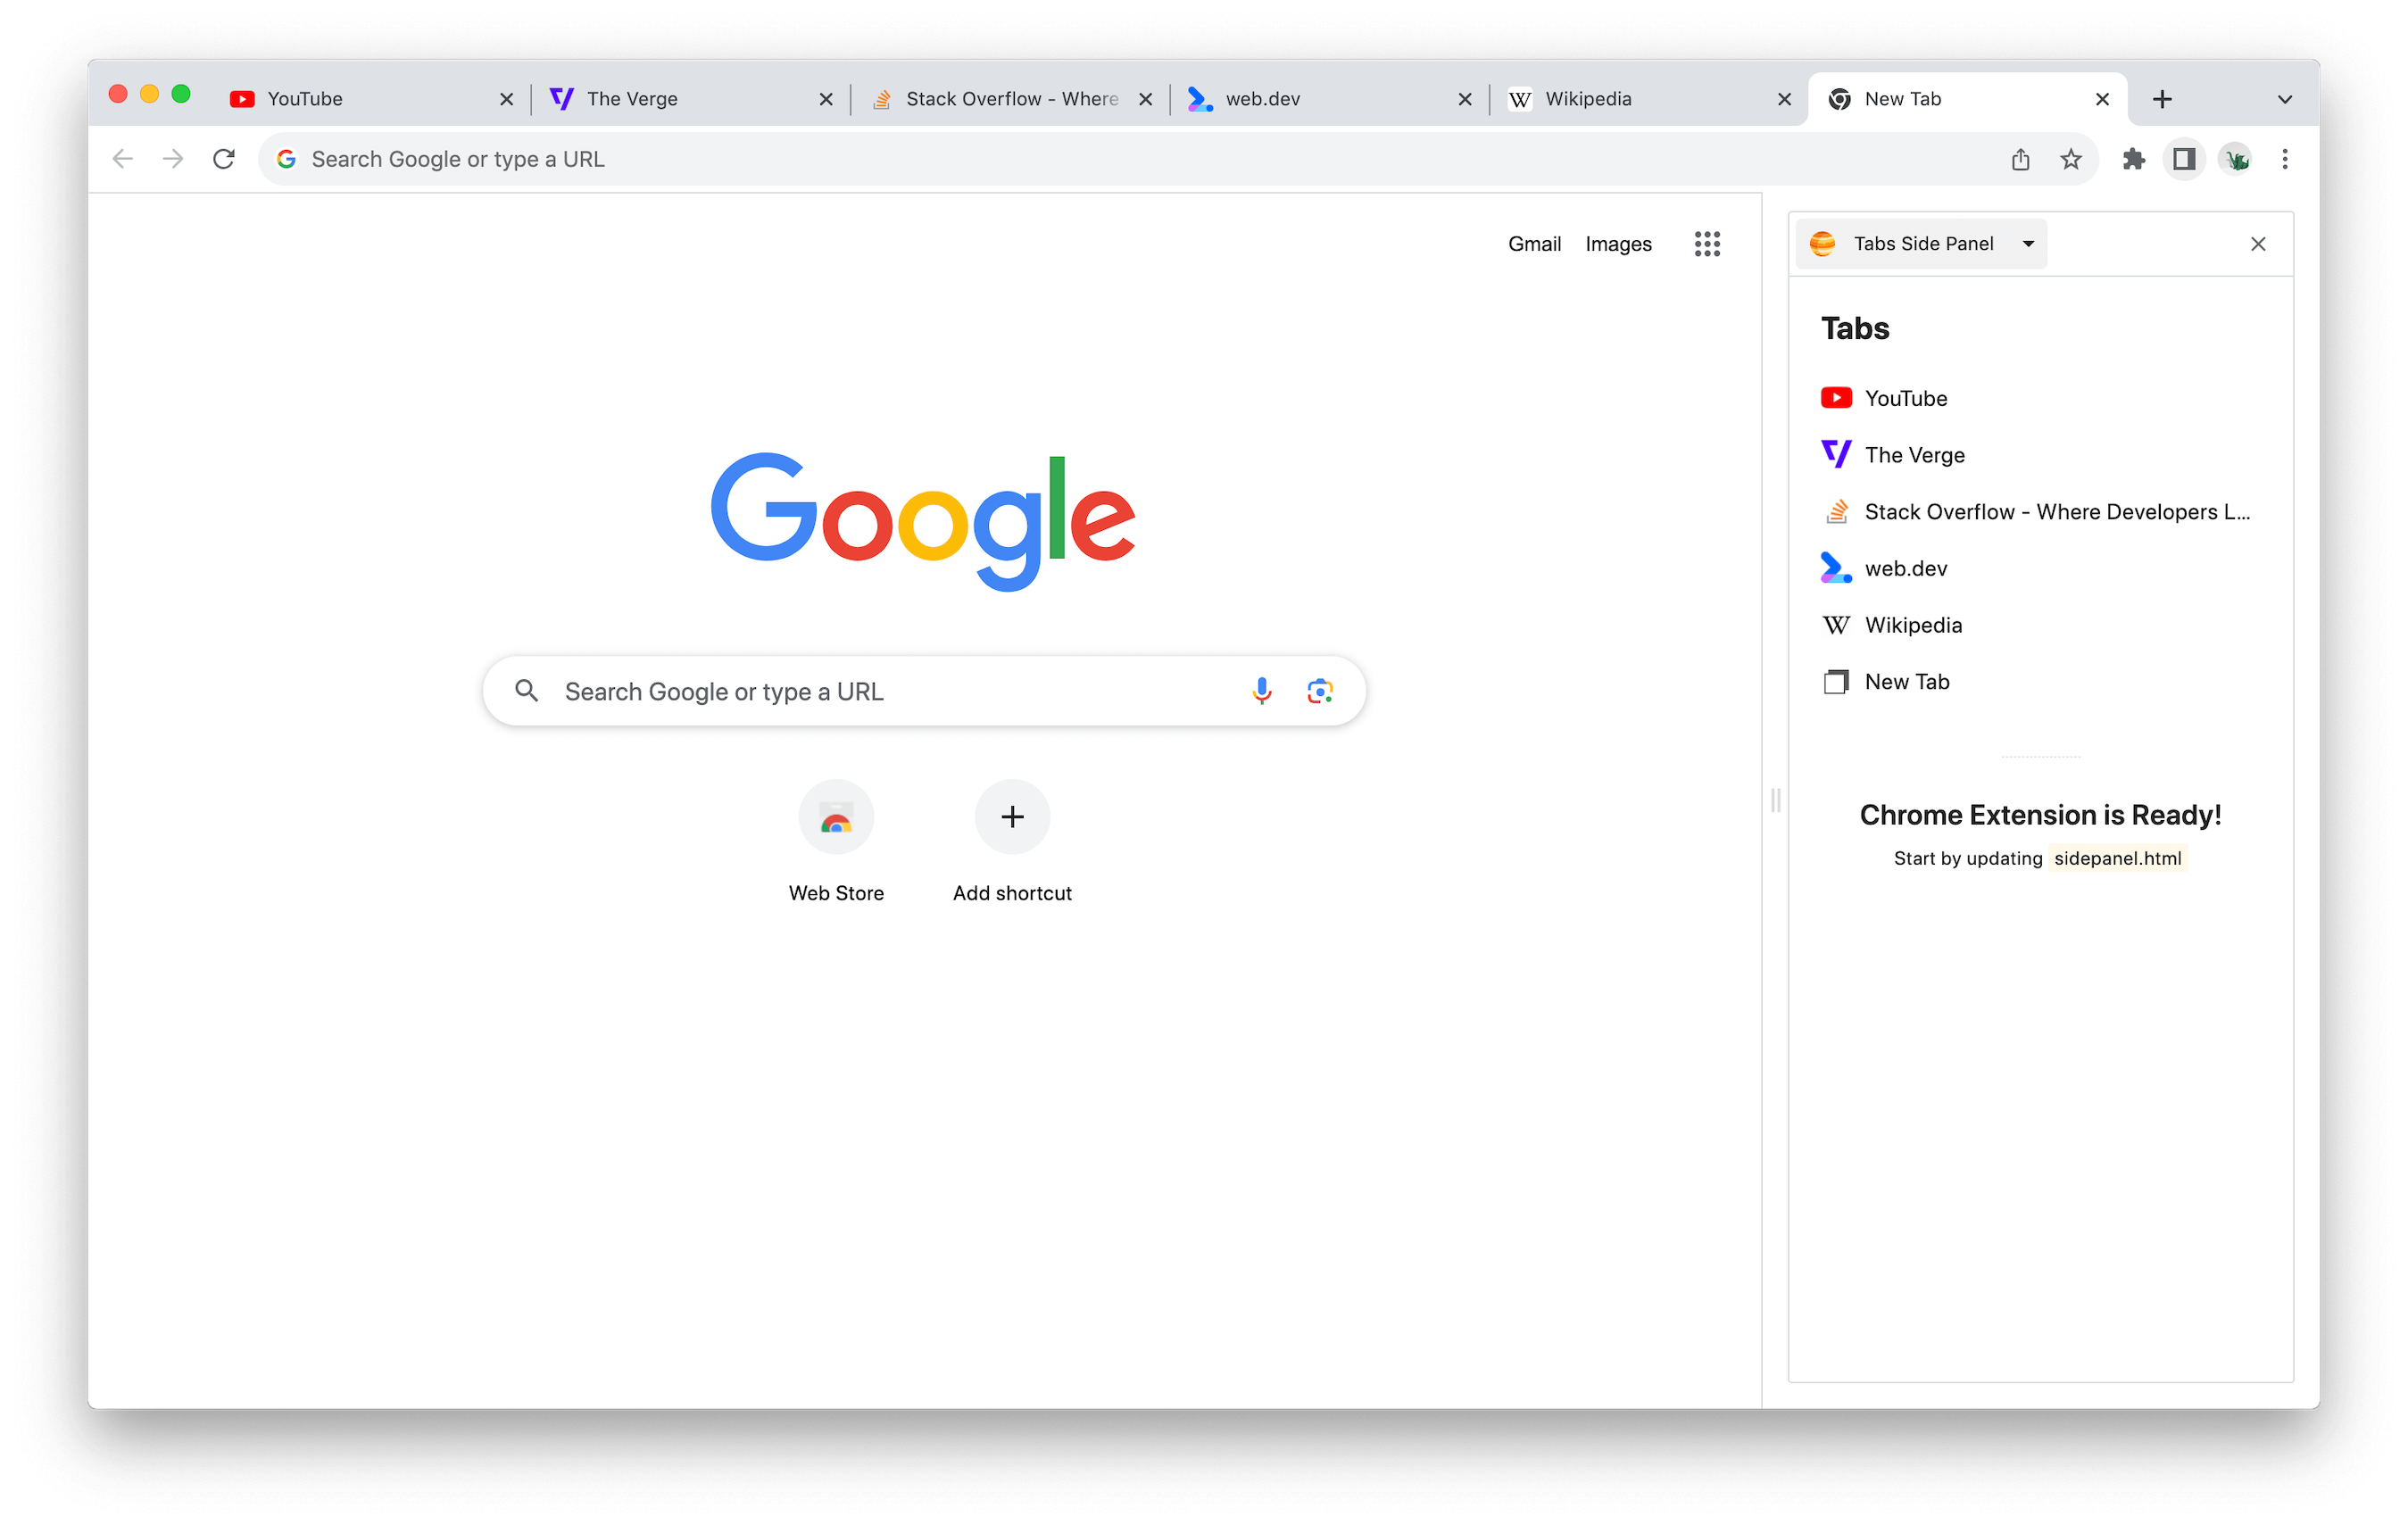
Add features to Chrome Side Panel.
More information about templates.
Creates an extension that overrides default New Tab page.
You can also pass other values to --override-page option to override other default pages like Bookmarks and History page.
chrome-extension-cli my-extension --override-page              // Override New Tab page
chrome-extension-cli my-extension --override-page=bookmarks    // Override Bookmarks page
chrome-extension-cli my-extension --override-page=history      // Override History page
Creates a Panel inside developer tools.
Creates a Panel in the browser's side panel alongside the main content of a webpage.
Creates an extension for supported languages like JavaScript and TypeScript.
By default extension is created for JavaScript language and you can also pass other value to --language option to create extension for TypeScript.
chrome-extension-cli my-extension                          // Language JavaScript (default)
chrome-extension-cli my-extension --language=javascript    // Language JavaScript
chrome-extension-cli my-extension --language=typescript    // Language TypeScript
See the contribution guide and join the contributors!
See the FAQs.
Chrome Extension CLI is open source software licensed as MIT.
Many thanks to create-react-app for the inspiration with this readme file.
Jupiter Icon used in templates made by Freepik from www.flaticon.com.

