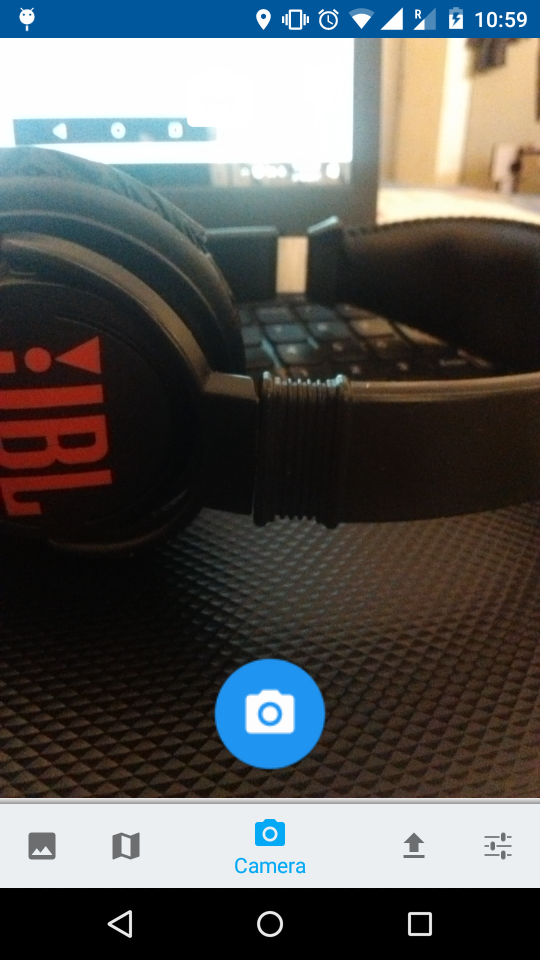
Phimp.me is a Photo App for Android that aims to replace proprietary photo applications. It offers features such as taking photos, adding filters, editing images and uploading them to social networks.
Join Gitter channel: https://gitter.im/fossasia/phimpme
Please join our chat channel on Slack: http://fossasia.slack.com/messages/phimpme/. You need to invite yourself first here: http://fossasia-slack.herokuapp.com/
This is an Open Source project and we would be happy to see contributors who report bugs and file feature requests submitting pull requests as well.This project adheres to the Contributor Covenant code of conduct. By participating, you are expected to uphold this code style. Please report issues here https://github.com/fossasia/phimpme-android/issues
We have the following branches
-
development All development goes on in this branch. If you're making a contribution, you are supposed to make a pull request to development. Make sure it pass a build check on Travis
It is advisable to clone only the development branch using following command:
git clone -b <branch> <remote_repo>Example:
git clone -b my-branch git@github.com:user/myproject.gitAlternative (no public key setup needed):
git clone -b my-branch https://git@github.com/username/myproject.gitWith Git 1.7.10 and later, add --single-branch to prevent fetching of all branches. Example, with development branch:
git clone -b development --single-branch https://github.com/username/phimpme-android.git -
master This contains the stable code. After significant features/bugfixes are accumulated on development, we move it to master.
-
apk This branch contains automatically generated apk file for testing.
 |
 |
 |
 |
 |

|
| Feature | Description | Status |
|---|---|---|
| Home Screen | Show local captured images | Established |
| Grid view of images | Diplaying images in grid | Established |
| Edit, Upload, share option on image click | Working | |
| Map Activity | Show photos on the map | Working |
| Camera | Capture Image, Toggle Camera | Working |
| Apply filters, Flash on/off | Working | |
| Upload | Select account on which you want to upload | Not working |
| Select images which you want to upload | Crashing | |
| Share images with bluetooth | Working | |
| Upload button which upload the image | Crashing | |
| Settings | Add Accounts | Not working |
| Photos settings | Working | |
| Local photos : choose folder | Not working |
Before you begin, you should already have the Android Studio SDK downloaded and set up correctly. You can find a guide on how to do this here: Setting up Android Studio
Setting up the Android Project
-
Download the phimpme-android project source. You can do this either by forking and cloning the repository (recommended if you plan on pushing changes) or by downloading it as a ZIP file and extracting it.
-
Open Android Studio, you will see a Welcome to Android window. Under Quick Start, select Import Project (Eclipse ADT, Gradle, etc.)
-
Navigate to the directory where you saved the phimpme-android project, select the root folder of the project (the folder named "phimpme-android"), and hit OK. Android Studio should now begin building the project with Gradle.
-
Once this process is complete and Android Studio opens, check the Console for any build errors.
- Note: If you recieve a Gradle sync error titled, "failed to find ...", you should click on the link below the error message (if avaliable) that says Install missing platform(s) and sync project and allow Android studio to fetch you what is missing.
-
Once all build errors have been resolved, you should be all set to build the app and test it.
-
To Build the app, go to Build>Make Project (or alternatively press the Make Project icon in the toolbar).
-
If the app was built succesfully, you can test it by running it on either a real device or an emulated one by going to Run>Run 'app' or presing the Run icon in the toolbar.
Setting up the map API
-
MapsActivity currently implements the OnMapReadyCallback interface and extends FragmentActivity.
-
The class overrides FragmentActivity’s onCreate() method. It also override OnMapReadyCallback’s onMapReady() method. This method is called when the map is ready to be used. The code declared in this method creates a marker with coordinates near Sydney, Australia and adds the marker to the map.
-
To use any of the Google Maps APIs, you need to create an API key and enable any required APIs from the developer console.
-
Open res/values/google_maps_api.xml and you will see a link you see in the top comment. Now copy and paste the link shown above into your browser.
-
On the Enable an API page, select Create a project and click Continue.
-
On the next screen, click the Create API key button to continue.
-
When that’s done, copy the API key shown in the API key created dialog and click Close.
-
Head back to google_maps_api.xml, replace the value of google_maps_key key with the copied API key.
Please note that you should refrain commiting your value of API key. To use the map you need map api key from google, by providing fingerprint of your keystore certificate you used for generating apk (debuge.keystore in case of development environment). Once you get the map api key for specific certificate you MUST use the same certificate debuge.keystore) to generate the apk file to run the app successfully on all the device.
As the app is currently not on play store so this is the work around.
This project is currently licensed under the GNU General Public License v3. A copy of LICENSE is to be present along with the source code. To obtain the software under a different license, please contact FOSSASIA.
The project is maintained by
- Hon Nguyen (@vanhonit)
- Mario Behling (@mariobehling)
- Pawan Pal (@pa1pal)