- Microsoft Azure Account ( with funds or credits )
- Microsoft Azure Suscription
- A web browser
- Access to internet
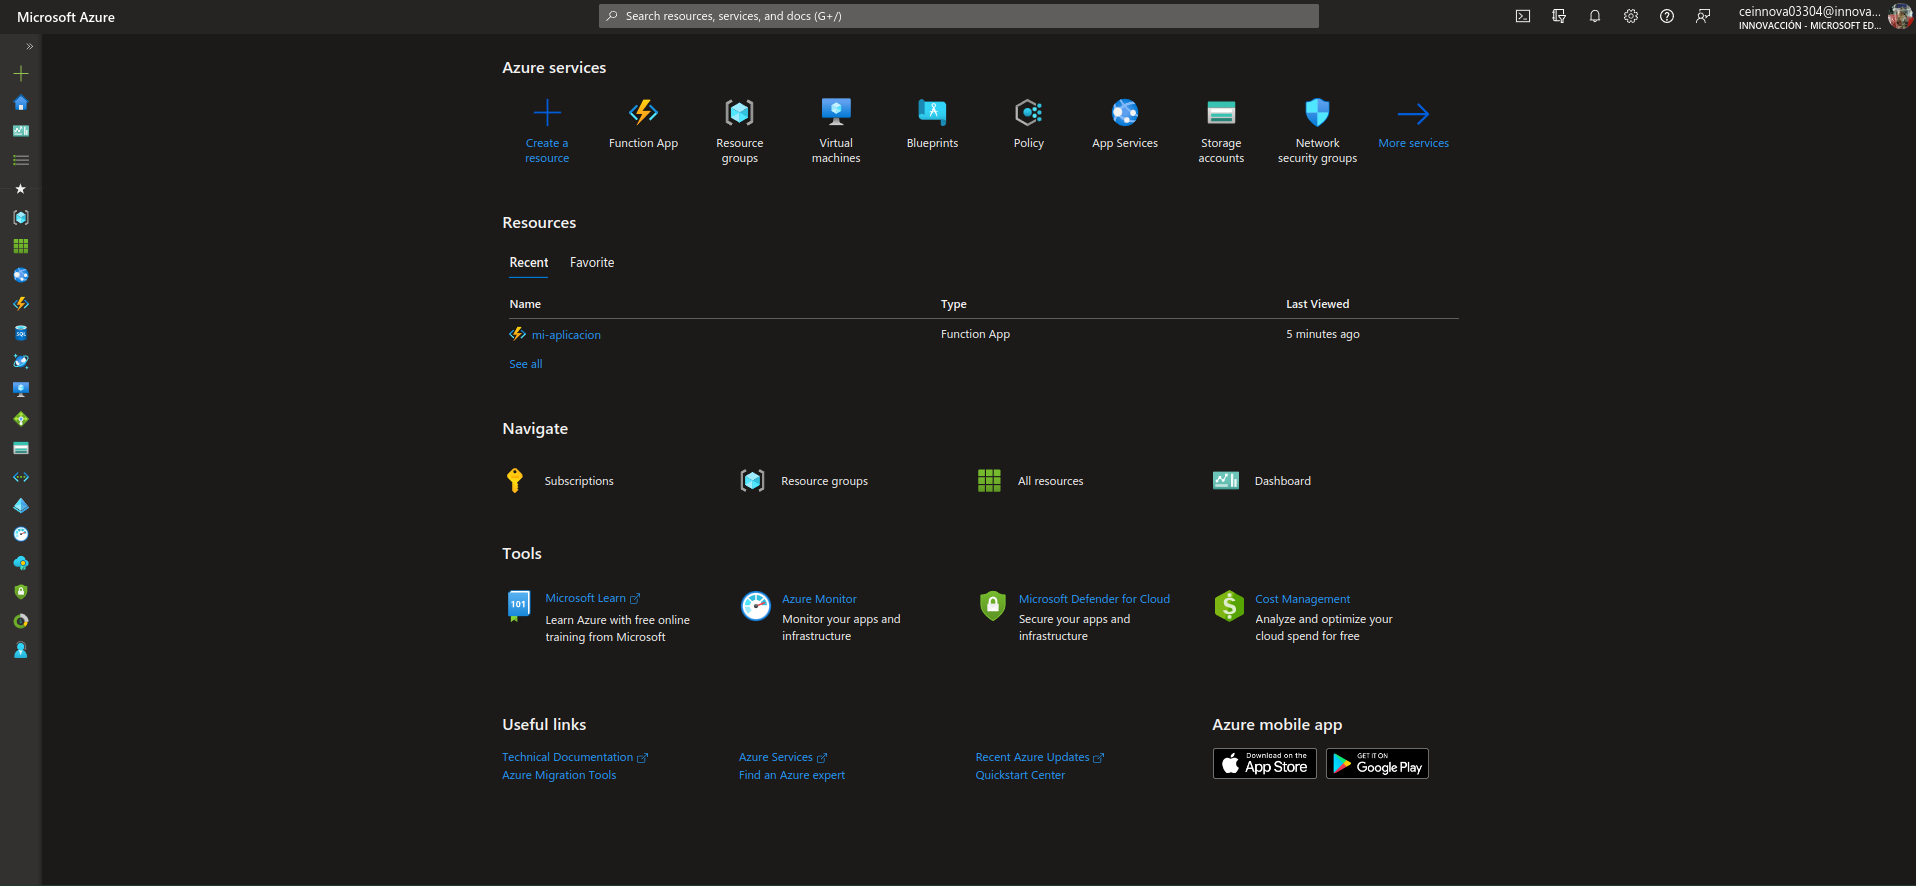
1. Login to the Azure Portal.
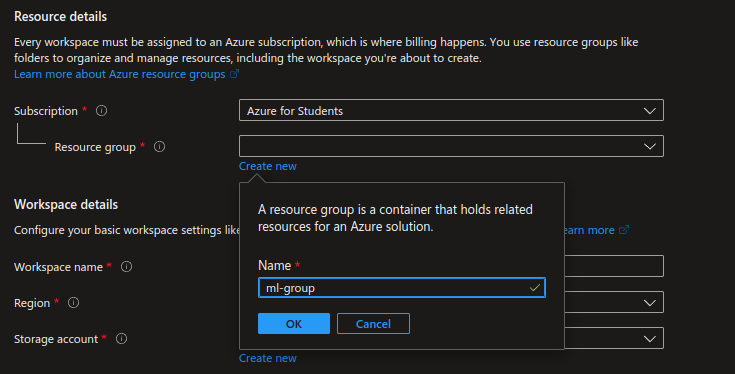
5. First, configure the resource details: select your subscription and add it to a resource group. In my case, I am creating a new resource group.
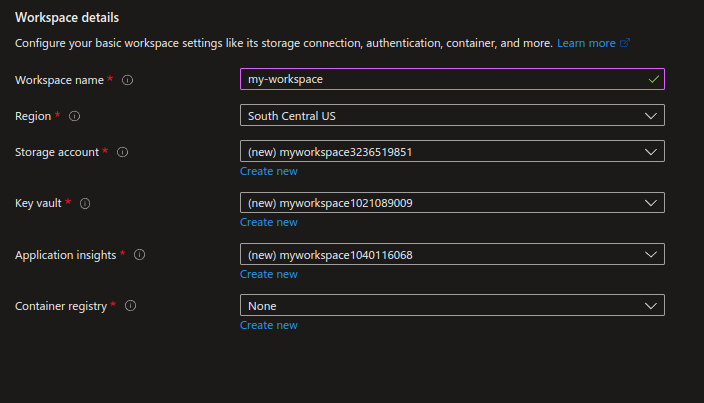
6. Now you'll need to configure the workspace details, you will need to give a workspace name,select and select a region. In order to use this service you will also need a storage account, a key vault, appligation insights and a container registry (optional); by default, this resources will be created with a similar name to the workspace's name, but you can change it if you want.
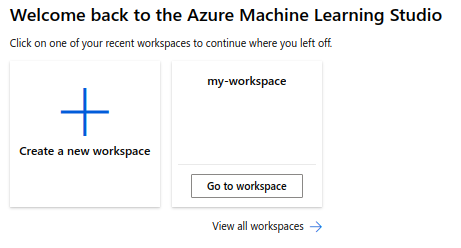
11. Go to Azure Machine Learning Studio and login with your Microsoft Account.
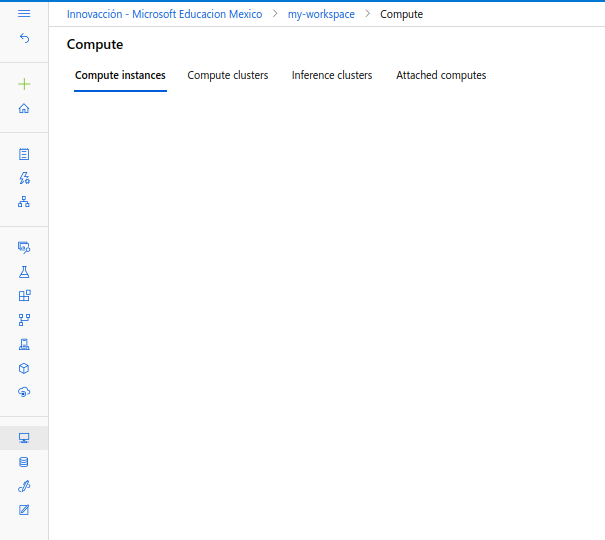
13. On the right left side of the page, you will see a bunch of icons in line. Click on the one with the computer icon to get to the Compute section.
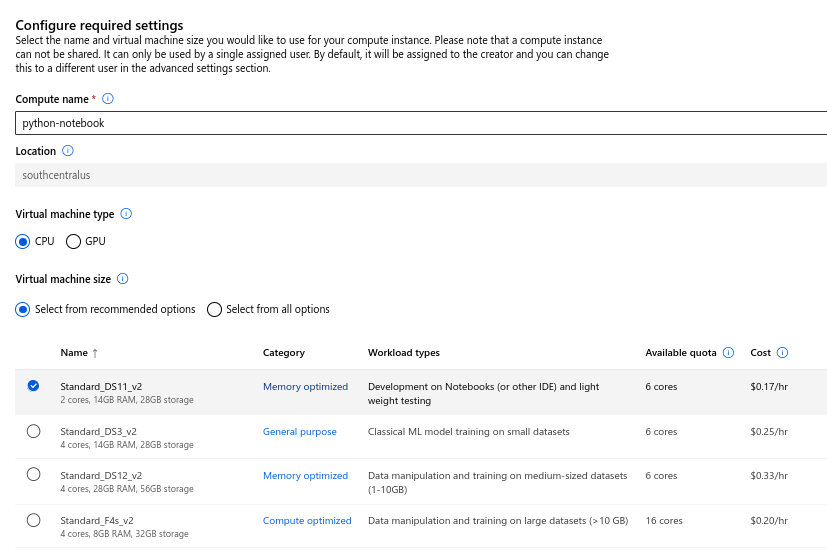
15. You will now be creating a VM instance to work on it. Give it a name and choose the lighter configuration possible; we will just be using it for a "Hello World", there's no need to give it a lot of processing power.
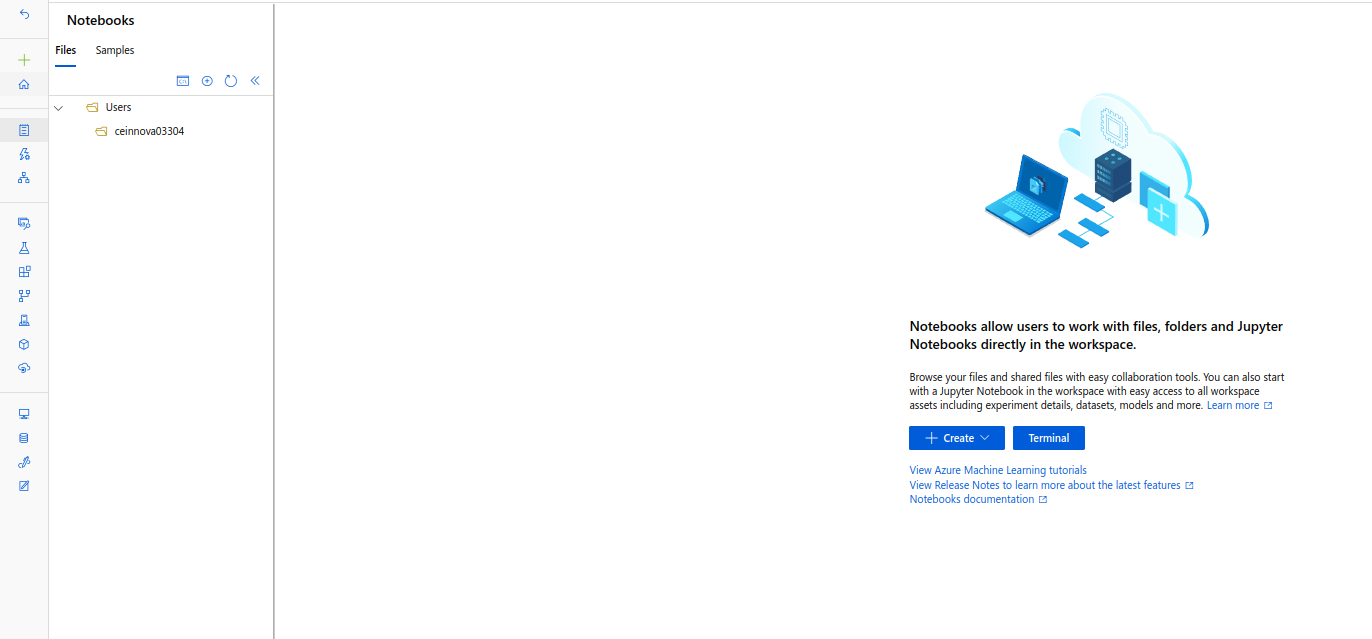
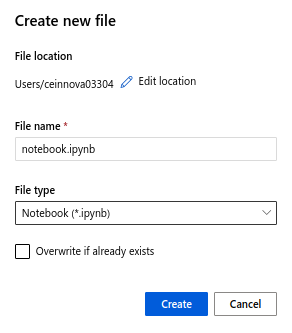
22. Inside the white rectangle that appears on the main page, change your notebook's name if you want and then click Create.
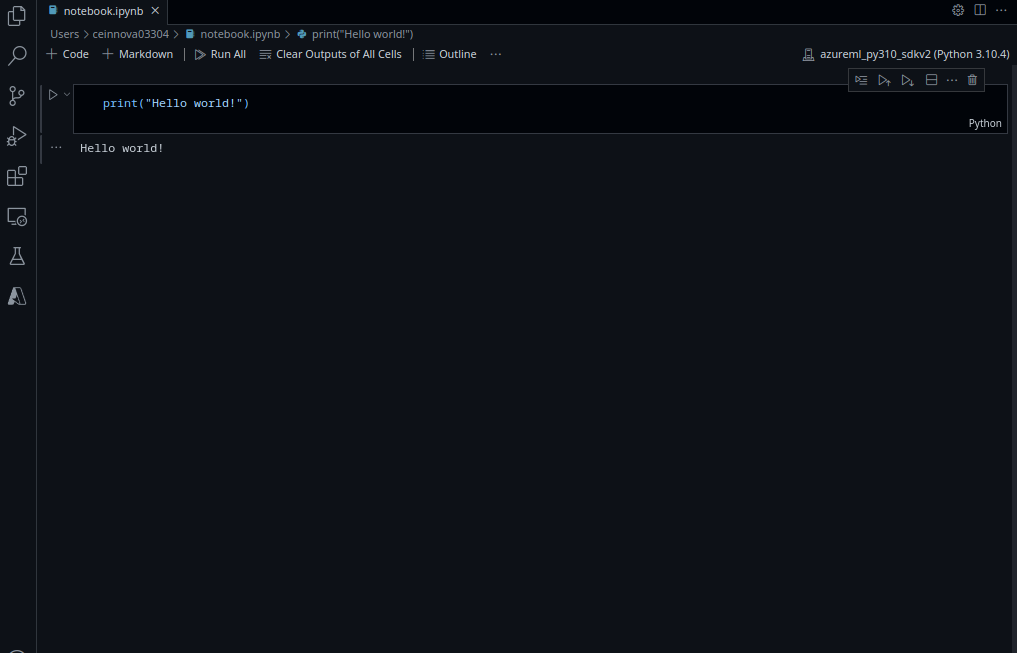
23. You will now be inside a Python Notebook. In order to print a "Hello World" inside the console just type:
Extra: you can also edit your code inside VS Code by click on the Edit in VS Code button; this will open the application on your program and, once you install a couple of extensions and login to your Microsoft account, you're ready to go.
Don't forget to delete all of your resources! If you don't, it will be very expensive.

