last update - 2021.08.11
demo-rpi-mqtt
├ custom-config
│  ├ devices
│  │  ├ led.test.device.config.toml     # 데이터 수집 장치 정의
│  │  └ rpi.test.device.config.toml     # 제어 장치 정의
│  └ profiles
│     ├ led.test.device.profile.yml     # 데이터 수집 장치 프로파일 정의
│     └ rpi.test.device.profile.yml     # 제어 장치 프로파일 정의
├ demoes
│  ├ demo.py            # DHT11 센서 데이터 수집 및 MQTT 발행 코드
│  └ demoe2.py          # MQTT 수신 및 명령어에 따른 LED 제어 코드
├ src
│  ├ dhtAgent.py        # celery 적용이 용이하도록 DHT11 데모 코드를 클래스화
│  └ ledAgent.py        # celery 적용이 용이하도록 LED 데모 코드를 클래스화
├ main.py               # celery task 동작 코드
├ tasks.py              # celery task 정의 코드
├ requirements.txt      # 의존 모듈 정의
└ ...

- EdgeX Framework 실제 적용 데모 - Collecting Data (DHT11 sensor)
- EdgeX Framework 실제 적용 데모 - Cotrolling Actuator (LED)
- 비동기 분산 큐 처리 (celery 기반)
본 데모에서는 라즈베리파이3 B+를 사용하여 DHT11 센서에서 측정하는 온도 및 습도 값을 수집하고 EdgeX Framework에 연결하는 내용을 수행한다.
- DHT11 센서 수집 코드 작성
- EdgeX의 metadata에 Device Profile 등록(yml파일)
- 등록된 Device Profile에 기반하여 EdgeX의 metadata에 Device 등록(toml파일)
- REST API를 통해 수집 데이터 및 등록 정보를 확인
라즈베리 파이에서 동작시킬 코드는 현 프로젝트에서 ./demoes/demo.py에 위치하고 있다.

$ mosquitto_sub -t '#' -h (broker-host) -p (broker-port) -v
EdgeX에 디바이스 Profile을 등록하는 방법은 3가지가 있다.
- profile 폴더에 {{profile}}.yml을 넣은 뒤
docker run시 적용 (데모에서 사용한 방법) - API로 Profile 정보를 등록(.json 파일 형식)
- API로 Profile 정보를 등록(body 입력 형식)
본 데모에서는 첫번째 방법을 통해 Profile을 등록한다.
...
    environment:
      ...
      # custom-config
      DEVICE_DEVICESDIR: /custom-config/devices
      DEVICE_PROFILESDIR: /custom-config/profiles
      MQTTBROKERINFO_HOST: xxx.xxx.xxx.xxx
      MQTTBROKERINFO_PORT: xxxx
      ...
...
    volumes:
    - ./custom-config:/custom-config
EdgeX를 정의하고 있는 docker-compose.yaml 파일을 보면 어느 곳에 profile과 device가 매핑이 되어있는지 확인할 수 있다.
- Profile
name: "RPI-Test-Device-Profile"
manufacturer: "iot"
model: "RPI-DEVICE"
description: "Test device profile"
labels:
  - "mqtt"
  - "test"
  - "rpi"
deviceResources:
  -
    name: temperature
    isHidden: true
    description: "Get the current temperature"
    properties:
      valueType: "Float32"
      readWrite: "R"
  -
    name: humidity
    isHidden: true
    description: "Get the current humidity"
    properties:
      valueType: "Float32"
readWrite: "R"- Device
# Pre-define Devices
[[DeviceList]]
  Name = 'RPI-Test-Device'
  ProfileName = 'RPI-Test-Device-Profile'
  Description = 'MQTT device is created for test purpose'
  Labels = [ 'MQTT', 'test', 'rpi' ]
  [DeviceList.Protocols]
    [DeviceList.Protocols.mqtt]
       CommandTopic = 'CommandTopic'
    [[DeviceList.AutoEvents]]
       Interval = '30s'
       OnChange = false
       SourceName = 'message'

[[DeviceList]]
   ...
이 때, Device의 ProfileName 항목은 Profile의 name 항목과 정확하게 일치해야만 해당 프로파일을 불러와 디바이스와 매핑할 수 있다. 디바이스의 아래 AutoEvents 부분은 EdgeX에서 보내주는 정기적인 이벤틀르 정의하는 부분이며 본 데모에서는 무시한다.
등록이 정상적으로 되었다면, GET 요청으로 확인해볼 수 있다. ✅ 자세한 API 목록은 공식 문서를 찾아보도록 하자


등록과정은 위와 같다.
$ celery -A tasks worker -l INFO$ python main.py동작 확인
- celery 프로세스를 중지 시켰을 때,
ctrl+c를 통해서는 중지되지 않고 별도의 터미널상에서 강제로kill을 시켜야 한다.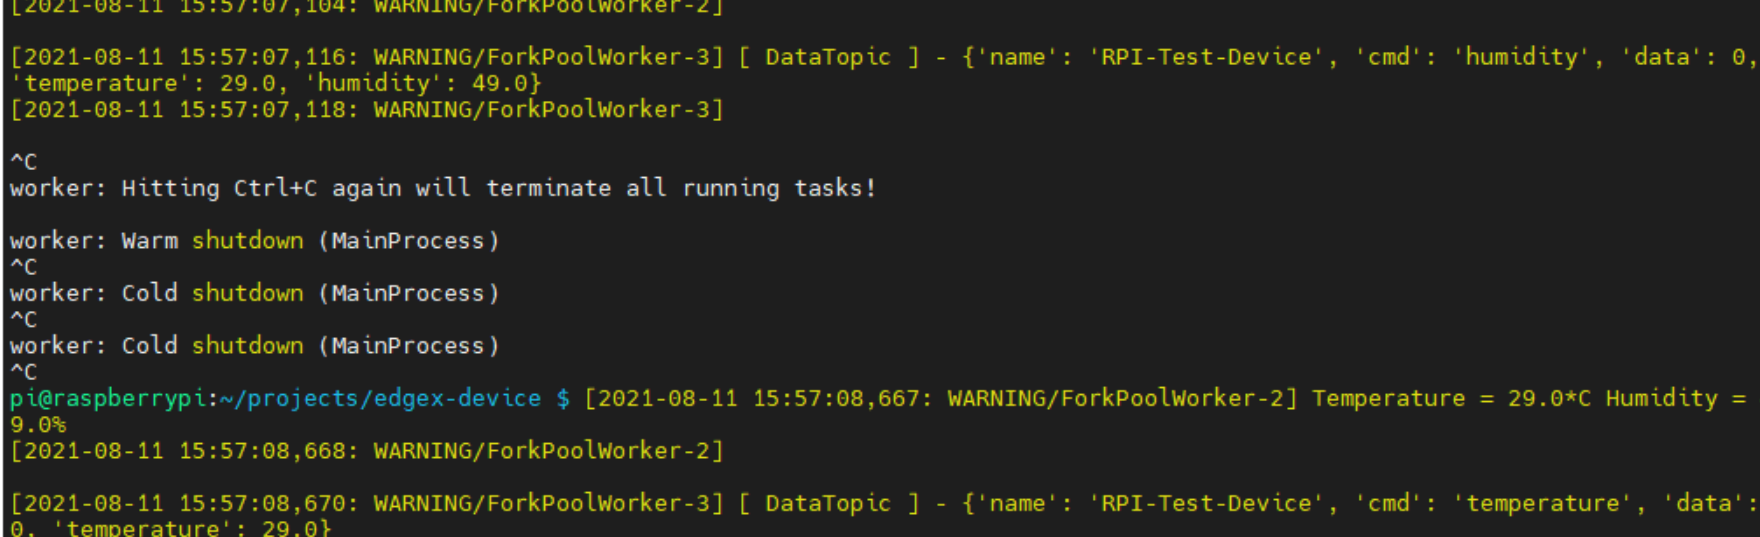
- 파이썬 버전이 구 버전일 경우 pip 인스톨 시 celery도 구 버전이 설치되며
f-string문법에 대한 syntex error가 발생할 수 있다.
