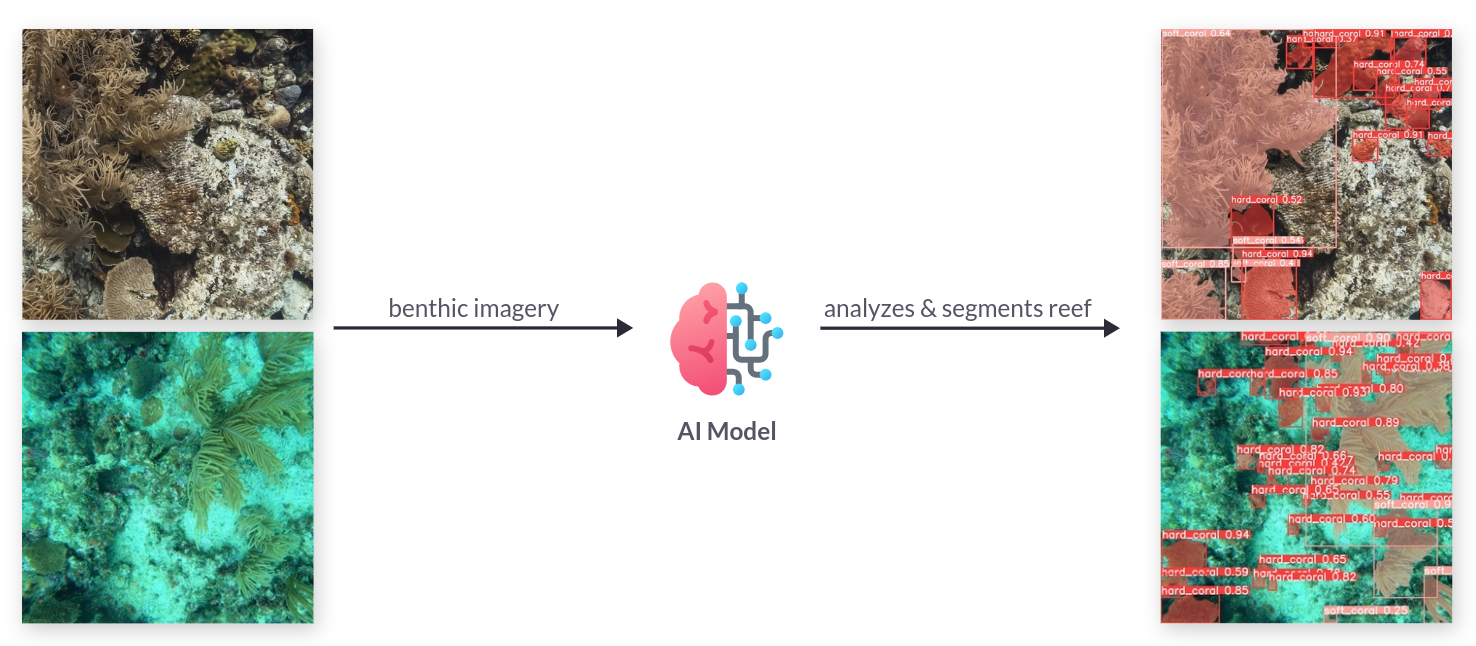
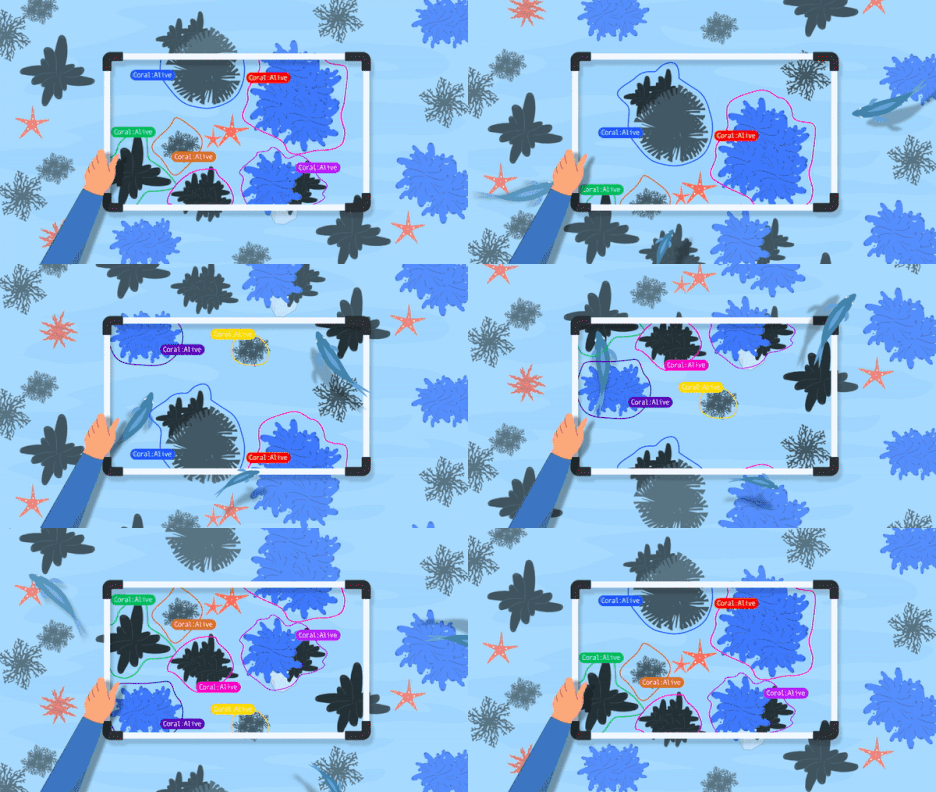
Marine biologists engaged in the study of coral reefs invest a significant portion of their time in manually processing data obtained from research dives. The objective of this collaboration is to create an image segmentation pipeline that accelerates the analysis of such data. This endeavor aims to assist conservationists and researchers in enhancing their efforts to protect and comprehend these vital ocean ecosystems. Leveraging computer vision for the segmentation of coral reefs in benthic imagery holds the potential to quantify the long-term growth or decline of coral cover within marine protected areas.
Monitoring coral reefs is fundamental for efficient management, with swift reporting being critical for timely guidance. Although underwater photography has significantly enhanced the precision and pace of data gathering, the bottleneck in reporting results persists due to image processing.
Our tools tap on AI and computer vision for increasing the capabilities of coral reef and marine monitoring in examining benthic/seabed features.
– ReefSupport
Make sure git-lfs is installed on your system.
Run the following command to check:
git lfs installIf not installed, one can install it with the following:
sudo apt install git-lfs
git-lfs installbrew install git-lfs
git-lfs installDownload and run the latest windows installer.
Create a virtualenv, activate it and run the following command that
will do the following: setup the pip dependencies, download the dataset,
process the dataset, finetune the different models, evaluate the models. It
can take a long time. Make sure to use a computer with enough compute
power and a GPU (at least 40GB of memory is currently required).
make allCreate a virtualenv, activate it and install the dependencies as follows:
make setupBuild everything needed by the project. It will take a long time to download the dataset and preprocess the data.
make dataIn the next subsections, we explain how one can run the commands to donwload the raw data and then process it to prepare it for finetuning.
Download the raw dataset from ReefSupport using the following command:
make data_downloadOne needs to prepare the raw dataset for the models to be trained on.
Convert the raw dataset into the YOLOv8 Pytorch TXT format
Run the following command:
make data_yolov8_pytorch_txt_formatRun the following command:
make data_mismatch_labelRun the following command:
make data_model_inputNote: if one wants to also generate archive files to make it easier to move
around (scp, ssh, etc), just pass the extra --archive parameter like so:
python src/data/yolov8/build_model_input.py \
  --to data/05_model_input/yolov8/ \
  --raw-root-rs-labelled data/01_raw/rs_storage_open/benthic_datasets/mask_labels/rs_labelled \
  --yolov8-pytorch-txt-format-root data/04_feature/yolov8/benthic_datasets/mask_labels/rs_labelled \
  --csv-label-mismatch-file data/04_feature/label_mismatch/data.csv \
--archiveMake sure there is a GPU available with enough memory ~40GB is required for the
specified batch size.
The model weights and model results are stored in data/06_models/yolov8/.
Note: use screen or tmux if you connect to a remote instance with your GPU.
To finetune all the models with different model sizes, run the following command:
make finetune_allmake finetune_baselinemake finetune_nanomake finetune_smallmake finetune_mediummake finetune_largemake finetune_xlargeTo find the list of all possible hyperparameters one can tune, navigate to the official YOLOv8 documentation.
python src/train/yolov8/train.py \
  --experiment-name xlarge_seaflower_bolivar_180_degrees \
  --epochs 42 \
  --imgsz 1024 \
  --degrees 180 \
  --model yolov8x-seg.pt \
--data data/05_model_input/yolov8/SEAFLOWER_BOLIVAR/data.yamlSome hyperparameters search was performed to find the best
combination of hyperparameters values for the dataset.
Experiment tracking is done via wandb and one would
need to login into wandb with the following command:
wandb loginPaste your wandb API key when prompted.
One can evaluate all the models that were trained and located in the
data/06_models/yolov8/segment folder.
make evaluate_allOne can run quantitative and qualitative evaluations using the following command:
python src/evaluate/yolov8/cli.py \
  --to data/08_reporting/yolov8/evaluation/ \
  --model-root-path data/06_models/yolov8/segment/current_best_xlarge \
  --n-qualitative-samples 10 \
  --batch-size 16 \
  --random-seed 42 \
--loglevel info One can run inference with the following script:
python src/predict/yolov8/cli.py \
  --model-weights data/06_models/yolov8/segment/current_best_xlarge/weights/best.pt \
  --source-path data/09_external/images/10001026902.jpg \
--save-path data/07_model_output/yolov8/Note: Make sure to use the right model weights path.
One can run inference with the following script:
python src/predict/yolov8/cli.py \
  --model-weights data/06_models/yolov8/segment/current_best_xlarge/weights/best.pt \
  --source-path data/09_external/images/ \
--save-path data/07_model_output/yolov8/Note: Make sure to use the right model-weights path.
YOLOv8 offers a wide variety of source types. The documentation is available on their website here.

