By: Tim Campbell and Ethan Chiou
A record player modified to demonstrate an application of Cesar Torres' MetaMorphe, namely the ability to interpolate keyframes from a programatically defined change in a 3D model. The record player, which rotates at around three times its built-in speeds (~99 and 135, instead of 33 and 45 rpm, respectively), has either 15 or 10 3D printed models placed on the turntable, and a xenon flash is fired at a corresponding rate to produce the illusion of animation.
A video can be found here.
- Press power button to turn record player on.
- Ensure the strobe off before proceeding
- Select appropriate speed:
- "33" for 15 frame animations.
- "45" for 10 frame animations.
- Place an appropriate plate on the turntable.
- Accelerate the turntable using the start/stop button.
- Ensure the turntable reaches full speed before turning on the strobe.
- Turn on the strobe with the yellow button on the side of the case.
- Tune the speed of the animation with the pitch fader
- When you are done using the zoetrope:
- Turn off the strobe
- Turn off the turntable
- Turn off power
- .svg files for 10 and 15 frame plates can be found in the repository.
- .stl file for the cog is found in the repository
- .dxf files for the strobe enclosure found in the strobe-mount folder in the repository
- The turntable must reach full speed before you turn on the strobe because firing the strobe light and accelerating the turntable simultaneously draws too much power.
2. Cog
3. Flash
When approached by Cesar to make a demonstration for MetaMorphe, Tim had the idea of making a zoetrobe or stroboscope to present the potential of MetaMorphe to produce keyframes in animation. We decided on a record player because of the already-implemented rotational motion and the size of the turntable. We found an inexpensive, used record player on Craigslist that I picked up in Oakland, and took it apart to see how it worked, and how we could modify it to do what we wanted.
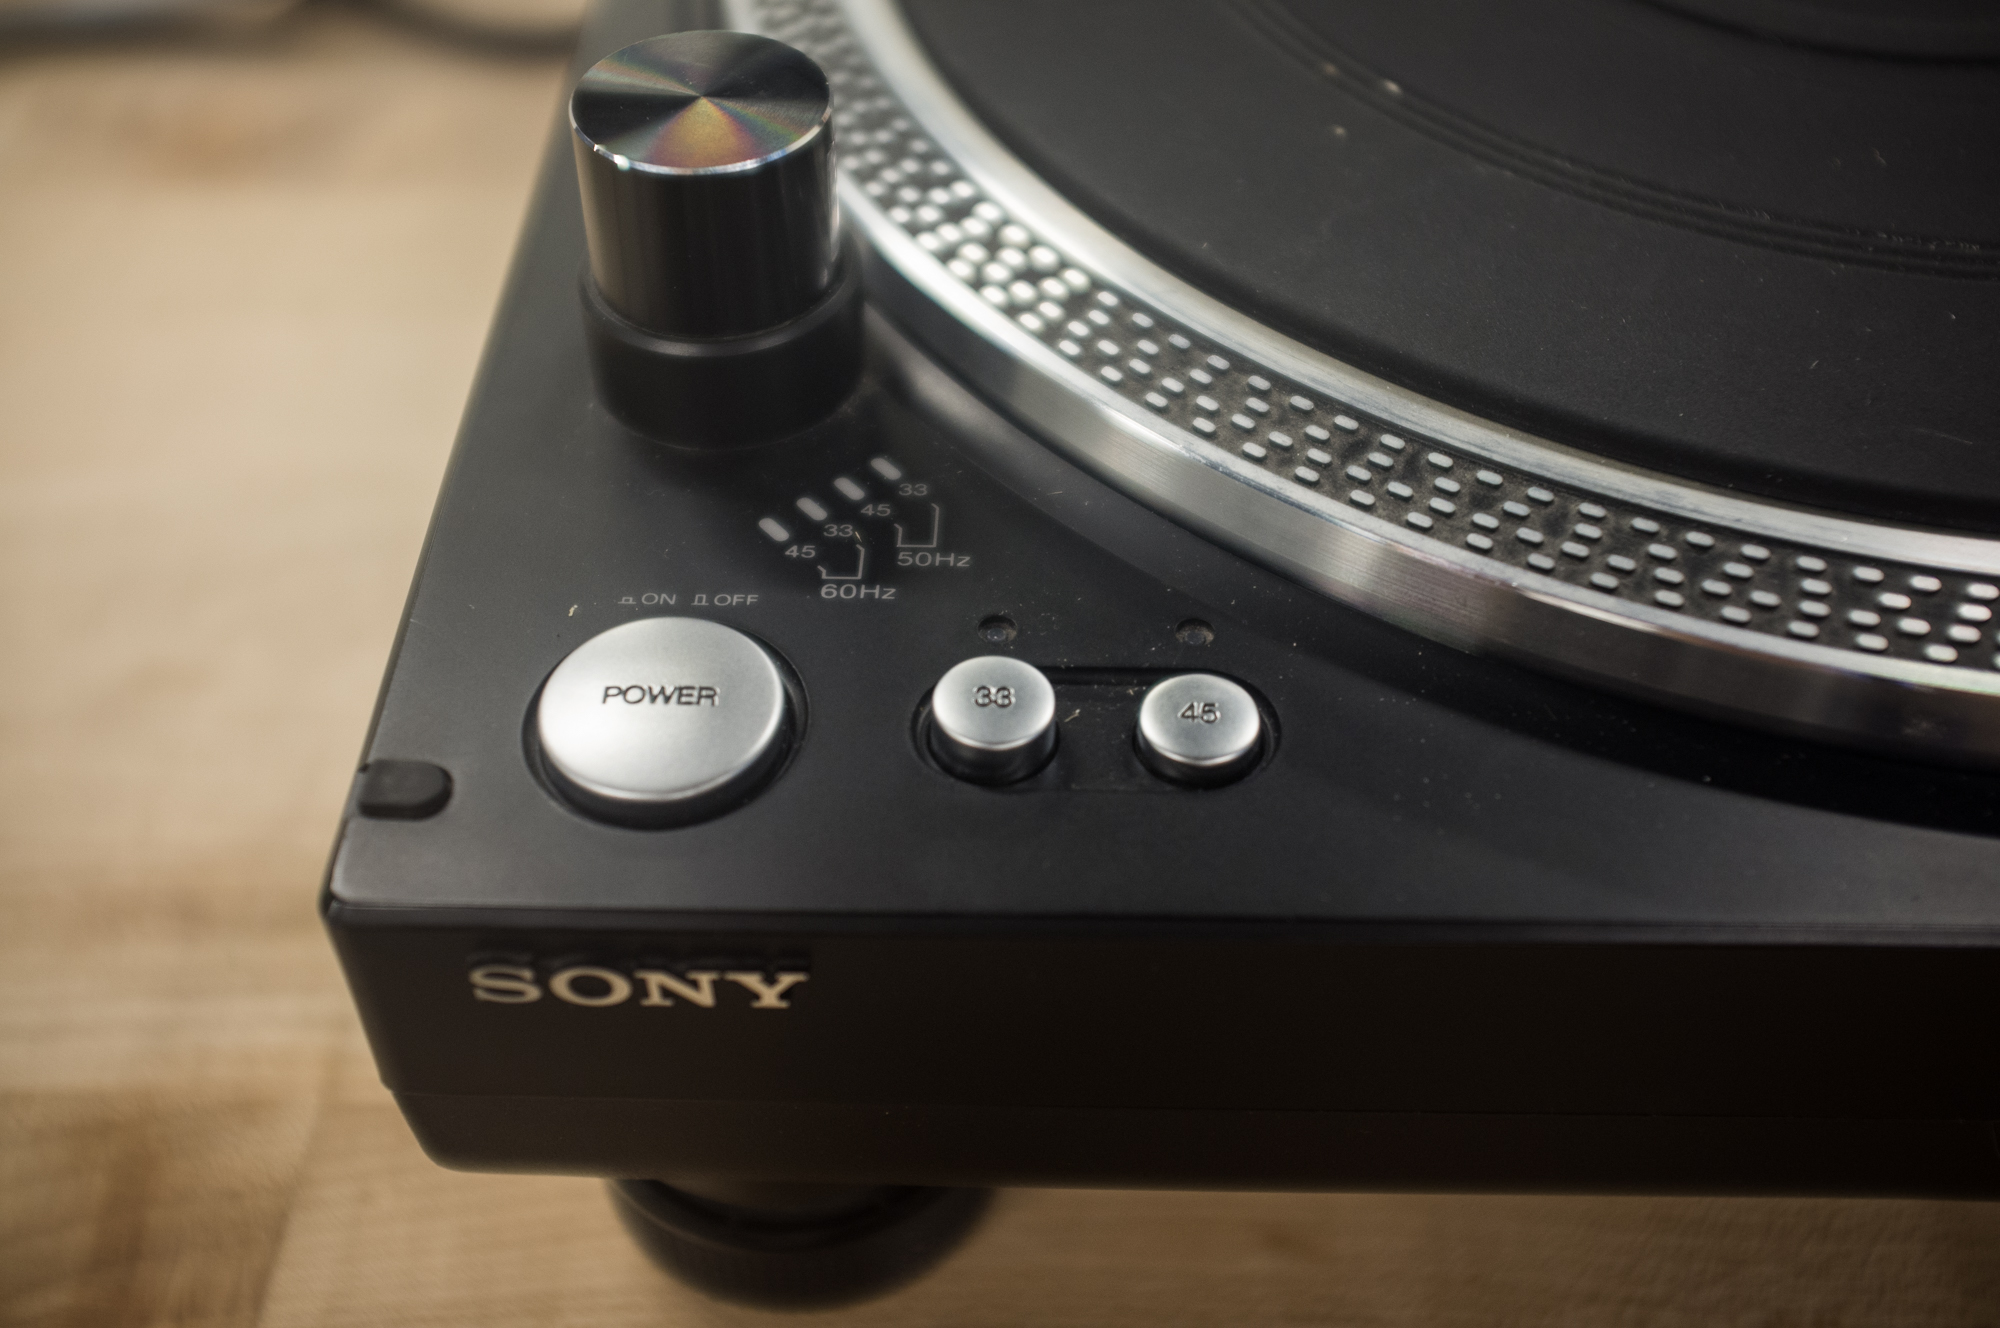
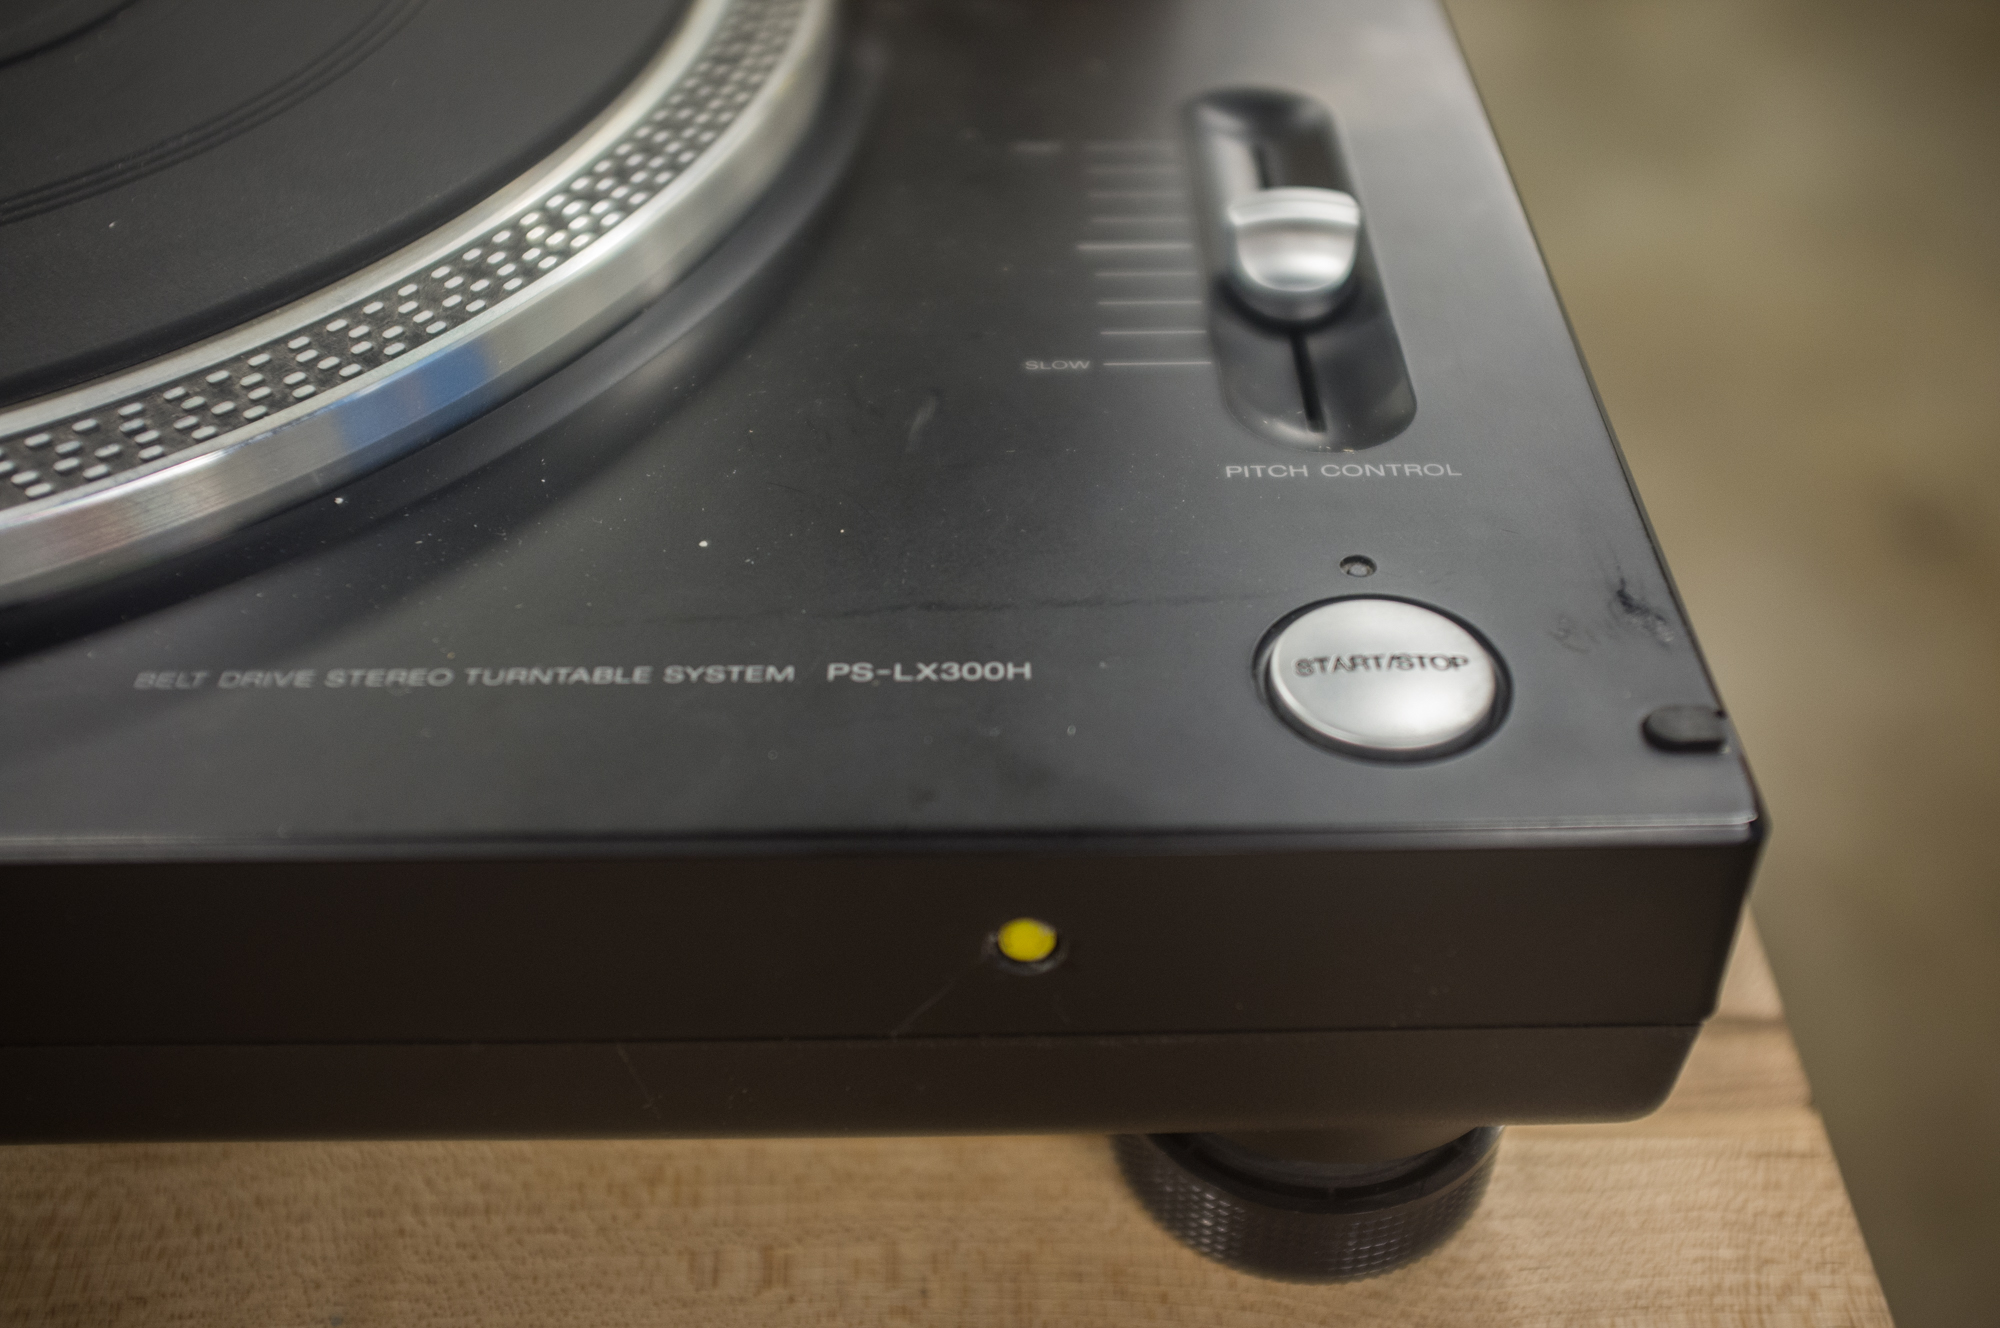
On the left side, there is a power button, as well as options for speed, which were intially at 33 and 45 rpm. We initially wanted to display the animation at around 24 frames per second (fps). With 10 frames of animation, a 45 rpm turntable would display at 7.5 fps. Therefore, we calculated a necessary speed of 144 to 150 rpm for 10 frames at 24 fps. Upon seeing the different speeds, we then calculated the proportioned number of frames for the 33 rpm setting and also implemented a 15 frame plate. On the right side, there is a start/stop button for the turntable, as well as pitch control, which alters the rotational speed of the turntable slightly. There is also the yellow button I added in to turn the strobe light on and off.
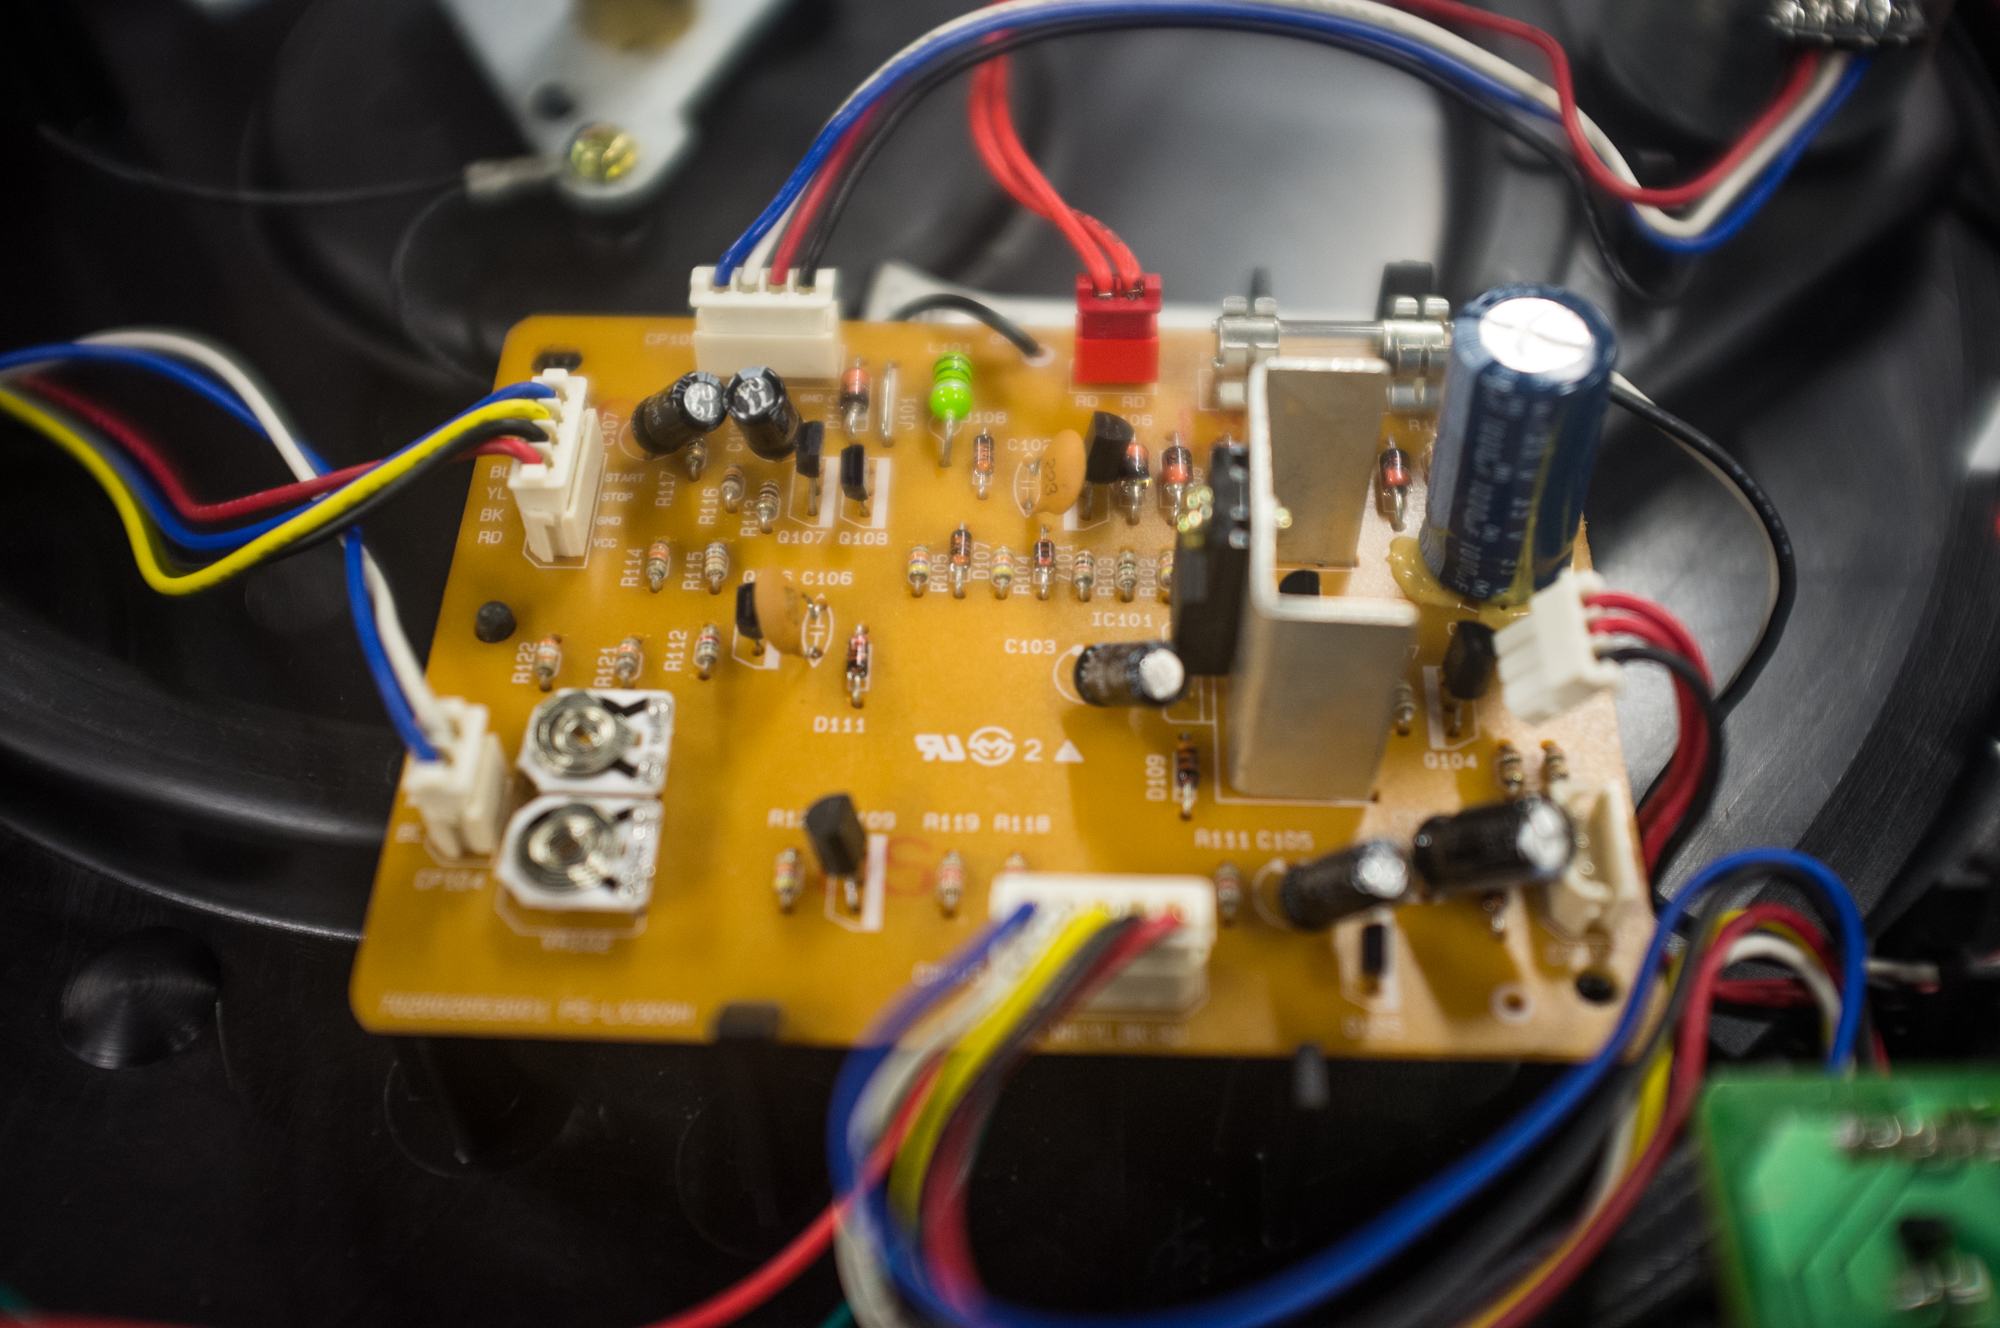
Looking at the internals of the record player, we found an analog circuit board with a 12v regulator, which was coincidental because Tim had a 12v xenon flash on hand, and so we could power the flash without an additional power source. The 12V regulator was speced to handle steady current output of 1A, which we estimated to be enough current to power both the motor and the strobe.
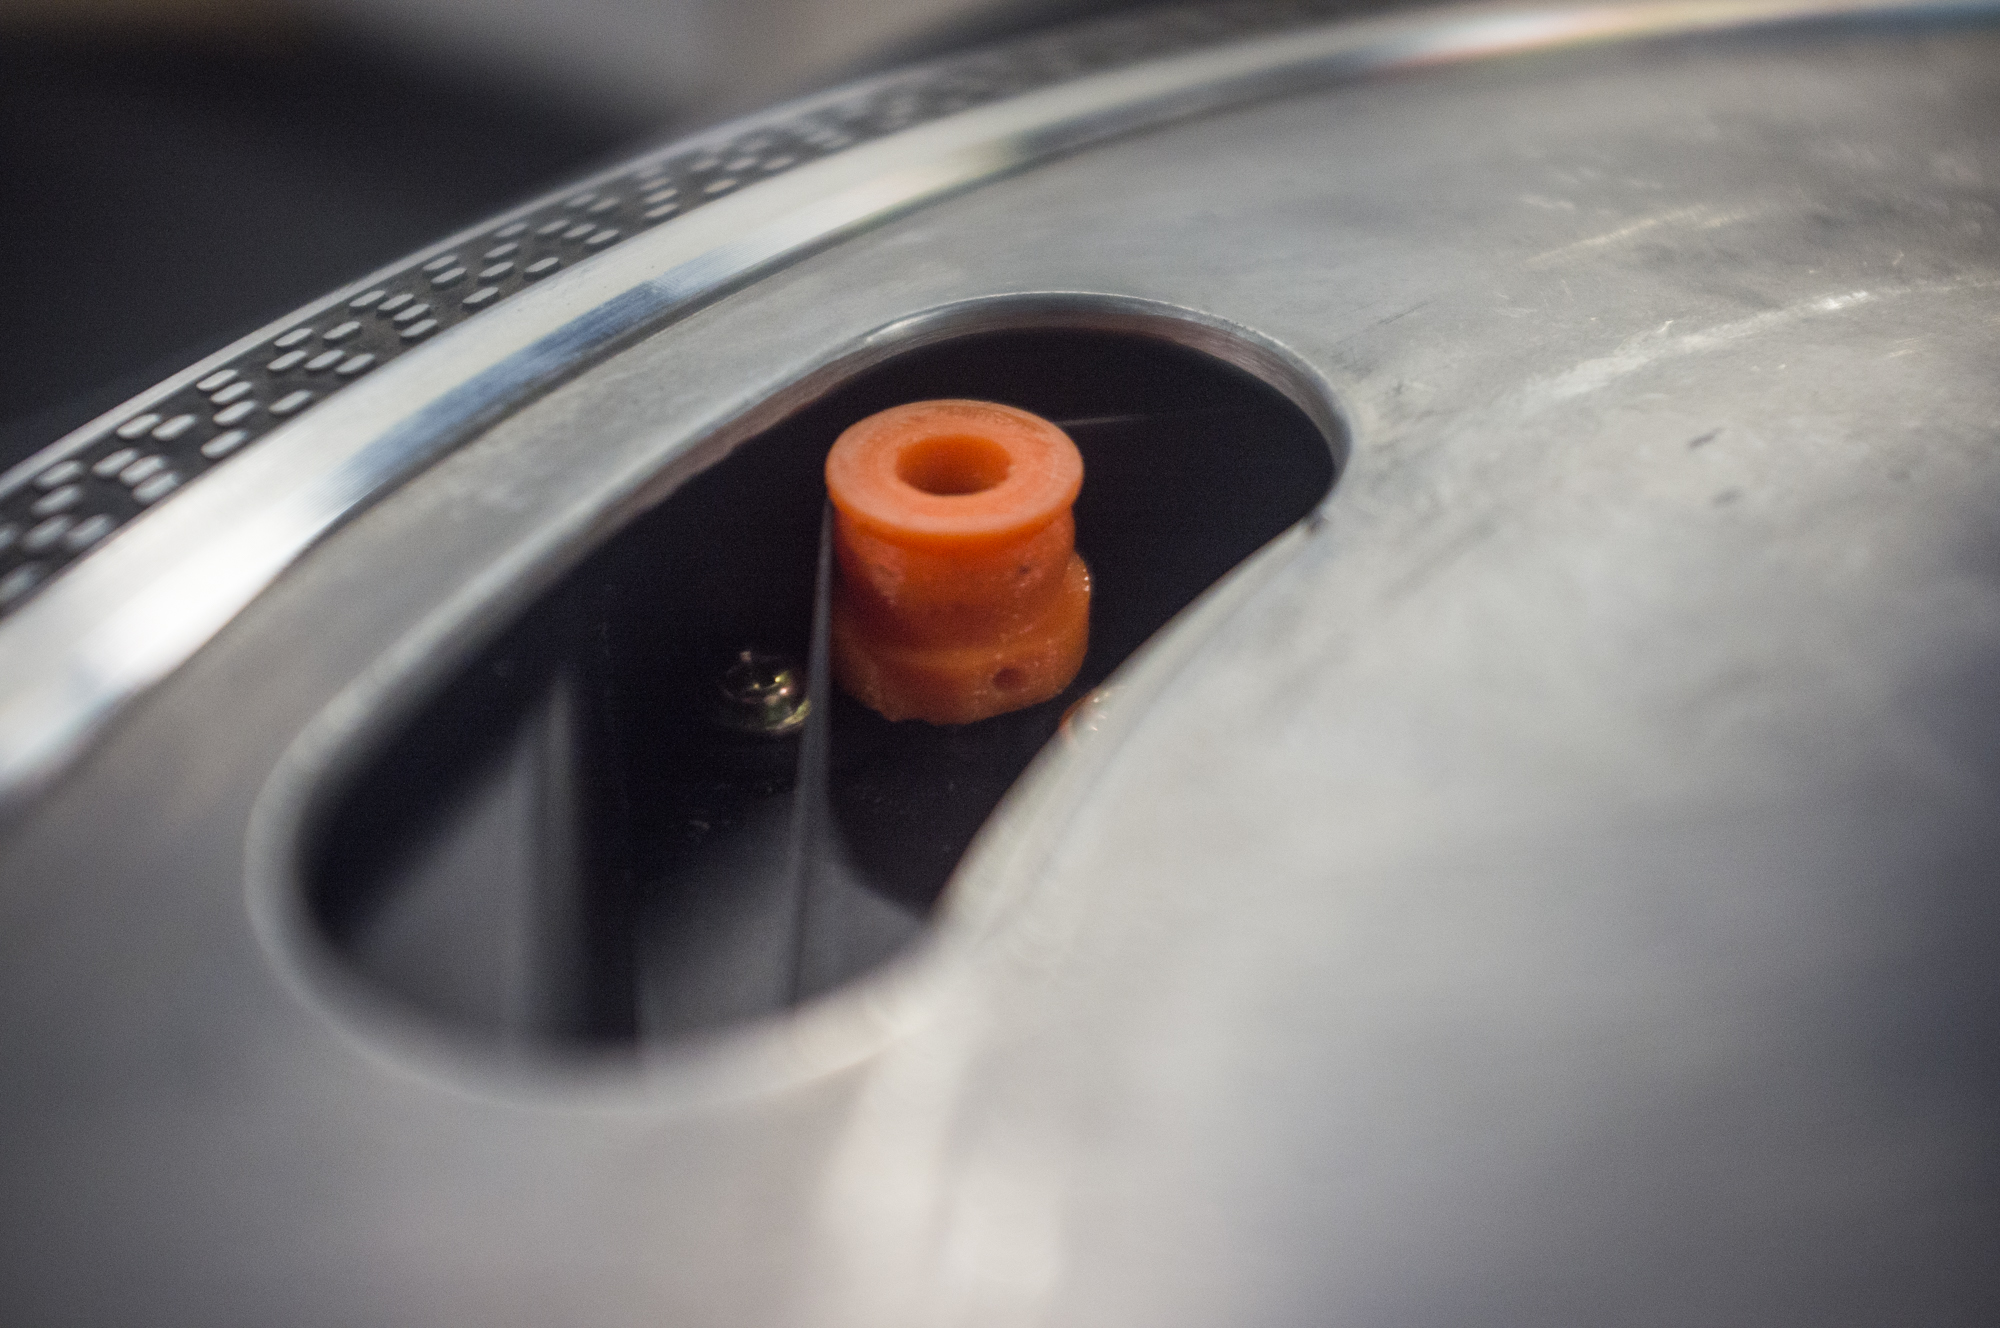
Because we wanted to spin the turntable at three times its default speeds, we decided that instead of replacing the motor, we could simply fit a larger pully over the existing one, which would increase the speed of the larger turntable. Tim measured the diameter of the existing pulley and then tripled its size on the 3D printed retrofit. The Solidworks file is in the repository. An good explanation of crowned pulleys can be found on woodgears.ca
Because of the limitations of the record player's power supply, we needed a way to turn the strobe off as the turntable was accelerating. To do this, we simply added a button on the side of the casing connected to the Arduino controlling the flash.
The strobe light is an on-demand power strobe. It charges an 800 V capacitor from a 12 V power supply then discharges from a trigger signal between 5V and 12V. We triggered the stobe with a transistor connected to an Arduino digital output pin. The current draw of the strobe is determined by the triggering frequency, which was approximately 0.4 A for our 24 fps application. Tim had the strobe module lying around from a previous project, it can be purchased as an assembled module from xenonflashtubes.com
In addition to powering the strobe light with the record player's power supply and controlling it with the Arduino, we had to position it illuminate the animation. We did this by replacing the record player's needle with a laser cut mount for the flash.
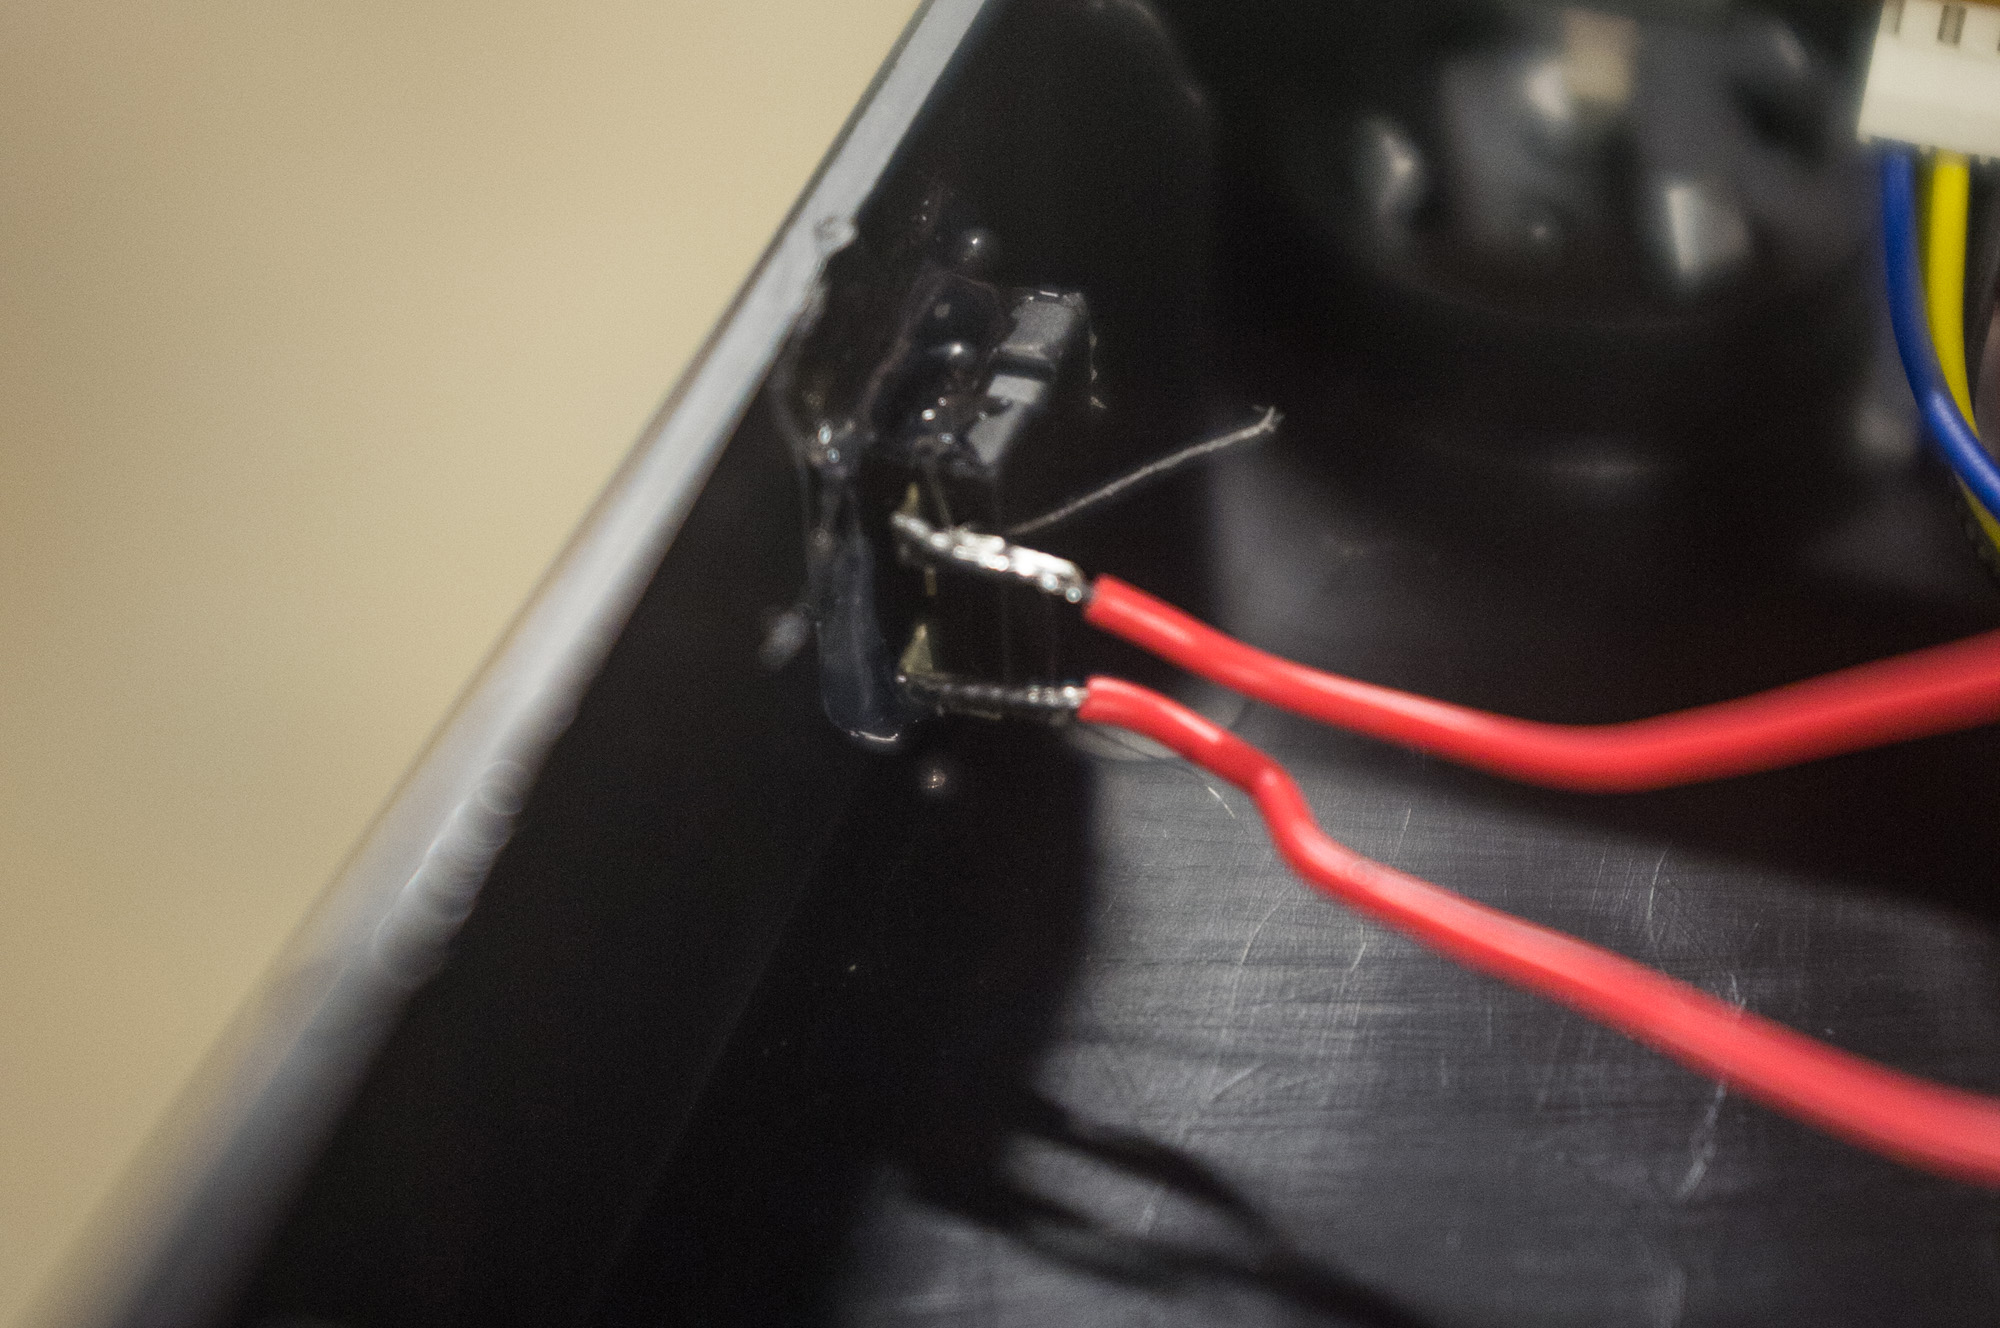
In order to find the speed at which the turntable was spinning (and thus at what rate to fire the strobe light), we initially had the idea of putting a Reed switch and a magnet under the turntable find the rotations per minute (and actually cut a hole in the casing and hot glued the switch in). Then we settled on a elegant solution: instead of adding lots of logic and components, we could use the built-in pitch control to adjust the speed of the turntable ever so slightly while we fired the flash at a constant rate. This required no additional electronics or modification.
![][33 rpm] ![][45 rpm]
The record player also came with two default speeds, the faster of which we used for 10 frame animations (and would thus fire the flash at around 30 fps). We also decided to take advantage of the slower speed and use it for 15 frame animations. To do this, we had to be able to detect at what rate the turntable was spinning.
![][33 switch]
Our intuition was to try to read the voltage from the LEDs indicating at which speed the turntable was turning, but the voltages which we were getting were confusing (and in the process we managed to burn out several LEDs as well as an Arduino). Instead of dealing with the same switch as the record player's circuit board, we chose an unused one, and simply read the signal from there. The unused switch was connected mechanically but not electrically to the other switch, thus saving the confusing voltage.
![][arduino]
My Arduino code can be found here. It essentially fires the flash at a constant delay if the on/off button is pressed, changing the delay depending on the current speed of the turntable. We initially thought there would be much more programming involved but the record player had so much existing functionality that only timing the strobe was necessary.
![][circuit board]
The perma-proto board contains wires to the arduino, as well as wires to the switch detecting the current turntable speed, the button to turn the strobe on and off, and the strobe itself. There is also a switch connected to it that we used to turn the strobe on and off before putting the button in. We hot-glued stand-offs to the underside of the top case and then screwed the Arduino and protoboard into them.
[33 rpm]: ./pictures/33-rpm.jpg "Turntable running at "33 rpm"" [45 rpm]: ./pictures/45-rpm.jpg "Turntable running at "45 rpm"" [33 switch]: ./pictures/switch.jpg "Wiring to read the current speed of the turntable" [arduino]: ./pictures/arduino.jpg "The Arduino" [circuit board]: ./pictures/circuit-board.jpg "The circuit board"


