IHateToBudget is now archived. See #26.
A simple web app to understand and control your expenses.
Designed to be self-hosted.
Inspired by OnTrack.
It is important to control your budget and know where your money goes. I've tried lots of different apps and methods, but none have really convinced me. So I designed and developed IHateToBudget, a simple and efficient application that meets my needs.
And it's also available for you.
A basic authorization system exists but this application is not intended to be hosted on a public network (yet?). It is designed to be self-hosted locally (e.g. on a Raspberry Pi) and used by a few users within the same household.
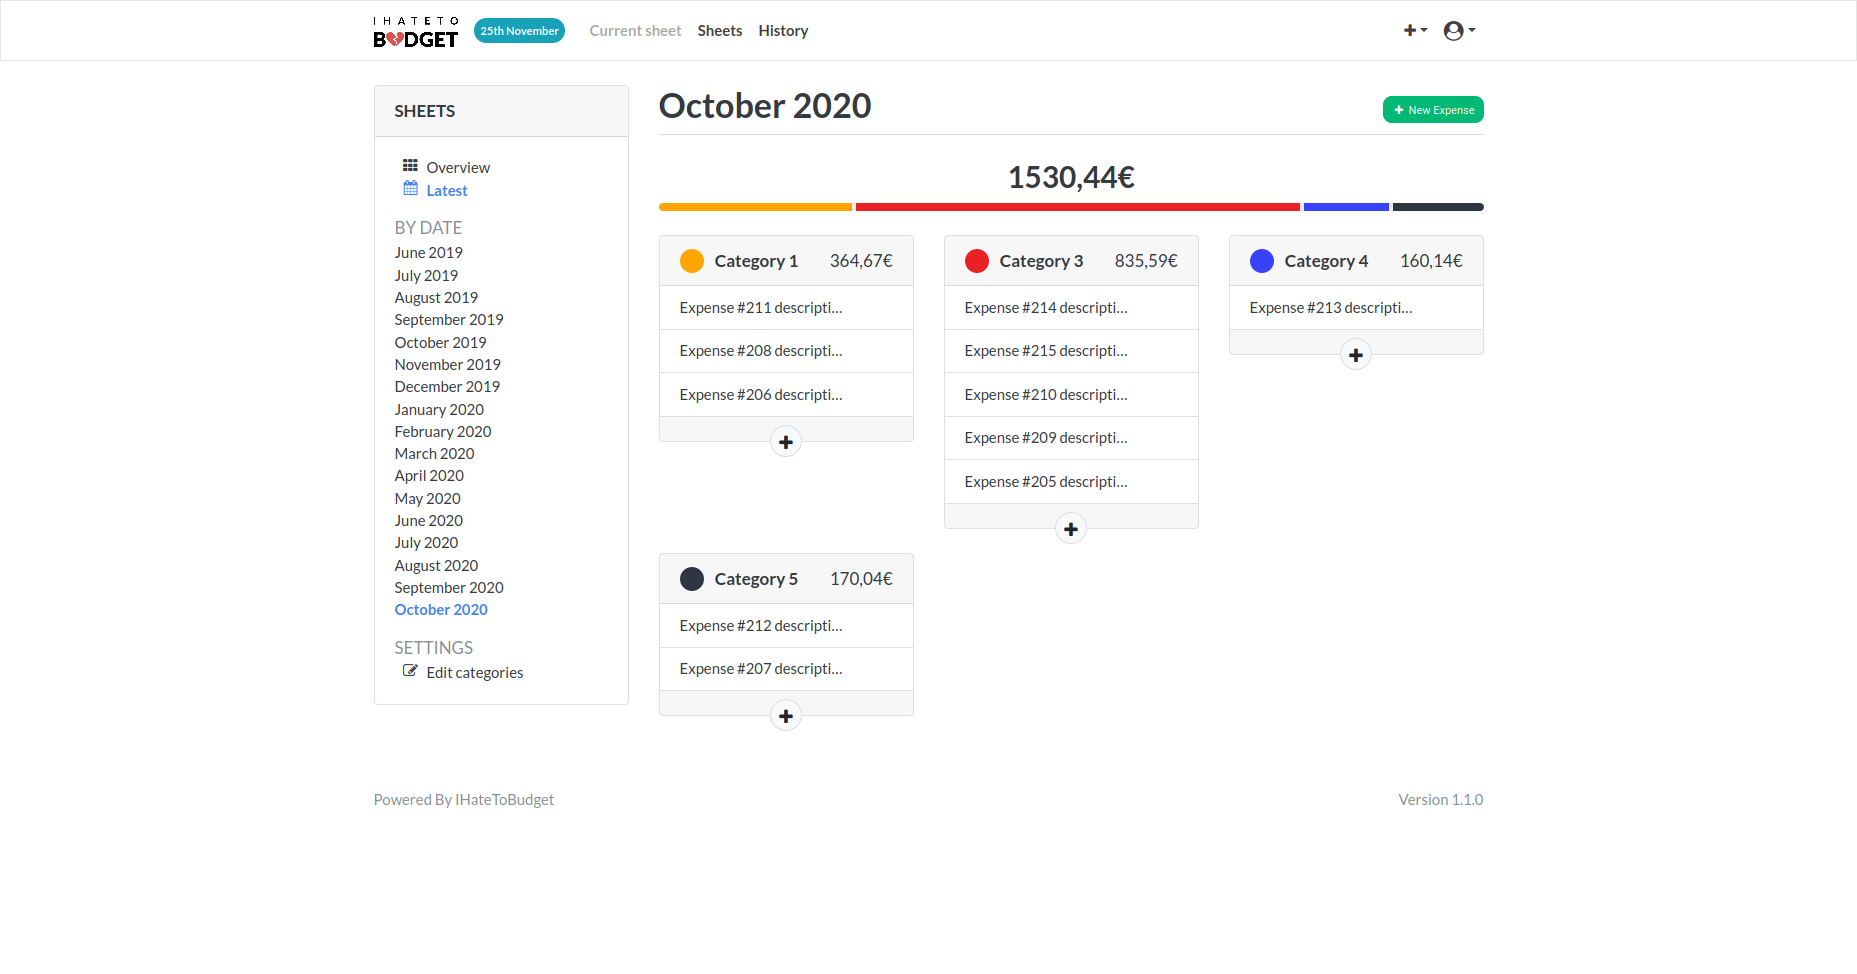
Define categories, and their color.
Add dated and categorized expenses. They are automatically grouped by month (i.e. sheet).
Analyze the overall statistics.
Explore and filter all expenses.
The following instructions are guidelines. You're free to adapt these to your needs.
-
Install Docker and docker-compose, if you haven't already.
-
Clone the repository:
git clone https://github.com/bminusl/ihatetobudget.git cd ihatetobudget -
Create a copy of:
docker-compose.yml.exampleasdocker-compose.ymldocker-compose.env.exampleasdocker-compose.envCaddyfile.exampleasCaddyfile
cp docker-compose.yml.example docker-compose.yml
cp docker-compose.env.example docker-compose.env
cp Caddyfile.example Caddyfile
Note: Making copies ensures that you can
git pull(or equivalent) to receive updates without risking merge conflicts with upstream changes. -
Edit
docker-compose.envand adapt the following environment variables:-
DJANGO_SECRET_KEY: This is the secret key used by Django.See https://docs.djangoproject.com/en/3.1/ref/settings/#std:setting-SECRET_KEY for more information.
Currency formatting
In IHateToBudget, money is represented by positive decimals of the form "xxxxxxxx.yy". The user is free to change the formatting to use the currency of their choice, by setting the following environment variables:
CURRENCY_GROUP_SEPARATOR: A single character which separates the whole number into groups of 3 digits.1CURRENCY_DECIMAL_SEPARATOR: A single character that separates the whole part from the decimal part.1CURRENCY_PREFIX: A string placed in front of the number.1CURRENCY_SUFFIX: A string placed behind the number.1
By default, it formats money as French euros. For instance, here's how to format as US dollars:
CURRENCY_GROUP_SEPARATOR=,
CURRENCY_DECIMAL_SEPARATOR=.
CURRENCY_PREFIX=$
CURRENCY_SUFFIX=
1: Note: If it contains spaces, make sure to use non-breaking spaces. This is simply to prevent visual "glitches".
-
-
Run
docker-compose up -d. This will build the main image, and create and start the necessary containers. -
Start cron inside the container:
docker-compose exec ihatetobudget service cron start -
To be able to login, you will need a (super) user. To create it, execute the following commands:
docker-compose run --rm ihatetobudget pipenv run python manage.py migrate
docker-compose run --rm ihatetobudget pipenv run python manage.py createsuperuser
This will prompt you to set a username, an optional e-mail address and finally a password.
-
You should now be able to visit your IHateToBudget instance at
http://127.0.0.1:80. You can login with the username and password you just created.
The following instructions are guidelines. You're free to adapt these to your needs.
-
Navigate to the root of the repository.
-
Run
docker-compose down -v. This will stop all containers.Note: Volumes are also removed (
-v), see why. -
Create a backup of the database—just in case—, e.g. run
cp db.sqlite3 db.sqlite3.bak. -
Upgrade the codebase to the desired revision, e.g. run
git pull. -
Rebuild the image:
docker-compose build
-
Migrate the database:
docker-compose run --rm ihatetobudget pipenv run python manage.py migrate
This action will synchronize the database state with the current set of models and migrations.
-
Run
docker-compose up -d. This will create and start the necessary containers. -
Start cron inside the container:
docker-compose exec ihatetobudget service cron start
Distributed under the GPLv3 License. See COPYING for more information.
I maintain this project primarily for my own use. If you can think of any relevant changes that should be incorporated into the code, you can contribute by opening an issue or submitting a pull request.
See the Developer documentation section below for more information.
This section is WIP
-
Install Pipenv, if you haven't already.
Pipenv is used to manage dependencies and the virtual environment. Note: IHateToBudget currently targets Python 3.8, so make sure it is installed too.
-
Set up the virtual environment by executing the following command:
pipenv install --dev
This action will install both develop and default packages.
When you start a new development session, run the following command:
pipenv shellThis action spawns a shell within the virtualenv.
You should now be able to work.
Since IHateToBudget is primarily a Django project, you should read Django's documentation if you are not familiar with it already.
pre-commit hooks are used to keep the code clean, namely:
Execute the following command to run pre-commit against all files:
pre-commit run --all-files-
To run tests, execute the following command:
python manage.py test -
Alternatively,
coveragecan be used to measure code coverage:coverage run --source='.' manage.py test


