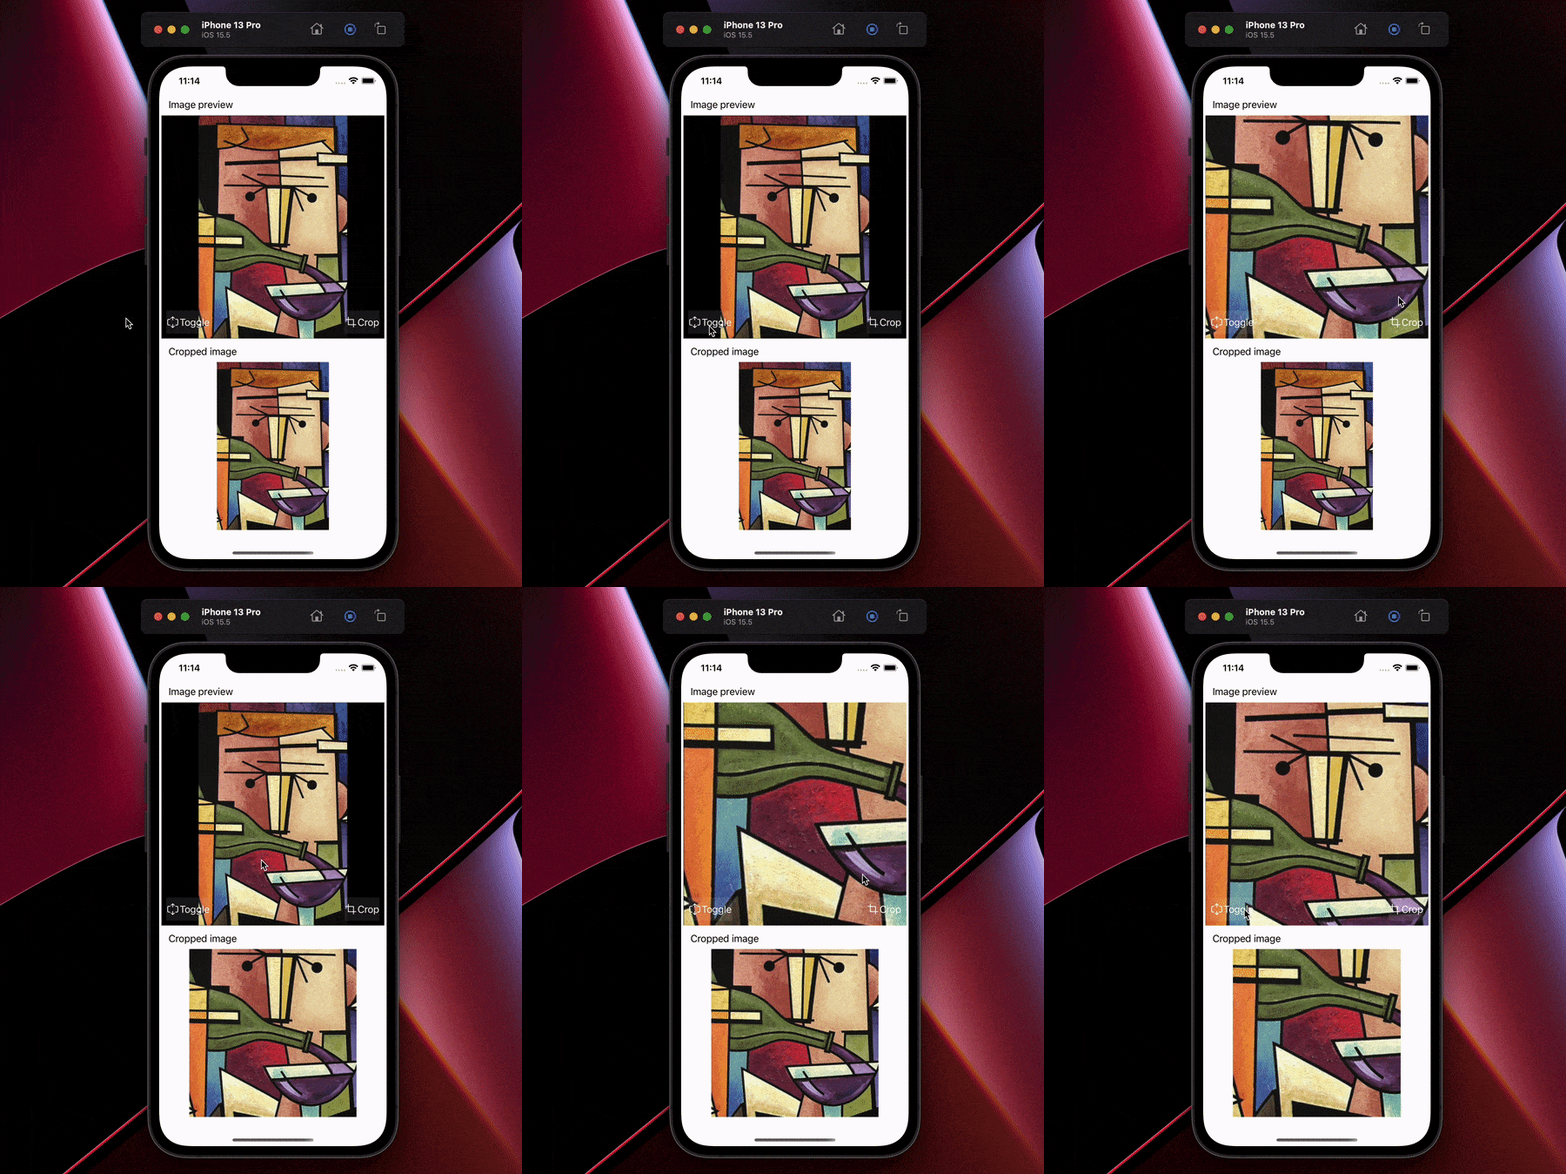
Welcome to Interactive Image View, a simple library that provides an easier way to interact with image view, like scroll, zoom and crop. In its core it support two image content mode, the one is always square and the second one is custom. For example you can use aspect ration like instagram does 2:3 or 9:16, or any custom value. Basically, it's a thin wrapper around the UIScrollView and UIImageView APIs that UIKit provides.
- Use at any place as UIView, no need to present or configure a viewcontroller.
- Crop image at current position as user wants.
- Switch between aspect ration, 2:3 or 1:1, same as Instagram.
- Can be extended to support different aspect rations.
- Scroll image view on x and y axis.
- Double tap to zoom in or zoom out.
- Rotate image by given degrees.
- Pinch image view.
- Add a view, and set the class of the view to
InteractiveImageView. - In your view controller, import InteractiveImageView.
- Connect view outlet, configure it with
interactiveImageView.configure(...) - Add delegates
interactiveImageView.delegate = self - Listen to delegate observers:
extension ViewController: InteractiveImageViewDelegate { ... }
if let image = UIImage(named: "image.png") {
    interactiveImageView.configure(withNextContentMode: .heightFill,
                      withFocusOffset: .center,
                      withImage: image)
}let croppedImage = interactiveImageView.cropAndGetImage()let originalImage = interactiveImageView.getOriginalImage()interactiveImageView.updateImageView(withImage image: UIImage?)interactiveImageView.uupdateImageOnly(_ image: UIImage?)interactiveImageView.toggleImageContentMode()interactiveImageView.rotateImage(UIImage, keepChanges: Bool)interactiveImageView.isDoubleTapToZoomAllowed = falseinteractiveImageView.isScrollEnabled = falseinteractiveImageView.isPinchAllowed = falseprotocol InteractiveImageViewDelegate: AnyObject {
func didCropImage(image: UIImage, fromView: InteractiveImageView)
func didScrollAt(offset: CGPoint, scale: CGFloat, fromView: InteractiveImageView)
func didZoomAt(offset: CGPoint, scale: CGFloat, fromView: InteractiveImageView)
func didFail(_ fail: IIVFailType)
}You can download and run example project InteractiveImageViewExample.
CocoaPods is a dependency manager for Cocoa projects. For usage and installation instructions, visit their website. To integrate InteractiveImageView into your Xcode project using CocoaPods, specify it in your Podfile:
pod 'InteractiveImageView'Carthage is a decentralized dependency manager that builds your dependencies and provides you with binary frameworks. To integrate InteractiveImageView into your Xcode project using Carthage, specify it in your Cartfile:
github "egzonpllana/InteractiveImageView"
The Swift Package Manager is a tool for automating the distribution of Swift code and is integrated into the swift compiler.
Once you have your Swift package set up, adding InteractiveImageView as a dependency is as easy as adding it to the dependencies value of your Package.swift.
dependencies: [
    .package(url: "https://github.com/egzonpllana/InteractiveImageView.git", .upToNextMajor(from: "1.0.0"))
]To add InteractiveImageView as a dependency to your Xcode project, select File > Swift Packages > Add Package Dependency and enter the repository URL
https://github.com/egzonpllana/InteractiveImageView.git
So, why was this made? While I was working on a project to provide an interactive image view based on given aspect ration, I could not find a suitable solution that offers all in one these features working in a single view without a need for a viewcontroller, so I build it.
Feel free to open an issue, or find me @egzonpllana on LinkedIn.


