Here, you can find the documentation on how to access and benefit from the jupyterhub server at MPIE.
Please keep in mind that the server can be only accessed from MPIE local network or via VPN from outside.
This server has the aim to give MPIE members access to jupyter notebooks from their browser to benefit from open source python/conda packages developed in MPIE.
Jupyter notebook/lab is user-friendly environment to perform data analysis, visualization, simulation, etc in your browser. You can basically access a coding environment, command prompt, and visualization tool in the same environment. Via our server you will be able to analyze your experimental/simulation data in jupyter notebooks without the need to set up the environment, dependencies, etc.
To register on the server, please email the admin (hassani[at].mpie.de). Then the instruction including a one-time password will be sent to you via email.
After receiving the one-time password via email, please first connect to the server via ssh. Upon your connection, after logging in, you will be asked to set a new password.
After you change your password, please send the admin a quick email to add you to the users' list. Without being added to the list, you can not access the jupyter environment from your browser.
To connect the server, via ssh, you can use linux or mac terminal and enter ssh <your_username>@cmserver02.mpie.de. Please make sure of your vpn connection beforehand, if you are outside of the institute.
From Windows OS, you need to use Windows PowerShell or windows subsystem for linux (WSL).
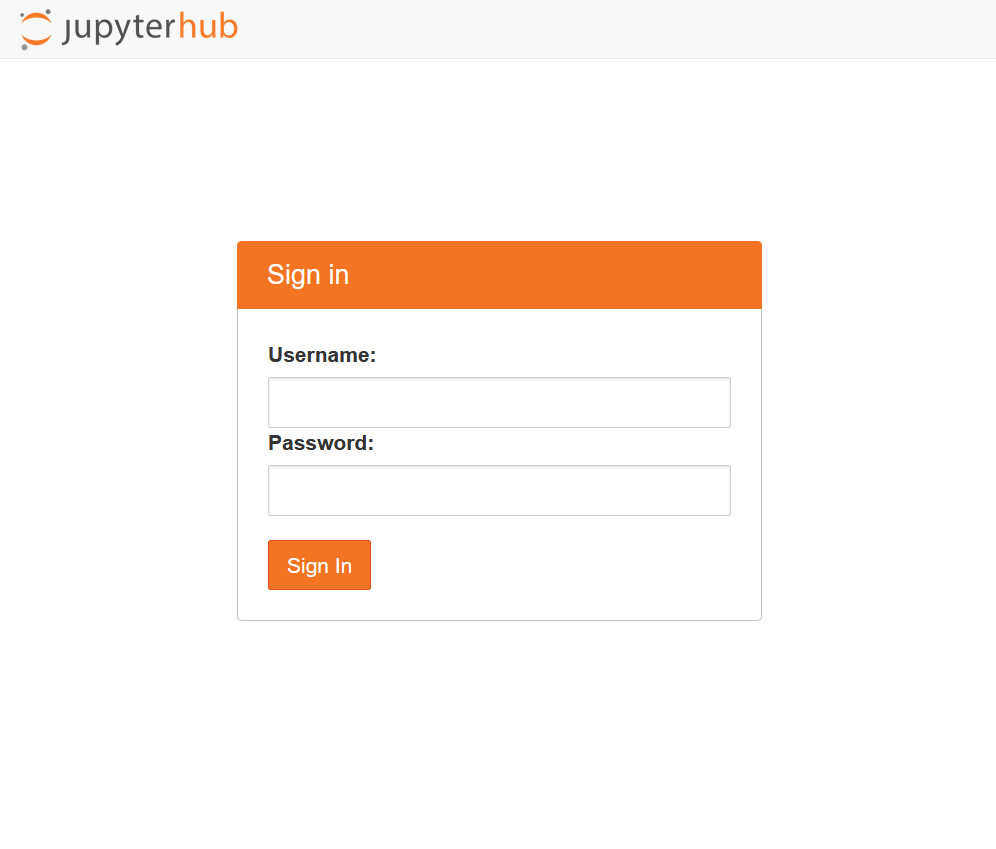
To access the jupyter server, one can browse to the link: https://cmserver02.mpie.de .
By entering your username and password, you will log in to the server:

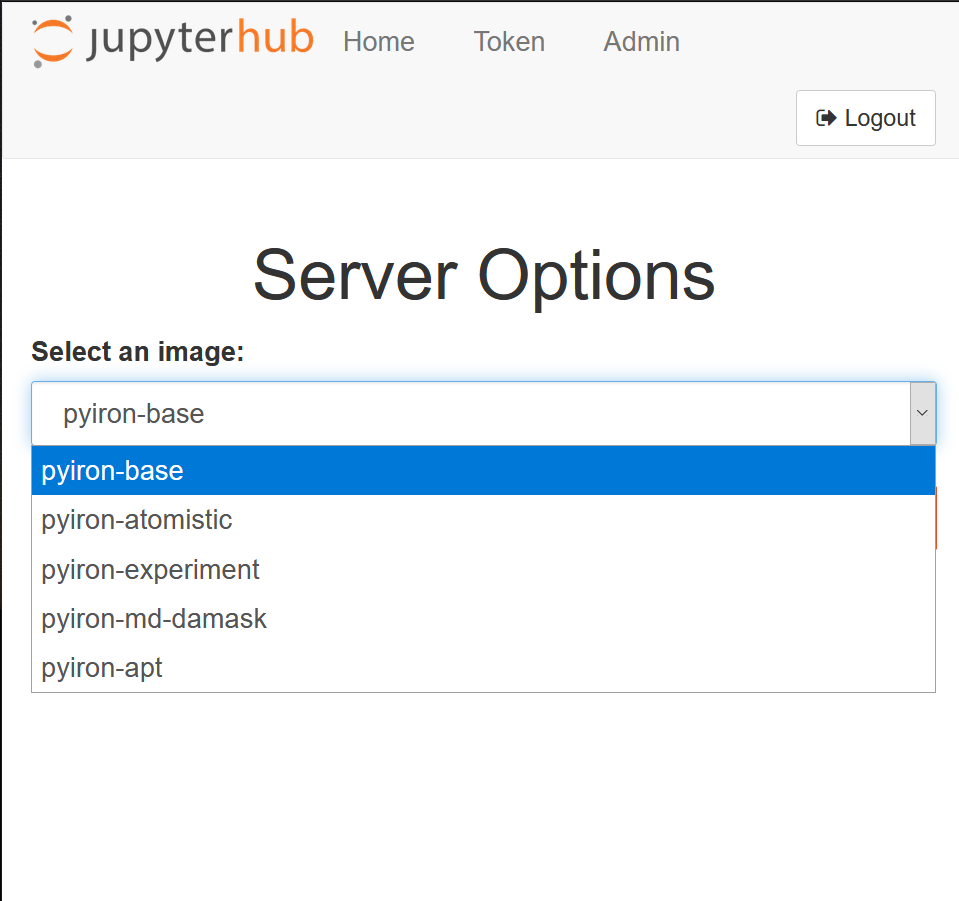
After you are logged in, you will be asked for your desired jupyter image.

At the moment, there are five images available: pyiron-base, pyiron-atomistic, pyiron-experiment, pyiron-md-damask, and pyiron-apt. On all five images, pyiron is installed as the workflow management tool.
Pyiron-base image, includes pyiron_base. It is suitable for basic analysis, ML techniques, etc.
Pyiron-atomistic image includes pyiron package which manages atomistic simulations via LAMMPS, SPHiNX, and GPAW.
The pyiron-experimental image includes pyrion_base, TEMMETA, pyprismatic, hyperspy, and match-serie packages. It is mostly suitable to post-process data from TEM and STEM images.
Pyiron-md-damask, in addition to the packages on the pyiron-atomistic, includes DAMASK. This image is very suitable for combination of pyiron atomistic simulations and DAMASK simulations.
Via the provided username and password, users can log in to a jupyter notebook server and perform their data processing/simulation on the server. The computational resources assigned for each user are 3 computational nodes and 10 GB of RAM.
Beside the access to the jupyter notebook via browser, users can connect to the server via their credential via the following command:
ssh <username>@cmserver02.mpie.de
The jupyter environment which you access via your browser, is linked to ~/pyiron_docker_workspace/. So you can use this directory to add or remove files and see the changes in your jupyter environment via the browser.
To transfer the data to the server and the jupyter notebook environment, there are multiple ways:
- Using temp4All exchange server which is linked to the shared folder in your jupyter environment. The shared folder can be used additionally for collaboration with other users.
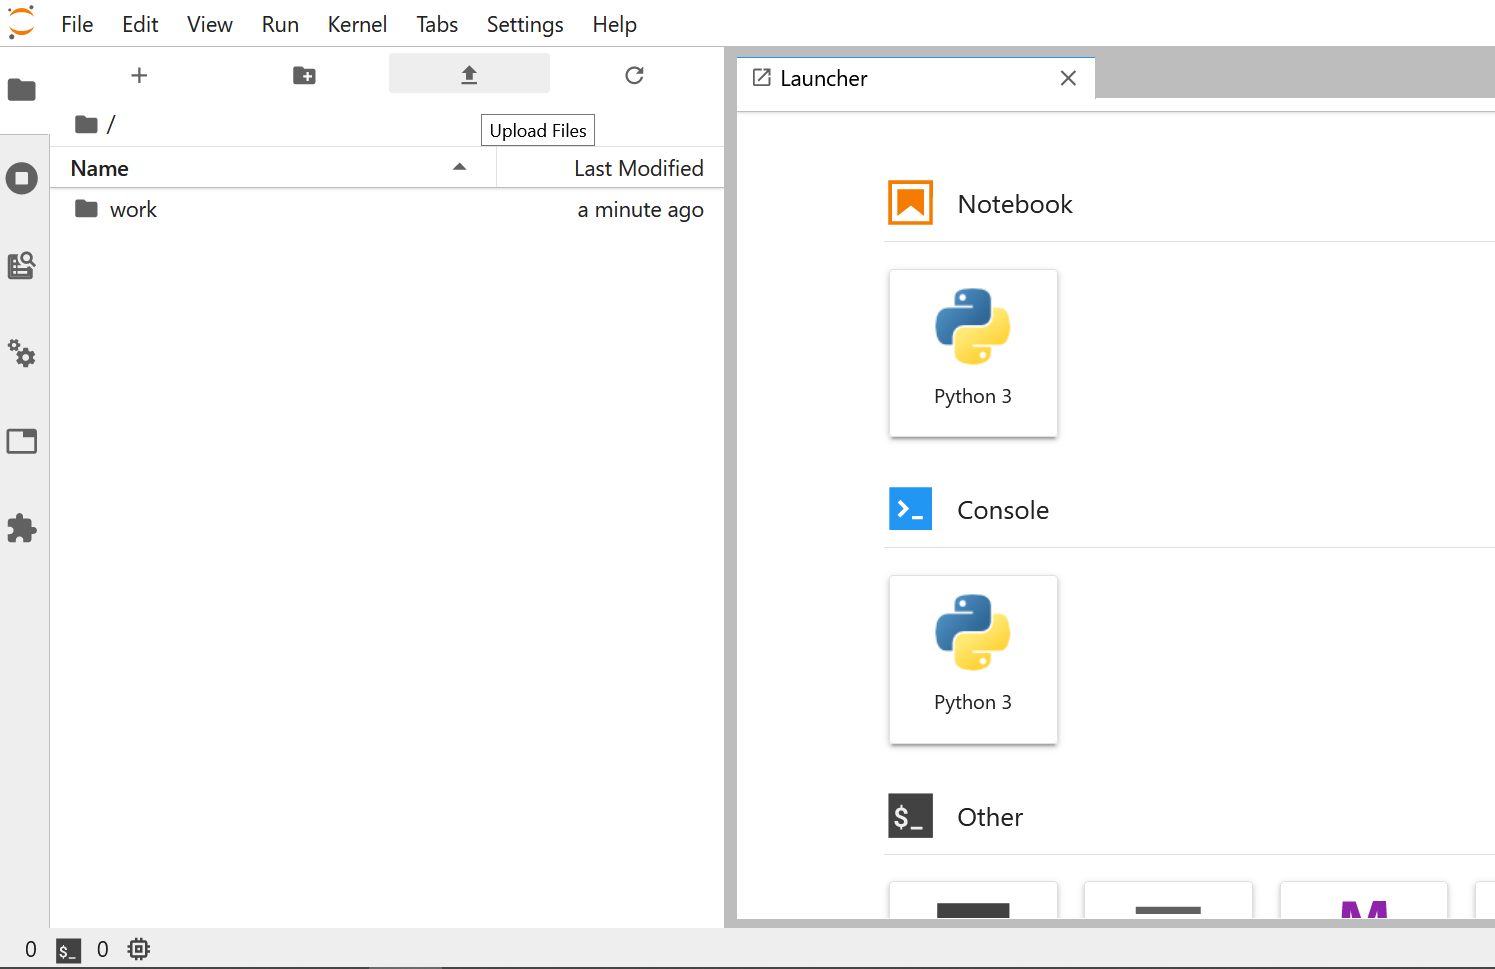
- Transferring files via jupyter lab interface.
- Transferring files from a cloud to the notebooks, via wget command. Given the
urland thepathto save the files, one can use the following command within jupyter notebook.
import wget
wget.download(url, out=path) - One can also transfer the files via
scpcommand via linux/mac terminal or WSL on Windows machines. However, one should note that the jupyter notebook environment on this server is designed to access a specific path of user's home directory, which is~/pyiron_docker_workspace/. Therefore, if you would like to access the data from your jupyter notebooks, you should place the data under this path.
