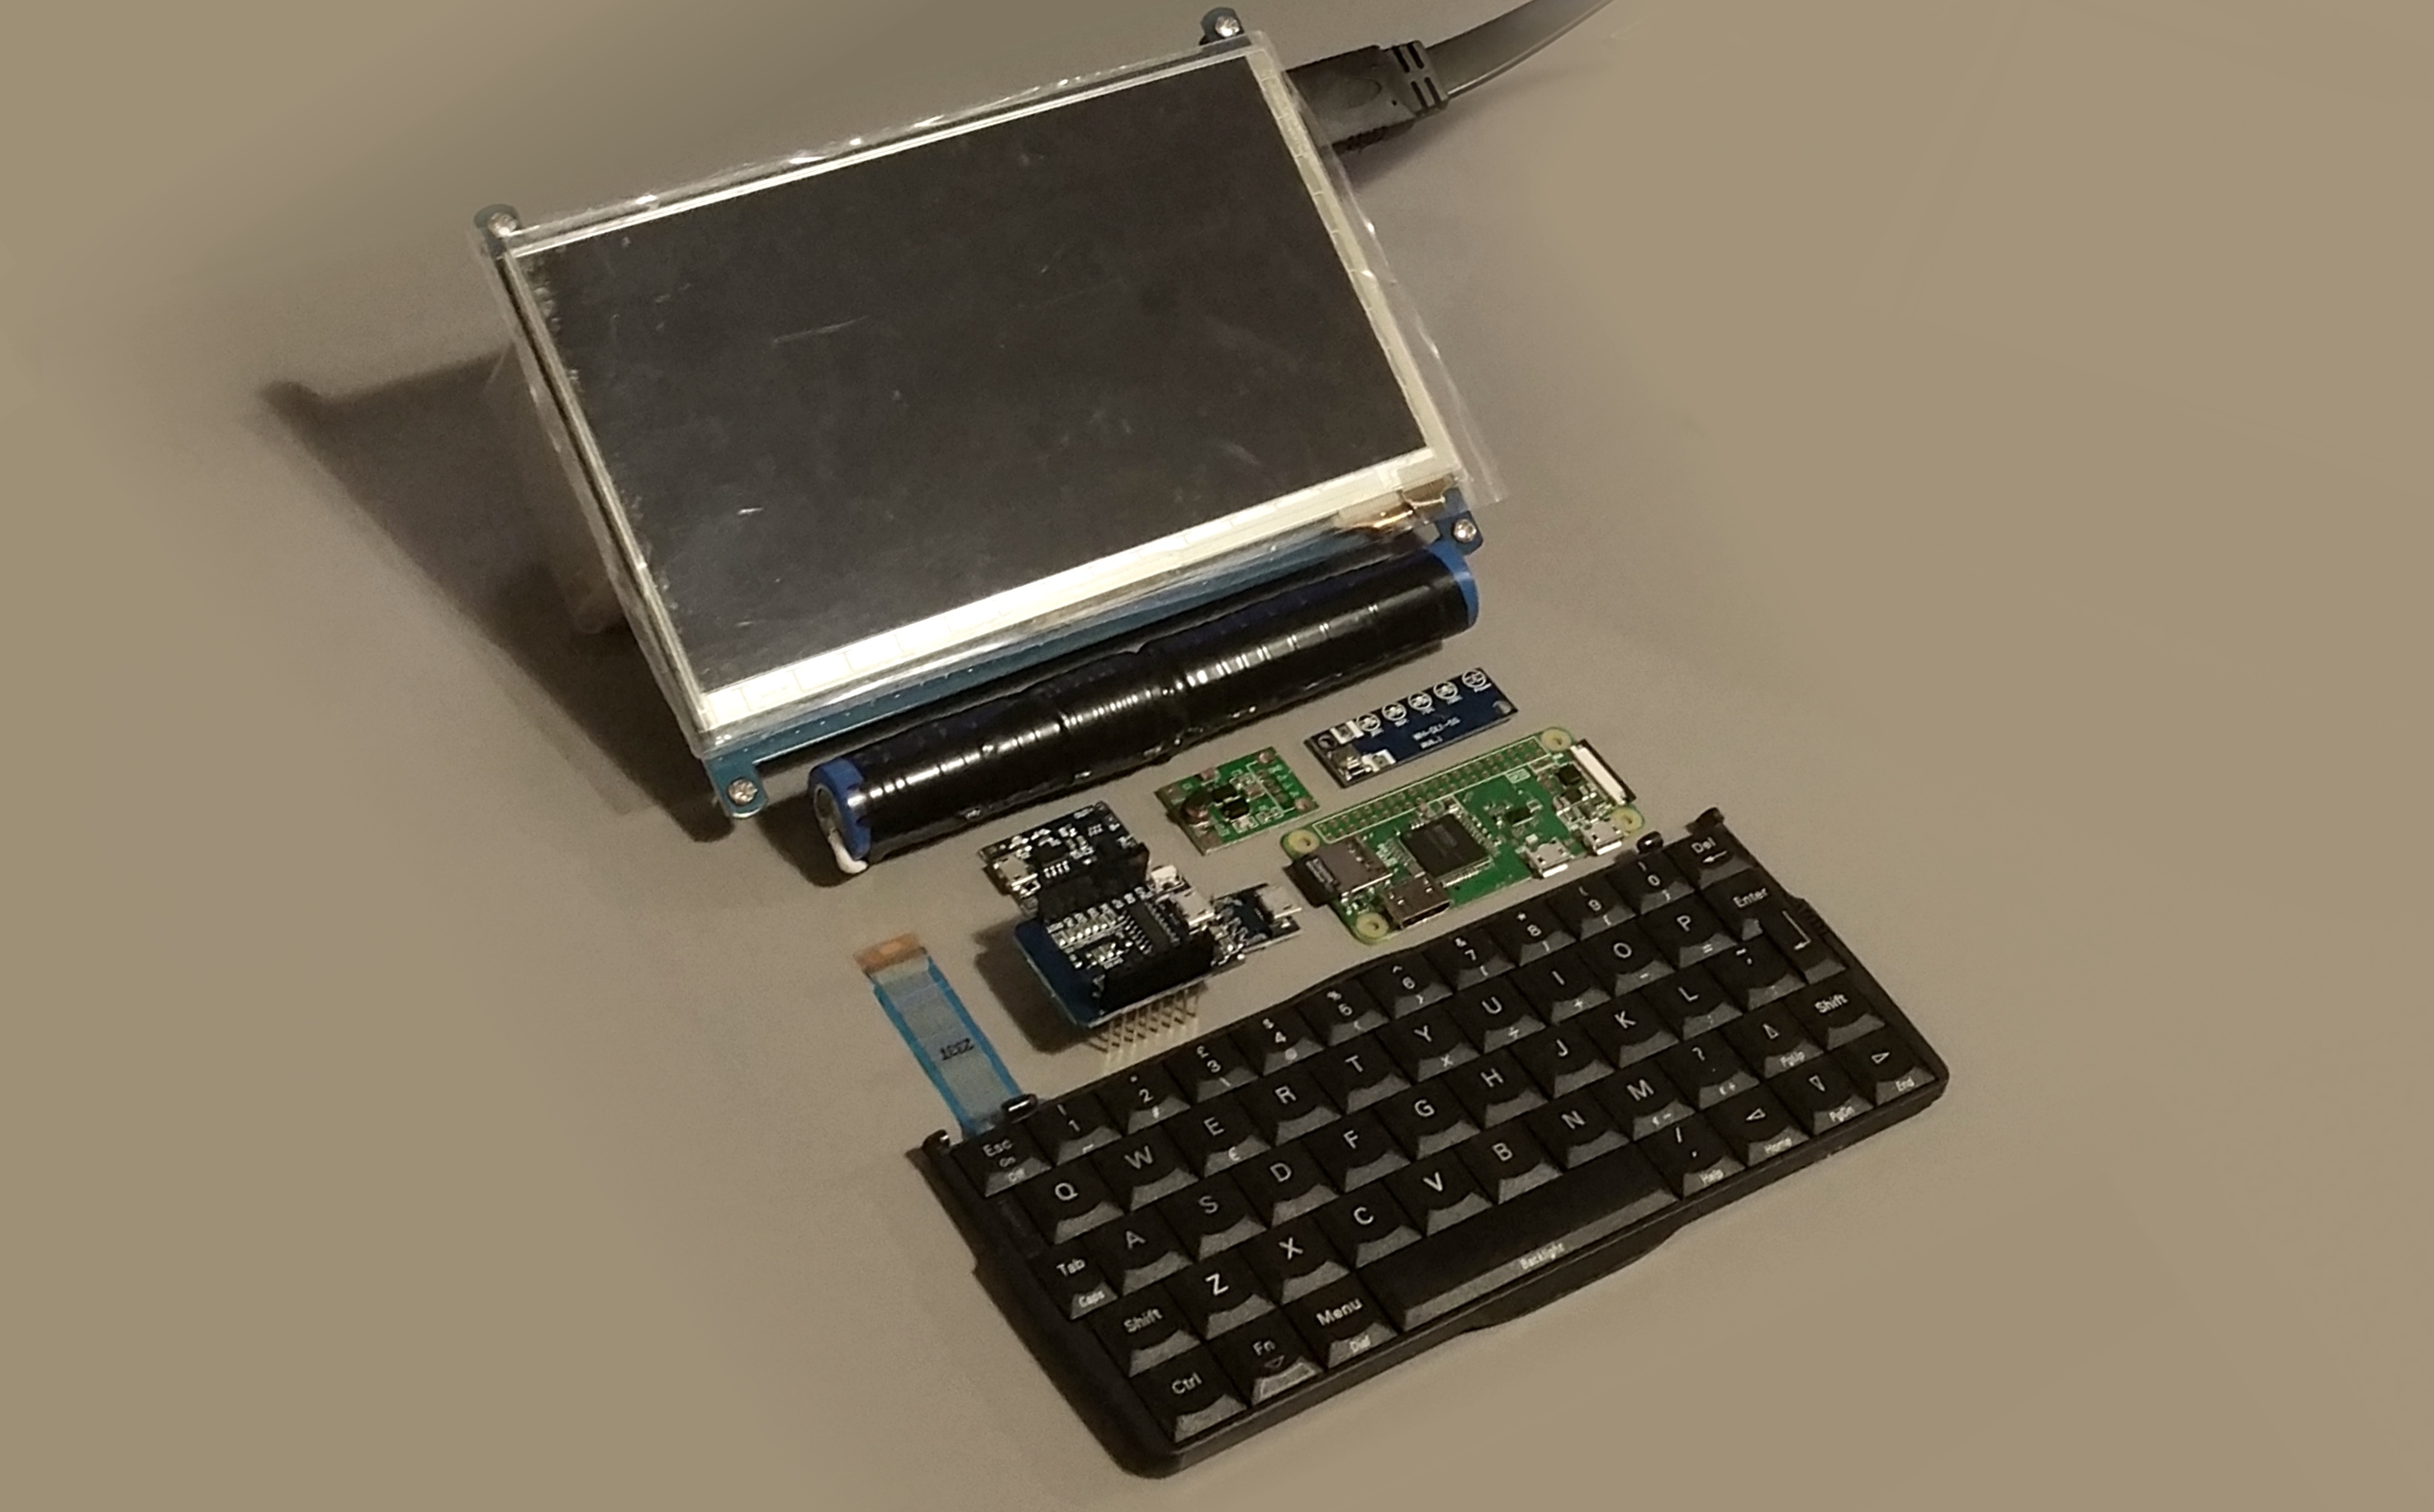
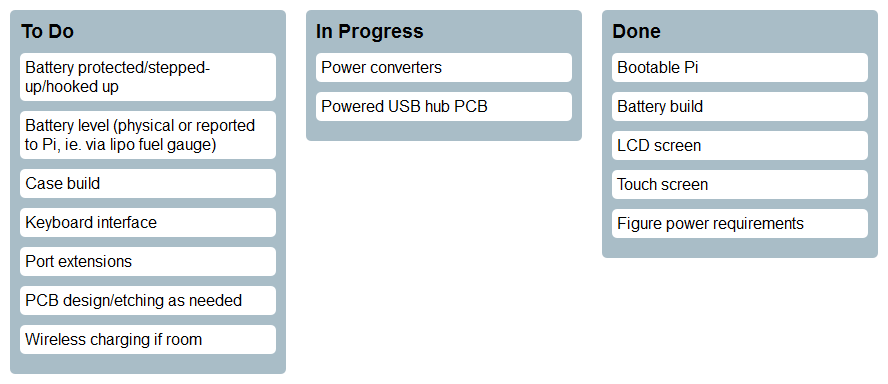
Personal electronics project; Attempting to build a modern PDA clamshell computer in a likeness of the venerable Psion 5mx.
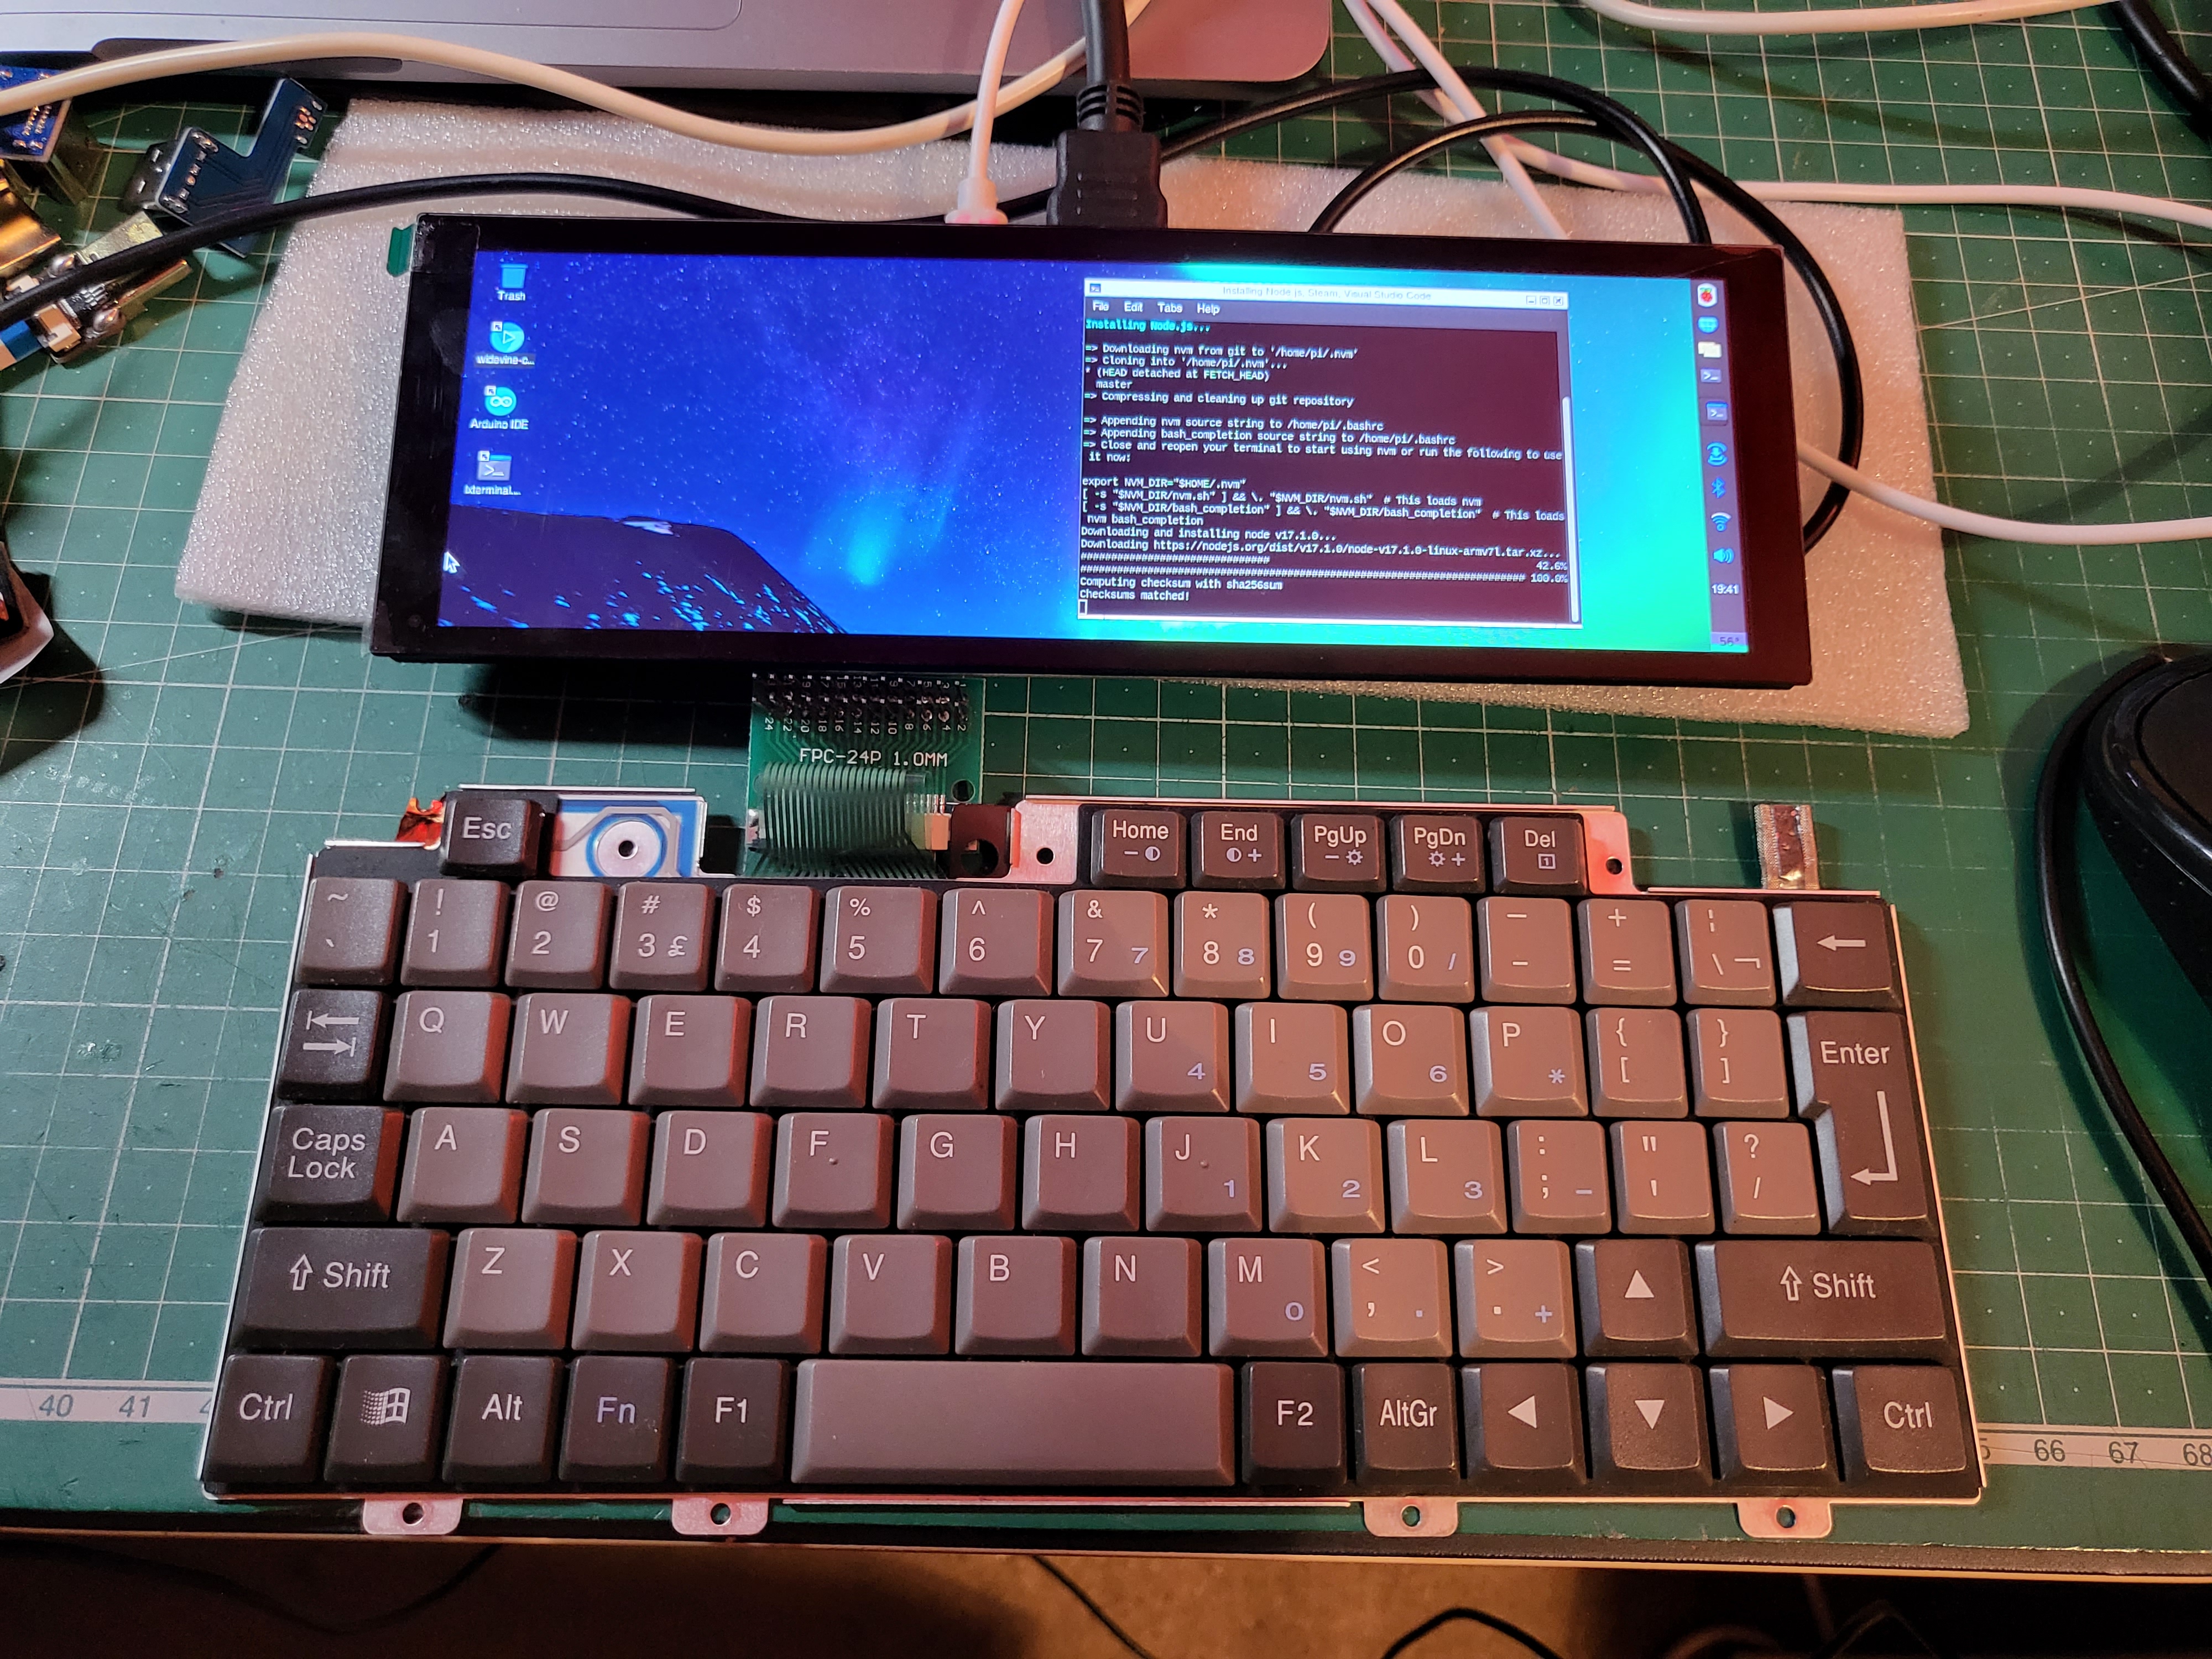
4 years into this project, some significant changes, namely wide screen, LG Phenom keyboard and Pi 4 (significantly more capable.. the previous Zero/Zero 2/3 all put me off)
- Tasty colour screen - For enjoyable video playback
- Quality keyboard - So it's legitimately useful
- Portability - I'm under no illusions that it'll be larger than a Psion 5mx/Jornada (as would be ideal) because of screen size and battery demands but if it's smaller than a Netbook Pro I'll be happy
- Sturdiness - Every single bit will be inherently fragile as heck, so I need to 3D print the structure real good
- Battery pack (18650 3S parallel 3.7v) - Home-made li-ion for the win!
- Charging circuity and steps ups with protection - So I don't blow myself up
- Raspberry Pi
- LG Phenom keyboard, or maybe Psion Netbook (previously Psion 5mx, prepreviously Dell Foldable) - What? No way! Yes way. Yes frickin way
- Keyboard USB interface - Arduino or ESP8266, hand-built
- 7.9" Capacitive Touchscreen LCD 1024*600 (Waveshare C Rev2.1)
- Mad efficient 1337 OS and warez, legit IDE, etc - We'll start with vanilla Raspbian first though
Notes about how I set everything up for reference, config files, microcontroller code for keyboard interface, etc etc.
Raspbian Stretch (2017-08-16) did not work, no matter what (with Pi Zeroes).
Raspbian Jessie (2017-07-05) did though, but more recently..
Raspberry Pi OS Bullseye (2021-11-08) is 64-bit(!)
Installed on a 16gb microSD with win32diskImager (or similar) then, before removing, (in the windows partition, or /boot on unix):
- Create a blank file called
sshon it, e.g.
cd /d h:
echo > ssh- Create
wpa_supplicant.confcontaining:
country=US
ctrl_interface=DIR=/var/run/wpa_supplicant GROUP=netdev
update_config=1

network={
 ssid="NetworkName"
 scan_ssid=1
 psk="yourpassword"
 key_mgmt=WPA-PSK
}- Safely eject (they can become corrupt, trust)
- Pop it in the Pi with HDMI and a keyboard; let it do its thing.
Any screen problems and it should still be SSH-able.
sudo nano /boot/config.txt# Add support for 7.9" Waveshare LCD
# set current over USB to 1.2A
max_usb_current=1
hdmi_group=2
hdmi_mode=87
hdmi_timings=400 0 100 10 140 1280 10 20 20 2 0 0 0 60 0 43000000 3
# 1: 90°; 2: 180°C; 3: 270° (might not work, see next section)
#lcd_rotate=3
#hdmi_enable_4kp60=1sudo raspi-config6 Advanced menu then A3 and set Compositor to disabled.
Set orientation (right) in raspbian preferences > screen configuration.
This appears to have a bug where the settings don't persist after boot - it creates a file called dispsetup.sh but doesn't appear to run after login, at least on my current distro, so let's force it:
sudo nano /etc/xdg/lxsession/LXDE-pi/autostartAppend:
@/usr/share/dispsetup.sh
Automatic and orientated by long-pressing the 'rotate touch' button on the screen.
Powers happily from the touch USB input!!
Has 5 Settings, long press on/off on screen:
- 1 0.15A
- 2 0.16A
- 3 0.17A
- 4 0.19A
- 5 0.2A
git clone https://github.com/pimoroni/fanshim-python
cd fanshim-python
sudo ./install.sh
cd examples
sudo ./install-service.sh --on-threshold 65 --off-threshold 55 --delay 2Make sure to use the fan shim!
sudo nano /boot/config.txt# Overclock (all values typically unset, defaulting to 700mhz)
over_voltage=4
arm_freq=2000
More steps involved.. https://www.tomshardware.com/how-to/raspberry-pi-4-23-ghz-overclock
Disable dimming, etc.. https://www.waveshare.com/wiki/7.9inch_HDMI_LCD
| Component | Usage (Amps +/- 0.05) |
|---|---|
| Pi Zero W | 0.15 (unused) |
| Pi 3 | 0.3 (idling) |
| Pi Zero 2 W | 0.3 |
| Pi Zero 2 W (Overclocked) | 0.45 |
| Pi 4 | 0.55 (idling) |
| 7.9" Screen | 0.65 |
| Total | 1.2 |
Battery life estimates, according to my Super Useful Tool:
18650 x 1 (2500mah) = ~1h
18650 x 3 (7500mah) = ~3h
Mine are 20A maximum discharge. If they're in parallel, you get more mAh and current capability, as it's shared around. And anyway, 20A discharge? Fokk man, it'll be nowhere near. I just need a nice chonky boost module. If it doesn't work, build a series one with 15A BMS etc.
I got reasonably far in this repo with keyboard emulation on the Pi itself but.. I don't love it, and since then I reckon I've nailed keyboard matrix scanning so I plan to pick a microcotroller with suitably choppy USB capabilities (32u4/STM32/Tiny?) to capture the input and emulate a USB keyboard. Much cleaner!
Dell Axim X5 Foldable Keyboard - what a hero of a warlock of a battlemage of a keyboard! Disassembling it revealed it only has three IO:
-
3.3V in
-
GND
-
Data out
Hooking that all up to a USB FTDI (data => RX), reveals some useful output with the following settings (e.g. in RealTerm): Port -> Baud: 4800, Display -> Display As: Hex
This wonderous diagram is courtesy of Gavin Whelan, along with generally pointing me in the right direction to capture input.
|------||------||------||------||------||------||------||------||------||------||------||-----||-----||--------|
|  `~  ||  1!  ||  2@  ||  3#  ||  4$  ||  5%  ||  6^  ||  7&  ||  8*  ||  9(  ||  0)  || -_  ||  =+ ||  <-    |
| 0ef1 || 16e9 || 1ee1 || 26d9 || 25da || 2ed1 || 36c9 || 3dc2 || 3ec1 || 46b9 || 45ba || 4e  ||  55 || 718e   |
|      ||      ||      ||      ||      ||      ||      ||      ||      ||      ||      || b1  ||  aa ||        |
|------||------||------||------||------||------||------||------||------||------||------||-----||-----||--------|
|--------||------||------||------||------||------||------||------||------||------||------||-----||-----||------|
|  ->|   ||  Q   ||  W   ||  E   ||  R   ||  T   ||  Y   ||  U   ||  I   ||  O   ||  P   || {   || }   ||  |\  |
| 0df2   || 15ea || 1de2 || 24db || 2dd2 || 2cd3 || 35ca || 3cc3 || 43bc || 44bb || 4db2 || 54ab|| 5ba4|| 5da2 |
|        ||      ||      ||      ||      ||      ||      ||      ||      ||      ||      || [   || ]   ||      |
|--------||------||------||------||------||------||------||------||------||------||------||-----||-----||------|
|----------||------||------||------||------||------||------||------||------||------||------||------||----------|
|  caps    ||  A   ||  S   ||  D   ||  F   ||  G   ||  H   ||  J   ||  K   ||  L   ||  ;:  ||  '"  ||  enter   |
| 58a7     || 1ce3 || 1be4 || 23dc || 2bd4 || 34cb || 33cc || 3bc4 || 42bd || 4bb4 || 4cb3 || 52ad || 5aa5     |
|          ||      ||      ||      ||      ||      ||      ||      ||      ||      ||      ||      ||          |
|----------||------||------||------||------||------||------||------||------||------||------||------||----------|
|--------------||------||------||------||------||------||------||------||------||------||------||------||------|
|  shift       ||  Z   ||  X   ||  C   ||  V   ||  B   ||  N   ||  M   ||  ,<  ||  .>  ||  /?  ||  ^   ||  rsh |
| 12ed         || 1ae5 || 22dd || 21de || 2ad5 || 32cd || 31ce || 3ac5 || 41be || 49b6 || 4ab5 || 28d7 || 59a6 |
|              ||      ||      ||      ||      ||      ||      ||      ||      ||      ||      ||  |   ||      |
|--------------||------||------||------||------||------||------||------||------||------||------||------||------|
|------||------||------||------||------------------------------||------||------||------||------||------||------|
|  fn  || ctrl ||  win ||  ie  ||           space              || alt  || ctrl ||  del || <--  ||  |   ||  --> |
| 02fd || 14eb || 07f8 || 708f ||           5ca3               || 11ee || 738c || 6699 || 5ea1 || 609f || 2fd0 |
|      ||      ||      ||      ||                              ||      ||      ||      ||      ||  v   ||      |
|------||------||------||------||------------------------------||------||------||------||------||------||------|
GRAPHICS? Apparently an advanced graphics thing? Needs experimentation though:
sudo nano /usr/share/X11/xorg.conf.d/99-fbturbo.confComment out the line, a la:
# Driver "fbturbo"
TOUCH?
sudo apt-get install xserver-xorg-input-libinput
sudo mkdir /etc/X11/xorg.conf.d
sudo cp /usr/share/X11/xorg.conf.d/40-libinput.conf /etc/X11/xorg.conf.d/
sudo nano /etc/X11/xorg.conf.d/40-libinput.conf
Find the touchscreen section and add one of the following lines, a la:
Section "InputClass"
        Identifier "libinput touchscreen catchall"
        MatchIsTouchscreen "on"
        # Option "CalibrationMatrix" "0 1 0 -1 0 1 0 0 1" # mykemod
        # Option "CalibrationMatrix" "0 1 0 -1 0 1 0 0 1" # mykemod 90 deg
        # Option "CalibrationMatrix" "-1 0 1 0 -1 1 0 0 1" # mykemod 180 deg
        Option "CalibrationMatrix" "0 -1 1 1 0 0 0 0 1" # mykemod 270 deg
        MatchDevicePath "/dev/input/event*"
        Driver "libinput"
EndSectionEither copy the config.txt in this repo, or bosh this stuff into yours (in windows partition or /boot on unix):
# Add support for Waveshare 7" capacitive Touch (C) v2.1
# set current over USB to 1.2A
max_usb_current=1

# overscan to adjust image position
overscan_left=0
overscan_right=0
overscan_top=0
overscan_bottom=0

# HDMI config
hdmi_drive=1
hdmi_ignore_edid=0xa5000080
hdmi_group=2
hdmi_mode=87

# 1024x600 display
hdmi_cvt=1024 600 60 6 0 0 0Elegoo, a cheaper version of Wavershare model A (not B)
cd ~
wget https://github.com/entozoon/psion-pi/raw/master/lib/LCD-show-170703.tar.gz
tar xzvf *.tar.gz
rm *.tar.gz
cd LCD-show/
chmod +x LCD5-show
./LCD5-showRaspbian Stretch (2017-11-29)


