Table of Contents
My personal configuration for my terminal, vim, vscode, etc... to be more productive
brew install lua
curl https://sh.rustup.rs -sSf | sh
Brew is a package manager for macos
/bin/bash -c "$(curl -fsSL https://raw.githubusercontent.com/Homebrew/install/HEAD/install.sh)"If you are using basic terminal on your mac you should install iTerm which is better built and looks better
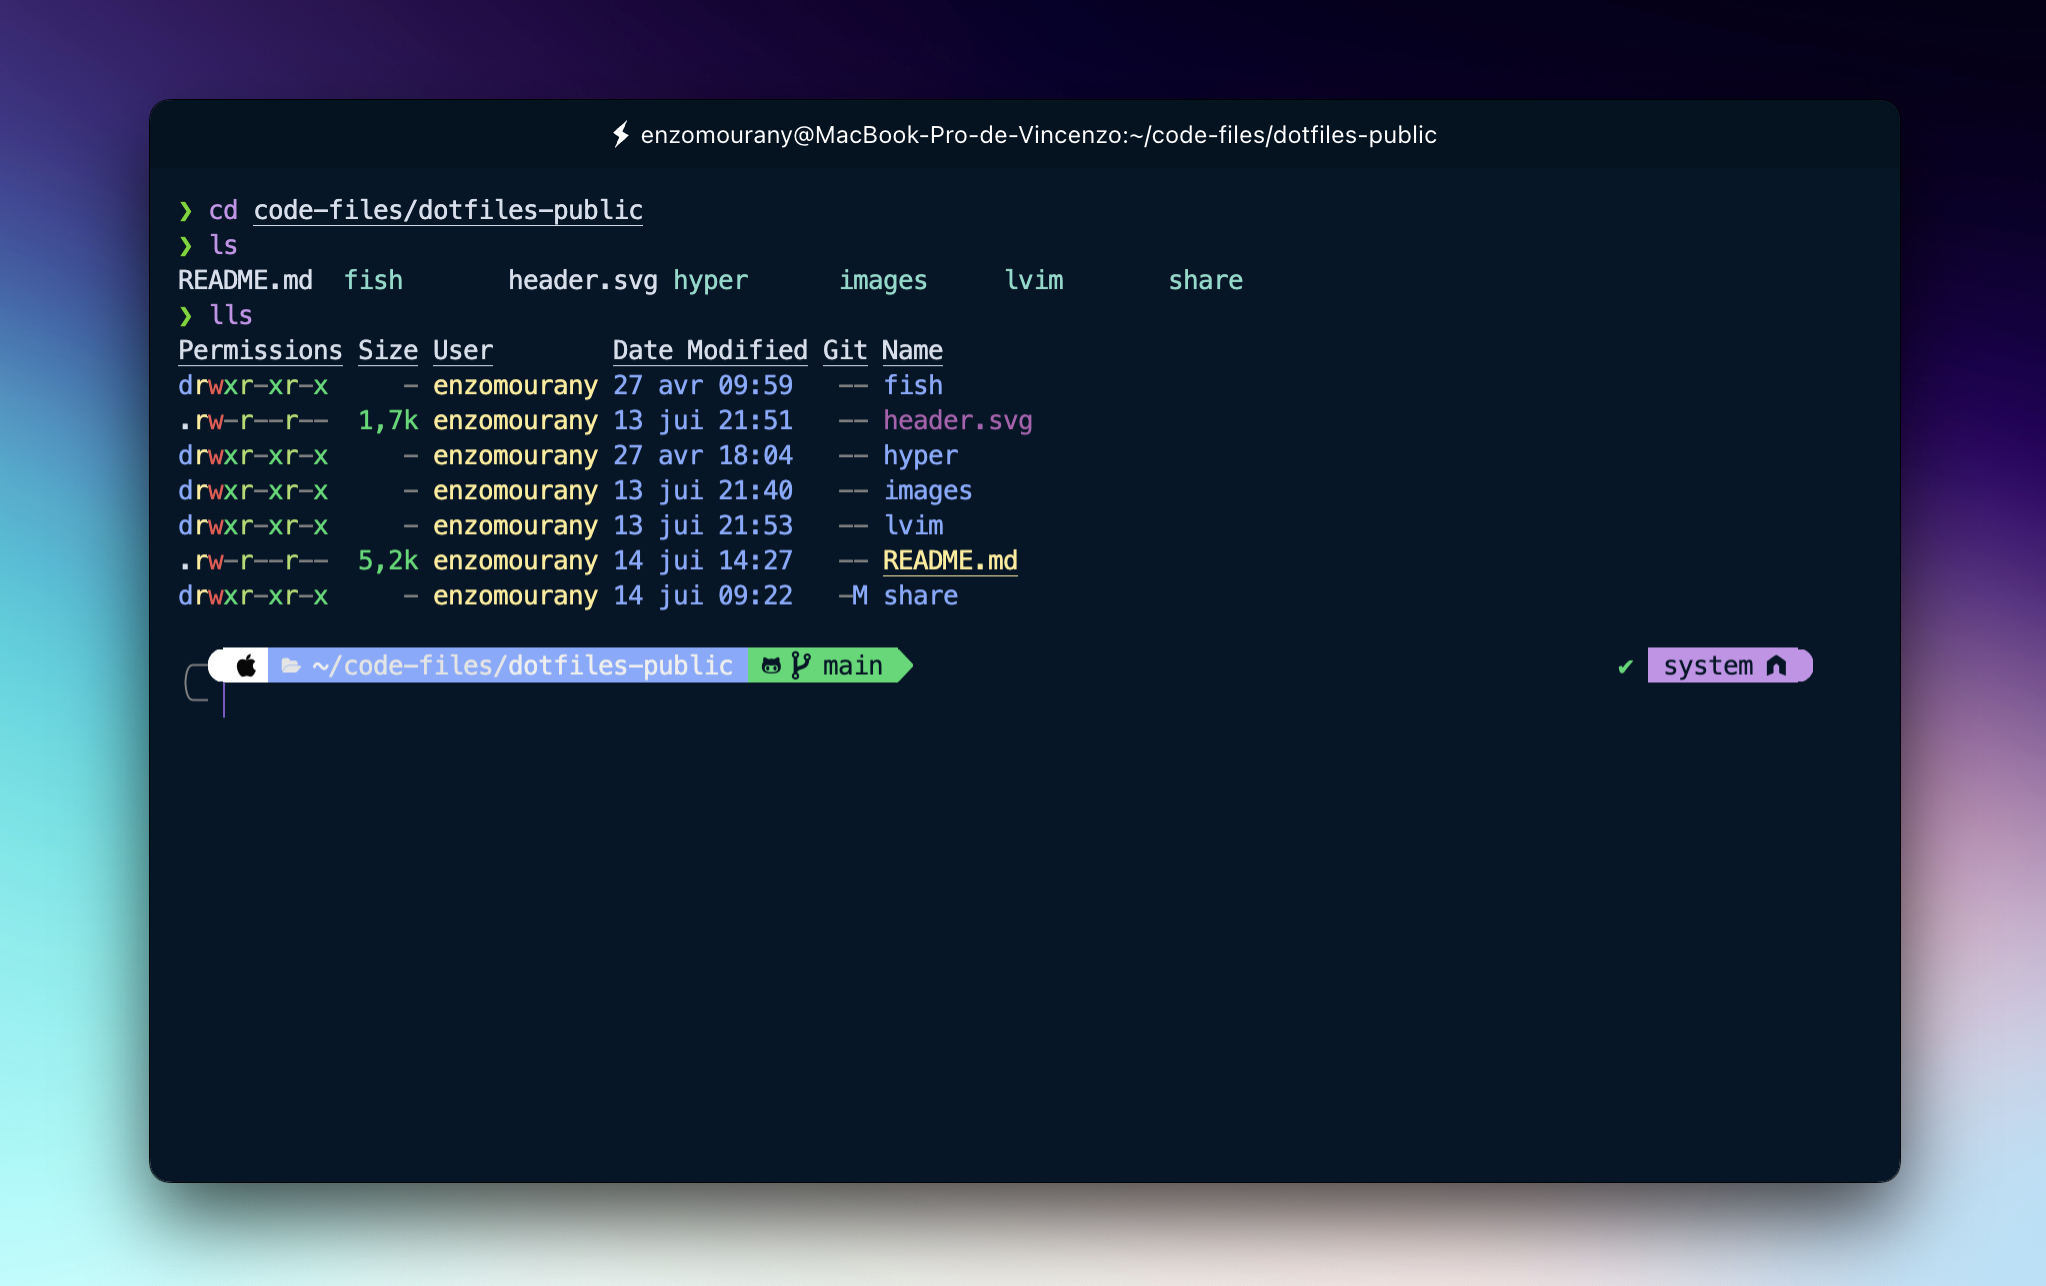
brew install --cask iterm2To get this render
sh -c "$(curl -fsSL https://raw.githubusercontent.com/robbyrussell/oh-my-zsh/master/tools/install.sh)"Clone this repository to use powerlevel10k and get a better render. If git is not already installed, go to this page
git clone https://github.com/romkatv/powerlevel10k.git $ZSH_CUSTOM/themes/powerlevel10kNow open ~/.zshrc and set ZSH_THEME="powerlevel10k/powerlevel10k"`
Quit iTerm and relaunch it
A special page will appear and you will have to select proposals to configure powerlevel10k
More info on powerlevel10k github page
Finally quit et relaunch iTerm again and see the result
If you want to edit the configuration :
p10k configureYou can also edit the code on ~/.p10k.zsh
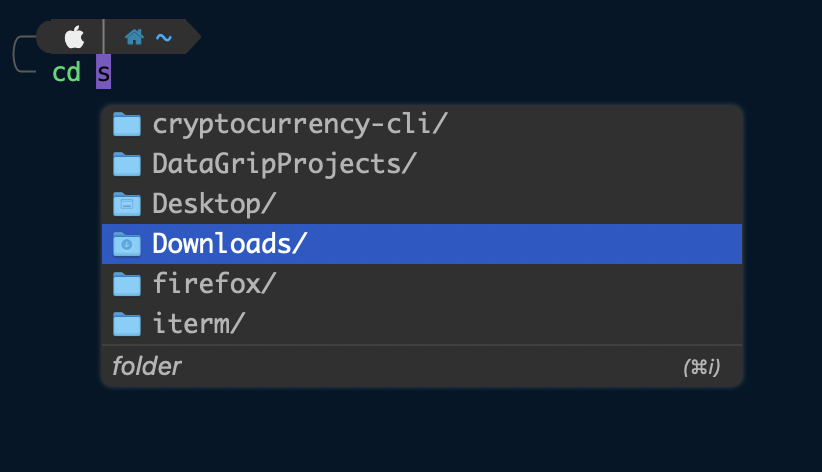
brew install zsh-syntax-highlightingEnable the syntax highlighting :
source ./zsh-syntax-highlighting/zsh-syntax-highlighting.zshbrew install --cask visual-studio-codeAfter configuring oh-my-zsh, VSCode's terminal does not support powerlevel10k icons. So you have to go to vscode settings.json
Go to Settings and search terminal font and change the value to MesloLGS NF
Go to Settings and search settings.json. Then copy the content of vscode-settings.json to your settings.json
{
  "workbench.colorTheme": "Palenight Theme",
  "python.defaultInterpreterPath": "/opt/homebrew/bin/python3",
  "editor.suggestSelection": "first",
  "editor.wordWrap": "on",
  "files.exclude": {
    "**/.project": true,
    "**/.settings": true,
    "**/.classpath": true,
    "**/.factorypath": true
  },

  ... // go check vscode/settings.json

}Hyper is a simple to use and efficient terminal coded in javascript. It's easy to configure it to make it use for any use
brew install --cask hypersudo ln -s "/Applications/Hyper.app/Contents/Resources/bin/hyper" /usr/local/bin/hypercode ~/.hyper.jsor
vim ~/.hyper.jsChange the value of fontFamily
hyper i hyper-night-owlbrew install --cask figSetup Fig
Restart Hyper
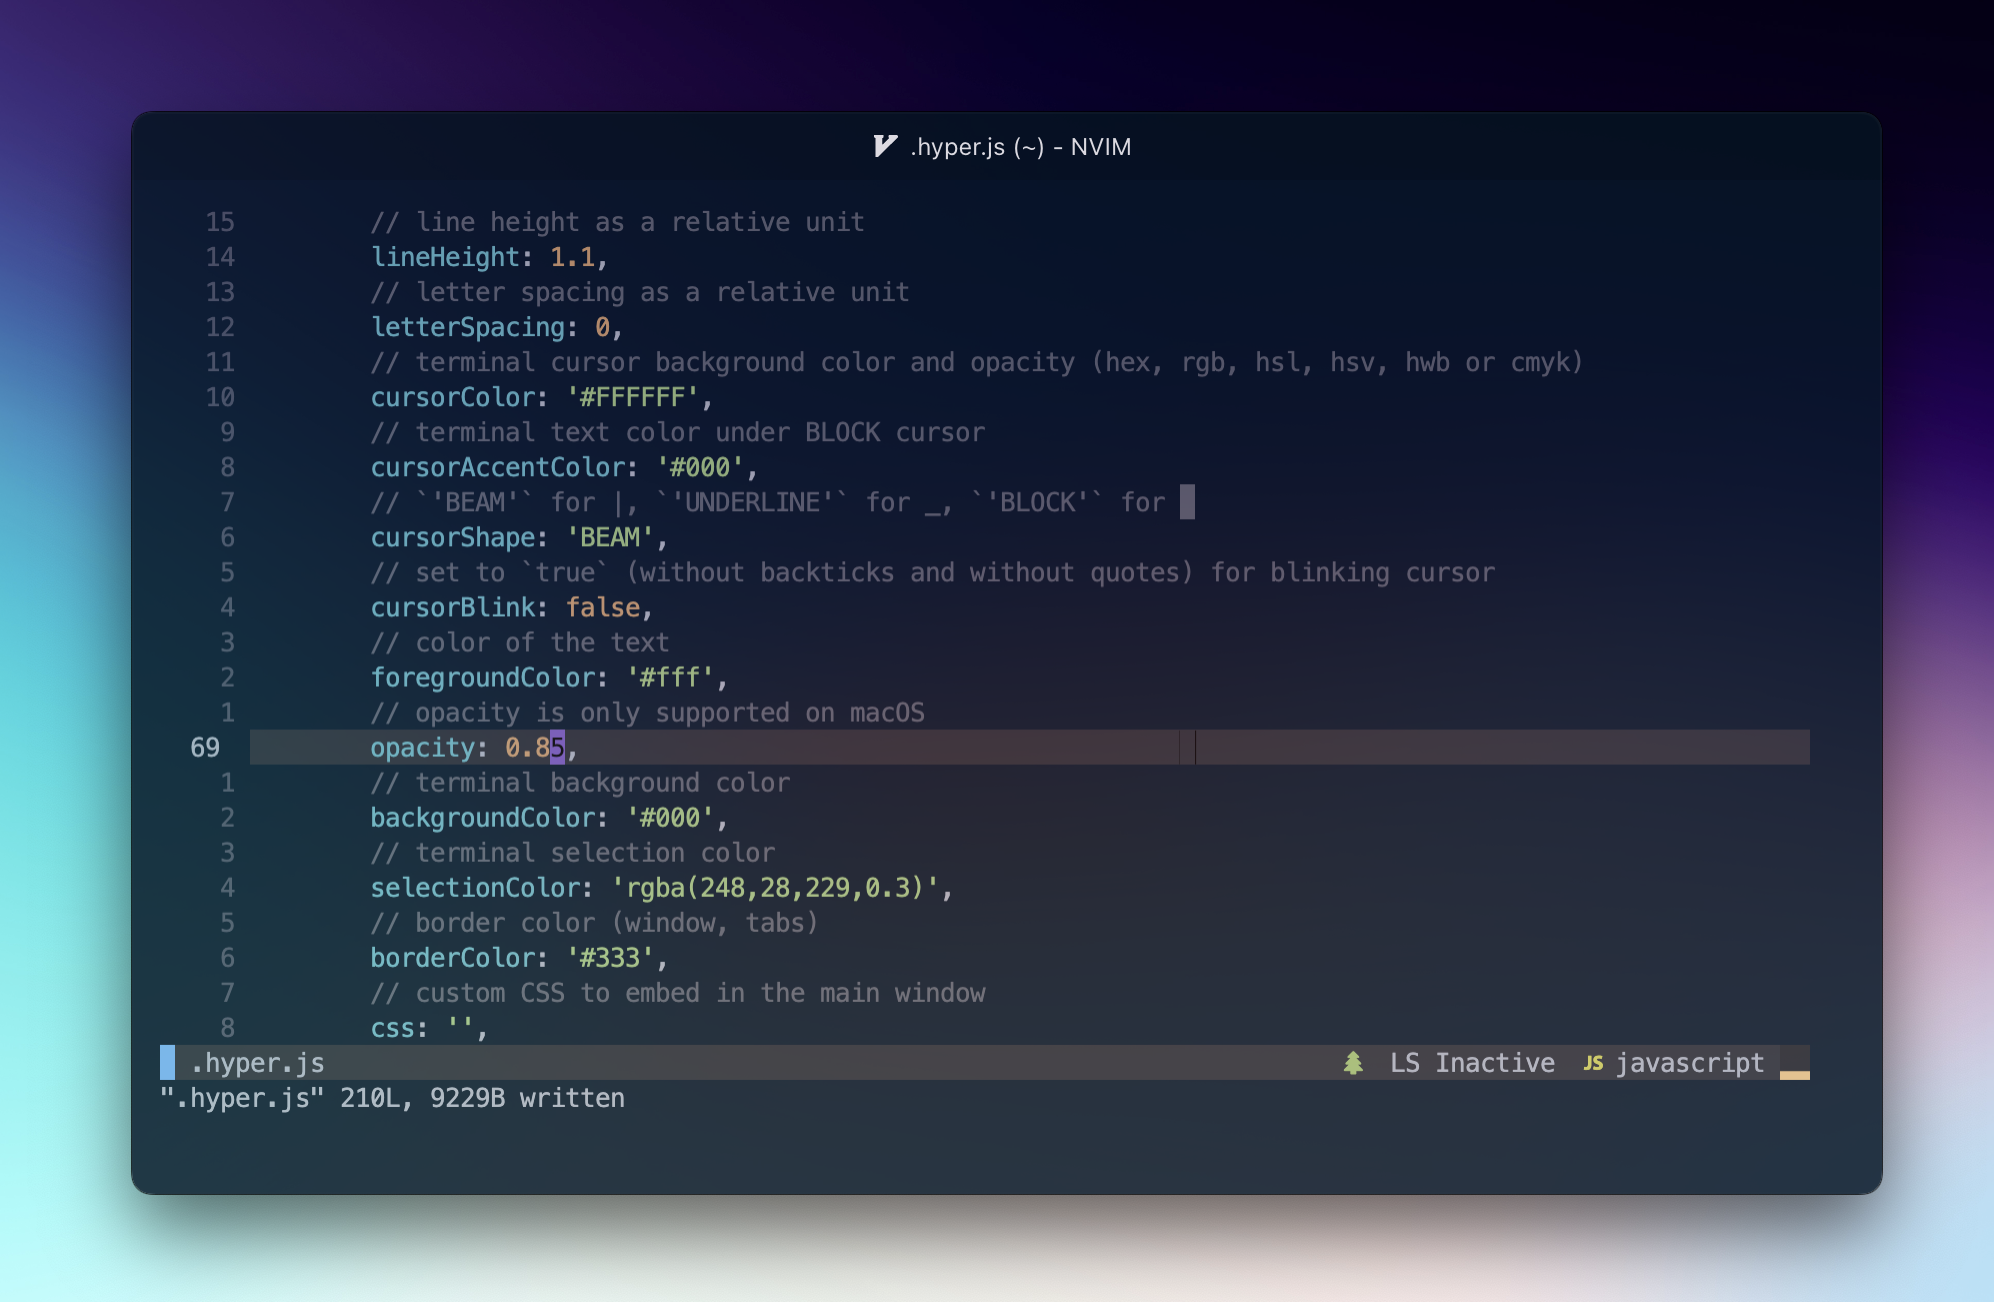
hyper i hyper-opacityChange the value of opacity which is default 1 to 0.85 for example
Go to this link to see and install some plugins
brew install neovim
To config Neovim you have to go to ~/.config/nvim on MacOS
For several months I used a Neovim config that I had created especially for web and mobile development. I recently switched to LunarVim which allows me to have additional features and better rendering
bash <(curl -s https://raw.githubusercontent.com/lunarvim/lunarvim/master/utils/installer/install.sh)
To config Neovim you have to go to ~/.config/lvim and ~/.local/share/lunarvim on MacOS
Edit .zshrc and add PATH=$PATH:~/.local/bin
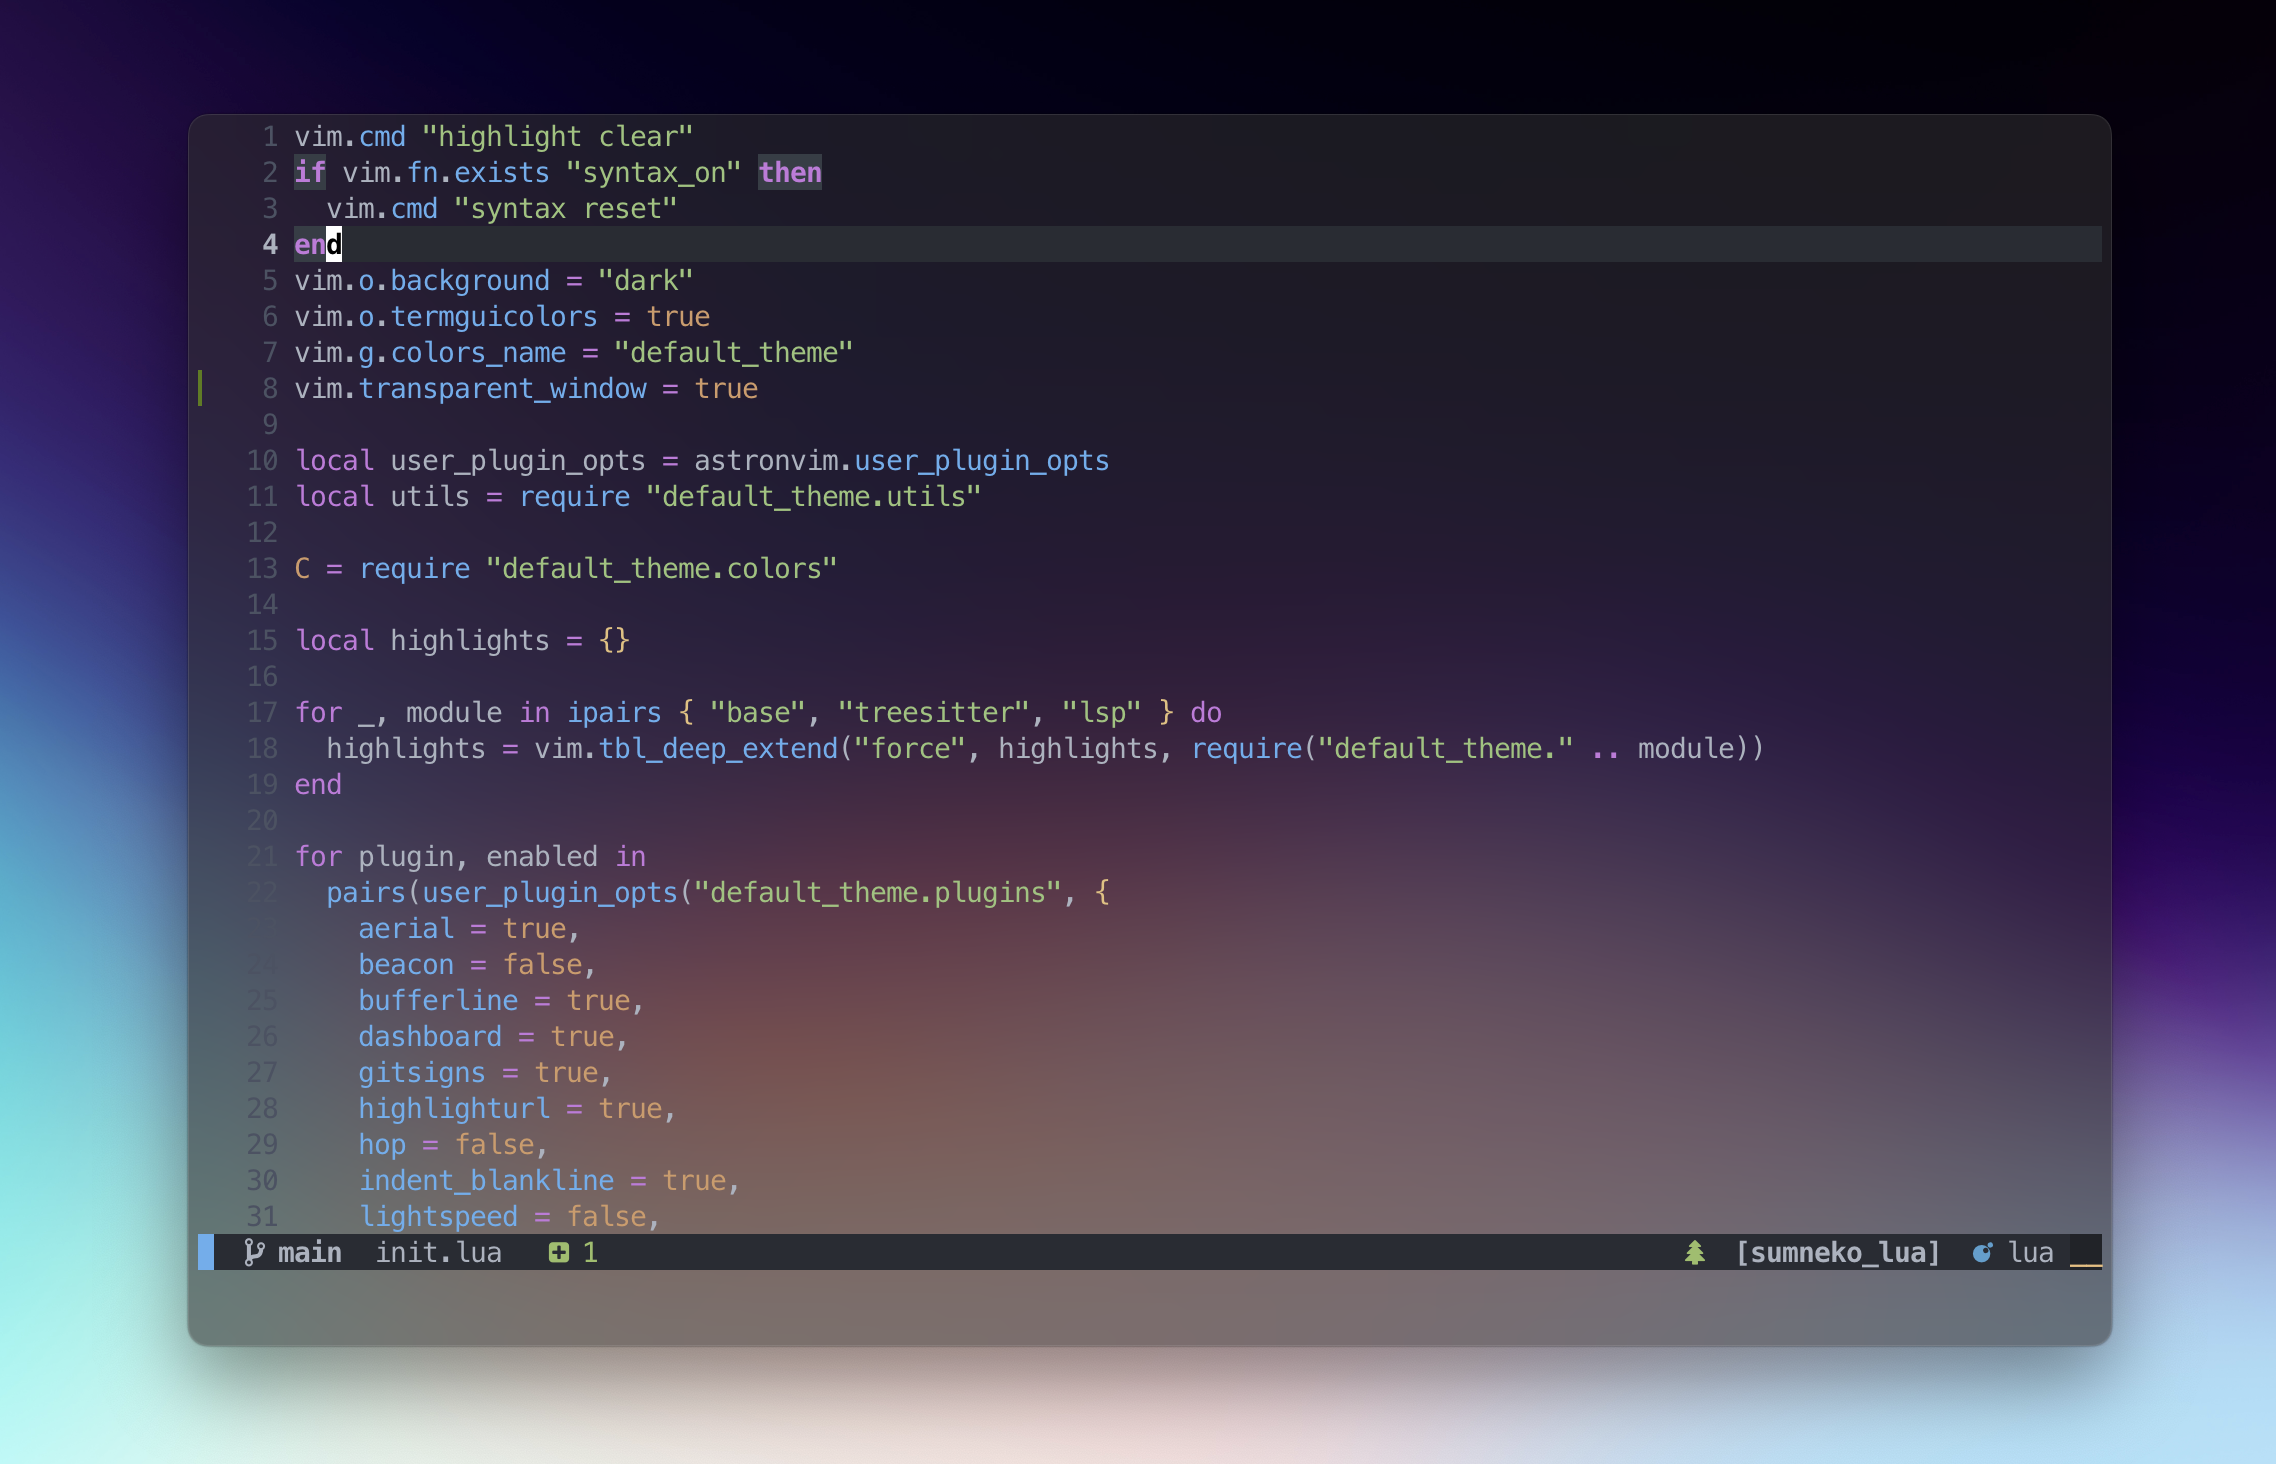
Now enter lvimto open lunarVim
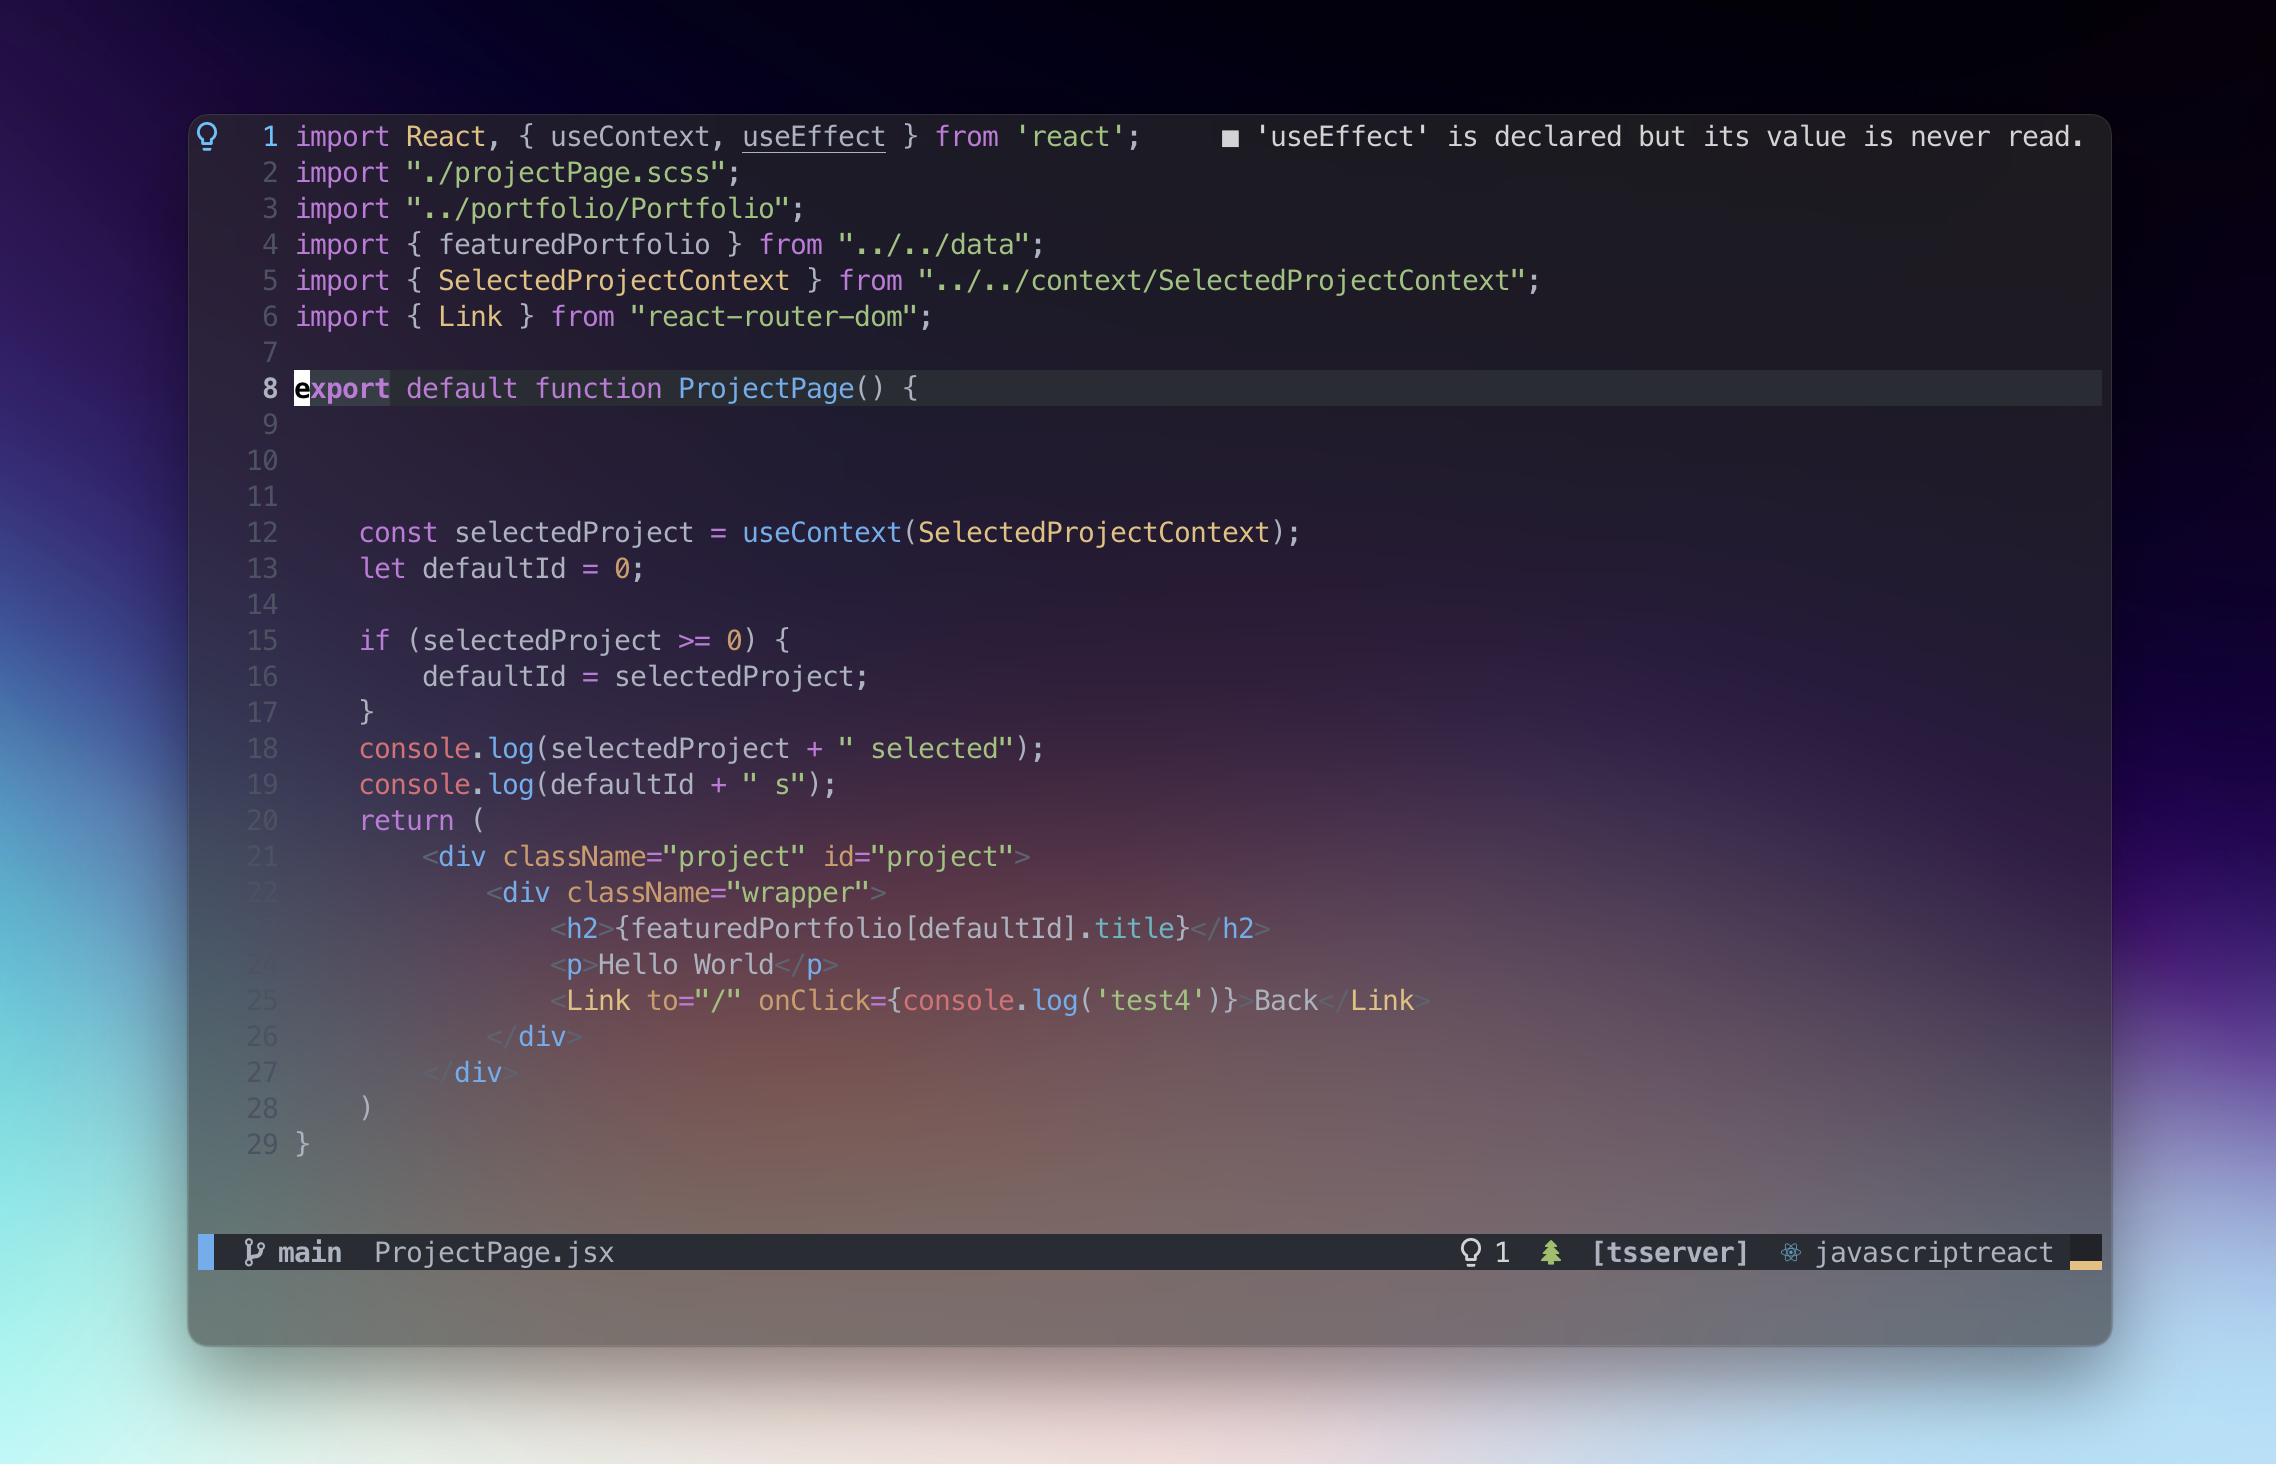
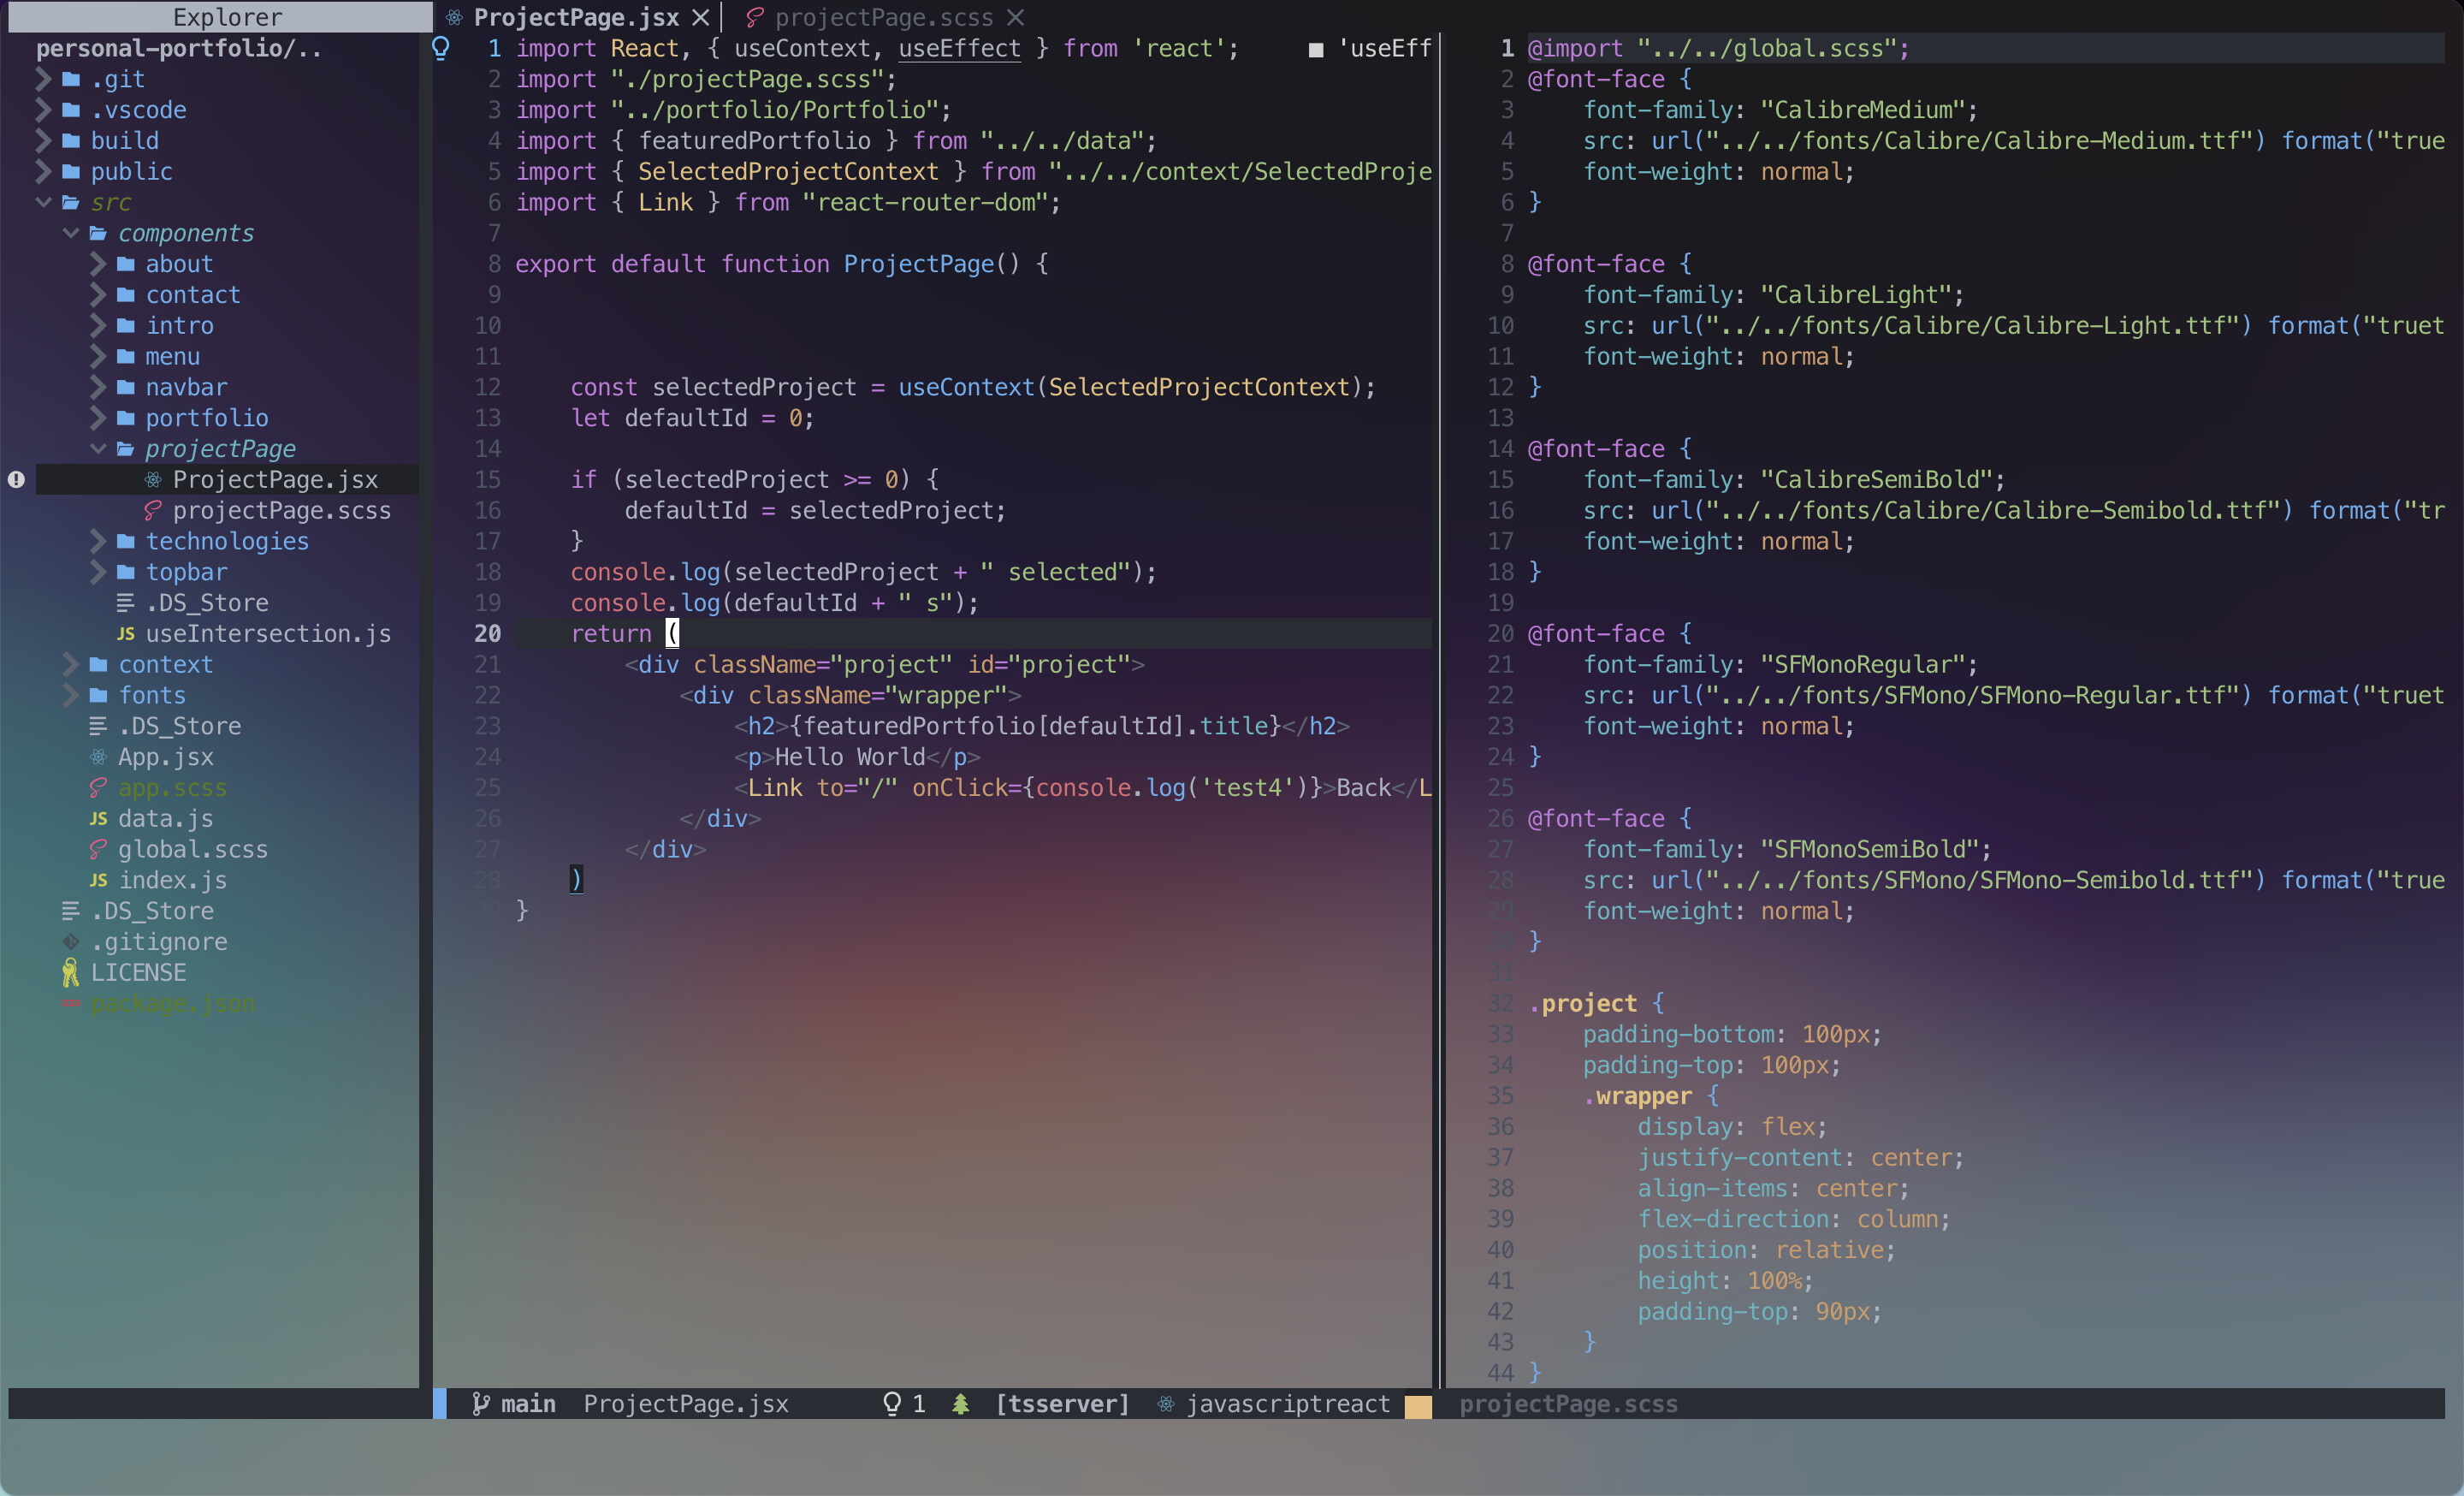
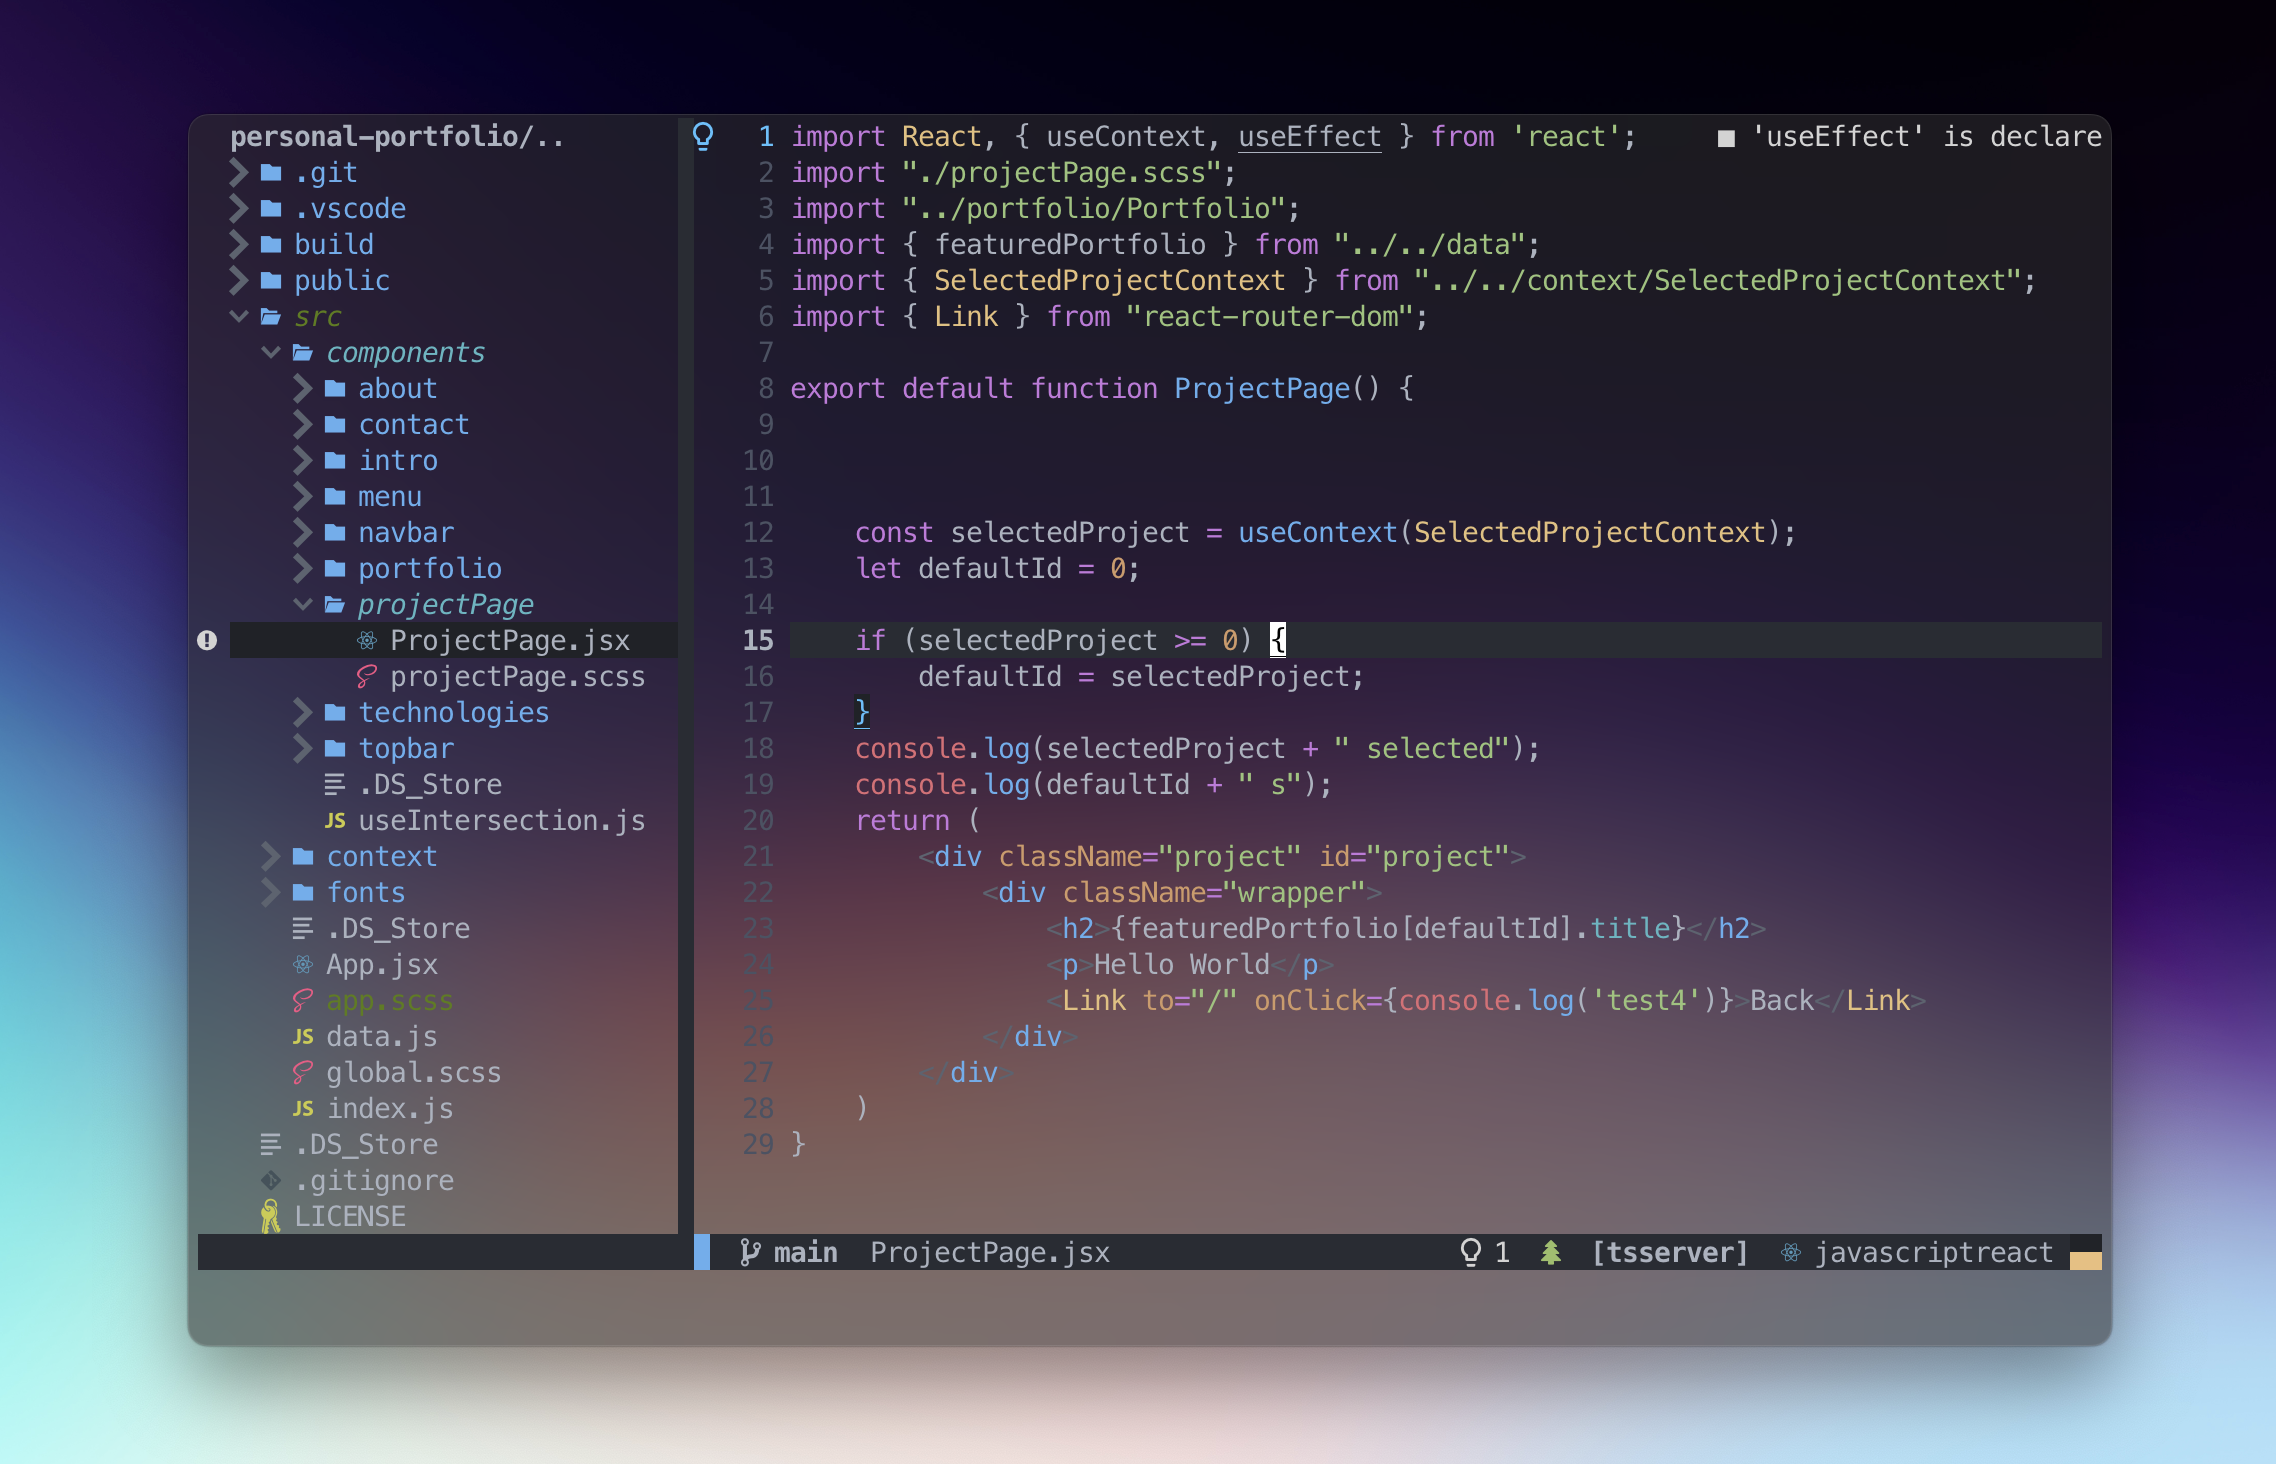
- This is the render with javascriptreact file
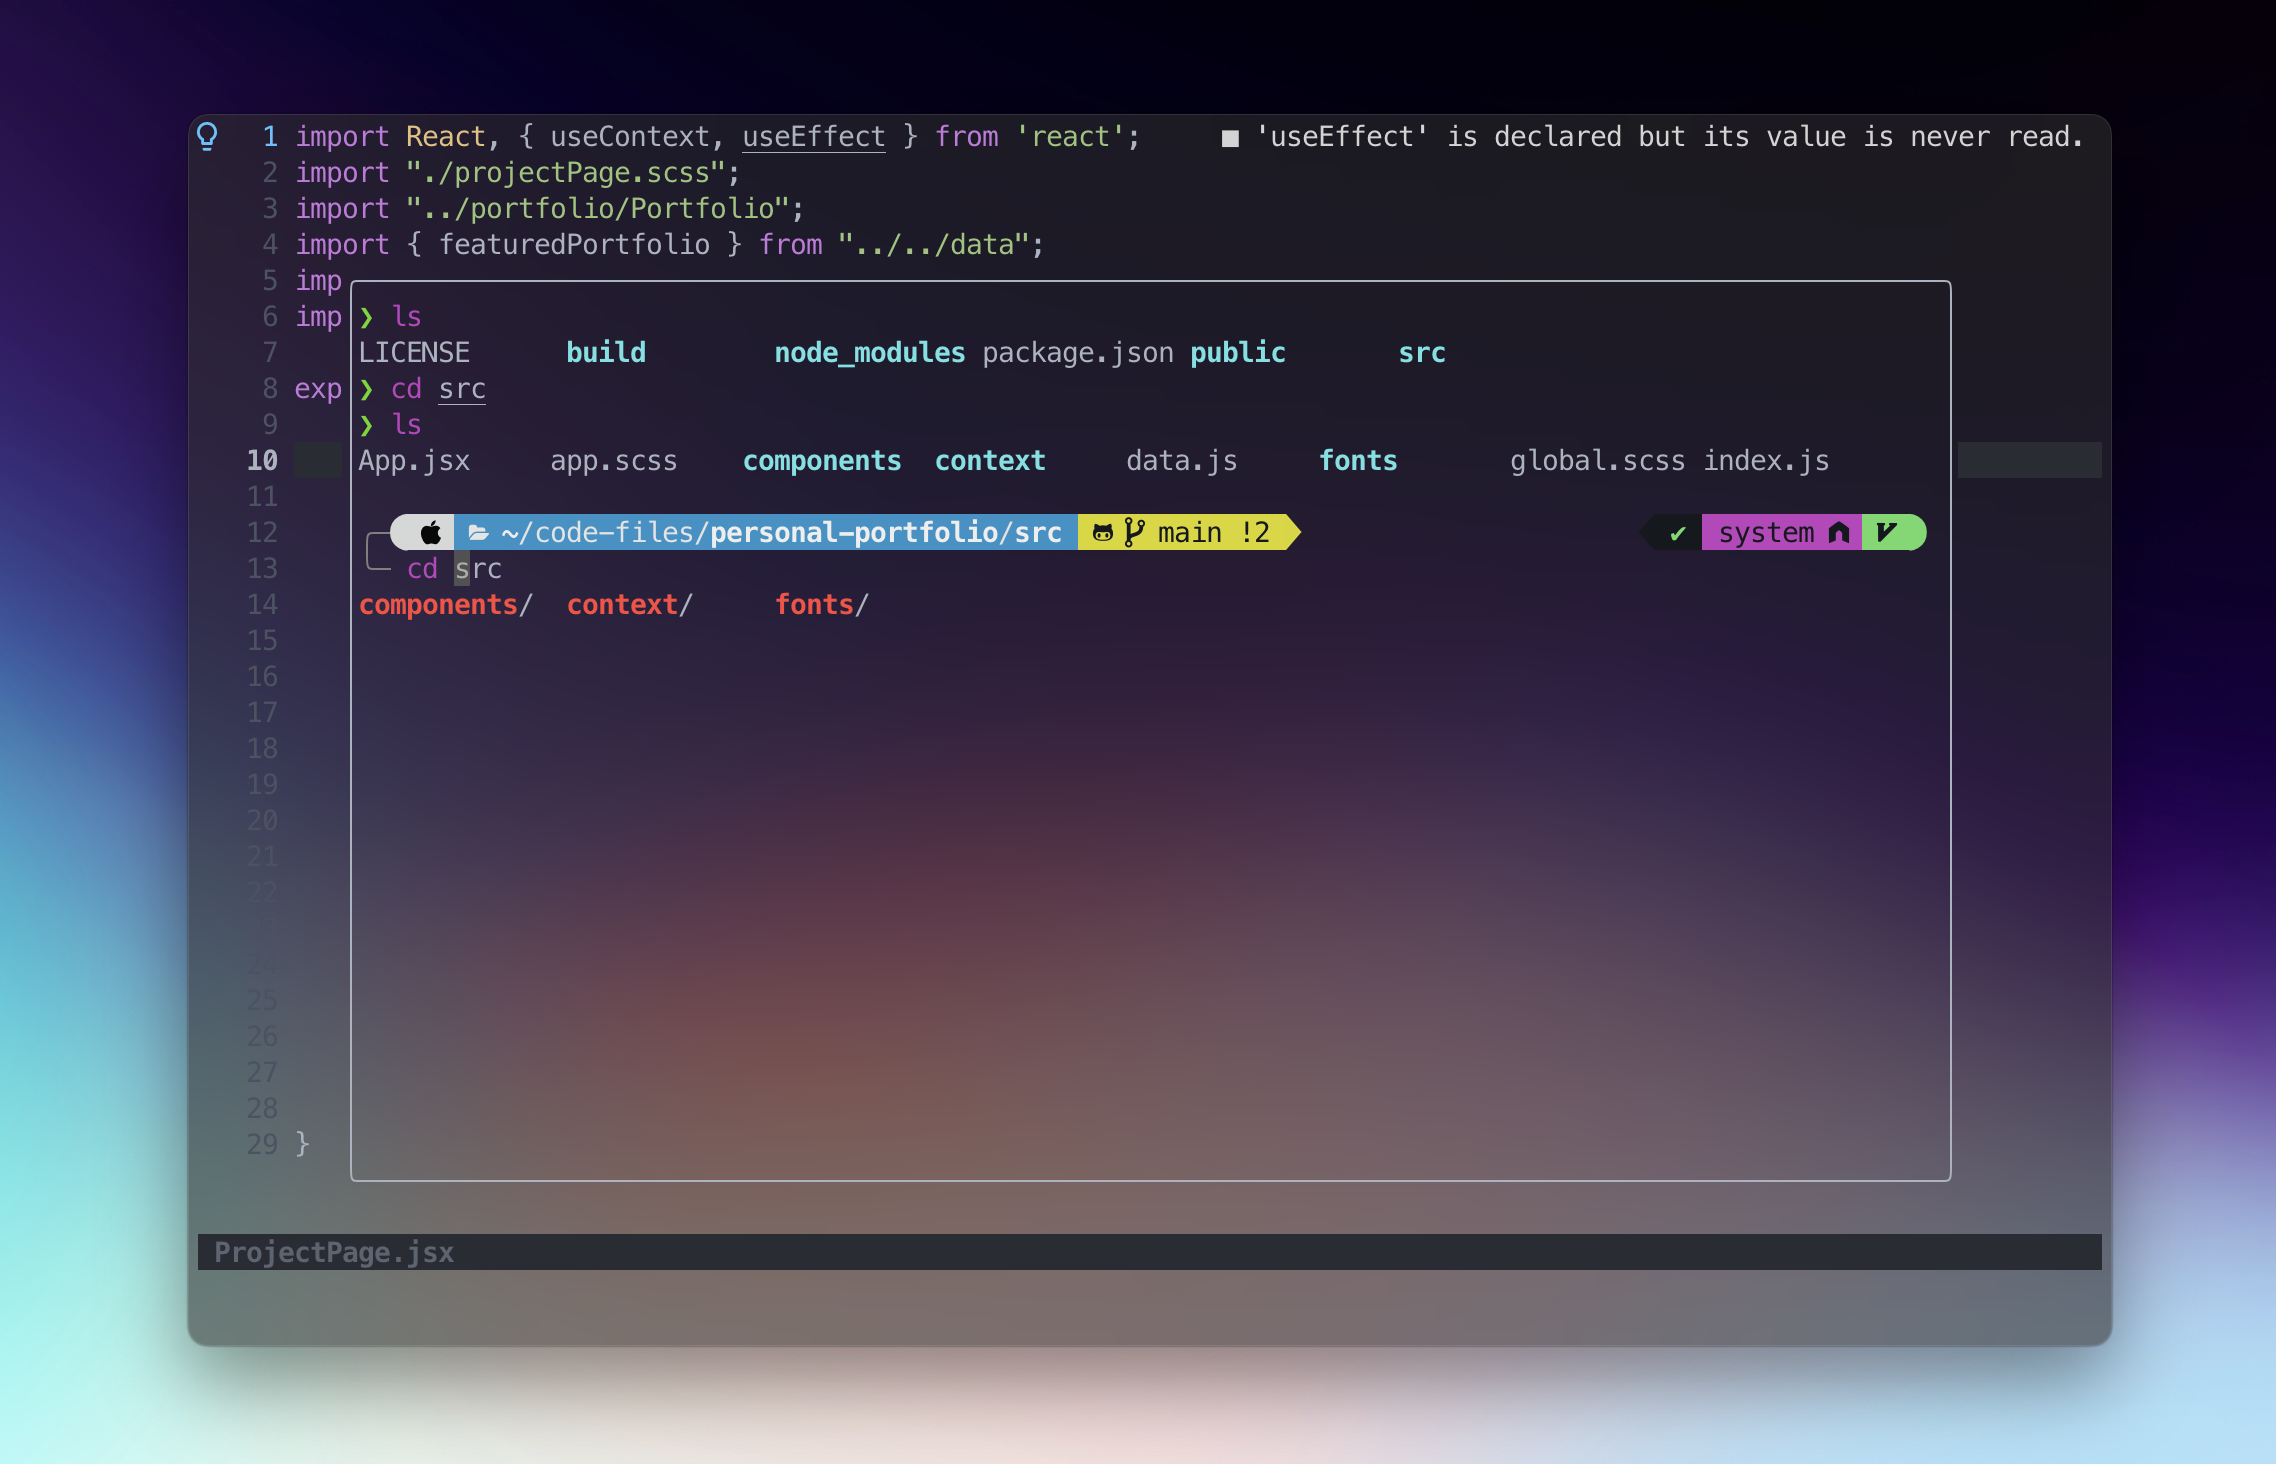
- To open the integral terminal on your lunarVim window, press
ctrl+t
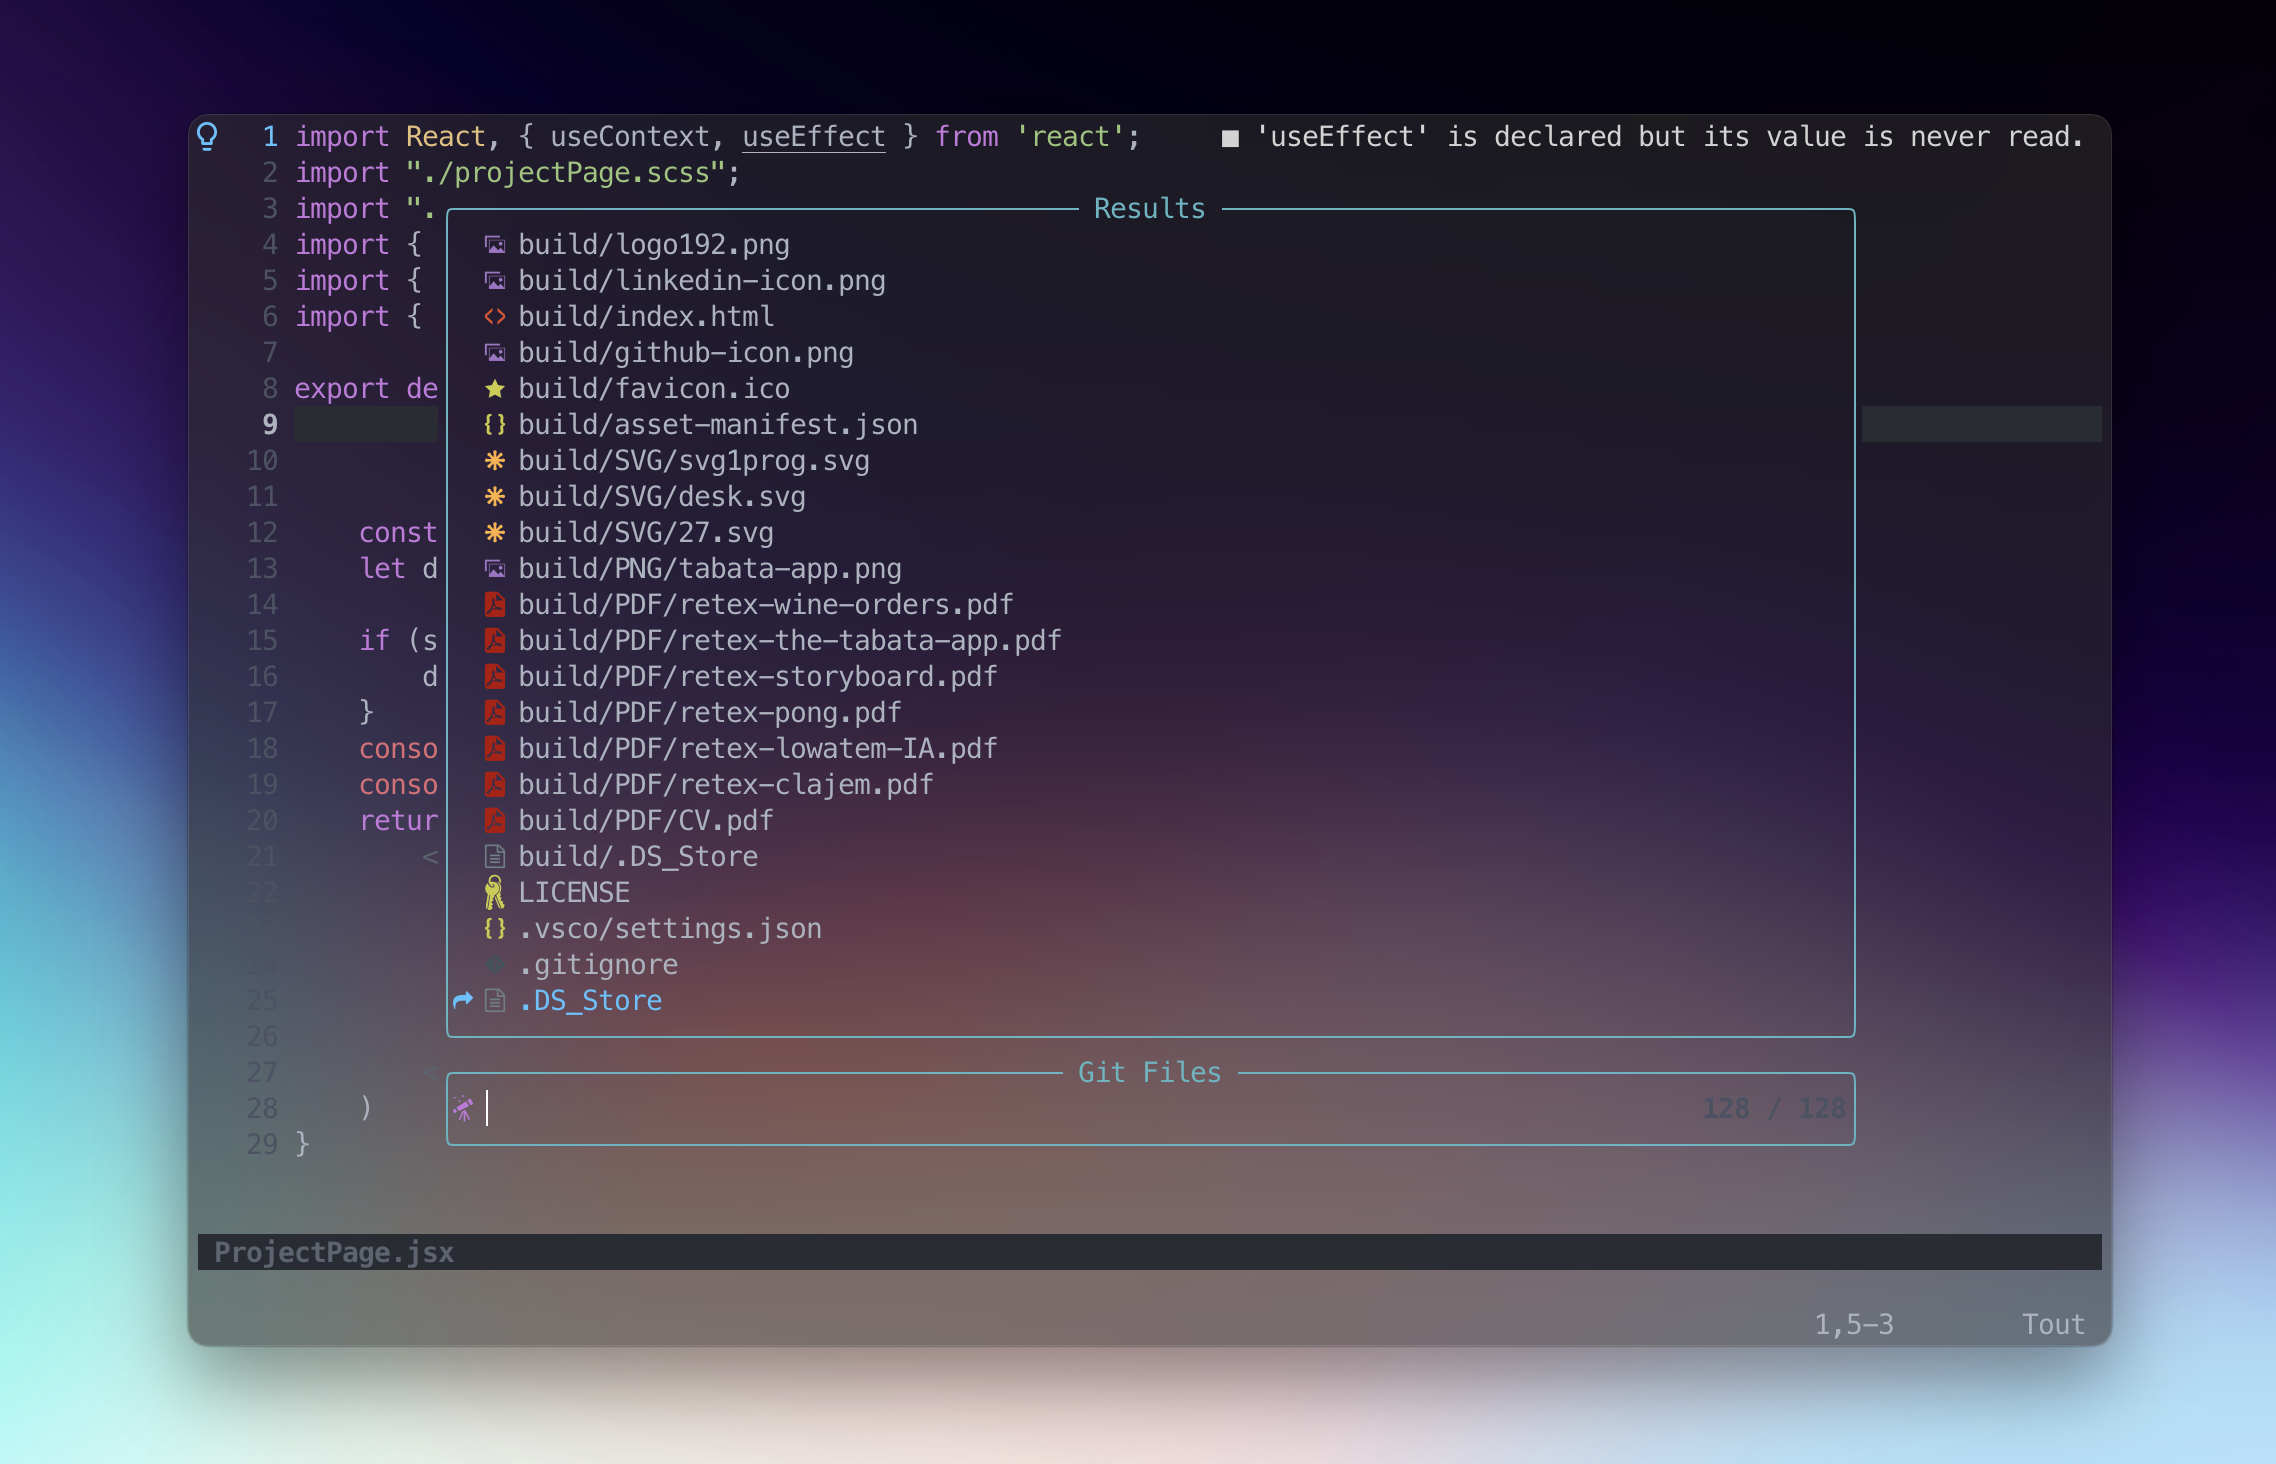
- Lunar Vim uses telescope — a fuzzy file finder and pattern matching machine. Use it to open files by pressing
space+f. You can also open this from the welcome screen
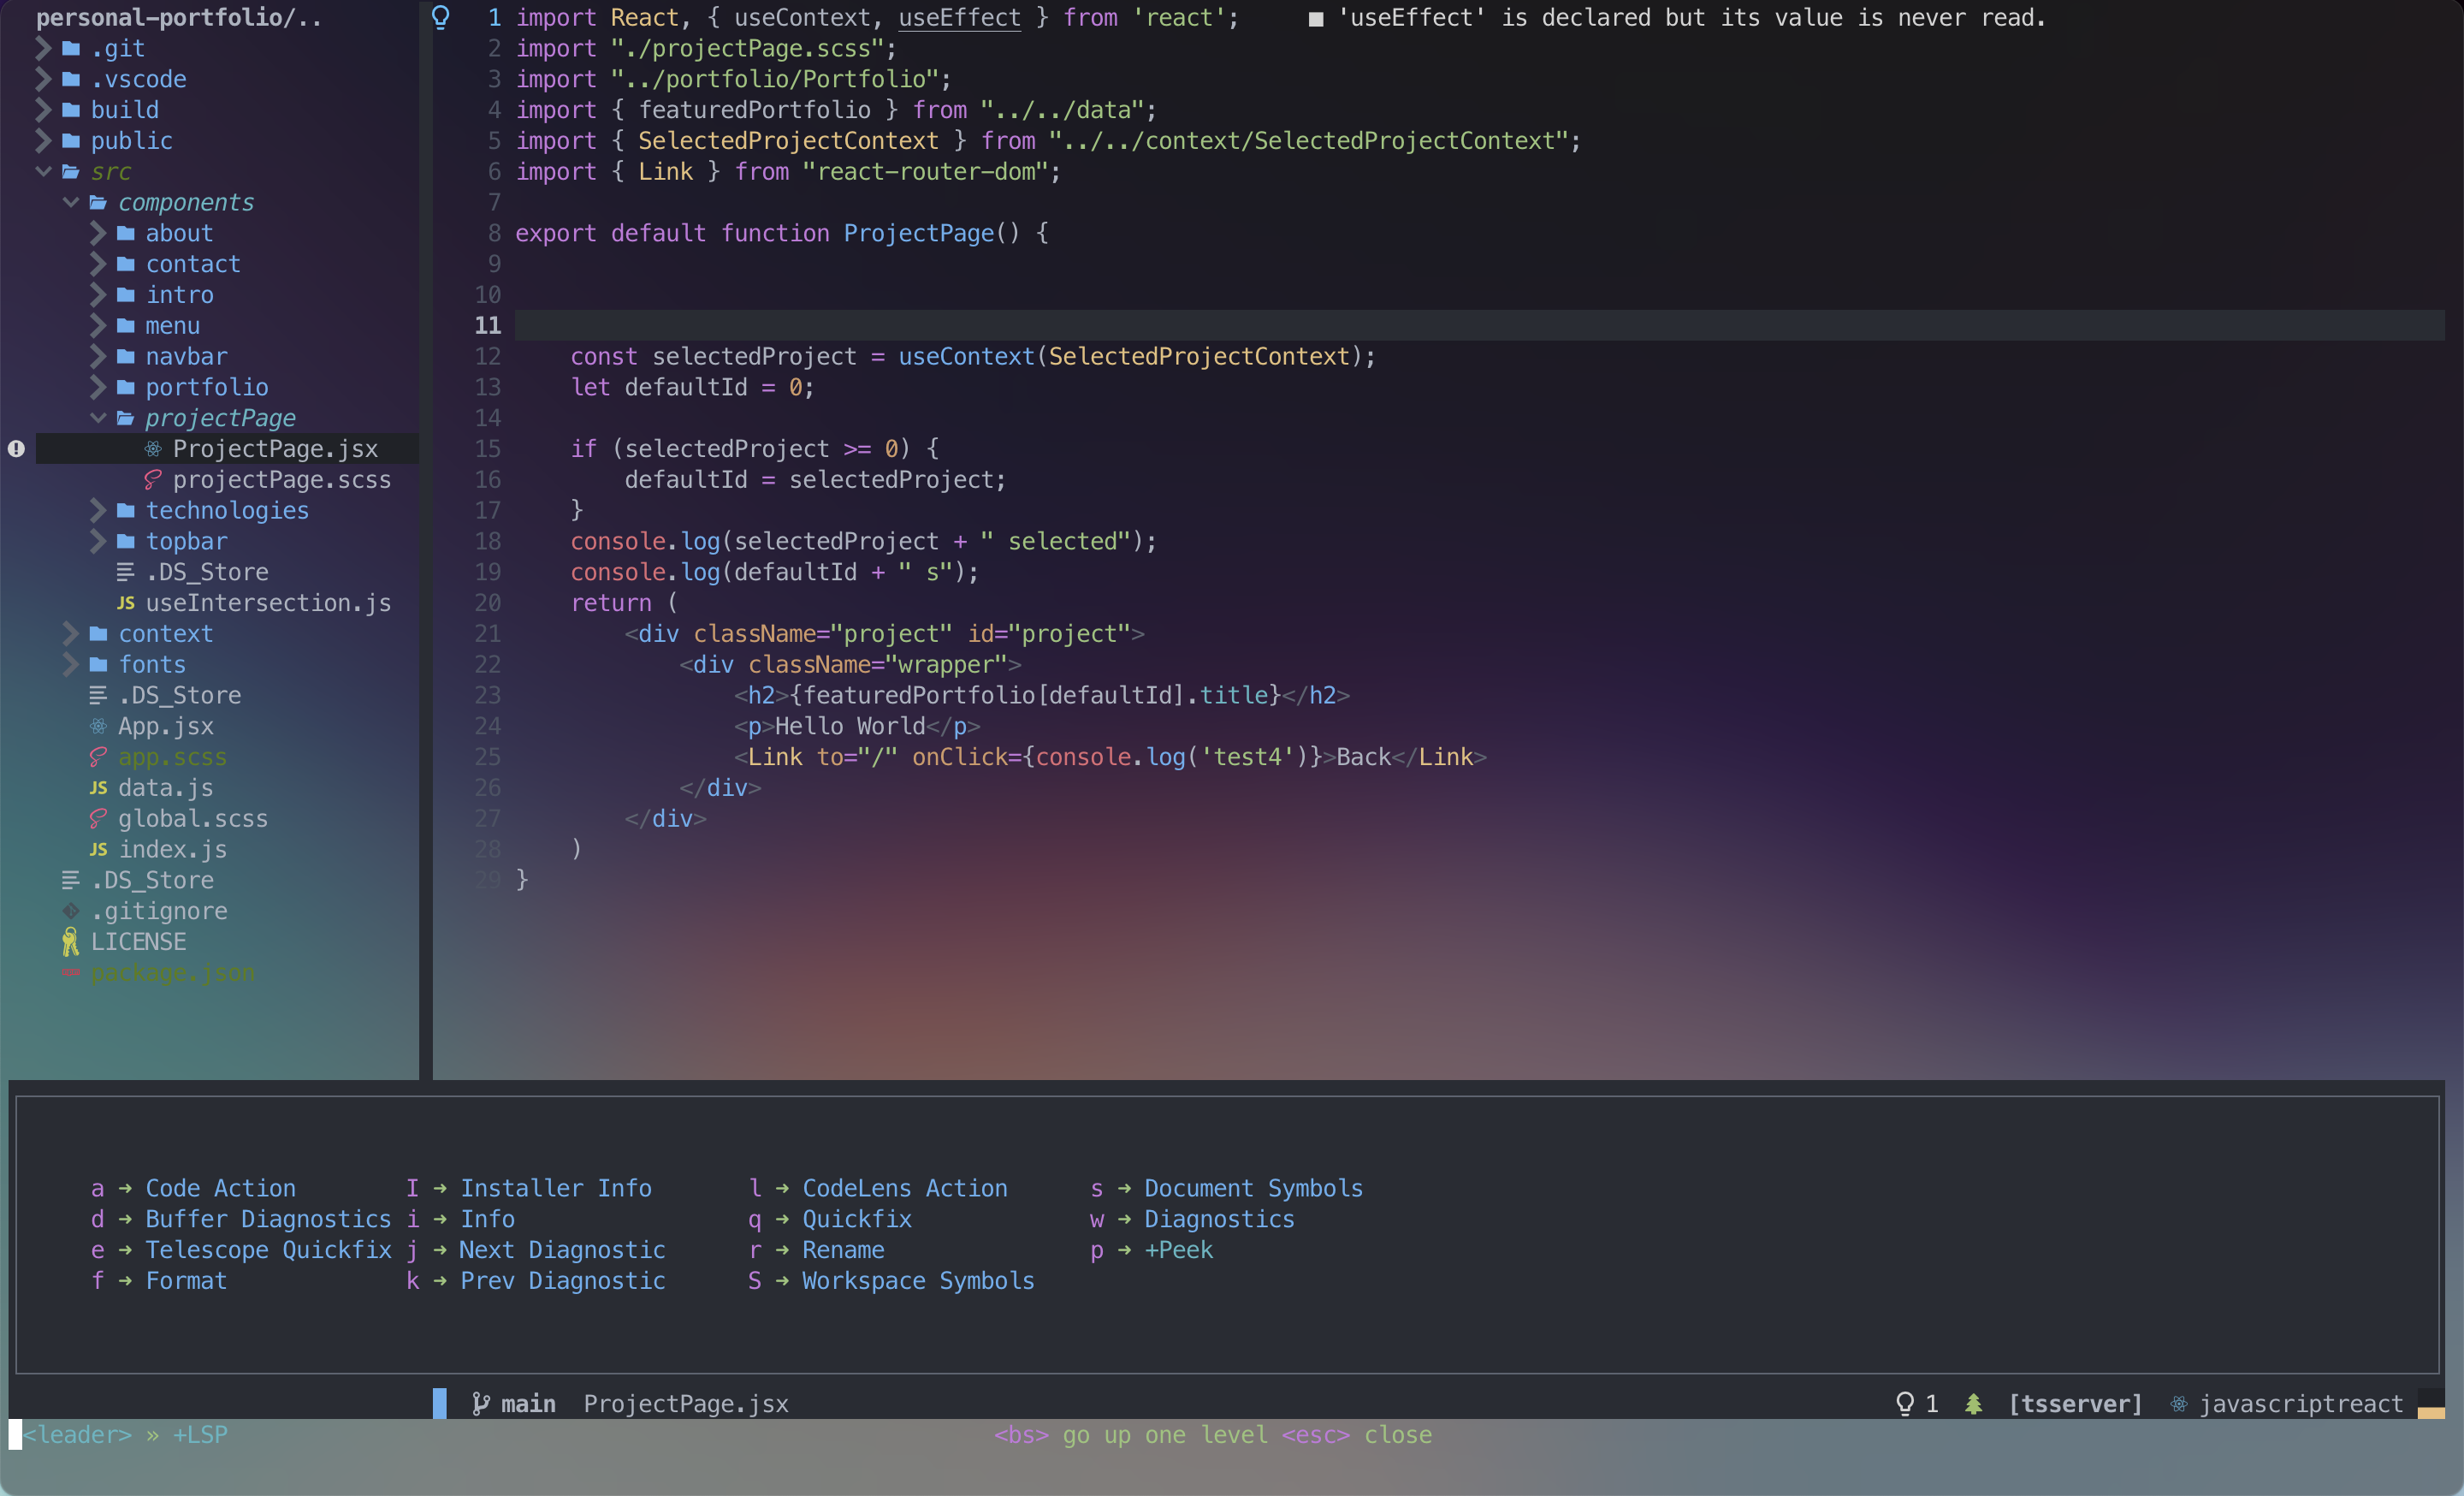
- Pressing
gwhile in normal mode will open up a different set of options which are incredibly useful. Go to definition, reference, and more!
-
To split window vertically, press
escapeand type:vsplit -
To split window horizontally, type
:split
- You can display the file explorer by typing
space+e
👤 Enzo Mourany
- Website: enzomourany.com
- Github: @enzo-mourany
Give a ⭐️ if this project helped you!


