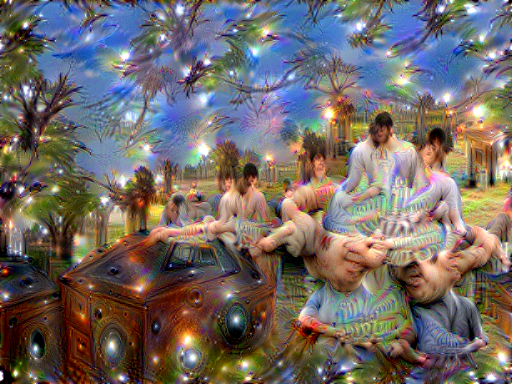
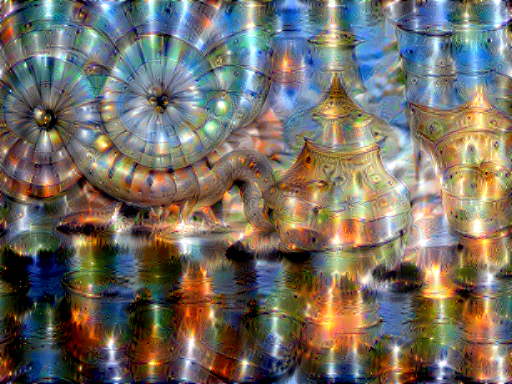
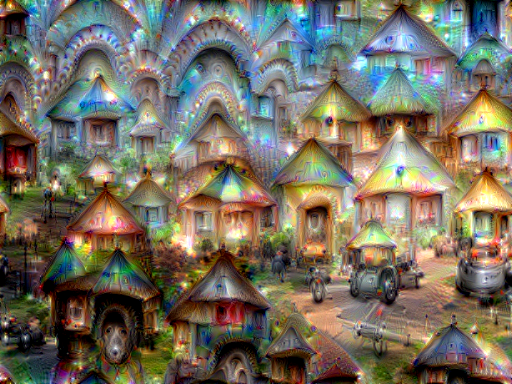
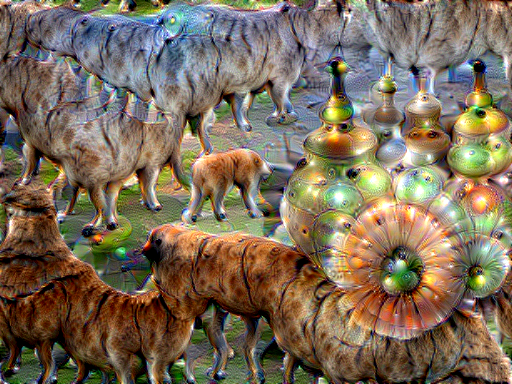
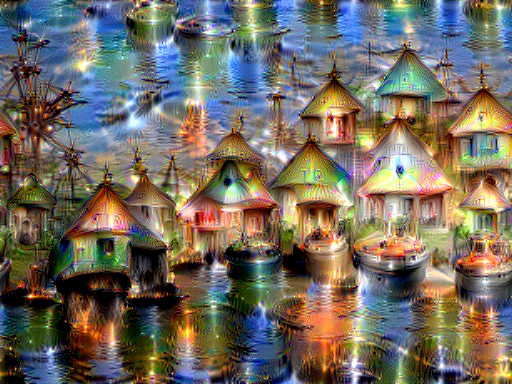
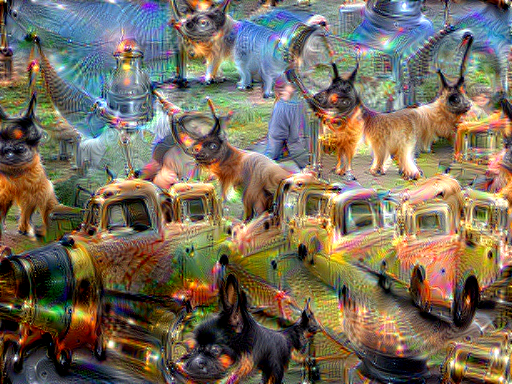
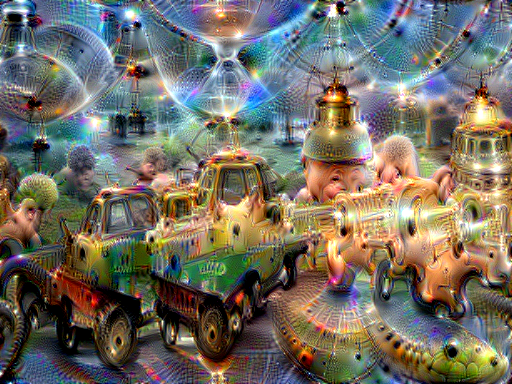
This is a PyTorch implementation of DeepDream. The code is based on neural-style-pt.
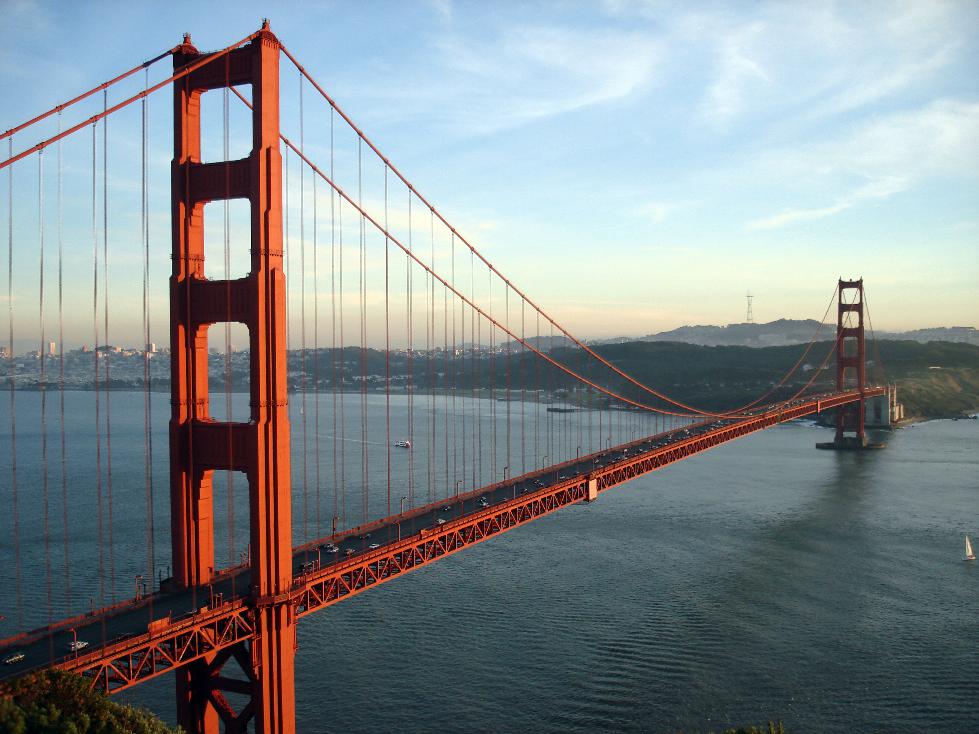
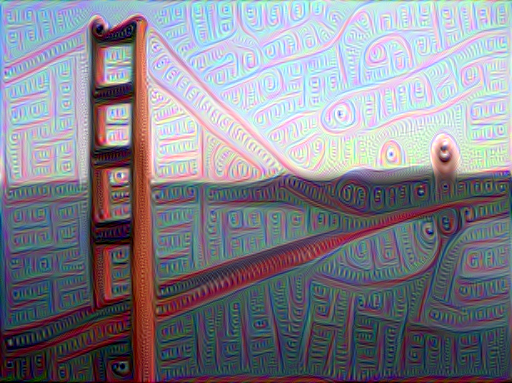
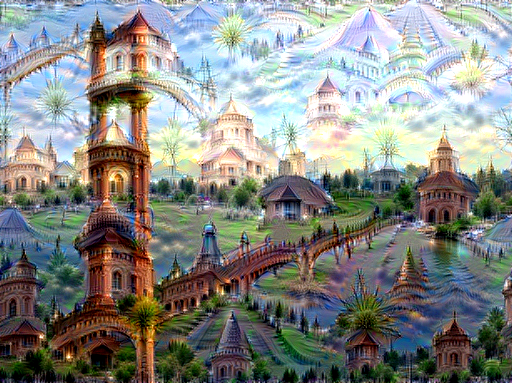
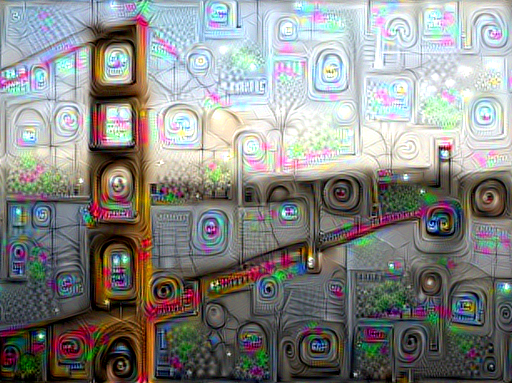
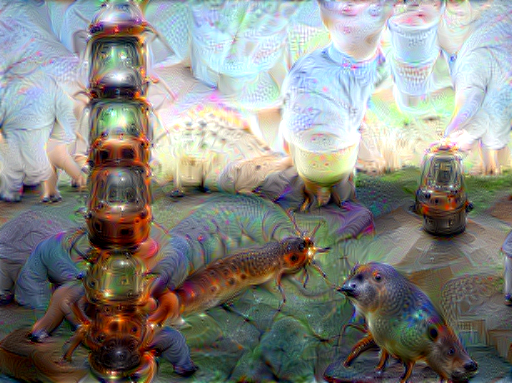
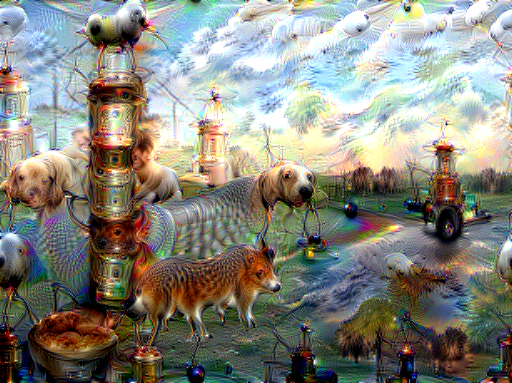
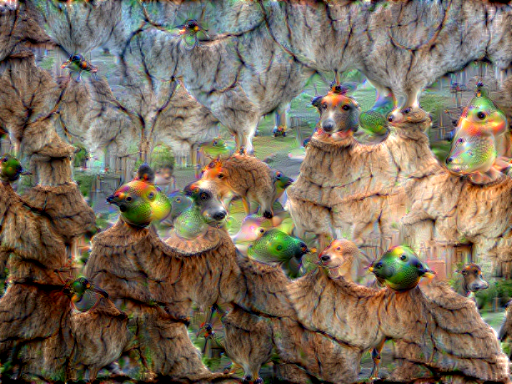
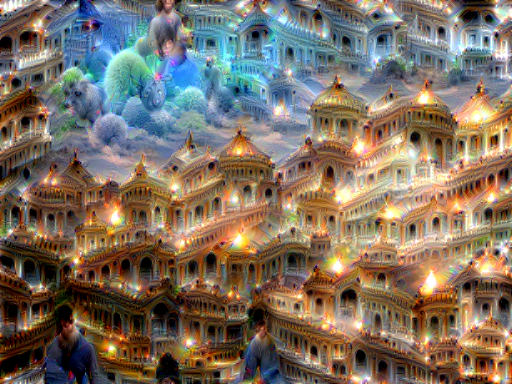
Here we DeepDream a photograph of the Golden Gate Bridge with a variety of settings:
You can select individual or specific combinations of channels.
Clockwise from upper left: 119, 1, 29, and all channels of the inception_4d_3x3_reduce layer
Clockwise from upper left: 25, 108, 25 & 108, and 25 & 119 from the inception_4d_3x3_reduce layer
You can select channels automatically based on their activation strength.
Clockwise from upper left: The top 10 weakest channels, the 10 most average channels,
the top 10 strongest channels, and all channels of the inception_4e_3x3_reduce layer
Dependencies:
Optional dependencies:
- For CUDA backend:
- CUDA 7.5 or above
- For cuDNN backend:
- cuDNN v6 or above
- For ROCm backend:
- ROCm 2.1 or above
- For MKL backend:
- MKL 2019 or above
- For OpenMP backend:
- OpenMP 5.0 or above
After installing the dependencies, you'll need to run the following script to download the BVLC GoogleNet model:
python models/download_models.py
This will download the original BVLC GoogleNet model.
If you have a smaller memory GPU then using the NIN Imagenet model could be an alternative to the BVLC GoogleNet model, though it's DeepDream quality is nowhere near that of the other models. You can get the details on the model from BVLC Caffe ModelZoo. The NIN model is downloaded when you run the download_models.py script with default parameters.
To download most of the compatible models, run the download_models.py script with following parameters:
python models/download_models.py -models all
You can find detailed installation instructions for Ubuntu and Windows in the installation guide.
Basic usage:
python neural_dream.py -content_image <image.jpg>
cuDNN usage with NIN Model:
python neural_dream.py -content_image examples/inputs/brad_pitt.jpg -output_image pitt_nin_cudnn.png -model_file models/nin_imagenet.pth -gpu 0 -backend cudnn -num_iterations 10 -seed 876 -dream_layers relu0,relu3,relu7,relu12 -dream_weight 10 -image_size 512 -optimizer adam -learning_rate 0.1
Note that paths to images should not contain the ~ character to represent your home directory; you should instead use a relative
path or a full absolute path.
Options:
-image_size: Maximum side length (in pixels) of the generated image. Default is 512.-gpu: Zero-indexed ID of the GPU to use; for CPU mode set-gputoc.
Optimization options:
-dream_weight: How much to weight DeepDream. Default is1e3.-tv_weight: Weight of total-variation (TV) regularization; this helps to smooth the image. Default is set to0to disable total-variation (TV) regularization.-l2_weight: Weight of latent state regularization. Default is set to0to disable latent state regularization.-num_iterations: Default is10.-init: Method for generating the generated image; one ofrandomorimage. Default isimagewhich initializes with the content image;randomuses random noise to initialize the input image.-jitter: Apply jitter to image. Default is32. Set to0to disable jitter.-layer_sigma: Apply gaussian blur to image. Default is set to0to disable the gaussian blur layer.-optimizer: The optimization algorithm to use; eitherlbfgsoradam; default isadam. Adam tends to perform the best for DeepDream. L-BFGS tends to give worse results and it uses more memory; when using L-BFGS you will probably need to play with other parameters to get good results, especially the learning rate.-learning_rate: Learning rate to use with the ADAM and L-BFGS optimizers. Default is1.5. On other DeepDream projects this parameter is commonly called 'step size'.-normalize_weights: If this flag is present, dream weights will be divided by the number of channels for each layer. Idea from PytorchNeuralStyleTransfer.-loss_mode: The DeepDream loss mode;bce,mse,mean,norm, orl2; default isl2.
Output options:
-output_image: Name of the output image. Default isout.png.-output_start_num: The number to start output image names at. Default is set to1.-leading_zeros: The number of leading zeros to use for output image names. Default is set to0to disable leading zeros.-print_iter: Print progress everyprint_iteriterations. Set to0to disable printing.-print_octave_iter: Print octave progress everyprint_octave_iteriterations. Default is set to0to disable printing. If tiling is enabled, then octave progress will be printed everyprint_octave_iteroctaves.-save_iter: Save the image everysave_iteriterations. Set to0to disable saving intermediate results.-save_octave_iter: Save the image everysave_octave_iteriterations. Default is set to0to disable saving intermediate results. If tiling is enabled, then octaves will be saved everysave_octave_iteroctaves.
Layer options:
-dream_layers: Comma-separated list of layer names to use for DeepDream reconstruction.
Channel options:
-channels: Comma-separated list of channels to use for DeepDream. If-channel_modeis set to a value other thanallorignore, only the first value in the list will be used.-channel_mode: The DeepDream channel selection mode;all,strong,avg,weak, orignore; default isall. Thestrongoption will select the strongest channels, whileweakwill do the same with the weakest channels. Theavgoption will select the most average channels instead of the strongest or weakest. The number of channels selected bystrong,avg, orweakis based on the first value for the-channelsparameter. Theignoreoption will omit any specified channels.-channel_capture: How often to select channels based on activation strength; eitheronceoroctave_iter; default isonce. Theonceoption will select channels once at the start, while theoctave_iterwill select potentially new channels every octave iteration. This parameter only comes into play if-channel_modeis not set toallorignore.
Octave options:
-num_octaves: Number of octaves per iteration. Default is4.-octave_scale: Value for resizing the image by. Default is0.6.-octave_iter: Number of iterations per octave. Default is50. On other DeepDream projects this parameter is commonly called 'steps'.-octave_mode: The octave size calculation mode;normal,advanced,manual_max,manual_min, ormanual. Default isnormal. If set tomanual_maxormanual_min, then-octave_scaletakes a comma separated list of image sizes for the largest or smallest image dimension fornum_octavesminus 1 octaves. If setmanualthen-octave_scaletakes a comma separated list of image size pairs fornum_octavesminus 1 octaves, in the form of<Height>,<Width>.
Laplacian Pyramid options:
-lap_scale: The number of layers in a layer's laplacian pyramid. Default is set to0to disable laplacian pyramids.-sigma: The strength of gaussian blur to use in laplacian pyramids. Default is1. By default, unless a second sigma value is provided with a comma to separate it from the first, the high gaussian layers will use sigmasigma*lap_scale.
Zoom options:
-zoom: The amount to zoom in on the image.-zoom_mode: Whether to read the zoom value as a percentage or pixel value; one ofpercentageorpixel. Default ispercentage.
FFT options:
-use_fft: Whether to enable Fast Fourier transform (FFT) decorrelation.-fft_block: The size of your FFT frequency filtering block. Default is25.
Tiling options:
-tile_size: The desired tile size to use. Default is set to0to disable tiling.-overlap_percent: The percentage of overlap to use for the tiles. Default is50.-print_tile: Print the current tile being processed everyprint_tiletiles without any other information. Default is set to0to disable printing.-print_tile_iter: Print tile progress everyprint_tile_iteriterations. Default is set to0to disable printing.-image_capture_size: The image size to use for the initial full image capture and optional-classifyparameter. Default is set to512. Set to0disable it andimage_sizeis used instead.
GIF options:
-create_gif: Whether to create a GIF from the output images after all iterations have been completed.-frame_duration: The duration for each GIF frame in milliseconds. Default is100.
Help options:
-print_layers: Pass this flag to print the names of all usable layers for the selected model.-print_channels: Pass this flag to print all the selected channels.
Other options:
-original_colors: If you set this to1, then the output image will keep the colors of the content image.-model_file: Path to the.pthfile for the VGG Caffe model. Default is the original VGG-19 model; you can also try the original VGG-16 model.-model_type: Whether the model was trained using Caffe, PyTorch, or Keras preprocessing;caffe,pytorch,keras, orauto; default isauto.-model_mean: A comma separated list of 3 numbers for the model's mean; default isauto.-pooling: The type of pooling layers to use for VGG and NIN models; one ofmaxoravg. Default ismax. VGG models seem to create better results with average pooling.-seed: An integer value that you can specify for repeatable results. By default this value is random for each run.-multidevice_strategy: A comma-separated list of layer indices at which to split the network when using multiple devices. See Multi-GPU scaling for more details. Currently this feature only works for VGG and NIN models.-backend:nn,cudnn,openmp, ormkl. Default isnn.mklrequires Intel's MKL backend.-cudnn_autotune: When using the cuDNN backend, pass this flag to use the built-in cuDNN autotuner to select the best convolution algorithms for your architecture. This will make the first iteration a bit slower and can take a bit more memory, but may significantly speed up the cuDNN backend.-clamp: If this flag is enabled, every iteration will clamp the output image so that it is within the model's input range.-adjust_contrast: A value between0and100.0for altering the image's contrast (ex:99.98). Default is set to 0 to disable contrast adjustments.-label_file: Path to the.txtcategory list file for classification and channel selection.-random_transforms: Whether to use random transforms on the image; eithernone,rotate,flip, orall; default isnone.-classify: Display what the model thinks an image contains. Integer for the number of choices ranked by how likely each is.
Problem: The program runs out of memory and dies
Solution: Try reducing the image size: -image_size 512 (or lower). Note that different image sizes will likely
require non-default values for -octave_scale and -num_octaves for optimal results.
If you are running on a GPU, you can also try running with -backend cudnn to reduce memory usage.
Problem: -backend cudnn is slower than default NN backend
Solution: Add the flag -cudnn_autotune; this will use the built-in cuDNN autotuner to select the best convolution algorithms.
Problem: Get the following error message:
Missing key(s) in state_dict: "classifier.0.bias", "classifier.0.weight", "classifier.3.bias", "classifier.3.weight". Unexpected key(s) in state_dict: "classifier.1.weight", "classifier.1.bias", "classifier.4.weight", "classifier.4.bias".
Solution: Due to a mix up with layer locations, older models require a fix to be compatible with newer versions of PyTorch. The included donwload_models.py script will automatically perform these fixes after downloading the models.
Problem: Get the following error message:
Given input size: (...). Calculated output size: (...). Output size is too small
Solution: Use a larger -image_size value and/or adjust the octave parameters so that the smallest octave size is larger.
By default, neural-dream uses the nn backend for convolutions and Adam for optimization. These give good results, but can both use a lot of memory. You can reduce memory usage with the following:
- Use cuDNN: Add the flag
-backend cudnnto use the cuDNN backend. This will only work in GPU mode. - Reduce image size: You can reduce the size of the generated image to lower memory usage;
pass the flag
-image_size 256to generate an image at half the default size.
With the default settings, neural-dream uses about 1.3 GB of GPU memory on my system; switching to cuDNN reduces the GPU memory footprint to about 1 GB.
You can use multiple CPU and GPU devices to process images at higher resolutions; different layers of the network will be
computed on different devices. You can control which GPU and CPU devices are used with the -gpu flag, and you can control
how to split layers across devices using the -multidevice_strategy flag.
For example in a server with four GPUs, you can give the flag -gpu 0,1,2,3 to process on GPUs 0, 1, 2, and 3 in that order; by also giving the flag -multidevice_strategy 3,6,12 you indicate that the first two layers should be computed on GPU 0, layers 3 to 5 should be computed on GPU 1, layers 6 to 11 should be computed on GPU 2, and the remaining layers should be computed on GPU 3. You will need to tune the -multidevice_strategy for your setup in order to achieve maximal resolution.
We can achieve very high quality results at high resolution by combining multi-GPU processing with multiscale generation as described in the paper Controlling Perceptual Factors in Neural Style Transfer by Leon A. Gatys, Alexander S. Ecker, Matthias Bethge, Aaron Hertzmann and Eli Shechtman.

