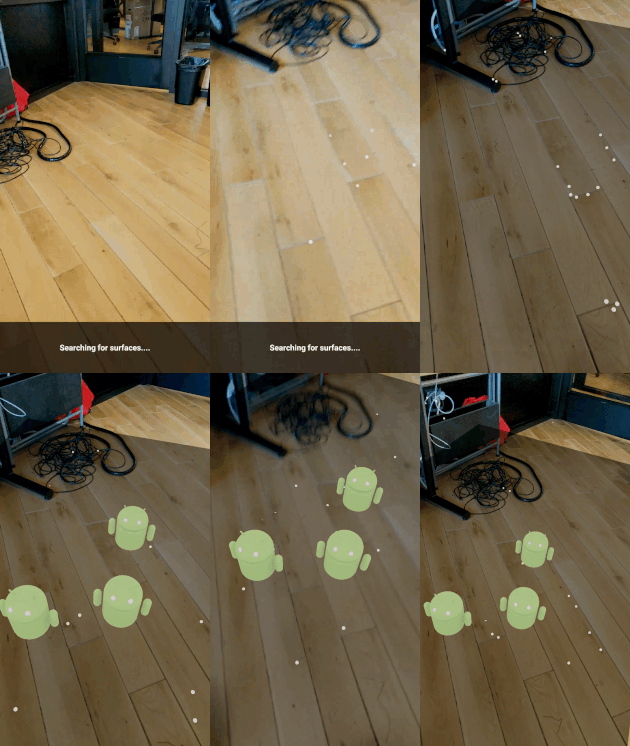
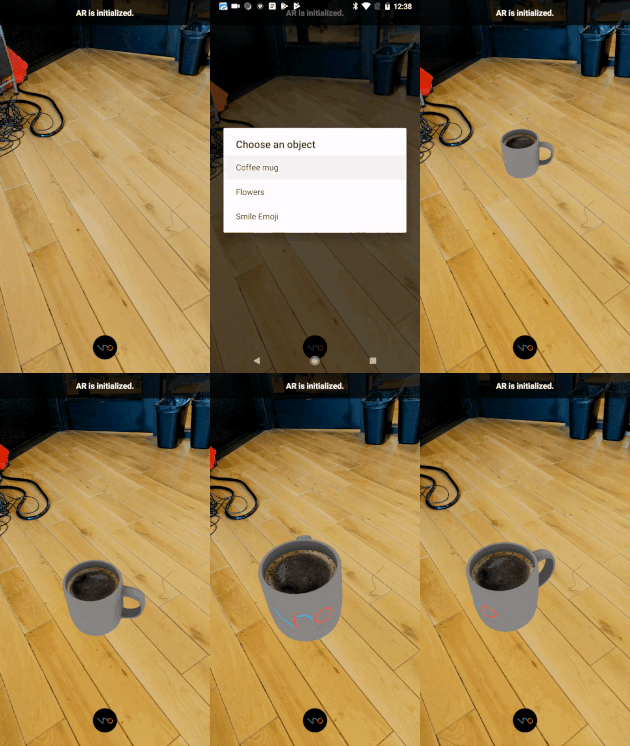
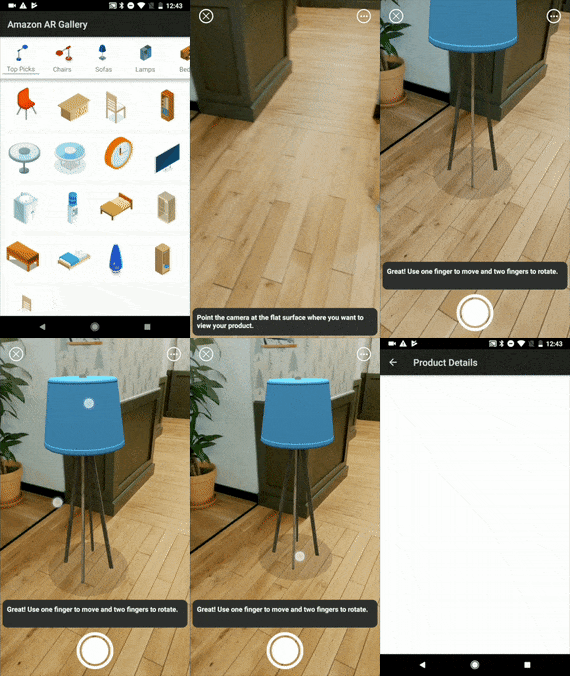
ViroCore is SceneKit for Android, a 3D framework for developers to build immersive applications using Java. ViroCore combines a high-performance rendering engine with a descriptive API for creating 3D, AR, and VR apps. While lower-level APIs like OpenGL require you to precisely implement complex rendering algorithms, ViroCore requires only high-level scene descriptions, and code for the interactivity and animations you want your application to perform.
Platforms supported: Android, ARCore, Google Daydream, Samsung GearVR, Google Cardboard VR
The repository contains both the rendering source code, and as well as the ViroCore platform. Both are free to use with no limits on distribution.
To report bugs/issues with the Viro platform, please file new issues on this repository.
ViroCore downloads are available on our Releases page.
You can get up and running with the latest stable release of ViroCore! To do so, simply:
- Follow the prerequisite directions on our Quick start guide to setup dependencies for trying these sample projects with the Viro Media App.
- Clone the repo into your workspace with git:
git clone https://github.com/viromedia/virocore.git. - Go to the code-sample directory for a list of current samples.
- Choose the code sample you wish to deploy, and open the root directory in Android studio.
- Ensure that Instant Run is disabled.
- (Optional) Clean and gradle sync.
- Build and deploy.
- You should now be in the application! Enjoy!
You can also try the latest mainline build containing bleeding edge features and fixes. Please keep in mind that mainline builds may not be as stable as release builds. To do so, simply:
- Go to the ViroCore Actions Workflows for this project.
- You should see a list of "Viro Renderer CI Pipeline" workflows.
- Click on the latest successfully built workflow pipeline (there should be a checkmark).
- You should now see the uploaded artifcats assoicated with that flow. For example:
- viroreact.aar (for ViroReactAndroid)
- virocore.aar (for ViroCore)
- ios_dist.tgz (for iOS)
For ViroCore Android, HelloWorld samples should have the corresponding file at the location viro_core/virocore-release-version. As such, simply download the virocore.aar artifact from the workflow above, and then rename (make sure it matches your code sample's name) and replace the virocore-release-v_x_xx_x.aar file in your HelloWorld project
If you would like to modify / make changes to the renderer directly. These are the instructions for building the renderer and ViroCore platform.
- Follow the same prerequisite directions above from our Quick start guide.
- Clone the repo into your workspace with git:
git clone https://github.com/viromedia/virocore.git. - Execute the following commands to build the ViroCore platform library
$ cd android $ ./gradlew :virocore:assembleRelease - If the above gradle build succeeded, verify you see a
virocore-*.aarfile (* for the version number) atandroid/virocore/build/outputs/aar/virocore-*.aar - To run ViroCore tests, open the android project at
android/appin Android Studio and runreleasetesttarget on your android device. - To use this updated / newly built
virocore-*.aarin your own project copy the aar file toviro_core/in your project and modify yourviro_core/build.gradleto point to the new file.
- Follow the same prerequisite directions above from our Quick start guide.
- Clone the repo into your workspace with git:
git clone https://github.com/viromedia/virocore.git. - Clone the react-viro repo (named viro) in the same workspace (same parent directory as virocore) with git:
https://github.com/viromedia/viro.git - Execute the following commands to build the ViroCore platform library
$ cd android $ ./gradlew :viroreact:assembleRelease - If the above gradle build succeeded, verify you see a new
viroreact-release.aarfile at/viroreact/build/outputs/aar/viroreact-release.aar. - Additionally verify you see a new file built at
viro/android/viro_renderer/viro_renderer-release.aarin the viro repo you cloned above in step #3. The build instructions outlined in viro repo will walk you through steps involved in building the react-viro bridge using this built renderer.
-
Make sure you followed through steps 1 - 3 mentioned in the android section.
-
Execute the following commands to install pods from
Podfile.cd ios pod install -
Open
ViroRenderer.xcworkspacein Xcode. Build schemeViroKitwith Build Configuration set toReleaseand target set toGeneric iOS Device. Note:3.a If you want the ability to run on Simulator, change target to any of the `iOS Simulator` targets instead of `Generic iOS Device`. 3.b If in your own app project setup, you prefer to include react-viro as a static library rather than relying on `use_frameworks!` - build scheme `ViroKit_static_lib` instead of `ViroKit` as mentioned above in step #3. -
If the above Xcode build succeeded, you should see a bunch of new files copied over in
viro/ios/dist/folder in the viro repo you cloned earlier. The build instructions outlined in viro repo will walk you through steps involved in building the react-viro bridge using this built renderer.
Viro Media Website: https://viromedia.com/
ViroCore Documentation: https://virocore.viromedia.com/
API Reference(Java Docs): https://developer.viromedia.com/
Join our Slack group here.
Check out our blog for tutorials, news, and updates.


