I have consolidated the methods that worked for me. Hopefully it will help you too! 😊
cmd + spacebarsearch for Printers & Scanners.- Add a new printer.

-
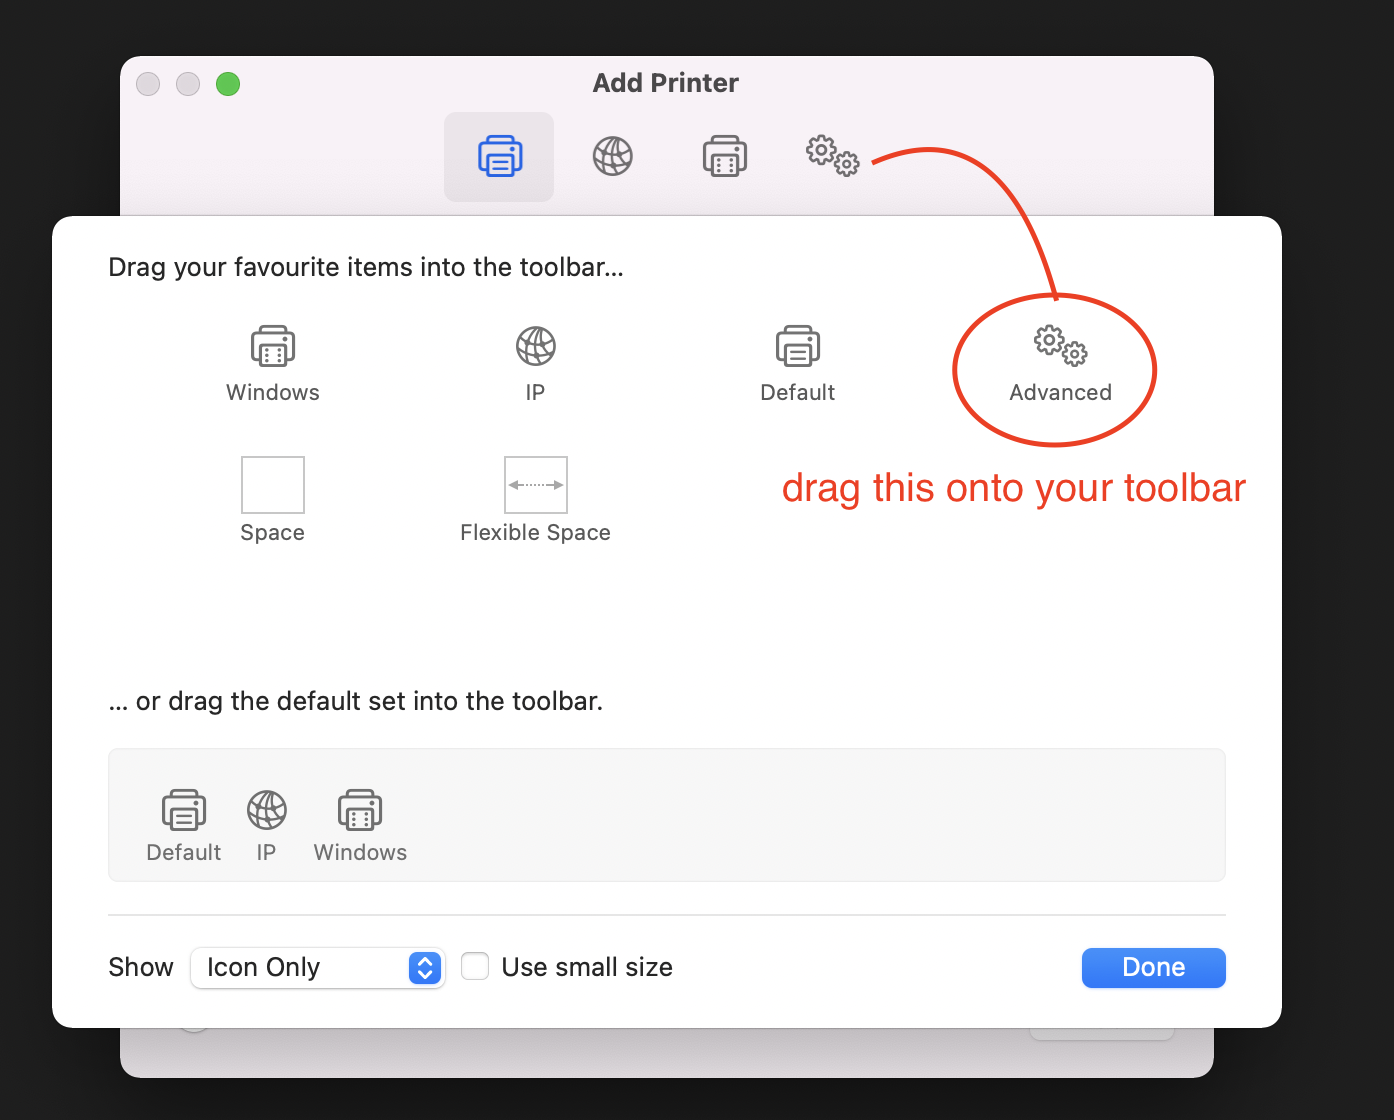
You might need to add the Advanced option if you do not see it. To do so:
- Right click the top toolbar
- Click customised toolbar
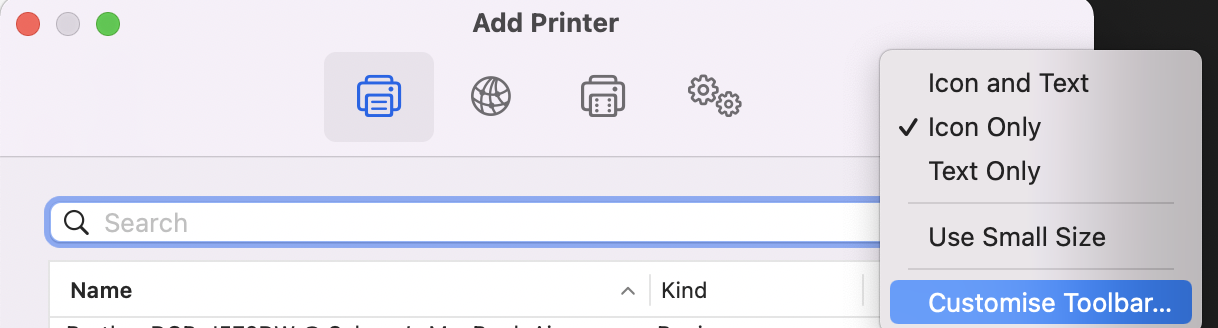
- Drag the Advanced option into the toolbar
-
Next, click Advanced and follow the options for
TypeandUse
-
Look at the list below for printers available in COM1 and copy the printer URL that you want to use
-
To complete the setup, choose a document to print and it will prompt you for your NUS Account details:
- user: NUSSTU\eXXXXXXX
- password: NUSNET password


- smb://nts27.comp.nus.edu.sg/psts
- smb://nts27.comp.nus.edu.sg/pstsb
- smb://nts27.comp.nus.edu.sg/pstsc
- smb://nts27.comp.nus.edu.sg/psc008
- smb://nts27.comp.nus.edu.sg/psc011
As we have to change our NUSNET password every now and then, it will cause a problem to the print authentication. To troubleshoot this, simply just delete the old password in the Apple Keychain and repeat the steps mentioned above to set it up again. Look out for the printer name to identify what to delete.
- Login to sunfire.
ssh <account-name>@sunfire.comp.nus.edu.sg - Transfer the file from your directory to Sunfire.
scp targetFile.pdf <account-name>6@sunfire.comp.nus.edu.sg:/home/e/<account-name/ - Convert PDF to PS file using the command
pdftops targetFile.pdf. Note it will convert pdf to ps. - Print command.
lpr -P <printer-name> targetFile.psPossible printers: [pstsb, pstsb, pstsc]
- To terminate the job in the event you messed up, use
lprm -P <printer-name>