2018 ESIP Lab Incubator Project
Geoweaver is a web system allowing users to easily compose and execute full-stack deep learning workflows via taking advantage of online spatial data facilities, high-performance computation platforms, and open-source deep learning libraries. It is a perfect alternative to SSH client (e.g., Putty), FTP client, and scientific workflow software.
-
turning large-scale distributed deep network into manageable modernized workflows;
-
boosting higher utilization ratio of the existing cyberinfrastructures by separating scientists from tedious technical details;
-
enhancing the frequency and accuracy of classified land cover land use maps for agricultural purposes;
-
enabling the tracking of provenance by recording the execution logs in structured tables to evaluate the quality of the result maps;
-
proof the effectiveness of operationally using large-scale distributed deep learning models in classifying Landsat image time series.
If you choose "Quick Install", no need to install these dependencies separately. The install scripts will retrieve these dependencies automatically.
Java 1.8+ (OpenJDK 8 or higher)
Tomcat 8.0+
Apache Maven 3.5+ (optional for building from source)
18.09.1+ (for install via docker)
1.23.1+ (for install via docker)
This way works for most linux releases, e.g., Ubuntu, CentOS, RedHat, OpenBSD, etc.
- Step 1: clone the github repo
git clone https://github.com/ESIPFed/Geoweaver.git- Step 2: enter the folder and start the install
cd Geoweaver
chmod 755 install-linux.sh
./install-linux.sh-
Once the script stops, Geoweaver should already be up and running. Enter URL http://127.0.0.1:8080/Geoweaver/web/geoweaver in browser to open it.
-
Optional: To stop Geoweaver, type:
install/apache-tomcat-9.0.22/bin/shutdown.sh. To start Geoweaver again, type:install/apache-tomcat-9.0.22/bin/startup.sh
- Step 1: clone the github repo
git clone https://github.com/ESIPFed/Geoweaver.git- Step 2: enter the folder and start the install
cd Geoweaver
chmod 755 install-mac.sh
./install-mac.sh-
Once the script stops, the Geoweaver should already be up and running. Enter URL http://127.0.0.1:8080/Geoweaver/web/geoweaver in browser to open it.
-
Optional: To stop Geoweaver, type:
install/apache-tomcat-9.0.22/bin/shutdown.sh. To start Geoweaver again, type:install/apache-tomcat-9.0.22/bin/startup.sh
- Step 1: clone the github repo
git clone https://github.com/ESIPFed/Geoweaver.git- Step 2: enter the folder and start the install
cd Geoweaver
./install-windows.bat-
Once the script stops, the Geoweaver should already be up and running. Enter URL http://127.0.0.1:8080/Geoweaver/web/geoweaver in browser to open it.
-
Optional: To stop Geoweaver, type:
install/apache-tomcat-9.0.22/bin/shutdown.bat. To start Geoweaver again, type:install/apache-tomcat-9.0.22/bin/startup.bat
This section is dedicated for developer users who have better background on web technologies and familiar with MySQL, H2, tomcat, docker, and maven. If you are familiar with neither of them, we strongly suggest you use the "Quick Install" way to install Geoweaver.
We use docker-compose to establish the containers for Geoweaver. As the DockerHub is not very friendly for docker-compose yaml at present, we only suggest manual to start from GitHub repo. It only has three steps.
- Clone this repo to your machine
git clone https://github.com/ESIPFed/Geoweaver.git- Enter the repo and create a new folder
target. Download a Geoweaver war package from the release page and save it in the createdtargetfolder.
cd Geoweaver && mkdir target && cd target
wget https://github.com/ESIPFed/Geoweaver/releases/download/v0.7.1/Geoweaver.war -O Geoweaver.war- Run docker to start rolling. After the command is finished, Geoweaver should be up and running.
cd .. && docker-compose up -dThe address is:
http://your-ip:your-port/Geoweaver/web/geoweaverReplace the your-ip, your-port with the real domain of your tomcat. For example, localhost:8080.
Notice: Make sure the local services like mysql and tomcat are shut down before starting docker-compose. Otherwise there might be port conflict error on 3306 and 8080. Or you can change the port to some other free ports in the docker-compose.yml.
If you don't have docker or docker-compose installed, these documents will help. docker docker-compose
To stop Geoweaver, type:
docker stop $(docker ps -aq)- Download the latest release war and copy it to the webapps directory of Tomcat (e.g. /usr/local/tomcat). Start Tomcat.
wget https://github.com/ESIPFed/Geoweaver/releases/download/v0.7.1/Geoweaver.war -O Geoweaver.war
cp Geoweaver.war /usr/local/tomcat/webapps/
/usr/local/tomcat/bin/startup.sh
- After the tomcat is fully started, configure the database connection. The configuration files are
WEB-INF/classes/config.properties
nano /usr/local/tomcat/webapps/Geoweaver/WEB-INF/classes/config.properties
nano /usr/local/tomcat/webapps/Geoweaver/WEB-INF/classes/cc_secret.properties
Fill the fields with correct values. (database url, default: jdbc:mysql://localhost:3306/cyberconnector) and WEB-INF/classes/cc_secret.properties (database username and password: database_user=root database_password=xxxxxxxx).
(**Note: the MySQL database must be initiated by the SQL file under the folder Geoweaver/docker/db first. If you are using H2 database, please copy the two files: geoweaver.mv.db and geoweaver.trace.db to your user home directory before you start tomcat. **)
mysql -u root -p < docker/db/gw.sql- Enter the following URL into browser address bar to open Geoweaver:
http://your-ip:your-port/Geoweaver/web/geoweaverTo stop Geoweaver, use:
/usr/local/tomcat/bin/shutdown.shWe provide a ready-to-use cloud template for you to install on mainstream cloud platforms like AWS, Google Cloud, Azure, OpenStack and CloudStack. Please go here to download the template (3.1 Gigabytes). The username and password of the instance would be csiss and password respectively.
To start Geoweaver, go to directory /home/csiss/Geoweaver and execute docker-compose up -d. With no accident, Geoweaver will be up and running.
cd /home/csiss/Geoweaver && docker-compose up -dTo stop Geoweaver, use:
docker stop $(docker ps -aq)Use maven to build. In the command line go to the root folder and execute mvn install. After a success build, the Geoweaver war package will be under the directory: Geoweaver/target/Geoweaver-<version>.war.
A live demo site is available in George Mason University: I am a link, hit me.
Here is a use case of Geoweaver, using deep neural network like LSTM RNN and SegNet to classify landsat images into agricultural land use maps. In this case, Geoweaver can help stakeholders get crop maps with better accuracy and high temporal resolution by providing a deep-learning-powered and distributed workflow system.
Animation demo:
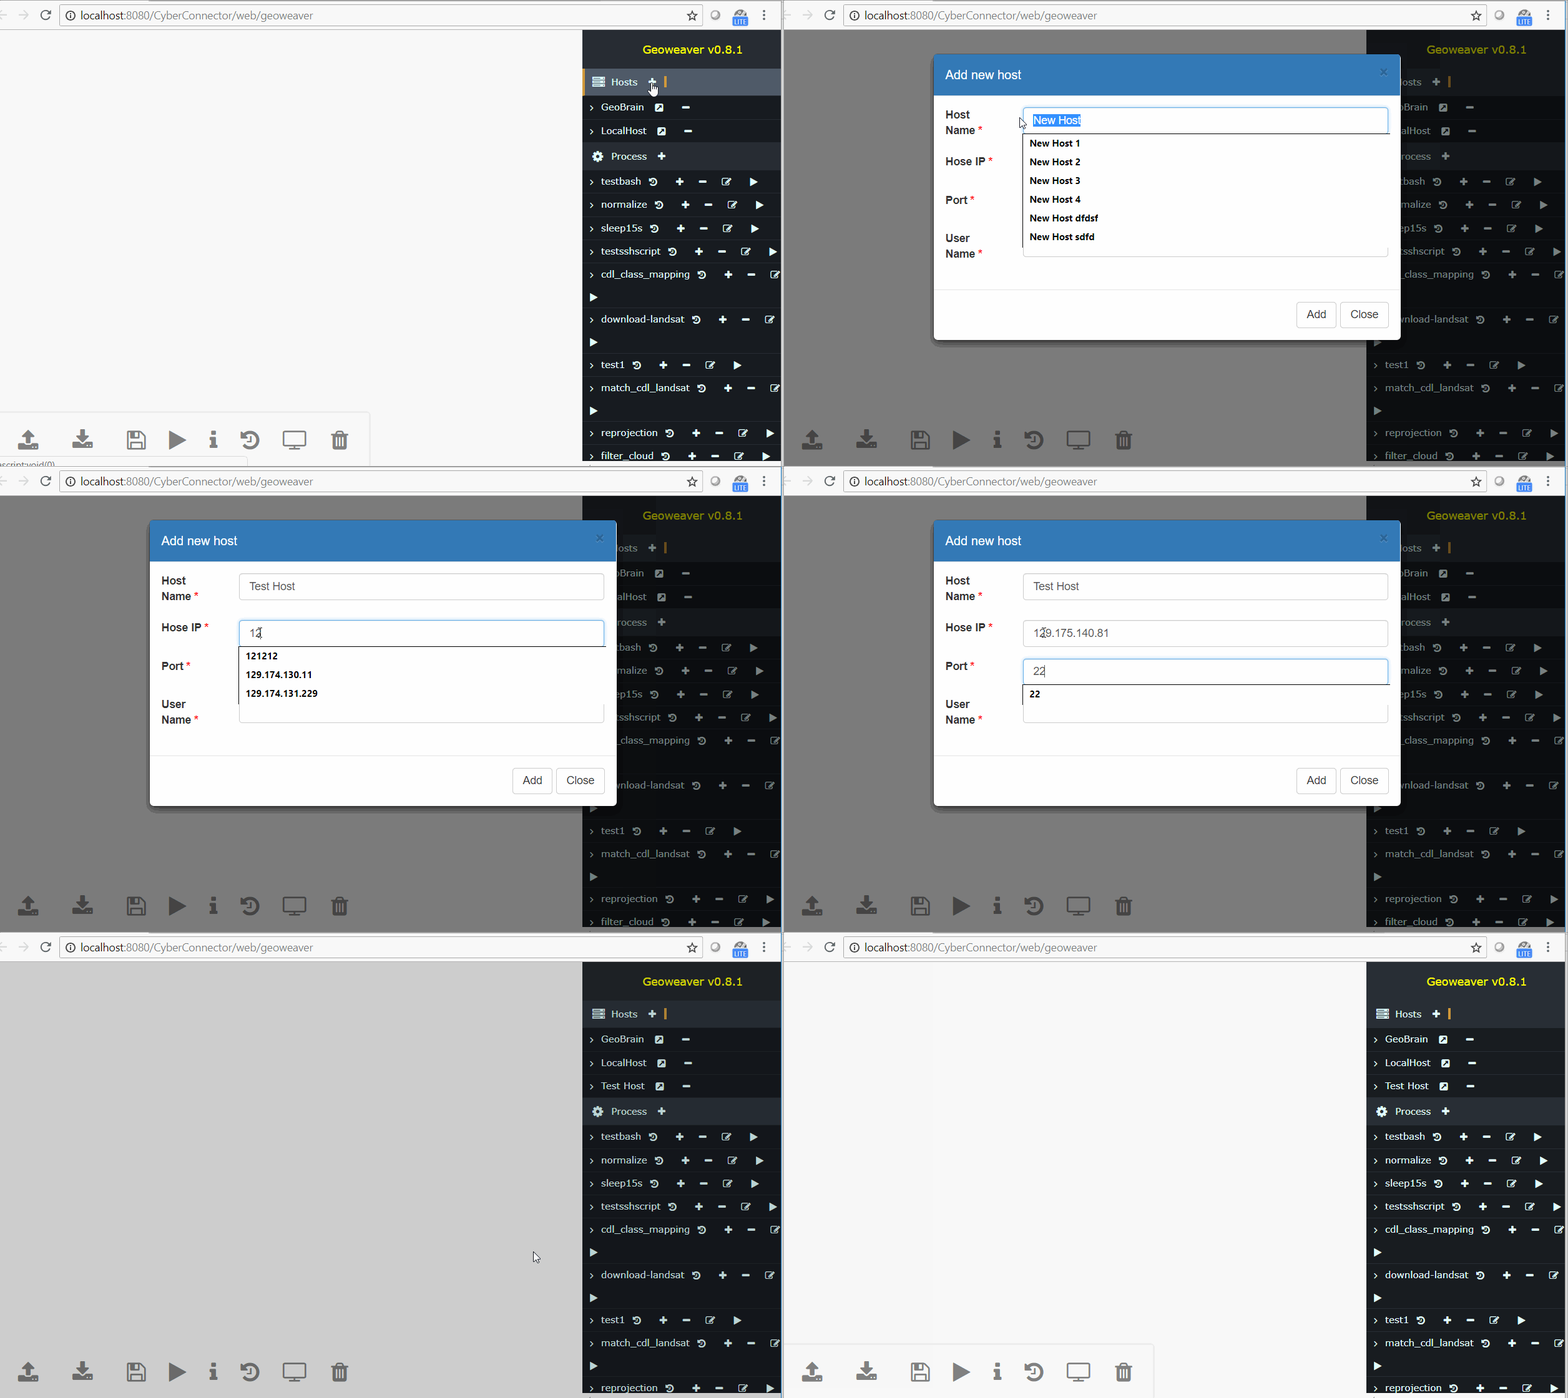
Enroll a server to Geoweaver is simple. The server must have SSH server installed and enabled. The server must be accessible from Geoweaver host server.
There is a uploading button after the name of the newly registered server. Using it people can upload files from local to remote server.
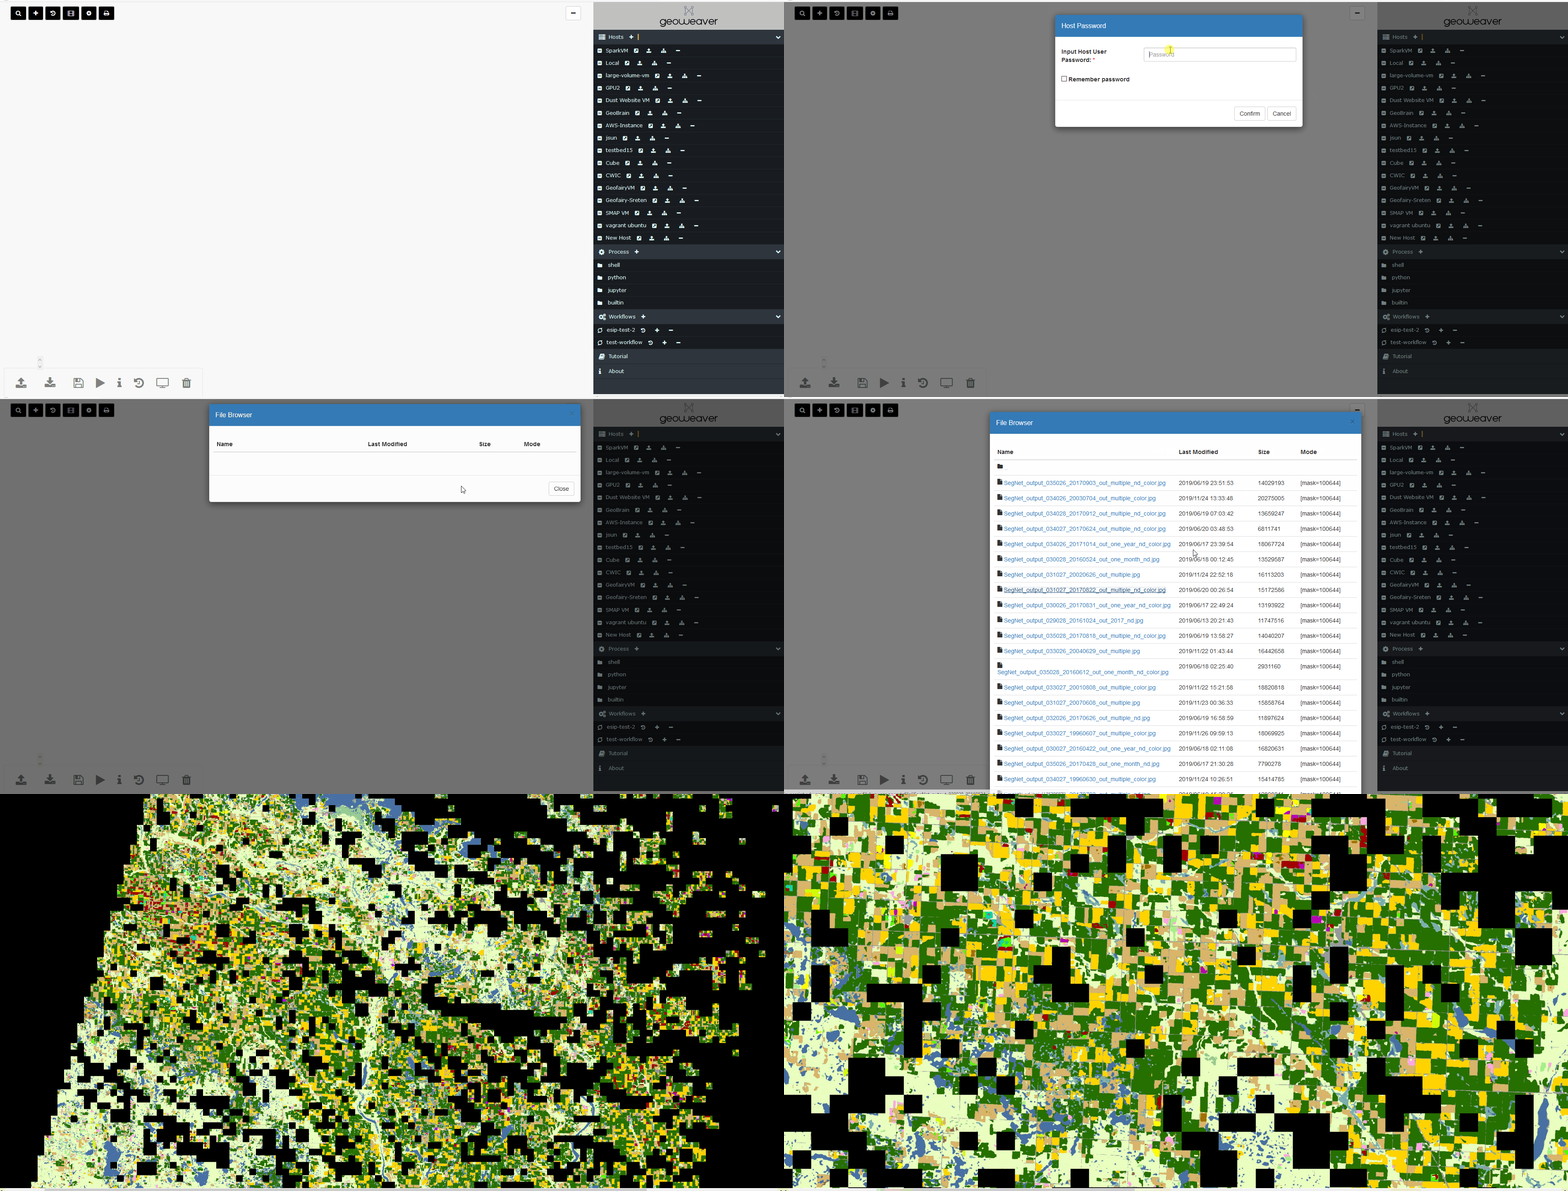
There is a browsing&downloading button for each host. People can free browse the files in the host and download it to local (if their credentials are authorized).
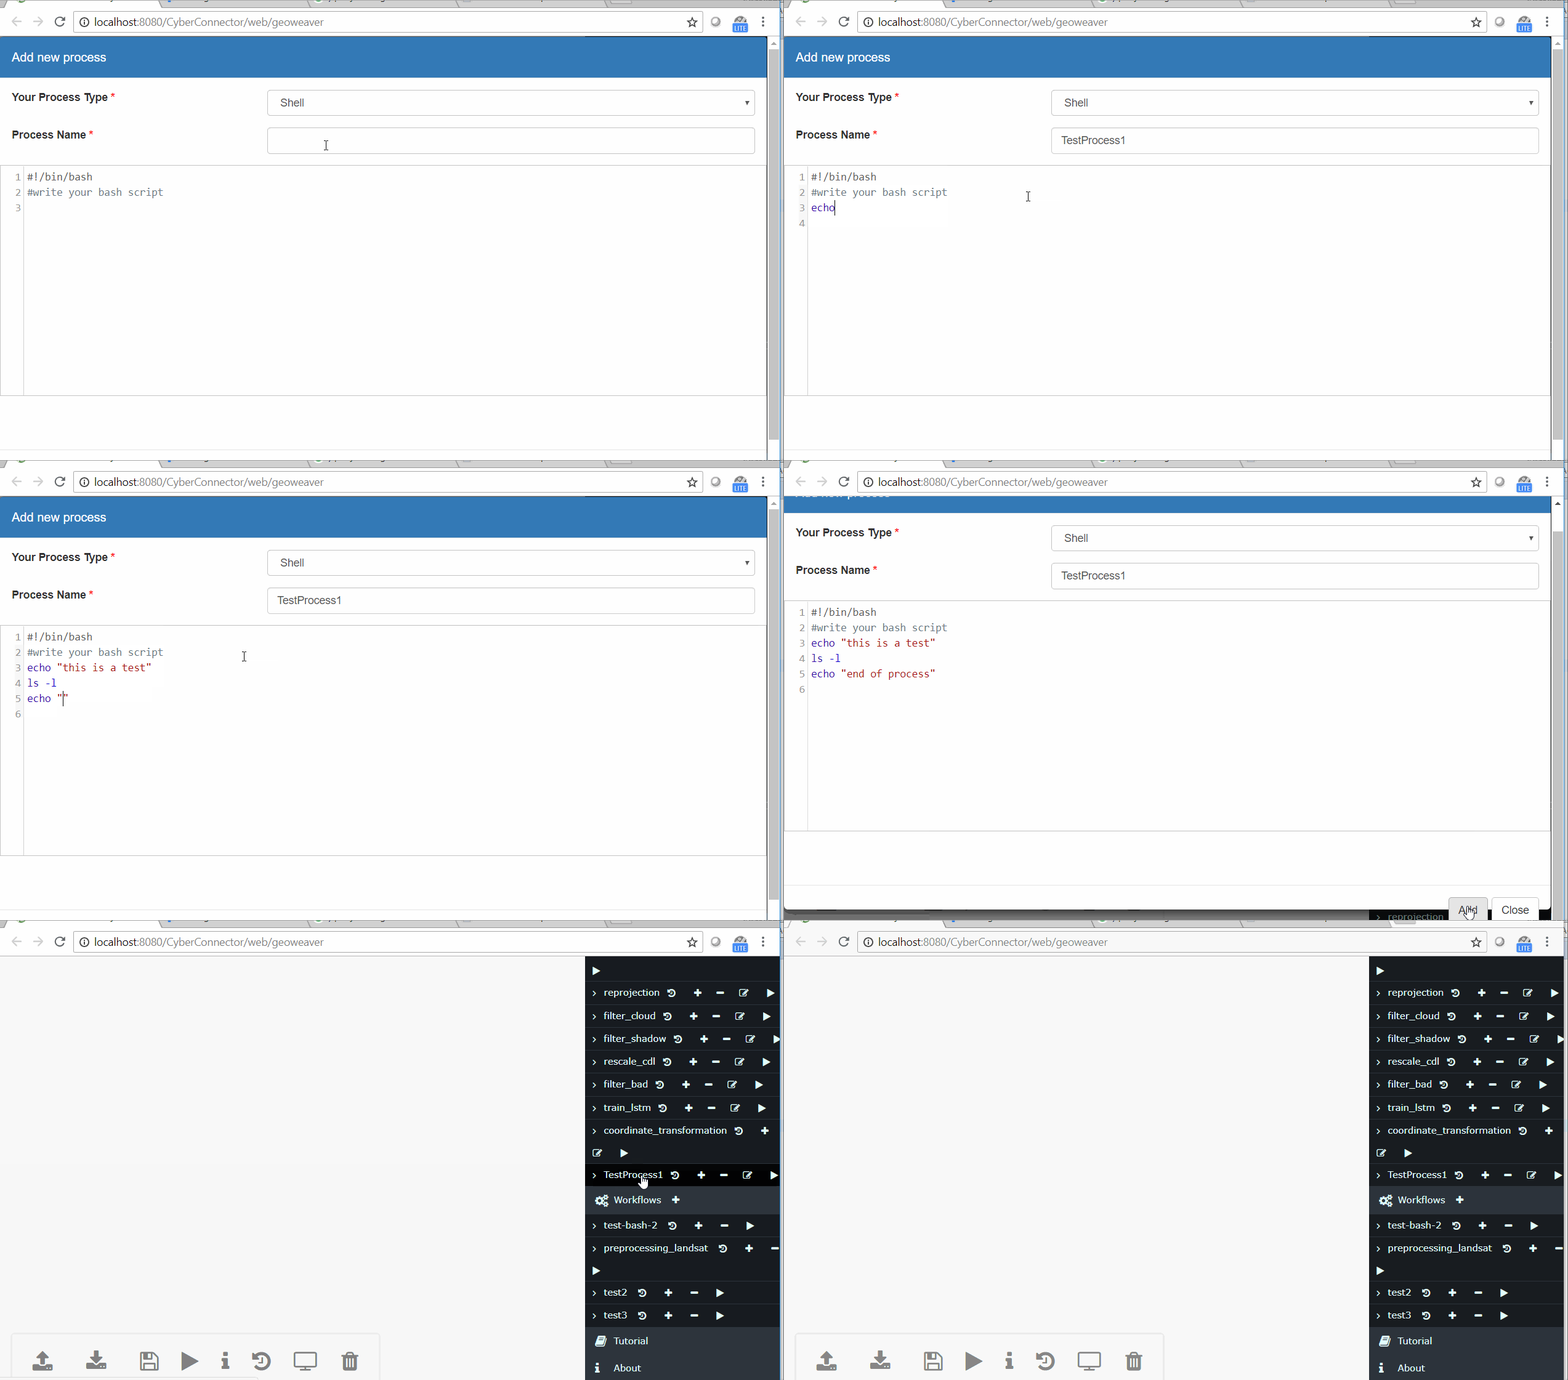
Geoweaver supports Bash Shell scripts as processes. You can write bash command lines in the code area. Note: the commands should exist on the target hosts.
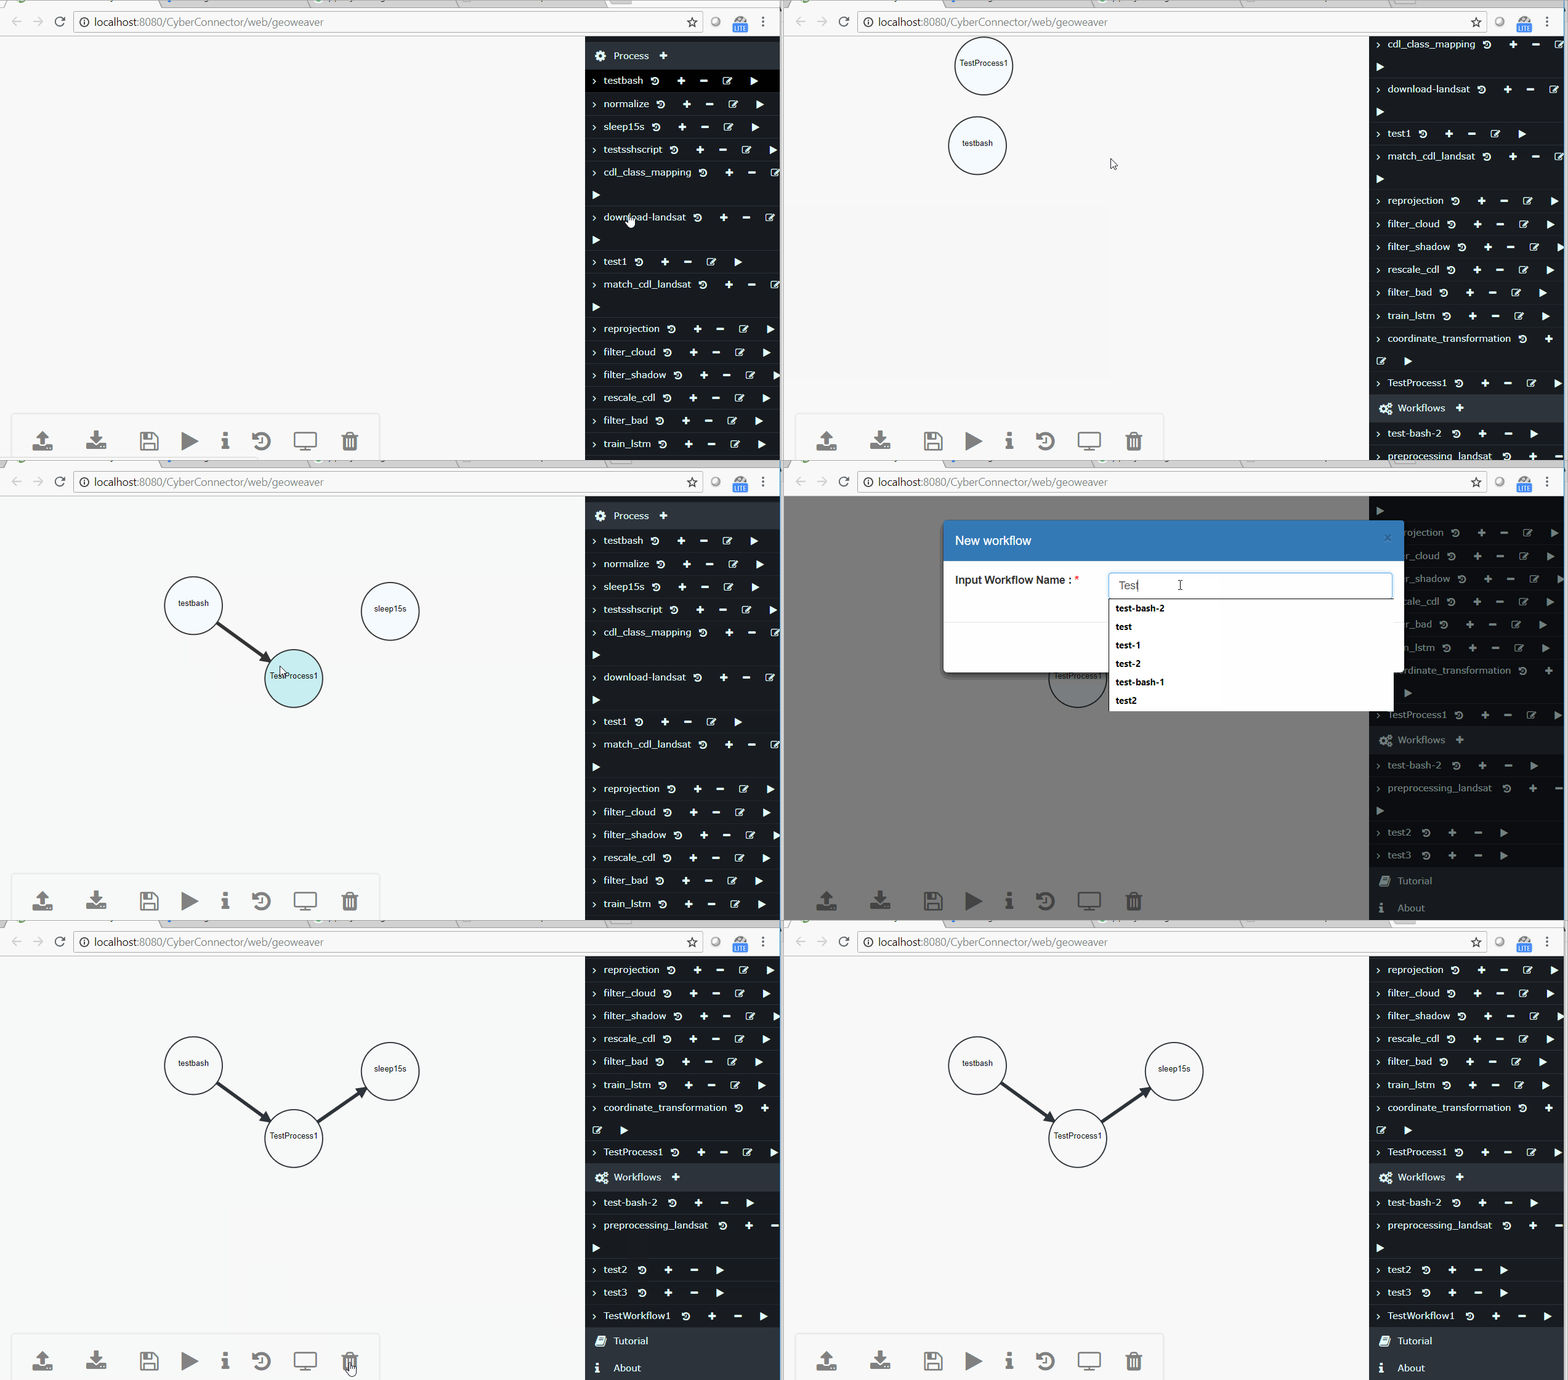
Geoweaver can link the processes together to form a workflow. To connect two processes, press shift key while dragging from one process to another.
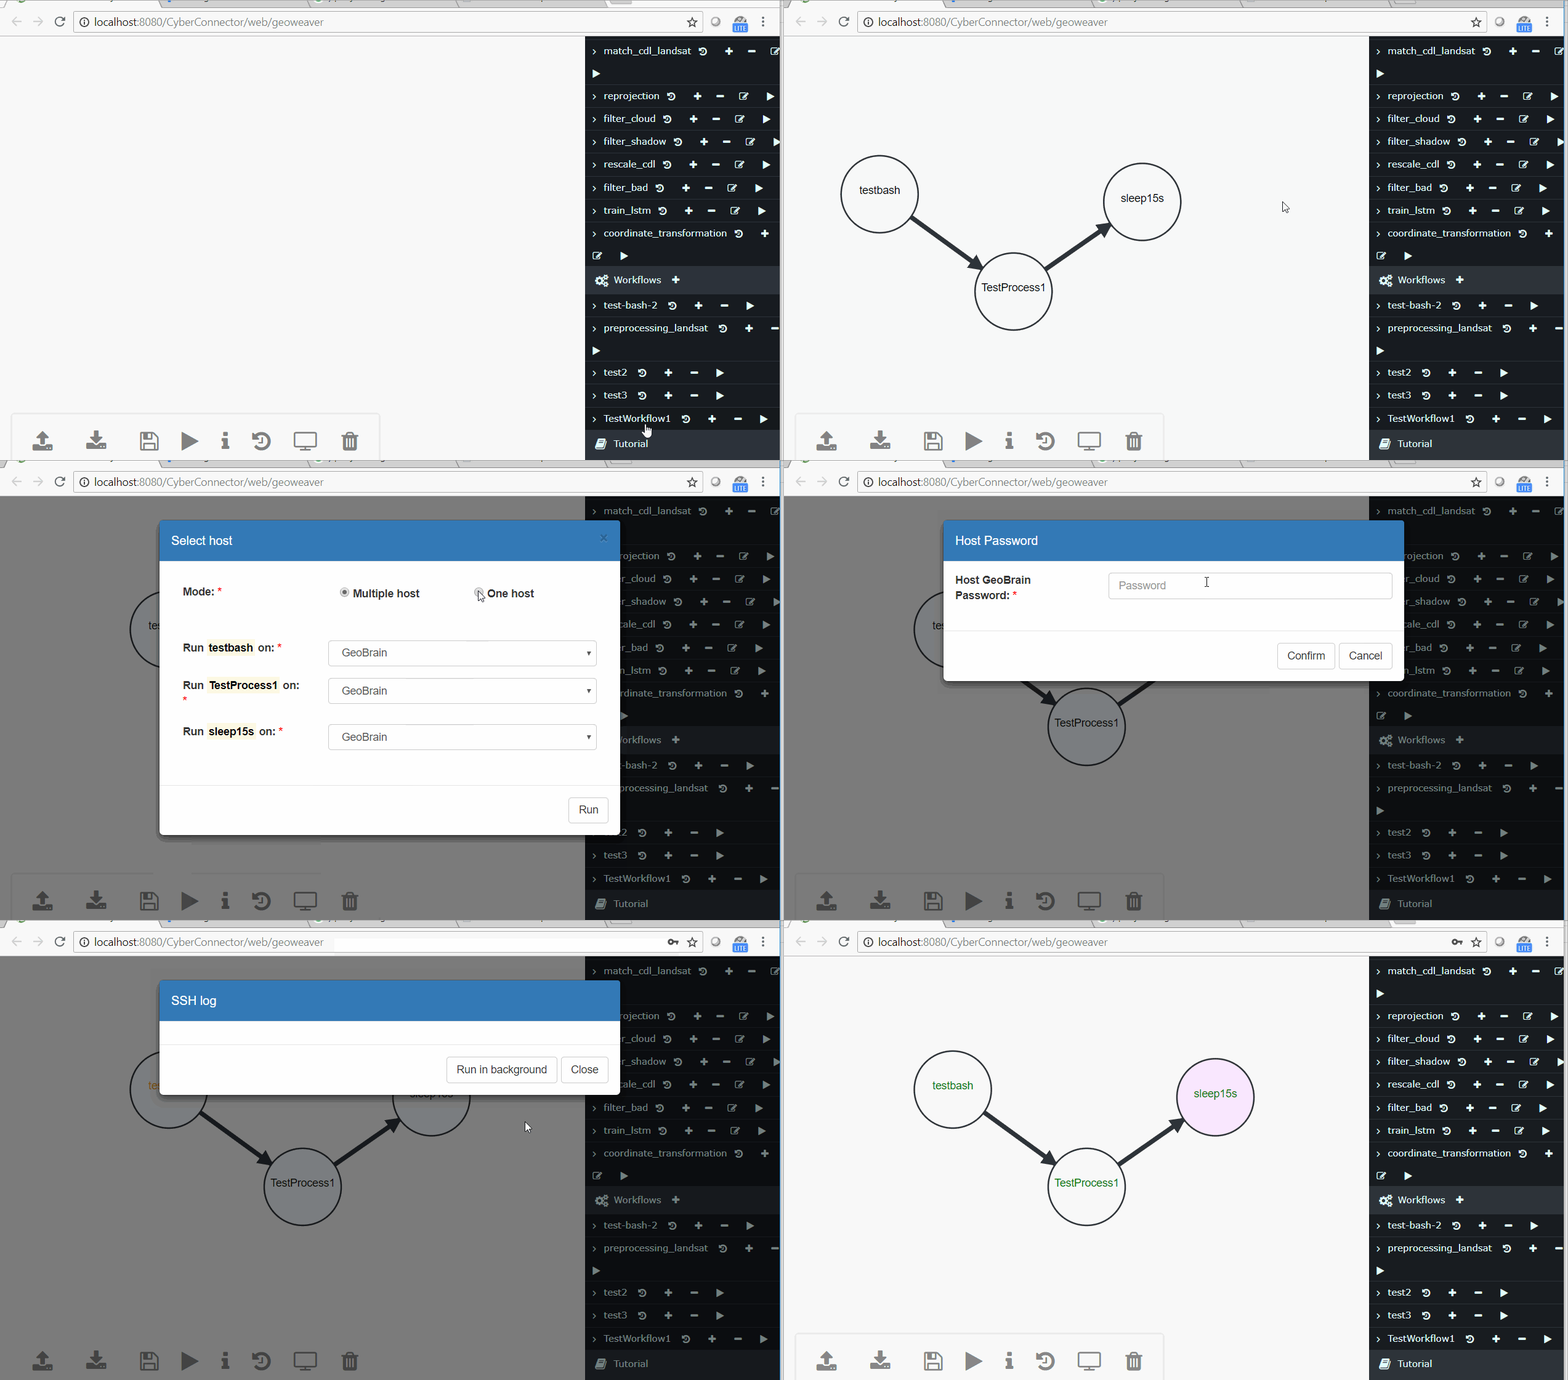
Geoweaver can run the created workflows on the enlisted servers. During the running, Geoweaver is monitoring the status of each process. The color of process text in their circles indicate the process status. Yellow means running, green means completed, and red means failure.
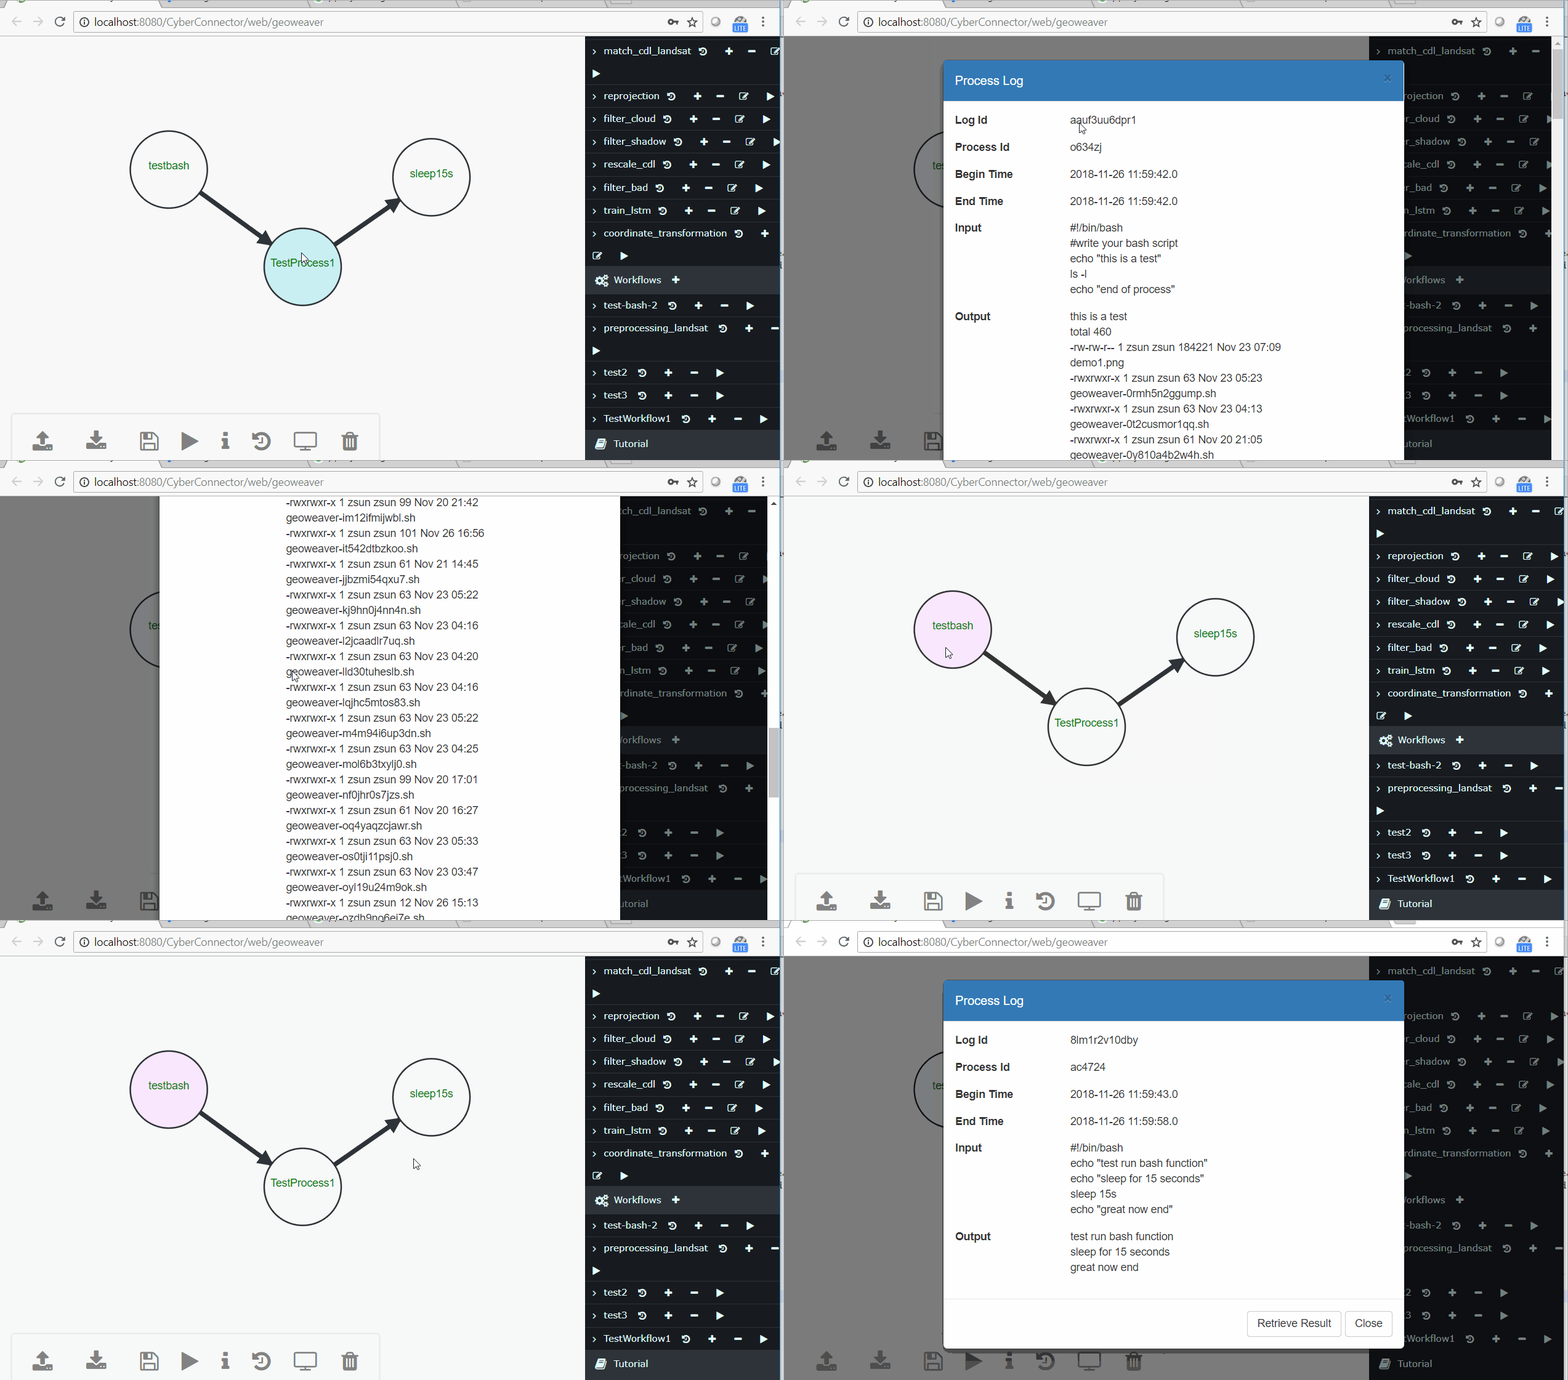
Geoweaver stores all the inputs and outputs of each process run. Users can check the workflow provenance by simply clicking.
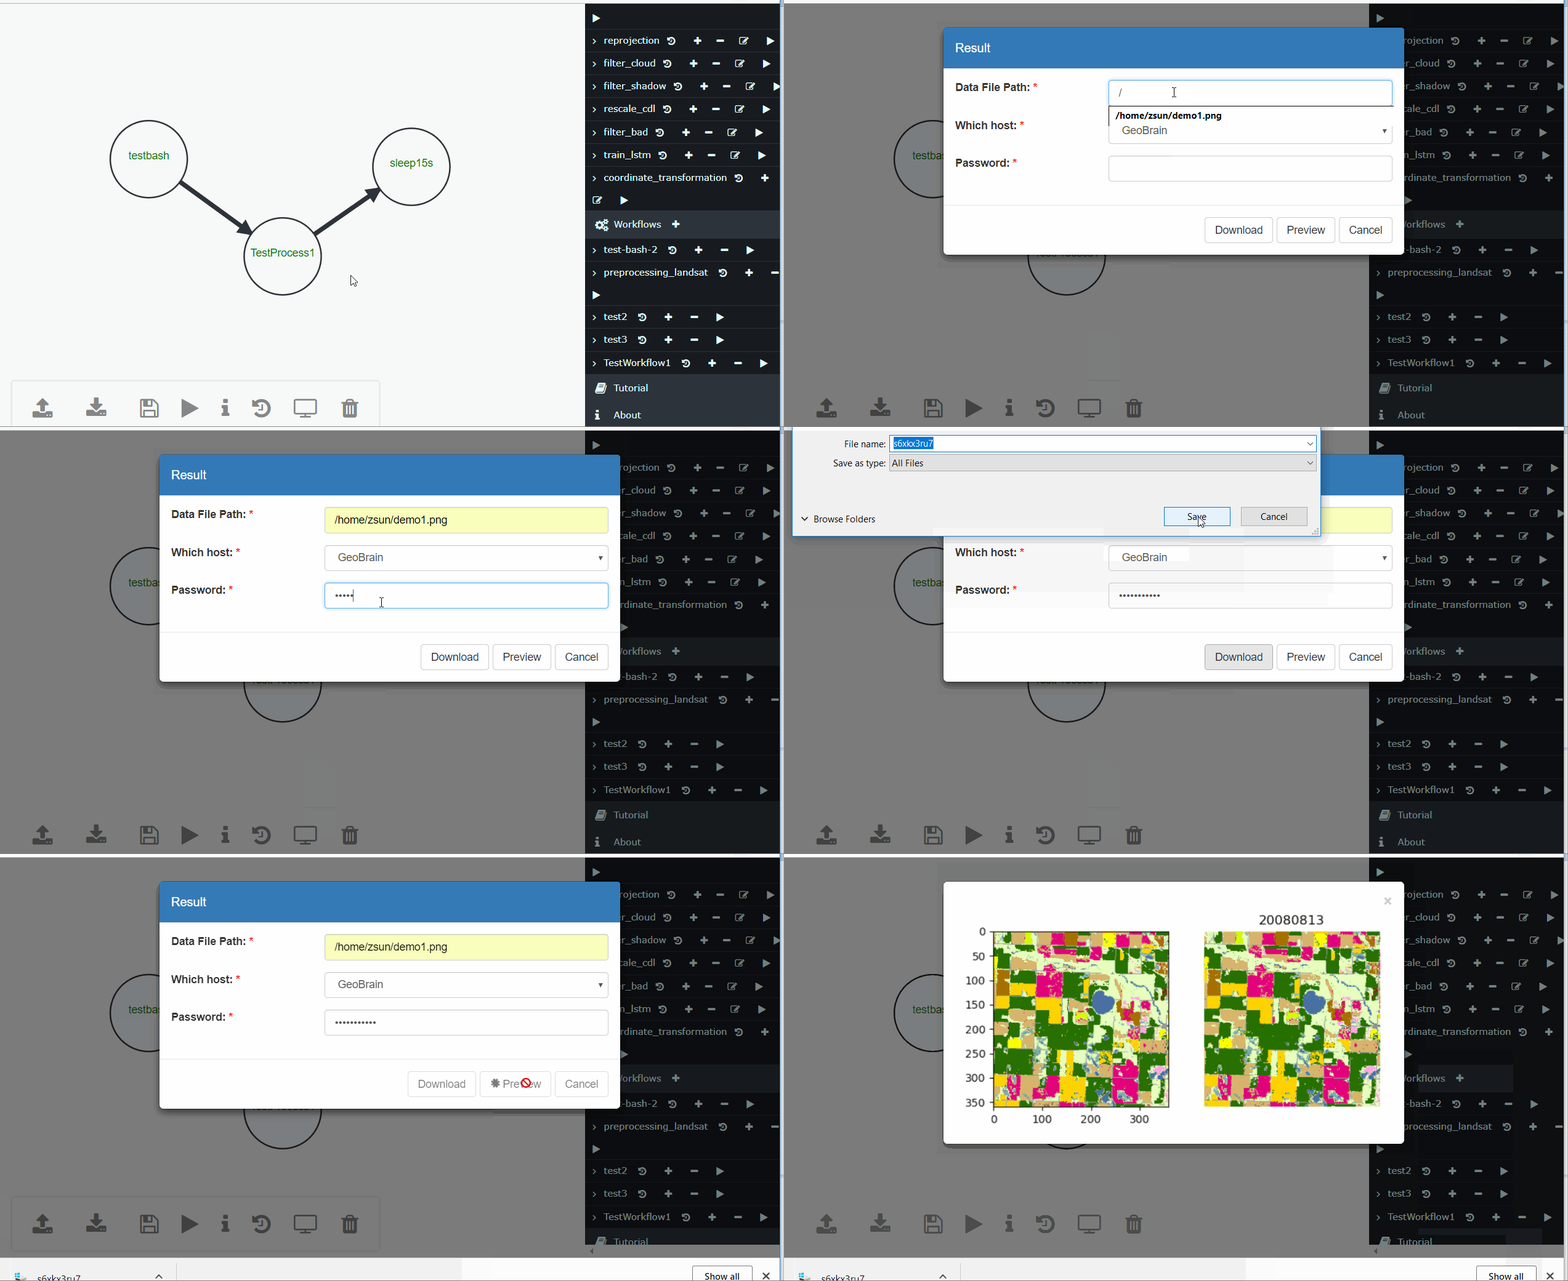
Geoweaver can retrieve the result files of the executed workflows and visualize them if the format is supported (png, jpg, bmp, etc. The list is expanding. I am on it.).
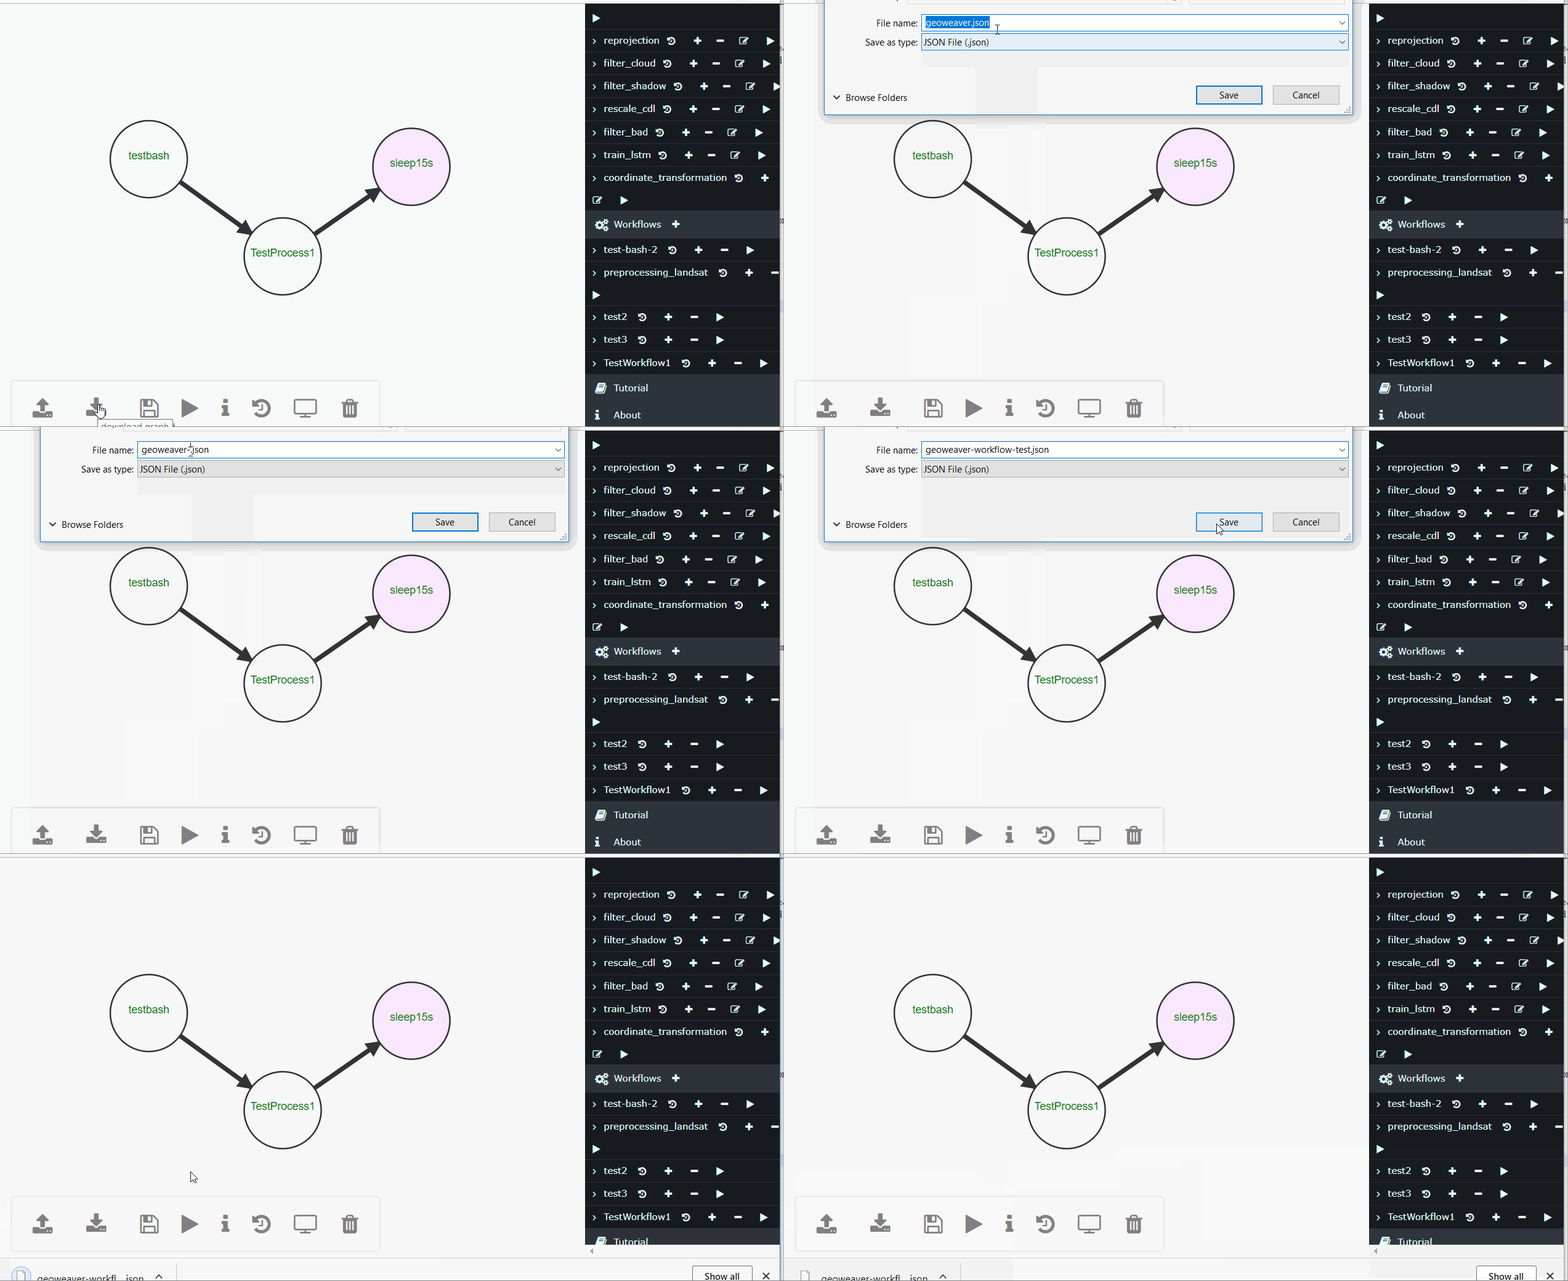
The workflows can be exported and move around and imported back.
This project is impossible without the support of several fantastic open source libraries.
d3.js - BSD 3-Clause
graph-creator - MIT License
bootstrap - MIT License
CodeMirror - MIT License
JQuery Terminal - MIT License
MIT


