
tellme is a simple Django app that provides an easy and simple feedback button, form and admin view.
- Take a screenshot of the current page.
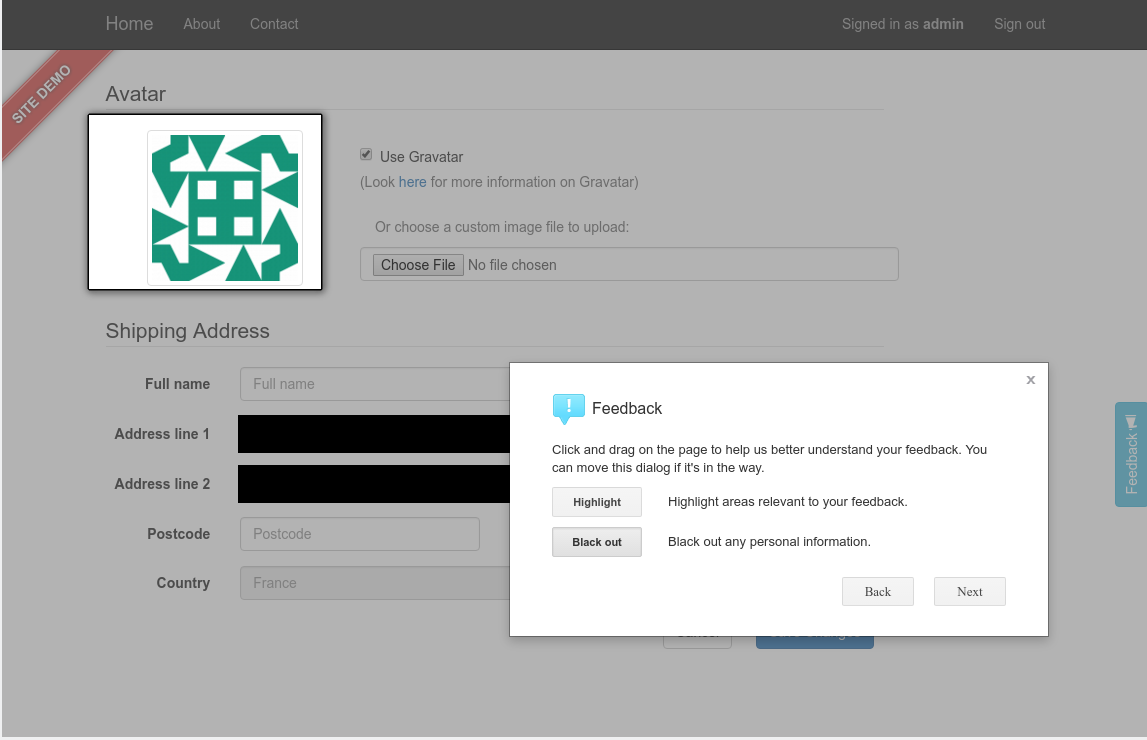
- The user can then highlight or black out portions of that screenshot
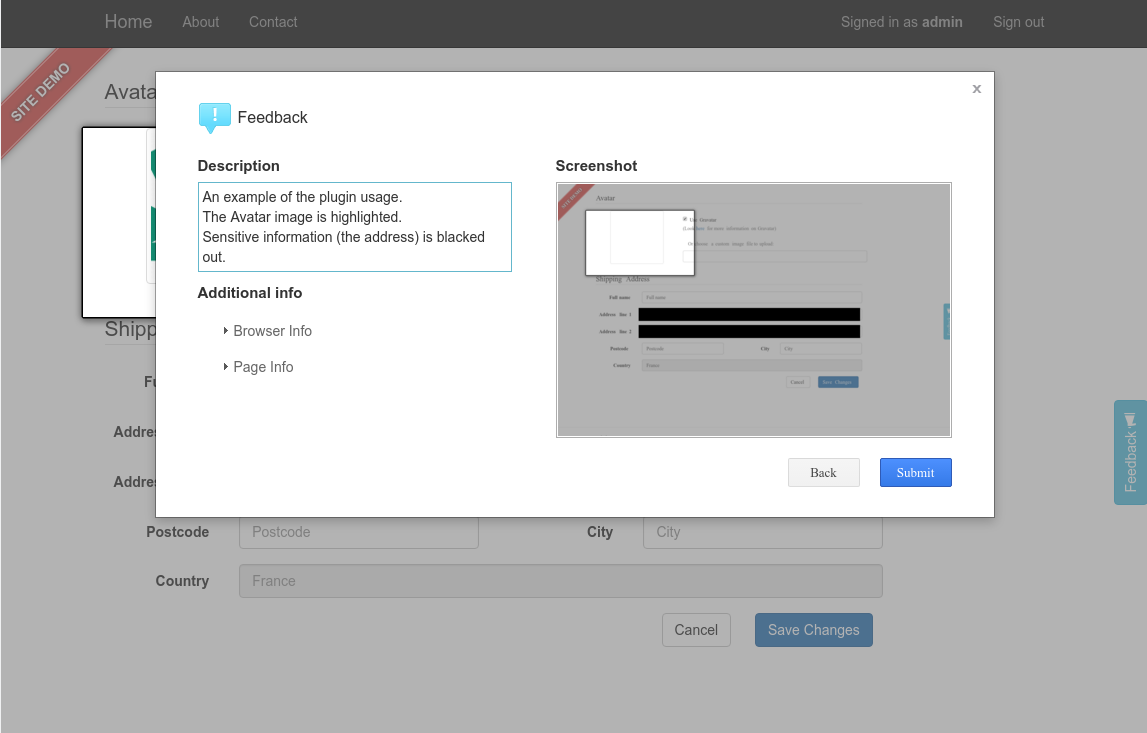
- The user have to provide textual comments, (effectively giving his feedback)
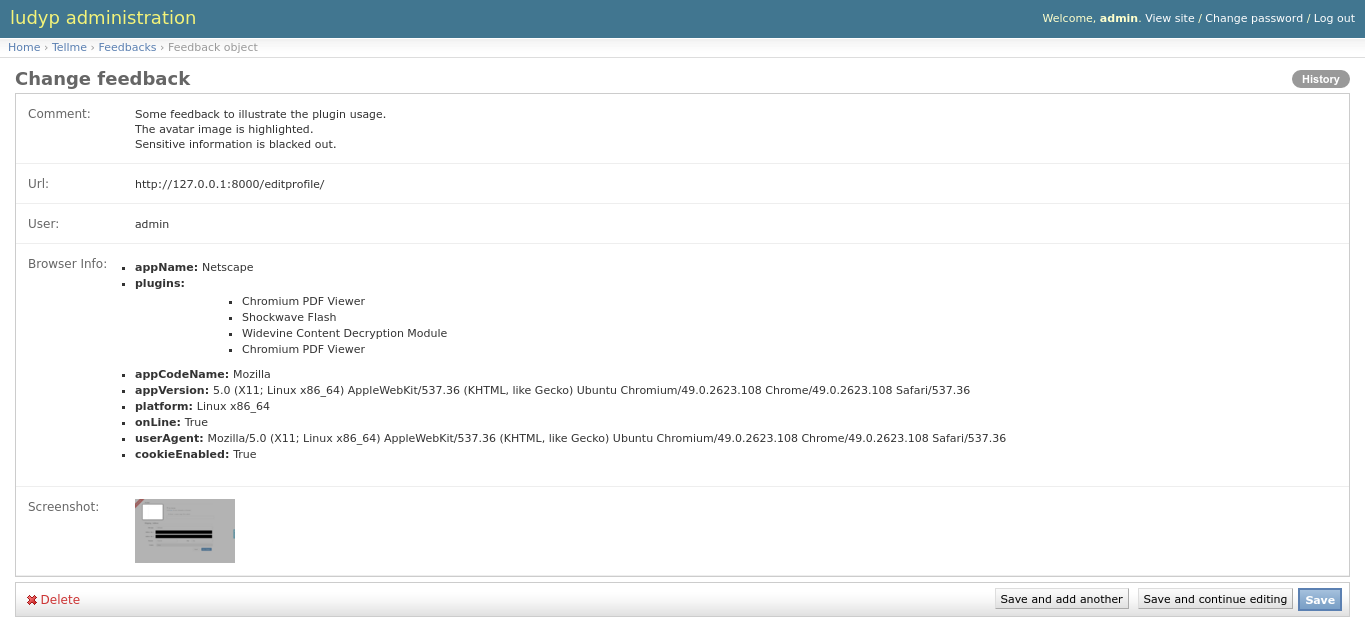
- Some additional information collected with the feedback
- various browser information (versions, user agent, etc.)
- user information if the user is logged in (and your site uses Django auth system)
- the url the user provides feedback on
- Optionally, send an email to the site admin when a feedback is posted
- Supports localization (currently supported languages are English and French, translation contrib are welcomed!)
- Customizable UI by redefining templates
The javascript part of this app is using feedback.js from https://github.com/ivoviz/feedback. feedback.js itself use html2canvas.js (https://github.com/niklasvh/html2canvas) to make page screenshot that is sent with the feedback comments.
- This application depends on
- python 3 (might work on python 2, but untested)
- django >= 1.8 (also compatible with django >= 2.0)
- jquery must be enabled in your pages
- Promises polyfill for IE (including IE11!) (can use that: https://github.com/stefanpenner/es6-promise)
- Install the app in your environment:
pip install django-tellme- Add "tellme" to your INSTALLED_APPS setting like this:
INSTALLED_APPS = [
    ...
    'tellme',
]- Include the tellme URLconf in your project urls.py like this:
url(r'^tellme/', include("tellme.urls")),Note: to not set a namespace here, django-tellme does it itself in its urls file.
- Run
python manage.py migrateto create the tellme model in the database. - Add a feedback button in your pages so that user can provide feedback
For example using bootstrap CSS this code would overlay a button, vertically aligned on the middle of the page, right-aligned.
In your html/template file, import the form CSS:
<link href="{% static 'tellme/vendor/feedback/feedback.css' %}" rel="stylesheet">In your html/template file, inside the <body> section:
<button type="button" id="feedback-btn" class="btn btn-info vertical-right-aligned">
    Feedback <span class="glyphicon glyphicon-bullhorn" aria-hidden="true"></span>
</button>
Note: the CSS class vertical-right-aligned is not from bootstrap, it is defined as:
.vertical-right-aligned {
    transform: rotate(-90deg);
    transform-origin: 100% 100%;
    position: fixed;
    right: 0;
    top: 50%;
    z-index: 100;
}
In your html/template file, in the page footer, connect that button to the feedback plugin:
{% include 'tellme/js_inc.html' %}Look into this template file, it includes a few things that can be overridden (using the Django template {% extend %} mechanism), or simply redefined it in your page. What js_inc.html contains by default:
- Load jquery plugin
- Add CSRF automatically to all AJAX post request
- Enable the JS feedback plugin using customizable template for each feedback step
This js_inc.html template usage is totally optional. The important part of that template is the javascript call that enables the plugin on a button:
<script src="{% static 'tellme/feedback.min.js' %}"></script>
<script type="text/javascript">
    $(function () {
        $.feedback({
            ajaxURL: "{% url 'tellme:post_feedback' %}",
            html2canvasURL: "{% static 'tellme/html2canvas.min.js' %}",
            feedbackButton: "#feedback-btn",
            initButtonText: "{% filter escapejs %}{%  include 'tellme/initButtonText.txt' %}{% endfilter %}",
            postHTML: false,
            tpl: {
                description: "{% filter escapejs %}{%  include 'tellme/tpl-description.html' %}{% endfilter %}",
                highlighter: "{% filter escapejs %}{%  include 'tellme/tpl-highlighter.html' %}{% endfilter %}",
                            overview:        "{% filter escapejs %}{%  include 'tellme/tpl-overview.html' %}{% endfilter %}",
                            submitSuccess:"{% filter escapejs %}{%  include 'tellme/tpl-submit-success.html' %}{% endfilter %}",
                            submitError: "{% filter escapejs %}{%  include 'tellme/tpl-submit-error.html' %}{% endfilter %}"
            },
            initialBox: true
        });
    });
</script>- Start your site, and click the feedback button. This will pop up the feedback form. Follow the instruction, and click on Send when finished.
- Visit http://127.0.0.1:8000/admin/ to review user feedback.
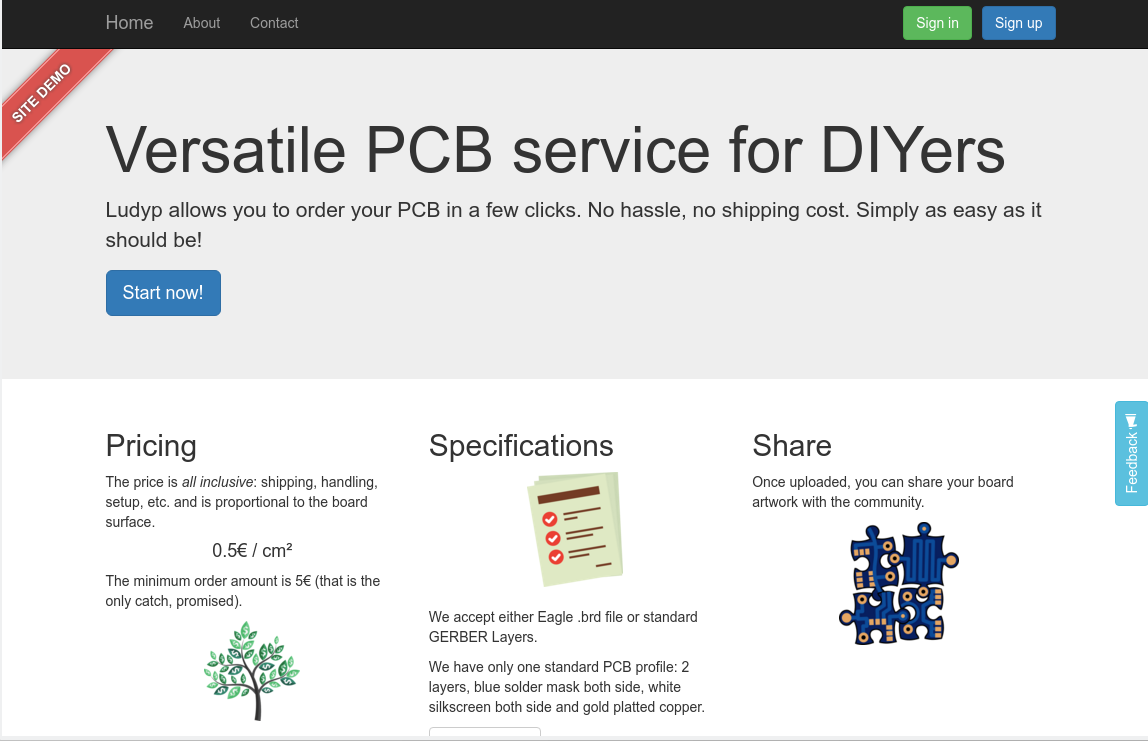
You define the feedback button that you like. In that example it is using the page theme, and is located on the middle left-side of the screen.
If a user click on it he will be able to highlight the reason of his feedback on a screenshot of the current page. He can also black out sensitive information, if any.
Once finished and can review his feedback, add a comment and finalize the feedback.
When the feedback is sent, the site admin will receive an email with a link to the backoffice site that will allow him to learn about this feedback. Of course, he can always go to the backoffice site in order to review the different feedback later on.
Each step of the feedback popup is an HTML UI element that can be redefined. In order to define your custom UI, you simply have to 'overload' the template by creating, in your own app template directory, a file with the same name as the original tellme template. The feedback popup contains 4 steps + an error screen, that can be redefined. Look for the following files:
- tellme/tpl-description.html
- tellme/tpl-highlighter.html
- tellme/tpl-overview.html
- tellme/tpl-submit-error.html
- tellme/tpl-submit-success.html
As an easy way to start you can copy one of the above file in your template directory and modify it incrementally. Please note that you need to keep the same directory structure (i.e. tellme/tpl-xxx.html), and that your app has to be listed first in the INSTALLED_APPS list so that it takes this modified template file instead of the original tellme template file.
By default, we redirect to the url provided by the file storage backend. However, you can replace the view used to serve the screen shots to enforce viewer permission checks. You would also be responsible to ensure screenshot images are not publicly accessible via the file storage backend.
Modify the following code in your urls.py to override the default view:
from tellme.urls import tellme_urlpatterns

from .views import feedback_screenshot_view

tellme_overrides = (tellme_urlpatterns + [
    url(
        r'^screenshot/(?P<pk>\d+)/$',
        feedback_screenshot_view,
        name='get_feedback_screenshot',
    ),
], 'tellme')

urlpatterns = [
    ...
    url(r'^tellme/', include(tellme_overrides)),
    ...
]
This app can send you an email every time a feedback is posted. Currently the email is plaintext and does not contain the screenshot. However it does contain a link to the admin site with the full details of that feedback.
To enable email notification, just add this line in your site settings.py:
TELLME_FEEDBACK_EMAIL = 'admin@tellme.com'
Note
This app is based on feedback.js that send the feedback content using an HTTP POST method. Django uses a CSRF protection mechanism, that block POST request that do not contain a specific token. If you have not setup your page to transparently support AJAX POST here is an explanation on how to do it: https://docs.djangoproject.com/en/1.8/ref/csrf/#ajax
Note
This app stores screenshot as part of the feedback. Those are stored as PNG image files into your MEDIA directory/backend. For this reason you need to have MEDIA_URL and MEDIA_ROOT settings available. See here for more details: https://docs.djangoproject.com/en/1.8/howto/static-files/
Note
If using the email notification feature, make sure to setup your Email backend in django. More details here: https://docs.djangoproject.com/en/1.8/topics/email/
- version NEXT
- version 0.7.3
- Saving emails (thx @agusmakmun)
- Update dependencies (thx @justinmerrell)
- Update doc (thx @Michael1142)
- version 0.7.2
- Adjusted released version number
- version 0.7.0
- Updated and Fixed the tox test suite (thx @thenewguy)
- Added GitHub action to run test and deploy to PiPy
- Updated all upstream project javascript code
- version 0.6.7
- Fixed missing migration files (thx @thenewguy)
- version 0.6.6
- Added automatic feedback button insert (thx @thenewguy)
- Added a settable notification function (thx @ZuluPro)
- Added automatic test and code coverage system (thx @ZuluPro)
- version 0.6.5
- Added support for Django 2+ (thx @hebertjulio and @llann)
- version 0.6.4
- Added Brazilian Portuguese translation (thx @hebertjulio)
- Added Optional email user input, when the user is not authenticated (thx @Basiczombie)
- version 0.6.3
- Added Japanese translation (thx @salexkidd)
- version 0.6.2
- Worked around an issue with scrolled page in html2canvas
- version 0.6.1
- Minor translation fixes
- version 0.6
- Minors distribution fixes
- Updated migrations scripts
- version 0.5
special thanks to @llann for i18n initial support
- Added internationalization support, defaulting to English localization.
- Added French localization
- Added an "include" template to simplify usage
- Used minified version of js libraries
- Provided a template structure so that the UI can be customized
This app was developed in rush for a simple yet complete, non intrusive, feedback tool. It does lack a lot of cool features. If you like to contribute, please do not hesitate!
- Provide a customization mechanism for the email body, make it text+html.
- Add continuous integration testing
Transifex is used to manage translations.
Feel free to improve translations.
- Currently supported languages are:
- English
- French
- Japanese
- Spanish (Initiated but need help, see on transifex site above)
- Russian (Partial, need help see on transifex site above)
- Brazilian Portuguese
You can request to add your own language directly on Transifex.


