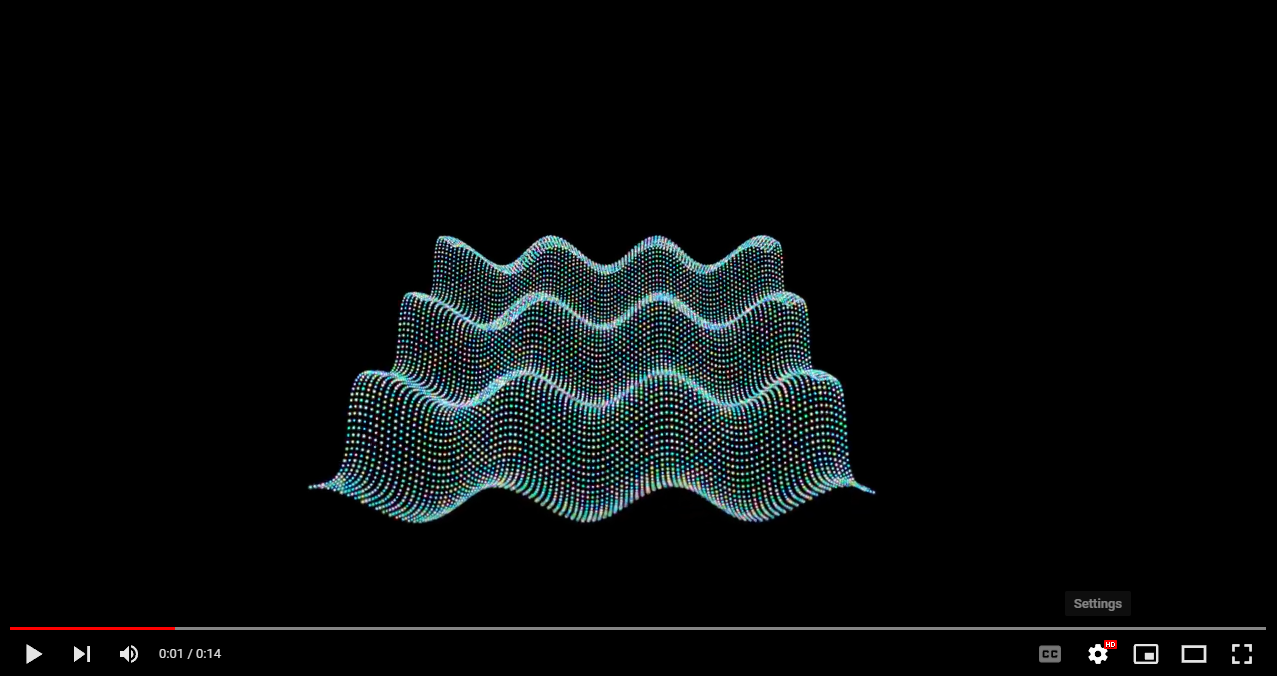
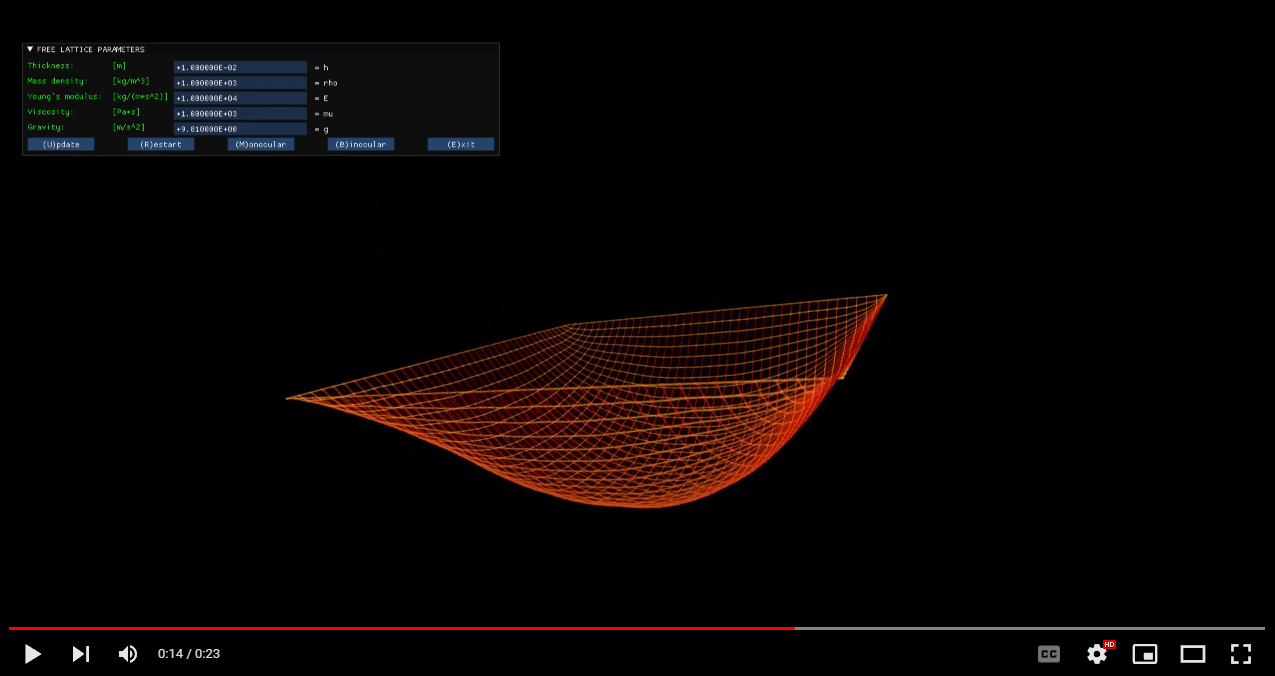
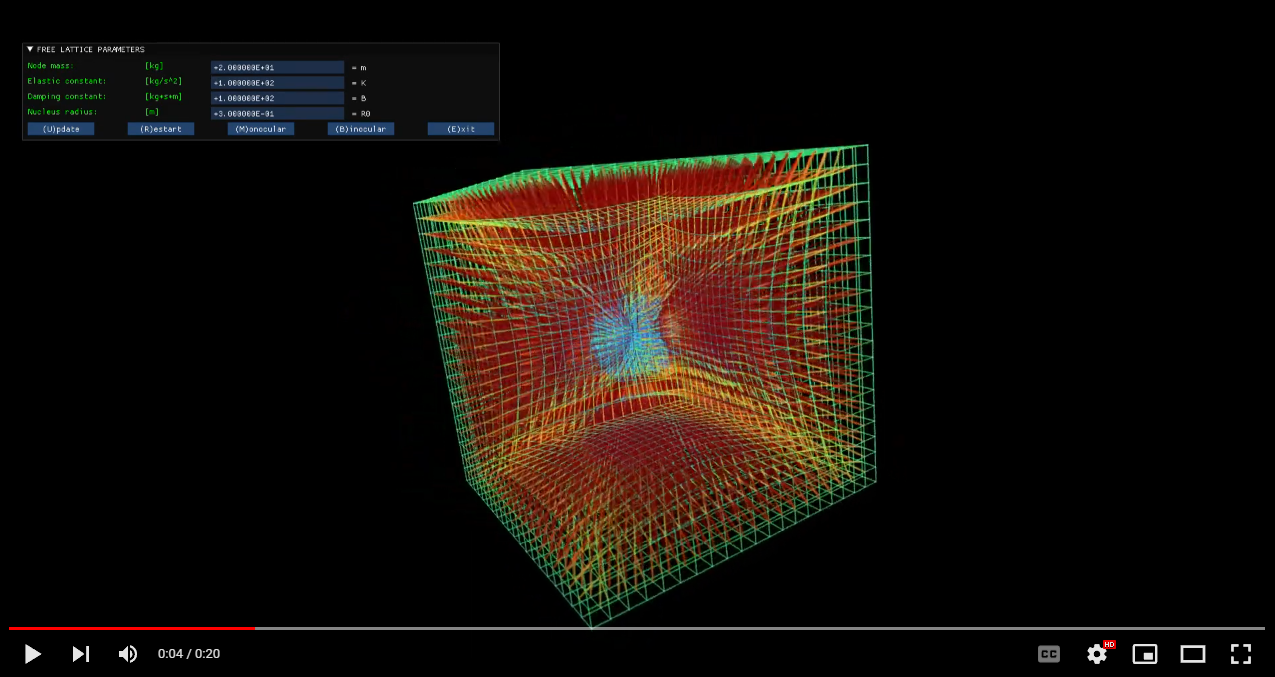
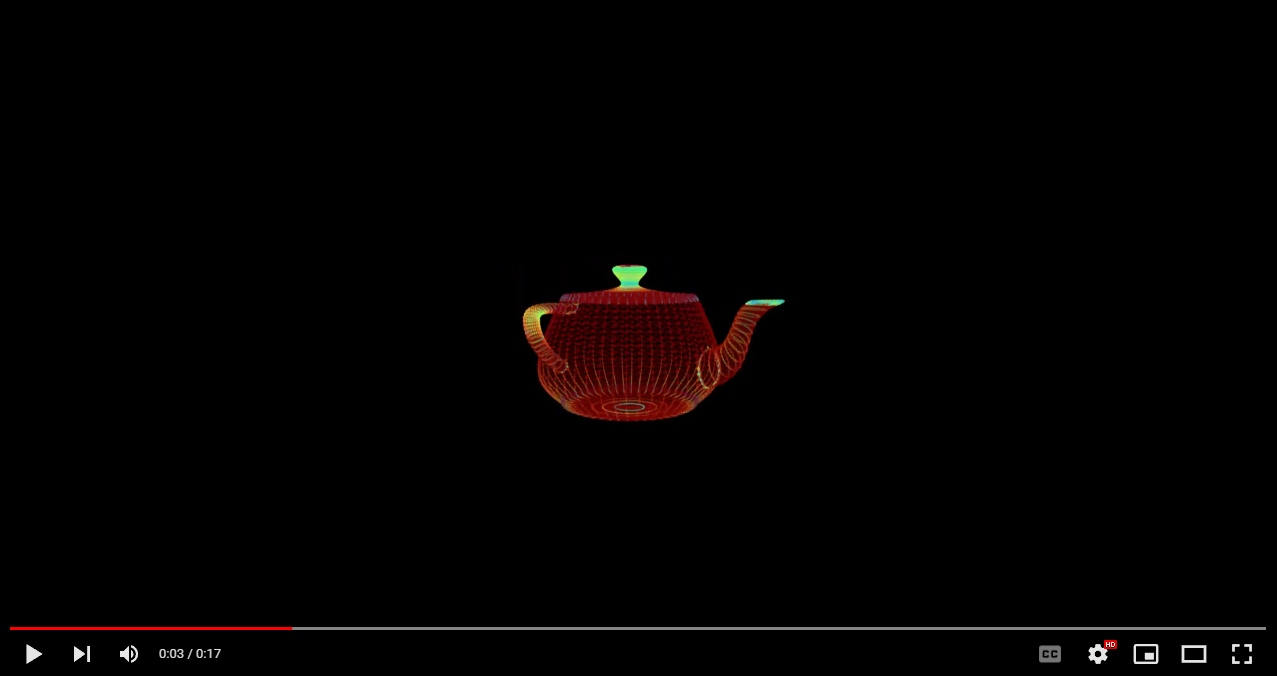
A fast and light library for GPU-based computation and interactive data visualization.
© Alessandro LUCANTONIO, Erik ZORZIN - 2018-2022
Neutrino is a C++ library that facilitates writing parallel code running on GPU hardware combining the power of the OpenCL computational framework with the OpenGL graphics language (see https://www.neutrino.codes).
Neutrino can be installed on Linux and Windows.
...and on Mac?
There used to be an early version of Neutrino on Mac too, but sadly Apple deprecated OpenGL in macOS Mojave 10.14 in the favour of Metal, Apple's proprietary low-level graphics API. After this, OpenGL still exists on Mac but now it is stuck at a very old version (4.1) which is not enough to run the modern OpenGL since it lacks the implementation of the SSBO buffers :(
On Linux the following requirements can be fulfilled directly by installing software packages from its own package manager, according to the distribution of Linux you have installed on your PC. Alternatively, they can be downloaded (also cloned via GIT, if they are Github repositories) from the suggested links.
On Windows, since there is no package manager, you should follow this latter alternative only.
Neutrino requires a GPU having the OpenCL-OpenGL interoperability mode.
This can be verified by installing and using the clinfo command line tool. The tool can be obtained from: https://github.com/Oblomov/clinfo. A binary package is available for Windows. After its installation, on a shell terminal window do:
clinfo
In the text output (it can be long!) there should be a section regarding your GPU, similar to this one:
...
Name: GeForce GTX 1060 6GB
Vendor: NVIDIA Corporation
Driver version: 451.67
Profile: FULL_PROFILE
Version: OpenCL 1.2 CUDA
Extensions: cl_khr_global_int32_base_atomics cl_khr_global_int32_extended_atomics cl_khr_local_int32_base_atomics cl_khr_local_int32_extended_atomics cl_khr_fp64 cl_khr_byte_addressable_store cl_khr_icd cl_khr_gl_sharing cl_nv_compiler_options cl_nv_device_attribute_query cl_nv_pragma_unroll cl_nv_d3d10_sharing cl_khr_d3d10_sharing cl_nv_d3d11_sharing cl_nv_copy_opts cl_nv_create_buffer cl_khr_int64_base_atomics cl_khr_int64_extended_atomics
...
Please verify the presence of the cl_khr_gl_sharing extension.
It is strongly recommended you check this before you start with all the rest of the installation: some legacy GPU models do not have this extension. Those ones would not work with Neutrino, in that case you have to upgrade your hardware before proceeding with this installation.
It is used for compiling Neutrino and all its Examples.
On Linux, install GCC: https://gcc.gnu.org and Cmake: https://cmake.org.\
On Windows, install Visual Studio: https://visualstudio.microsoft.com/ with the C++ CMake tools for Windows by selecting it from the Desktop development with C++ workload during the installation.
It is used for downloading/cloning Neutrino and some of its dependencies. Moreover, it is very useful also for organizing your own projects as well. Go to: https://git-scm.com and install it wherever it suggests you.
Please refer to the manufacturer of your video card. What you need is:
- OpenCL (runtime/loader + headers)
- OpenGL (library + headers)
e.g. On Windows, if you have an Nvidia card go to their webpage and download their SDK. Then install it wherever it suggests you, it can be something like this:
C:\\Program Files\\NVIDIA GPU Computing Toolkit\\CUDA\\v11.5
Take note of this path, later on we will refer to it as: your_path_to_OpenCL.
This library is for loading pointers to OpenGL functions at runtime, core as well as extensions.
Goto: https://glad.dav1d.de/
and generate the loader from its webpage using the following settings:
- Language = C/C++
- gl = Version 4.6 (or higher)
- Profile = Core
After having generated it, download the zip file containing the code.
On your PC, create a NeutrinoCodes directory, then create a glad directory in it and extract the zip file you have downloaded.
At this point you should have this directory structure:
NeutrinoCodes
└───glad
This library is for creating an OpenGL window. Download it from: https://www.glfw.org/ and copy it to a glfw directory you have to create in the NeutrinoCodes parent directory.
At this point you should have this directory structure:
NeutrinoCodes
├───glad
└───glfw
This software: https://gmsh.info/ is for the creation and the manipulation of 1D, 2D and 3D meshes: this is a useful tool in order to define the connectivity of the cellular automata in Neutrino. Install it in a gmsh directory you have to create in the NeutrinoCodes parent directory.
IMPORTANT NOTE FOR GMSH INSTALLATION ON WINDOWS: GMSH is used in Neutrino as an API library. Under a Windows purely native environment (which is the case of Windows + the Visual Studio compiler) there is a limitation (see https://gitlab.onelab.info/gmsh/gmsh/-/issues/894) and because of this the GMSH API can used only as an external DLL. In order to install it on Windows, please download the GMSH's Software Development Kit (SDK) for Windows (64-bit or 32-bit, according to your operating system) and follow this procedure:
- after having downloaded the GMSH's SDK
.zipfile, extract it and copy thegmshdirectory into theNeutrinoCodesdirectory. - go to the
includedirectory in thegmshdirectory and rename thegmsh.hfilegmsh.h_original. - in the same directory, rename the
gmsh.h_cwrapfile togmsh.h. - go to the
libdirectory in thegmshdirectory and copy che GMSH DLL file intoC.\Windows\System32.
This should make the GMSH's API working on Windows.
At this point you should have this directory structure:
NeutrinoCodes
├───glad
├───glfw
└───gmsh
This library is used by Neutrino to render an HUD (Head Up Display) overlay on top of the graphic window. It allows the implementation of a GUI (Graphics User Interface) for the user to interact with the running program.
Go to: https://github.com/ocornut/imgui
and download/clone the repository in the NeutrinoCodes parent directory.
Rename the child directory as imgui.
At this point you should have this directory structure:
NeutrinoCodes
├───glad
├───glfw
├───gmsh
└───imgui
Based on IMGUI, this library is used by Neutrino to create charts on the HUD.
Go to: https://github.com/epezent/implot
and download/clone the repository in the NeutrinoCodes parent directory.
Rename the child directory as implot.
At this point you should have this directory structure:
NeutrinoCodes
├───glad
├───glfw
├───gmsh
├───imgui
└───implot
The following tools are not mandatory, but recommended:
-
GraphViz: https://graphviz.org/
-
Doxygen: https://www.doxygen.nl/
They are used by Neutrino in case you want to generate a local documentation. This option is offered after Cmake has run and before the compilation of the C++ project. Download and install them wherever it proposes.
-
DS4Windows https://ryochan7.github.io/ds4windows-site/
This is optional for Windows, in case you want to use the PS4 Dual Shock gamepad (not required others for HID compliant gamepads, but anyway recommended because sometimes Windows gets crazy due to multiple HID instances. See: https://ds4-windows.com/drivers/). If you don't use any gamepad, but only the mouse/trackpad and the keyboard, you don't need this. As they say here: https://ds4-windows.com/get-started/
- Download the latest DS4Windows x64 package
- The .7zip package is smaller but requires the 7zip software in order to open/extract it
- Extract the package in an easily accessible directory (e.g.: Desktop, Documents, Download etc)
- DO NOT extract it inside a directory the requires elevated privilegies (e.g.: Program Files, Windows)
-
Uncrustify: https://github.com/uncrustify/uncrustify This tool is for gracefully indent the code. We provide an uncrustify file for Neutrino and its Examples. See later for this configuration under VScode.
-
VScode: https://code.visualstudio.com/ This editor can be particularly useful when working on the same project both on Linux and Windows, because the environment is identical in both operating systems.
On Linux, please follow the instructions (https://code.visualstudio.com/docs/cpp/config-linux) in order to install it and verify the installation of GCC, as well as the instructions (https://code.visualstudio.com/docs/cpp/cmake-linux) to verify the installation of Cmake and to install the Cmake Tools extension for VSCode.
On Windows, please follow the instructions (https://code.visualstudio.com/docs/cpp/config-msvc) in order to install it and verify the installation of Visual Studio, as well as the instructions (https://code.visualstudio.com/docs/cpp/cmake-linux, there are no specific instructions for Windows) to verify the installation of Cmake and to install the Cmake Tools extension for VSCode.
Now you have all you need in order to install Neutrino.
Go to the NeutrinoCodes directory and download or clone the Neutrino project using the command:
git clone https://github.com/NeutrinoCodes/neutrino.git
Then, navigate into NeutrinoCodes and create a libnu directory.
At this point you should have this directory structure:
NeutrinoCodes
├───glad
├───glfw
├───gmsh
├───imgui
├───implot
├───libnu
└───neutrino
Now Neutrino has been cloned, but it needs to be configured for your PC before you can compile it. Hence, read the following configuration instruction according to your system.
This can be done either via the system's command shell or via VScode.
Navigate to the Neutrino's project directory, create a configuration script file called configure_linux (e.g. at the command shell type: touch configure_linux) and edit it by adding the following command lines:
cmake -B"./cmake" -H"./" \
-DGLAD_PATH=your_path_to_glad \
-DGLFW_PATH=your_path_to_glfw \
-DGMSH_PATH=your_path_to_gmsh \
-DCL_PATH=your_path_to_opencl \
-DIMGUI_PATH=your_path_to_imgui \
-DIMPLOT_PATH=your_path_to_implot \
-DNEUTRINO_PATH=your_path_to_neutrino
and specify the paths accordingly, where:
-
GLAD_PATH is the path of the root directory of the Glad library: it contains the src and include subdirectories;
-
GLFW_PATH is the path of the root directory of the Glfw library: it contains the include subdirectory;
-
GMSH_PATH is the path of the root directory of the Gmsh library: it contains the include and lib subdirectories;
-
CL_PATH is the path of the root directory of the OpenCL library: it contains the include and lib subdirectories;
-
IMGUI_PATH is the path of the root directory of the Imgui library: it contains all the .cpp and .h files in the root directory of the Imgui repository and all imgui_impl_opengl3.* files present in the backends directory (see instructions on its repository);
-
IMPLOT_PATH is the path of the root directory of the Implot library: it contains all the .cpp and .h files in the root directory of the Implot repository;
-
NEUTRINO_PATH is the path of Neutrino's project folder and should be followed by
/libnu, where the library will be installed.
Make the configuration script to be executable (at the command shell type: chmod a+x configure_linux) and launch it by typing ./configure_linux at the command shell. The CMake configuration files will be generated.
Enter the cmake directory and type make install (use make clean to remove old build files if necessary).
Alternatively, open a VScode shell terminal and go to the neutrino directory, then create a .vscode hidden directory:
mkdir .vscode\
Now create a new file settings.json in it, then fill it with the following information:
{
"cmake.configureSettings":
{
"GLAD_PATH": "your_path_to_NeutrinoCodes/glad",
"GLFW_PATH": "your_path_to_NeutrinoCodes/glfw",
"GMSH_PATH": "your_path_to_NeutrinoCodes/gmsh",
"CL_PATH": "your_path_to_OpenCL",
"IMGUI_PATH": "your_path_to_NeutrinoCodes/imgui",
"IMPLOT_PATH": "your_path_to_NeutrinoCodes/implot",
"NEUTRINO_PATH": "your_path_to_NeutrinoCodes/libnu"
}
}
and save it.
At this point, Neutrino is configured for your system.
In VScode, open a folder from the file menu and select NeutrinoCodes. Go to the left bar and locate the CMake button (it comes after the installation of the CMake Tools extension for VScode) and push it: a CMake panel will open, push the Configure All Projects button on it.
Go to the bottom bar and locate:
- the Build variant button: verify it has been selected to [Release].
- the Active kit button: verify it has been selected according to your system's characteristics. e.g. [Visual Studio Community 2022 Release - amd64].
- the Target button: verify it has been selected to [install].
- the Build button: push it in order to build the Neutrino project.
You are done! Neutrino as been fully installed and configured on your Linux system!
This can be done either via Visual Studio or via VScode.
Notice, as opposed to Linux, that for the configuration of Neutrino on Windows all paths must be specificed with double backslashes, in order to correctly manage the possibility of space characters in the them.
e.g. your_path_to_OpenCL might be something like this (it depends on your GPU's graphics drivers):
C:\\Program Files\\NVIDIA GPU Computing Toolkit\\CUDA\\v11.5
Go to the examples directory: create and edit a CMakeSettings.json file in it, then fill it with the following information:
{
"configurations": [
{
"name": "x64-Release",
"generator": "Ninja",
"configurationType": "Release",
"buildRoot": "${projectDir}\\build\\cmake\\${name}",
"installRoot": "${projectDir}\\out\\install\\${name}",
"cmakeCommandArgs": "-DGLAD_PATH=\"your_path_to_NeutrinoCodes\\glad\" -DGLFW_PATH=\"your_path_to_NeutrinoCodes\\glfw\" -DGMSH_PATH=\"your_path_to_NeutrinoCodes\\gmsh\" -DCL_PATH=\"your_path_to_OpenCL\\opencl\" -DIMGUI_PATH=\"your_path_to_NeutrinoCodes\\imgui" -DIMPLOT_PATH=\"your_path_to_NeutrinoCodes\\implot" -DNEUTRINO_PATH=\"your_path_to_NeutrinoCodes\\libnu\"",
"buildCommandArgs": "",
"ctestCommandArgs": "",
"inheritEnvironments": [ "msvc_x64_x64" ]
"variables": [ "msvc_x64_x64" ]
}
]
}
and save it.
Notice the long lines in the CMakeSettings.json file cannot be broken in multiple lines.
Alternatively, the same file can edited within Visual Studio by right-clicking the CMakeLists.txt file in the Solution Explorer - Folder View and then selecting the CMake Settings for 'project_name' button. This will open the CMake Settings editor. The string to be edited, containing all user's paths, is the one in the CMake command arguments text field.
Then in Visual Studio, open a folder from the file menu and select NeutrinoCodes. Visual Studio will invoke Cmake. After it finished configuring the project, go to the Build menu and push the Build button. Once the Neutrino library has been built, it has to be installed: to do so, go to the Build menu and push the Install button.
Go to the neutrino directory and create a .vscode hidden directory:
mkdir .vscode
and create a new file settings.json in it, then fill it with the following information:
{
"cmake.configureSettings":
{
"GLAD_PATH": "your_path_to_NeutrinoCodes\\glad",
"GLFW_PATH": "your_path_to_NeutrinoCodes\\glfw",
"GMSH_PATH": "your_path_to_NeutrinoCodes\\gmsh",
"CL_PATH": "your_path_to_OpenCL",
"IMGUI_PATH": "your_path_to_NeutrinoCodes\\imgui",
"IMPLOT_PATH": "your_path_to_NeutrinoCodes\\implot",
"NEUTRINO_PATH": "your_path_to_NeutrinoCodes\\libnu"
}
}
and save it.
Then in VScode, open a folder from the file menu and select NeutrinoCodes. Go to the left bar and locate the CMake button (it comes after the installation of the CMake Tools extension for VScode) and push it: a CMake panel will open, push the Configure All Projects button on it.
Go to the bottom bar and locate:
- the Build variant button: verify it has been selected to [Release].
- the Active kit button: verify it has been selected according to your system's characteristics. e.g. [Visual Studio Community 2022 Release - amd64].
- the Target button: verify it has been selected to [install].
- the Build button: push it in order to build the Neutrino project.
You are done! Neutrino as been fully installed and configured on your Windows system!
We all like tidy code! For this, we provide an Uncrustify (sources: https://github.com/uncrustify/uncrustify) configuration file specific for Neutrino to be used in VScode. In order to use it, please first install Uncrustify according to your operating system, then install the VScode's Uncrustify extension (https://marketplace.visualstudio.com/items?itemName=zachflower.uncrustify).
-
On Linux: Add the following lines to either the global or project settings.json file:
"uncrustify.executablePath.linux": "your_path_to_uncrustify",
"editor.defaultFormatter": "zachflower.uncrustify",
"editor.formatOnSave": true -
On Windows: Add the following lines to either the global or project settings.json file:
"uncrustify.executablePath.windows": "your_path_to_uncrustify",
"editor.defaultFormatter": "zachflower.uncrustify",
"editor.formatOnSave": true
To edit the global settings, on VScode go to the left bar: push the Extensions button and select the Uncrustify extension. Then go to Manage --> Extension Settings (gear-like icon) and edit the settings.json file by clicking one of the links in that section. This will set the Uncrustify code formatter globally in all your VScode projects (but still with per-project custom uncrustify configuration files).
To edit the project settings, open settings.json file in the .vscode you created for Neutrino (the hidden directory inside the Neutrino directory) and put the same lines in it. This will set Uncrustify as code formatter (together with the configuration file we provide) only for the Neutrino project.
Neutrino-based example applications che be found, together with their installation instructions as well, at the Examples repository: https://github.com/NeutrinoCodes/Examples.
© Alessandro LUCANTONIO, Erik ZORZIN - 2018-2022
