This repository is for the last exercise in the live demonstration within the "Git Educated with diversIT" workshop to demonstrate collaboration with Git and the basics of contibuting to open source projects.
In this exercise, attendees will act as contributors to a public repository and learn (in addition to the commands that have already been covered in the workshop) how to fork, clone, add remotes, and submit a pull request.
Follow along with the instructions to contribute to this repository!
1. Fork this repository. This will create and place copy of this repository into your GitHub account.
2. Clone the forked repository. Cloning a repository sets up a local repository on your machine with the files from the remote repository. It automatically adds an origin remote that links the local repository to the remote repository so that you can pull and push changes.
$ git clone https://github.com/<your username>/git-educated-demo.git
3. Add an upstream remote. We want our copy of the repository to be up-to-date with the original repository. To do this, we also need to link the original remote repository to our local repository so that we can pull any changes made to it. We'll call this link the upstream remote.
$ git remote add upstream https://github.com/faishasj/git-educated-demo.git4. Pull changes from the upstream remote. This will update the current checked out branch in your local repository with any changes made to the master branch in the upstream remote. If there are any conflicts, they will need to be resolved.
$ git pull upstream master5. Create and checkout a new branch. We are sticking to the 'one feature, one branch' rule.
$ git checkout -b <branch>6. Add your name under the correct date in attendees. Feel free to add your username, link to your account, add an emoji etc. Try not to mess around with the rest of this file, or your pull request might be rejected!
7. Commit and push the changes to the origin remote. This will update your remote (forked) repository with the changes you have just made. The -u flag ensures there is a tracking connection, which is useful when publishing a local branch to a remote for the first time.
$ git commit -m “<message>”
$ git push -u origin <branch>
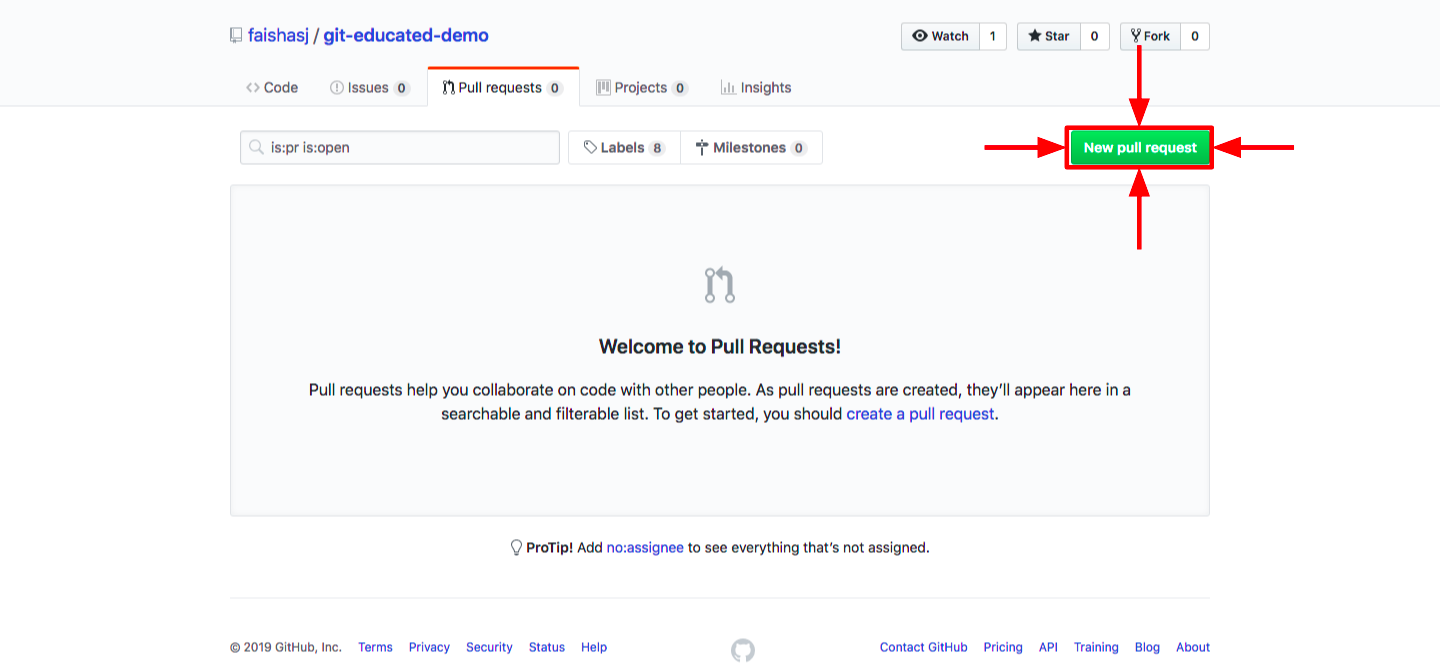
8. Submit a pull request. The exciting part! Make sure your pull request is merging the feature branch from your forked repository (<your username>/<branch>) into the master branch of the original repository (faishasj/master).
9. Celebrate! Congratulations! You are now armed with the basic tools to contribute to the world of open source. Your name should appear below soon.
Faisha Surjatin
Nicholas Whittaker (@nchlswhttkr)
Kolya Haisken-De New
Phillip Sgardelis
Mathen
April Chi @ac-asks

