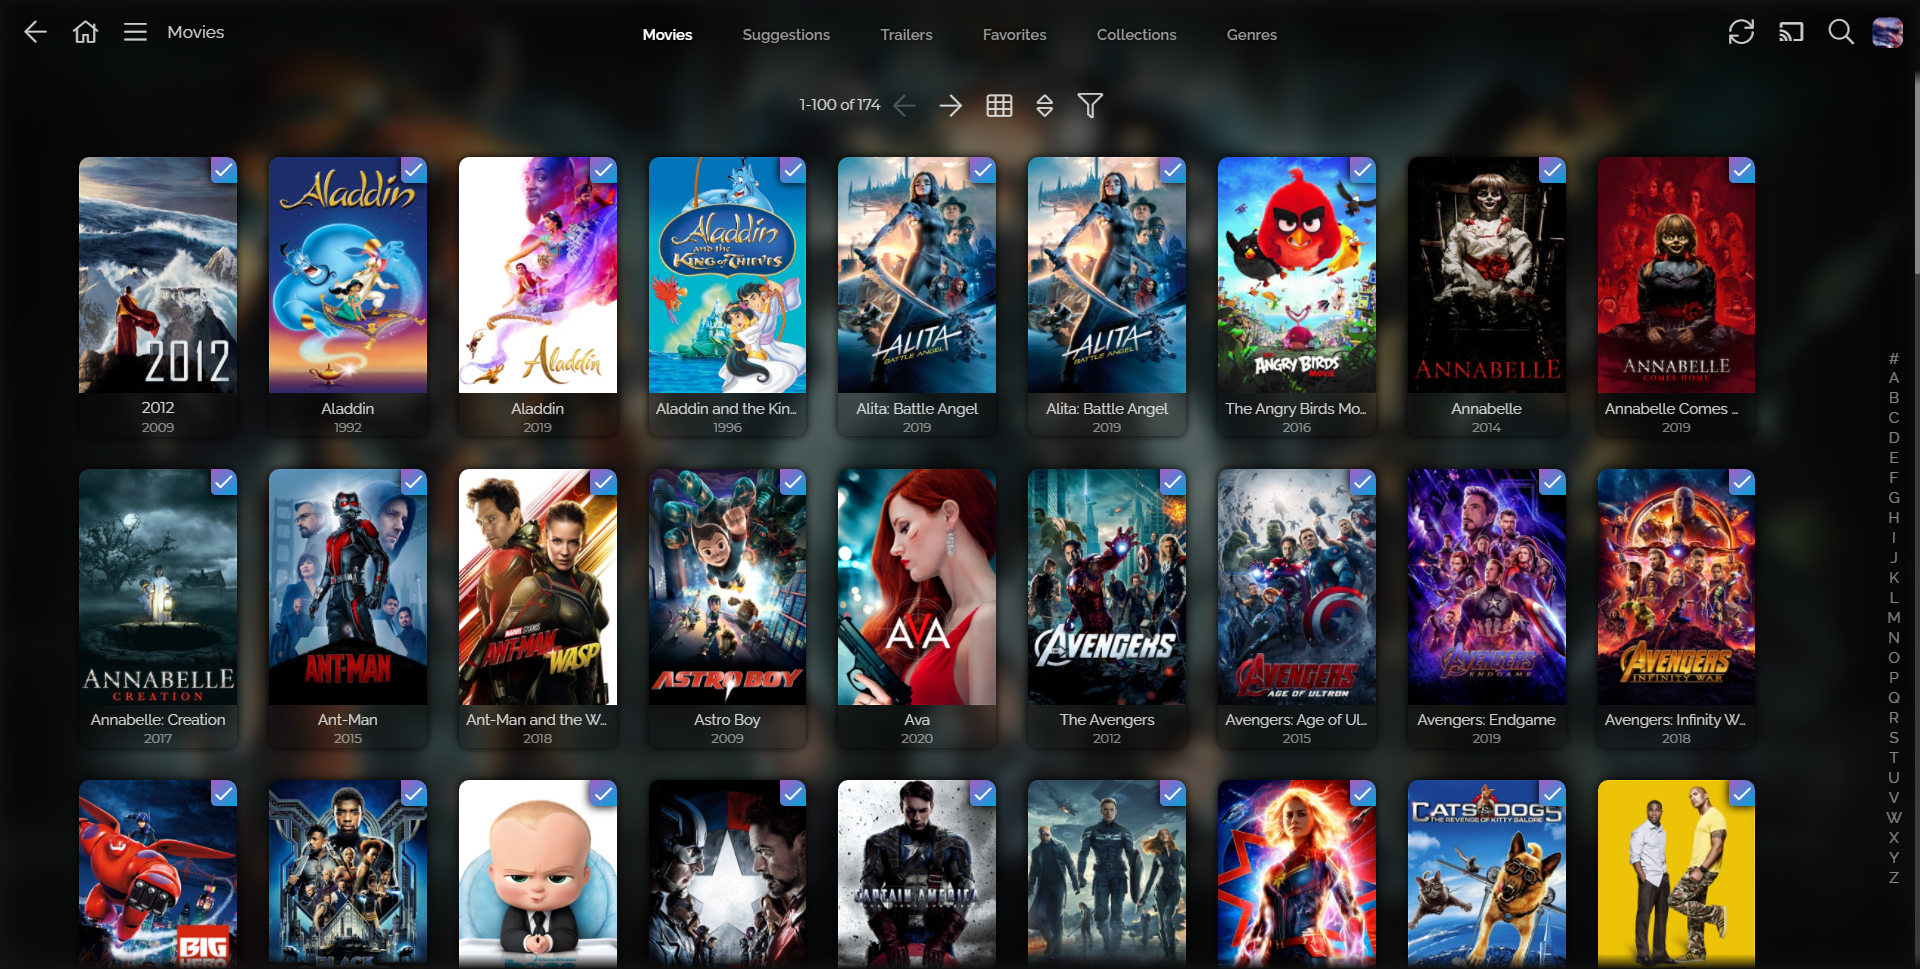
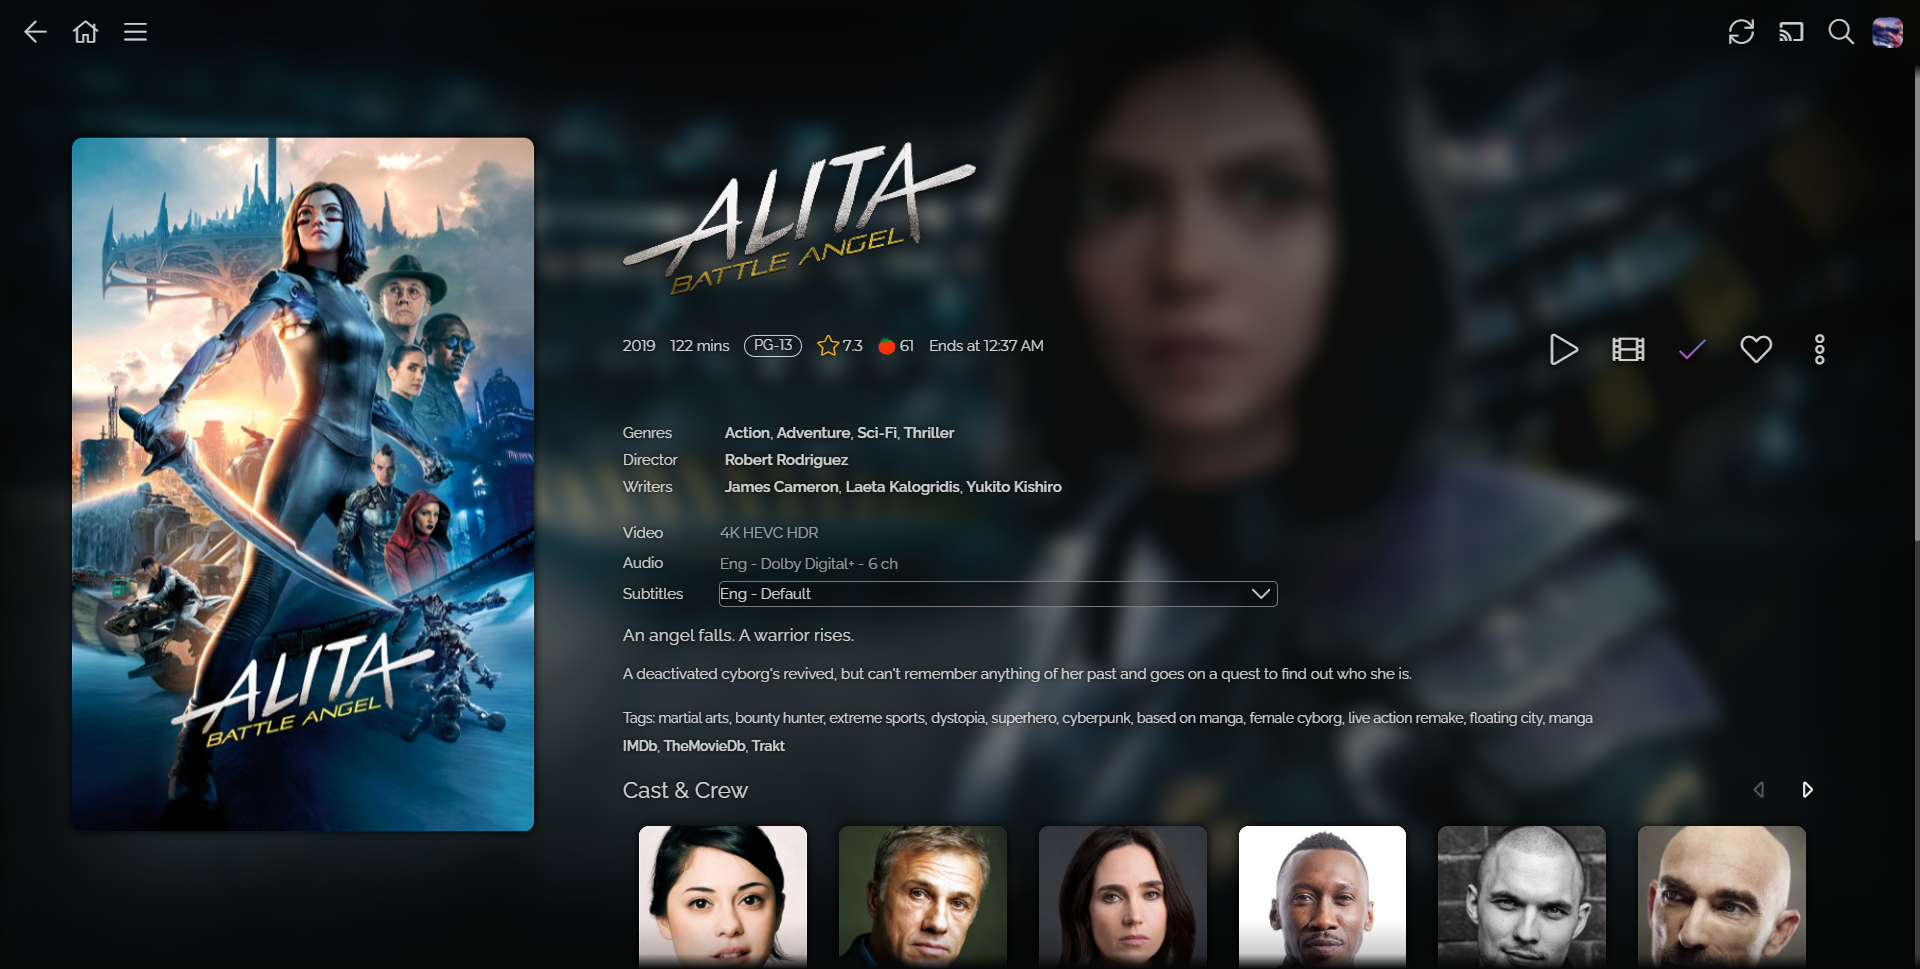
To use the JellySkin theme copy the line below into "Dashboard -> General -> Custom CSS" and click save, it will apply immediately server-wide to all users on top of any theme they may be using. To remove the theme, clear the "Custom CSS" field and then click save. NOTE: Theme may not work when using Nginx Reverse Proxy. Scroll down below to learn how to fix this. Latest/Specific Version:
@import url("https://cdn.jsdelivr.net/gh/prayag17/JellySkin@latest/default.css");Auto Update(Slower update time):
@import url("https://cdn.jsdelivr.net/gh/prayag17/JellySkin/default.css");To use Logos like the images given below use: Latest/Specific Version:
@import url("https://cdn.jsdelivr.net/gh/prayag17/JellySkin@latest/addons/Logo.css");Auto Update(Slower update time):
@import url("https://cdn.jsdelivr.net/gh/prayag17/JellySkin/addons/Logo.css"); You can also use Jellyfin-Skin-Manager-Plugin : https://github.com/danieladov/jellyfin-plugin-skin-manager
@import url("https://cdn.jsdelivr.net/gh/prayag17/JellySkin/addons/imp-per.css");@import url("https://cdn.jsdelivr.net/gh/prayag17/JellySkin/addons/compact-poster.css");To use different gradient for your buttons I have added few different gradients you can choose or you can create your own (check the steps given bellow), the default gradient used is jellyfin's default logo gradient,using this alone will only skin the button colors and I know the names for this are very funny:
@import url("https://cdn.jsdelivr.net/gh/prayag17/JellySkin/addons/Gradients/seaGradient.css");
@import url("https://cdn.jsdelivr.net/gh/prayag17/JellySkin/addons/Gradients/sunsetGradient.css");
@import url("https://cdn.jsdelivr.net/gh/prayag17/JellySkin/addons/Gradients/mauveGradient.css");
@import url("https://cdn.jsdelivr.net/gh/prayag17/JellySkin/addons/Gradients/nightSkyGradient.css");
Using custom own Gradient or color Create your gradient or solid color and past it in
--accent and gradient in opposite angle in --accent-selected :
:root {
  --accent: your gradient;
  --accent-selected: your gradient in opposite angle;
}
Now, to use your own Gradient (to get great button or any gradient go to https://cssgradient.io/gradient-backgrounds or https://cssgradient.io) or solid color:
:root {
  --accent: your gradient;
  --accent-selected: your gradient in opposite angle;
}Add the follwing line to custom CSS with the default css file-
@import url("https://cdn.jsdelivr.net/gh/prayag17/JellySkin/addons/progress-bar.css");


Deaktiviert From version 70: this feature is behind the
layout.css.backdrop-filter.enabled
preference (needs to be set to
  true
  ) and the
  gfx.webrender.all
  preference (needs to be set to
    true
    ).
 To change preferences in Firefox, visit about:config.
- Get Fanart Plugin, Dashboard -> Plugin -> Catalog
- Enable Fanart as a metadata provider for your libraries in the library settings, Dashboard -> Library -> Click on 3 dots on your Library -> Manage Library -> Scroll to find Metadata provider and enable Fanart in all of them.
- Rescan your drive by selecting
Replace Metadataand scan - Done!
This config includes an CSP (Content Security Policy) with headers that don't allow for loading in external content that are not defined there.
In the nginx config you should add the URLs of all the CSS files you've imported through the "Custom CSS" box. this:
add_header Content-Security-Policy "default-src https: data: blob: http://image.tmdb.org; style-src 'self' 'unsafe-inline'; script-src 'self' 'unsafe-inline' https://www.gstatic.com/cv/js/sender/v1/cast_sender.js https://www.youtube.com blob:; worker-src 'self' blob:; connect-src 'self'; object-src 'none'; frame-ancestors 'self'";
becomes (with only adding the default style):
add_header Content-Security-Policy "default-src https: data: blob: http://image.tmdb.org; style-src 'self' 'unsafe-inline'https://cdn.jsdelivr.net/gh/prayag17/JellySkin/default.css; script-src 'self' 'unsafe-inline' https://www.gstatic.com/cv/js/sender/v1/cast_sender.js https://www.youtube.com blob:; worker-src 'self' blob:; connect-src 'self'; object-src 'none'; frame-ancestors 'self'";
If you don't do this the theme will simply not load (reverts back to default theme) and the browser console will spit out an error. Even if you paste in all the CSS, the font will still not load since it is loaded from a disallowed external source.
Many of you are facing issues that backdrop is not visible by default....this is not a JellySkin issue but rather Jellyfin issue, in Jellyfin Version 10.7.X backgrounds are disabled by default but you can enable them individually on you devices/client by going to: SETTINGS --> DISPLAY --> ENABLE BACKDROPS/BACKGROUND.