| Demo | Arena | Discord | Twitter |
An open platform for training, serving, and evaluating large language model based chatbots.
- 🔥 We released FastChat-T5 compatible with commercial usage. Checkout weights.
- 🔥 We released Vicuna: An Open-Source Chatbot Impressing GPT-4 with 90% ChatGPT Quality. Checkout the blog post and demo.
- Install
- Model Weights
- Inference with Command Line Interface
- Serving with Web GUI
- API
- Evaluation
- Fine-tuning
pip3 install fschat- Clone this repository and navigate to the FastChat folder
git clone https://github.com/lm-sys/FastChat.git
cd FastChat
If you are running on Mac:
brew install rust cmake- Install Package
pip3 install --upgrade pip  # enable PEP 660 support
pip3 install -e .We release Vicuna weights as delta weights to comply with the LLaMA model license. You can add our delta to the original LLaMA weights to obtain the Vicuna weights. Instructions:
- Get the original LLaMA weights in the huggingface format by following the instructions here.
- Use the following scripts to get Vicuna weights by applying our delta. They will automatically download delta weights from our Hugging Face account.
NOTE:
Weights v1.1 are only compatible with transformers>=4.28.0 and fschat >= 0.2.0.
Please update your local packages accordingly. If you follow the above commands to do a fresh install, then you should get all the correct versions.
This conversion command needs around 30 GB of CPU RAM. See the "Low CPU Memory Conversion" section below if you do not have enough memory.
python3 -m fastchat.model.apply_delta \
    --base-model-path /path/to/llama-7b \
    --target-model-path /output/path/to/vicuna-7b \
--delta-path lmsys/vicuna-7b-delta-v1.1This conversion command needs around 60 GB of CPU RAM. See the "Low CPU Memory Conversion" section below if you do not have enough memory.
python3 -m fastchat.model.apply_delta \
    --base-model-path /path/to/llama-13b \
    --target-model-path /output/path/to/vicuna-13b \
--delta-path lmsys/vicuna-13b-delta-v1.1See docs/vicuna_weights_version.md for all versions of weights and their differences.
You can try these methods to reduce the CPU RAM requirement of weight conversion.
- Append
--low-cpu-memto the commands above, which will split large weight files into smaller ones and use the disk as temporary storage. This can keep the peak memory at less than 16GB. - Create a large swap file and rely on the operating system to automatically utilize the disk as virtual memory.
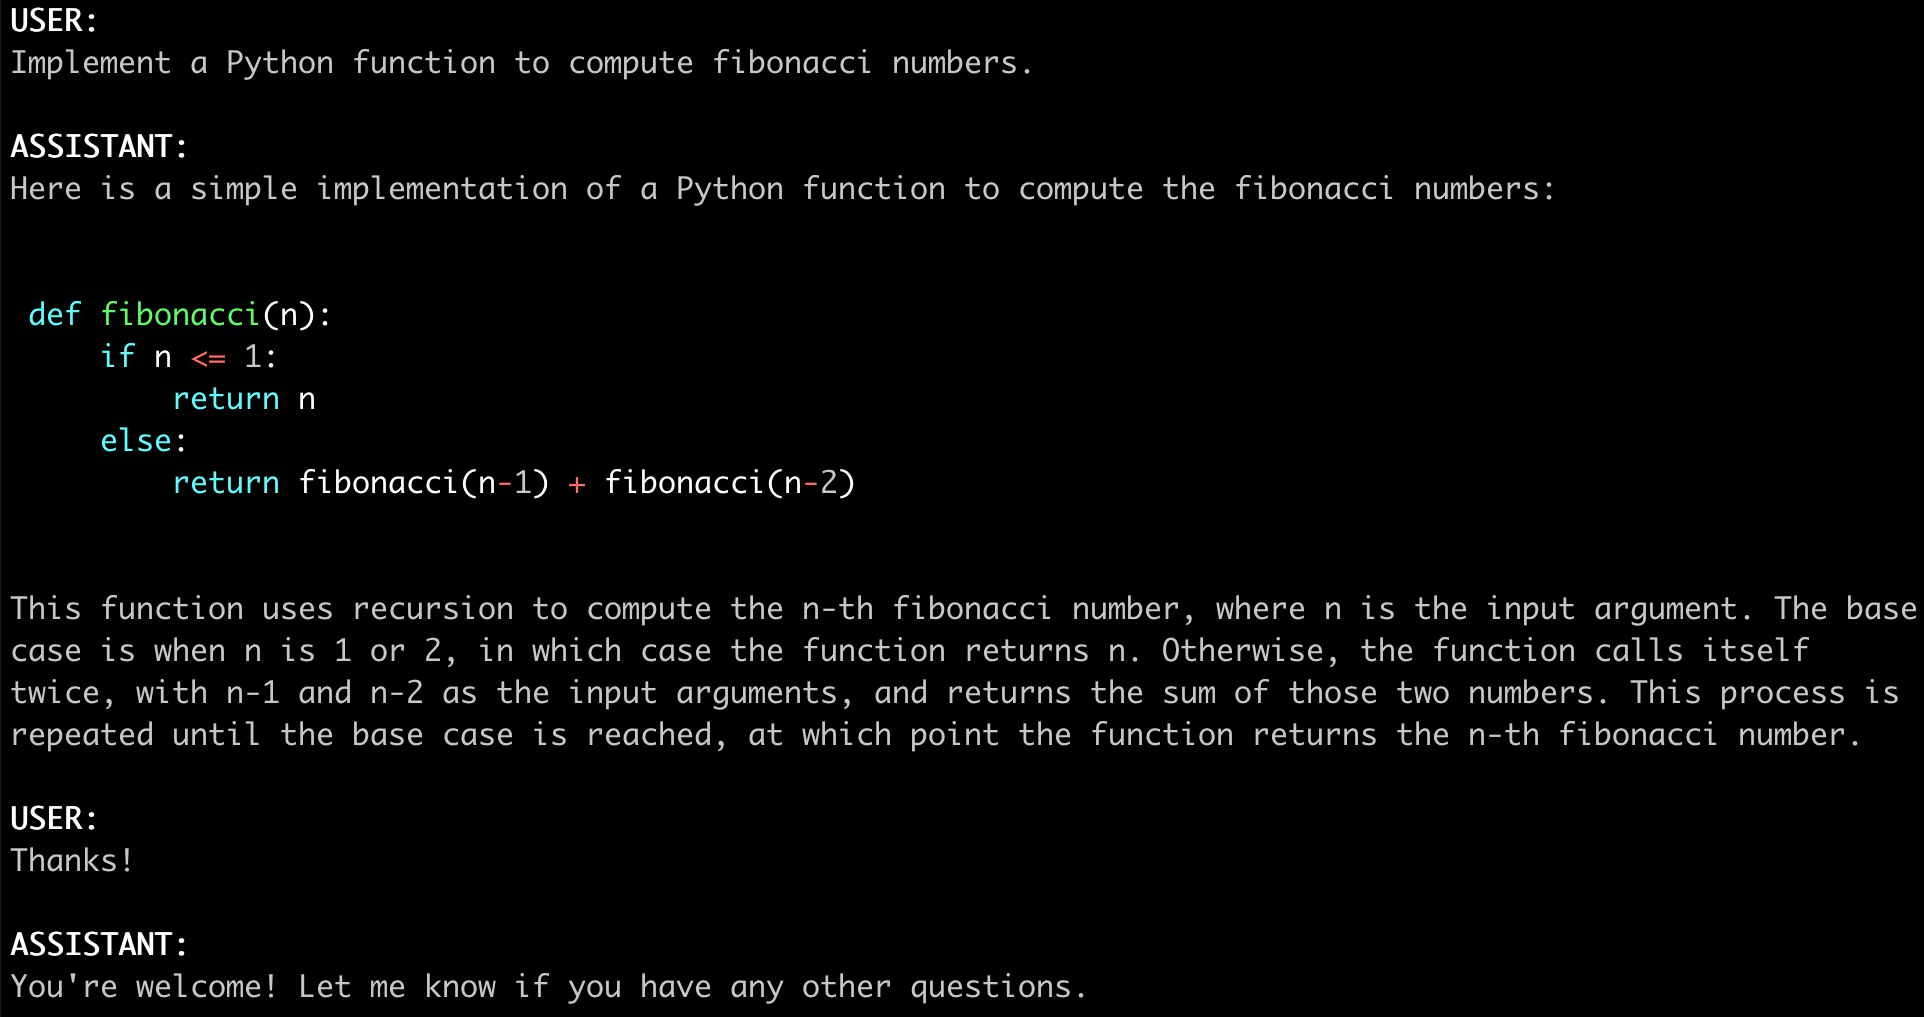
Simply run the line below to start chatting. It will automatically download the weights from a Hugging Face repo.
python3 -m fastchat.serve.cli --model-path lmsys/fastchat-t5-3b-v1.0(Experimental Feature: You can specify --style rich to enable rich text output and better text streaming quality for some non-ASCII content. This may not work properly on certain terminals.)
The following models are tested:
- Vicuna, Alpaca, LLaMA, Koala
- lmsys/fastchat-t5-3b-v1.0
- BlinkDL/RWKV-4-Raven
- databricks/dolly-v2-12b
- OpenAssistant/oasst-sft-1-pythia-12b
- project-baize/baize-lora-7B
- StabilityAI/stablelm-tuned-alpha-7b
- THUDM/chatglm-6b
The command below requires around 28GB of GPU memory for Vicuna-13B and 14GB of GPU memory for Vicuna-7B. See the "No Enough Memory" section below if you do not have enough memory.
python3 -m fastchat.serve.cli --model-path /path/to/model/weights
You can use model parallelism to aggregate GPU memory from multiple GPUs on the same machine.
python3 -m fastchat.serve.cli --model-path /path/to/model/weights --num-gpus 2
This runs on the CPU only and does not require GPU. It requires around 60GB of CPU memory for Vicuna-13B and around 30GB of CPU memory for Vicuna-7B.
python3 -m fastchat.serve.cli --model-path /path/to/model/weights --device cpu
Use --device mps to enable GPU acceleration on Mac computers (requires torch >= 2.0).
Use --load-8bit to turn on 8-bit compression.
python3 -m fastchat.serve.cli --model-path /path/to/model/weights --device mps --load-8bit
Vicuna-7B can run on a 32GB M1 Macbook with 1 - 2 words / second.
If you do not have enough memory, you can enable 8-bit compression by adding --load-8bit to commands above.
This can reduce memory usage by around half with slightly degraded model quality.
It is compatible with the CPU, GPU, and Metal backend.
Vicuna-13B with 8-bit compression can run on a single NVIDIA 3090/4080/T4/V100(16GB) GPU.
python3 -m fastchat.serve.cli --model-path /path/to/model/weights --load-8bit
In addition to that, you can add --cpu-offloading to commands above to offload weights that don't fit on your GPU onto the CPU memory. This requires 8-bit compression to be enabled and the bitsandbytes package to be installed, which is only available on linux operating systems.
To serve using the web UI, you need three main components: web servers that interface with users, model workers that host one or more models, and a controller to coordinate the webserver and model workers. Here are the commands to follow in your terminal:
python3 -m fastchat.serve.controllerThis controller manages the distributed workers.
python3 -m fastchat.serve.model_worker --model-path /path/to/model/weightsWait until the process finishes loading the model and you see "Uvicorn running on ...". You can launch multiple model workers to serve multiple models concurrently. The model worker will connect to the controller automatically.
To ensure that your model worker is connected to your controller properly, send a test message using the following command:
python3 -m fastchat.serve.test_message --model-name vicuna-7bYou will see a short output.
python3 -m fastchat.serve.gradio_web_serverThis is the user interface that users will interact with.
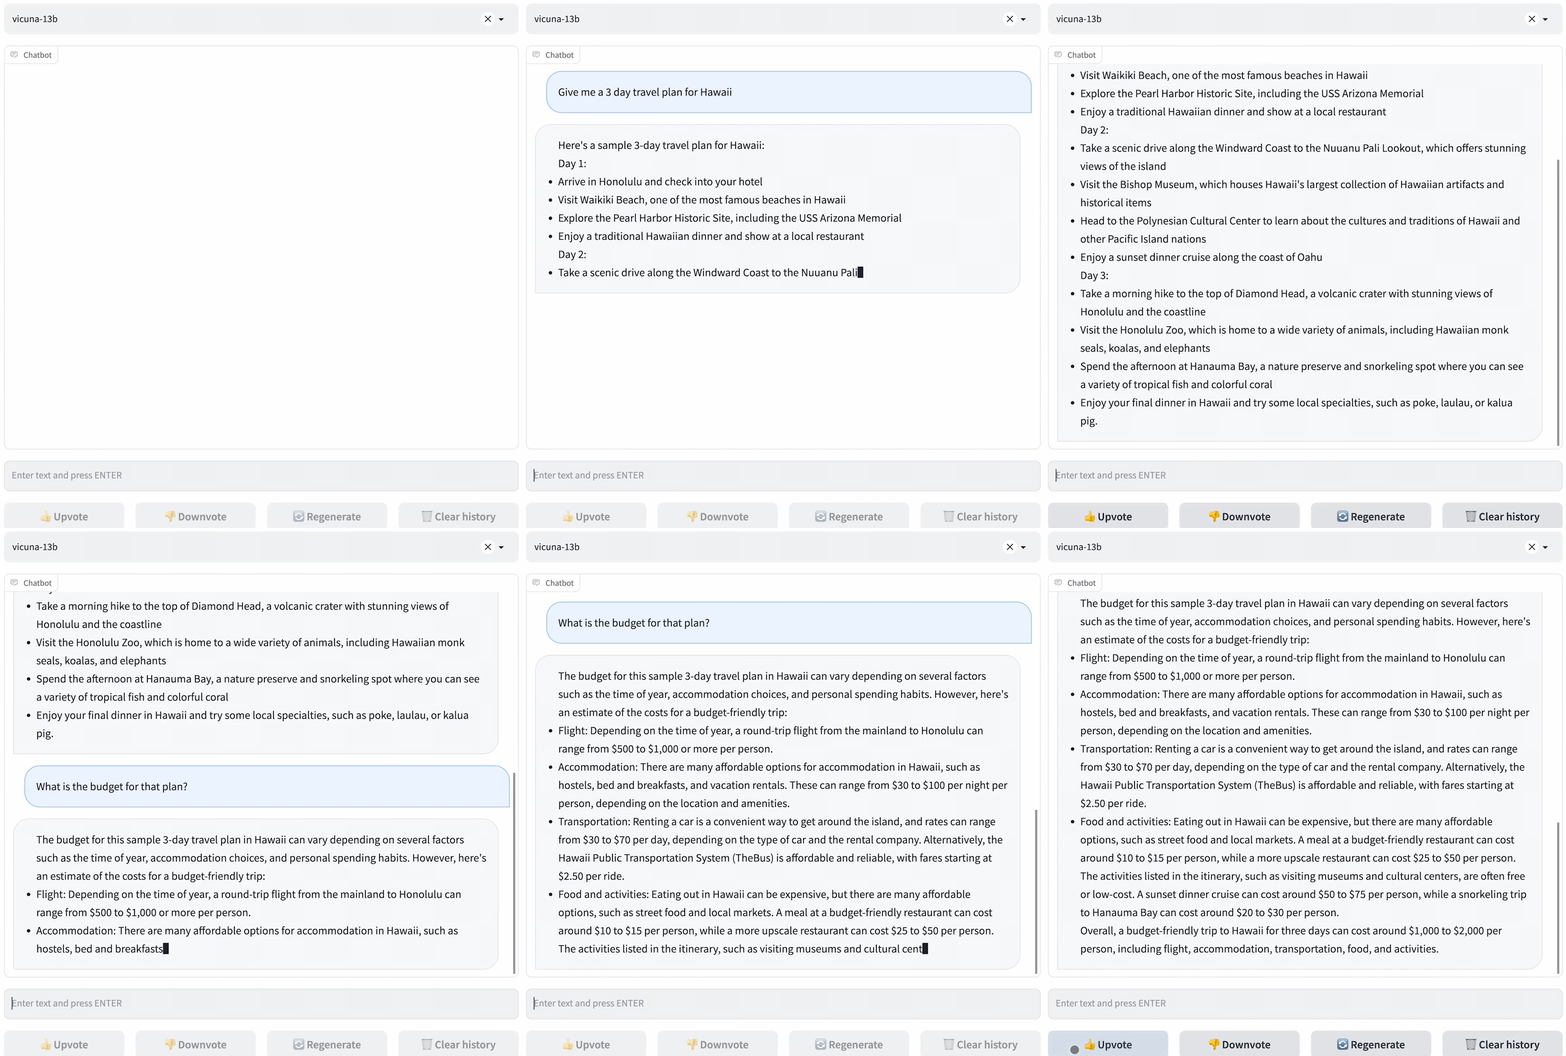
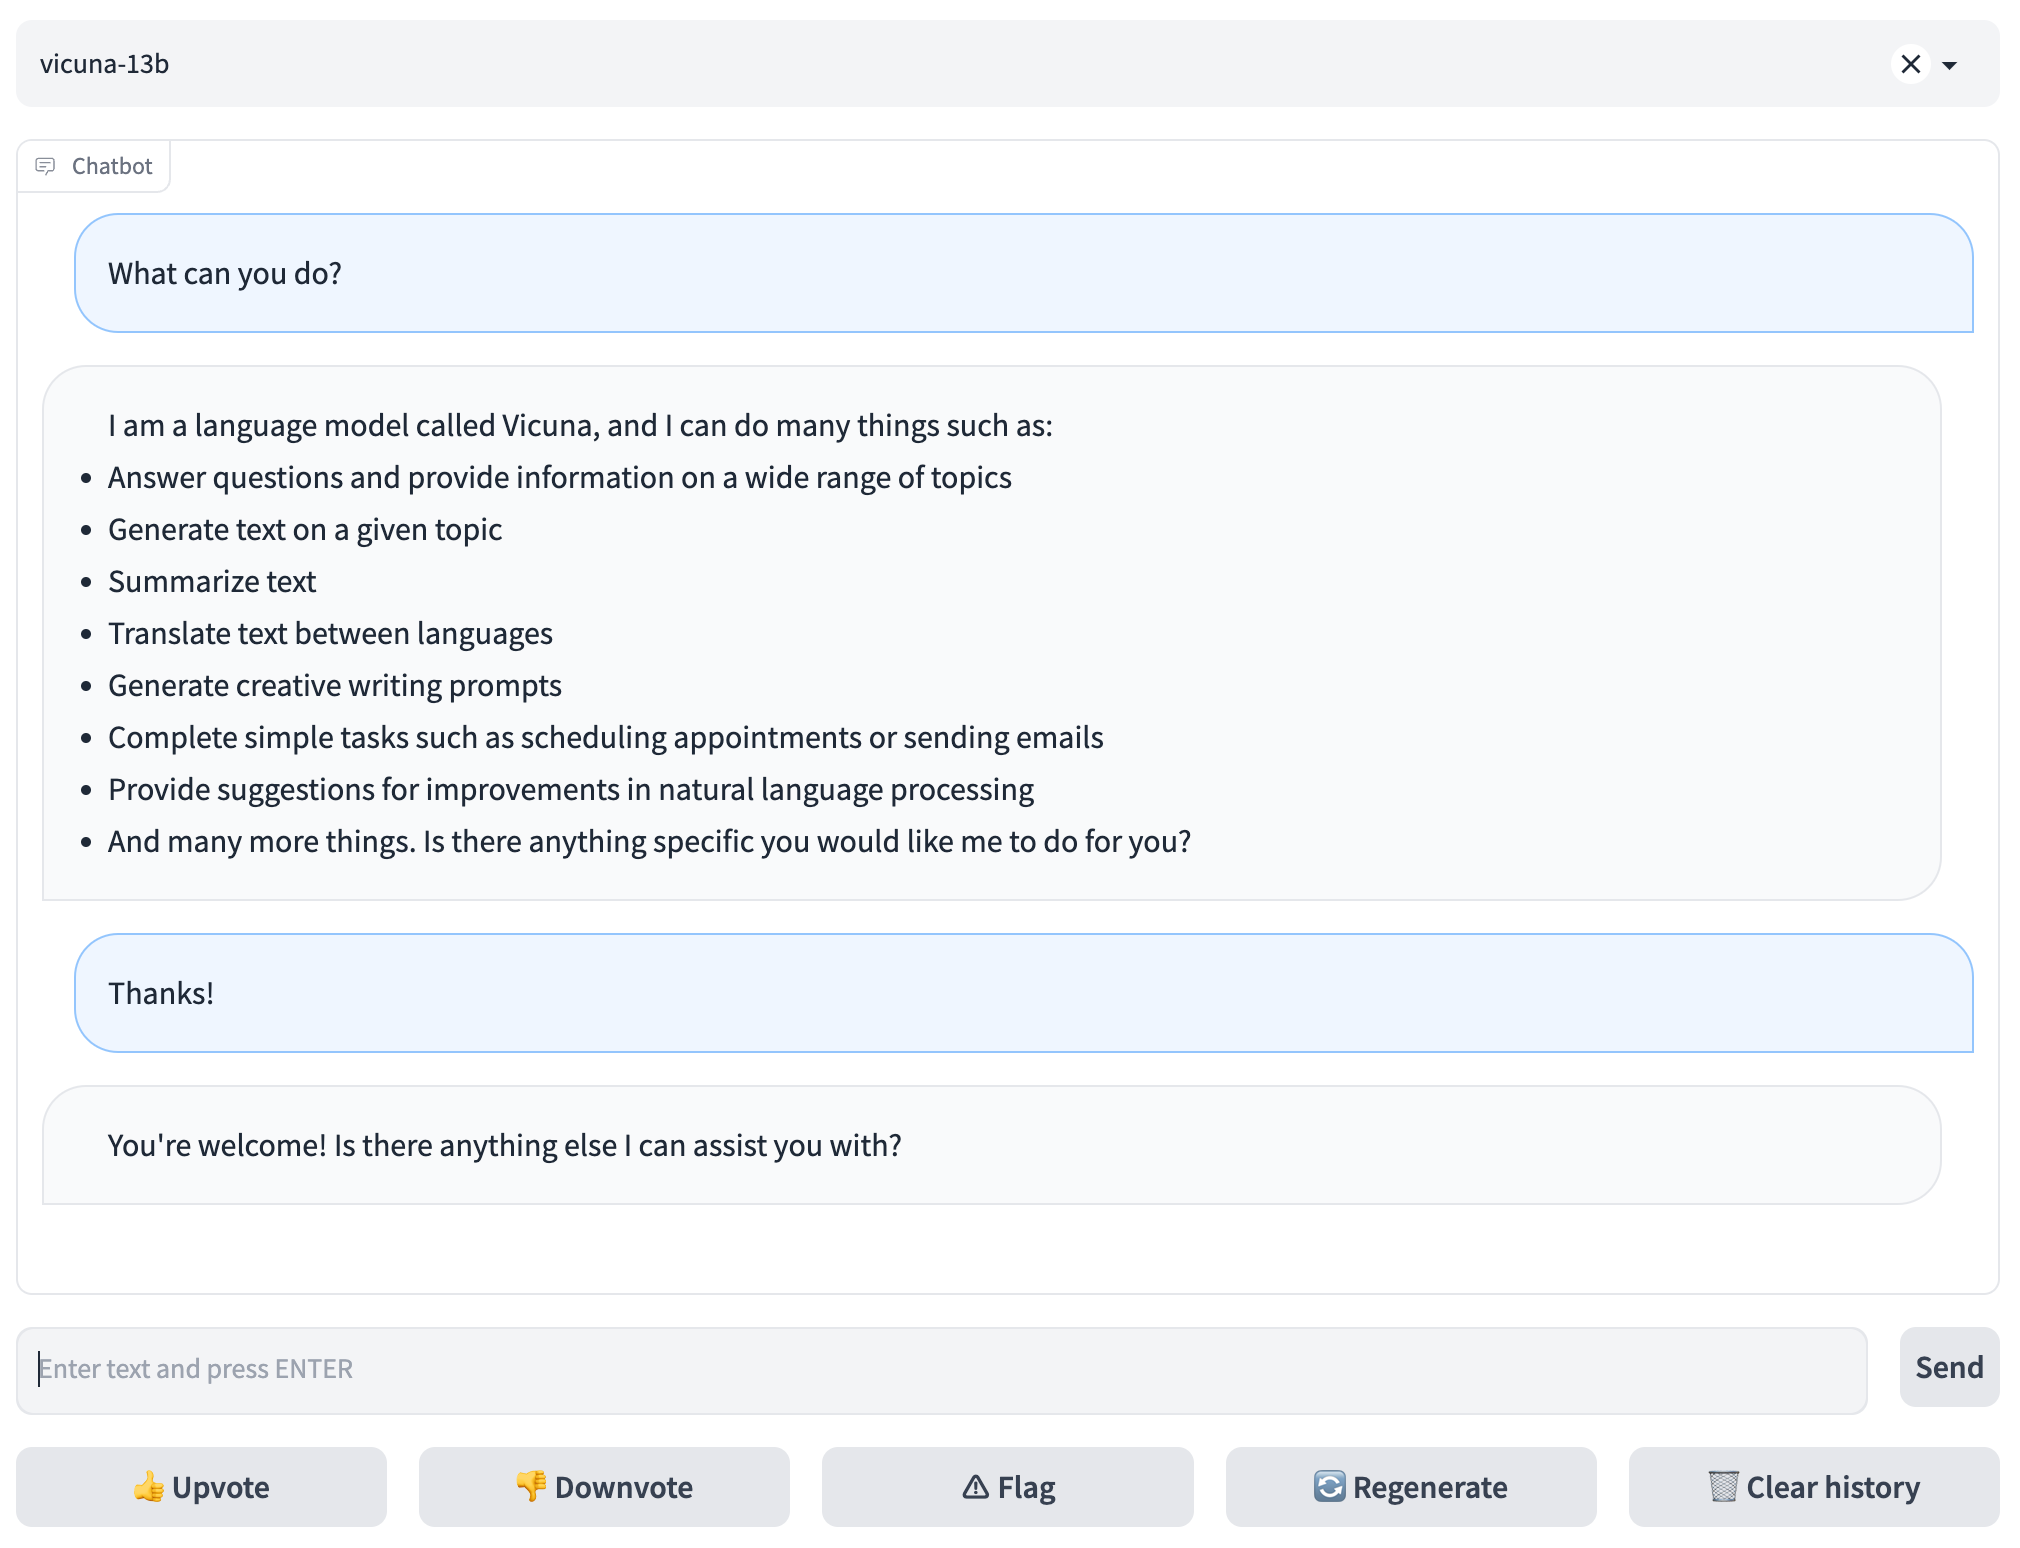
By following these steps, you will be able to serve your models using the web UI. You can open your browser and chat with a model now.
See fastchat/serve/huggingface_api.py
(Experimental. We will keep improving the API and SDK.)
Reference: https://platform.openai.com/docs/api-reference/chat/create
Some features/compatibilities to be implemented:
- streaming
- support of some parameters like
top_p,presence_penalty - proper error handling (e.g. model not found)
- the return value in the client SDK could be used like a dict
RESTful API Server
First, launch the controller
python3 -m fastchat.serve.controllerThen, launch the model worker(s)
python3 -m fastchat.serve.model_worker --model-name 'vicuna-7b-v1.1' --model-path /path/to/vicuna/weightsFinally, launch the RESTful API server
export FASTCHAT_CONTROLLER_URL=http://localhost:21001
python3 -m fastchat.serve.api --host localhost --port 8000
Test the API server
curl http://localhost:8000/v1/chat/completions \
  -H "Content-Type: application/json" \
  -d '{
    "model": "vicuna-7b-v1.1",
    "messages": [{"role": "user", "content": "Hello!"}]
  }'
Client SDK
Assuming environment variable FASTCHAT_BASEURL is set to the API server URL (e.g., http://localhost:8000), you can use the following code to send a request to the API server:
import os
from fastchat import client

client.set_baseurl(os.getenv("FASTCHAT_BASEURL"))

completion = client.ChatCompletion.create(
  model="vicuna-7b-v1.1",
  messages=[
    {"role": "user", "content": "Hello!"}
  ]
)

print(completion.choices[0].message)Our AI-enhanced evaluation pipeline is based on GPT-4. This section provides a high-level summary of the pipeline. For detailed instructions, please refer to the evaluation documentation.
-
Generate answers from different models: Use
qa_baseline_gpt35.pyfor ChatGPT, or specify the model checkpoint and runget_model_answer.pyfor Vicuna and other models. -
Generate reviews with GPT-4: Use GPT-4 to generate reviews automatically. This step can also be performed manually if the GPT-4 API is not available to you.
-
Generate visualization data: Run
generate_webpage_data_from_table.pyto generate data for a static website, which allows you to visualize the evaluation data. -
Visualize the data: Serve a static website under the
webpagedirectory. You can usepython3 -m http.serverto serve the website locally.
We use a data format encoded with JSON Lines for evaluation. The format includes information on models, prompts, reviewers, questions, answers, and reviews.
You can customize the evaluation process or contribute to our project by accessing the relevant data.
For detailed instructions, please refer to the evaluation documentation.
Vicuna is created by fine-tuning a LLaMA base model using approximately 70K user-shared conversations gathered from ShareGPT.com with public APIs. To ensure data quality, we convert the HTML back to markdown and filter out some inappropriate or low-quality samples. Additionally, we divide lengthy conversations into smaller segments that fit the model's maximum context length. For detailed instructions to clean the ShareGPT data, check out here.
Due to some concerns, we may not release the ShareGPT dataset at the moment. If you would like to try the fine-tuning code, you can run it with some dummy questions in dummy.json. You can follow the same format and plug in your own data.
Our code is based on Stanford Alpaca with additional support for multi-round conversations. We use similar hyperparameters as the Stanford Alpaca.
| Hyperparameter | Global Batch Size | Learning rate | Epochs | Max length | Weight decay |
|---|---|---|---|---|---|
| Vicuna-13B | 128 | 2e-5 | 3 | 2048 | 0 |
You can use the following command to train Vicuna-7B with 4 x A100 (40GB).
torchrun --nproc_per_node=4 --master_port=20001 fastchat/train/train_mem.py \
    --model_name_or_path ~/model_weights/llama-7b  \
    --data_path playground/data/dummy.json \
    --bf16 True \
    --output_dir output \
    --num_train_epochs 3 \
    --per_device_train_batch_size 2 \
    --per_device_eval_batch_size 2 \
    --gradient_accumulation_steps 16 \
    --evaluation_strategy "no" \
    --save_strategy "steps" \
    --save_steps 1200 \
    --save_total_limit 10 \
    --learning_rate 2e-5 \
    --weight_decay 0. \
    --warmup_ratio 0.03 \
    --lr_scheduler_type "cosine" \
    --logging_steps 1 \
    --fsdp "full_shard auto_wrap" \
    --fsdp_transformer_layer_cls_to_wrap 'LlamaDecoderLayer' \
    --tf32 True \
    --model_max_length 2048 \
    --gradient_checkpointing True \
    --lazy_preprocess True
If you meet out-of-memory during model saving, see solutions here.
SkyPilot is a framework built by UC Berkeley for easily and cost effectively running ML workloads on any cloud (AWS, GCP, Azure, Lambda, etc.). To use SkyPilot, install it with the following command and setup the cloud credentials locally following the instructions here.
# Install skypilot from the master branch
pip install git+https://github.com/skypilot-org/skypilot.git
Vicuna can be trained on 8 A100 GPUs with 80GB memory. The following command will automatically launch a node satisfying the requirement, setup and run the training job on it.
sky launch -c vicuna -s scripts/train-vicuna.yaml --env WANDB_API_KEYOther options are also valid:
# Launch it on managed spot to save 3x cost (train Vicuna-13B with around $300)
sky spot launch -n vicuna scripts/train-vicuna.yaml --env WANDB_API_KEY

# Train a 7B model
sky launch -c vicuna -s scripts/train-vicuna.yaml --env WANDB_API_KEY --env MODEL_SIZE=7
Note: Please make sure the WANDB_API_KEY has been setup on your local machine. You can find the API key on your wandb profile page. If you would like to train the model without using wandb, you can replace the --env WANDB_API_KEY flag with --env WANDB_MODE=offline.


