Demo YouTube Video
- Getting Started
- Python Setup & Code
- Setting up VS Code
- Enabling Beta Testing
-
Create an Alexa Developer account on https://developer.amazon.com
-
Go to developer console and click on Create Skill
-
Enter a Skill name, chose Language, select Custom for model to add, Select Alexa hosted for hosting skill's backend.
-
Click on create skill (top right).
-
Choose Start from Scratch as template.
-
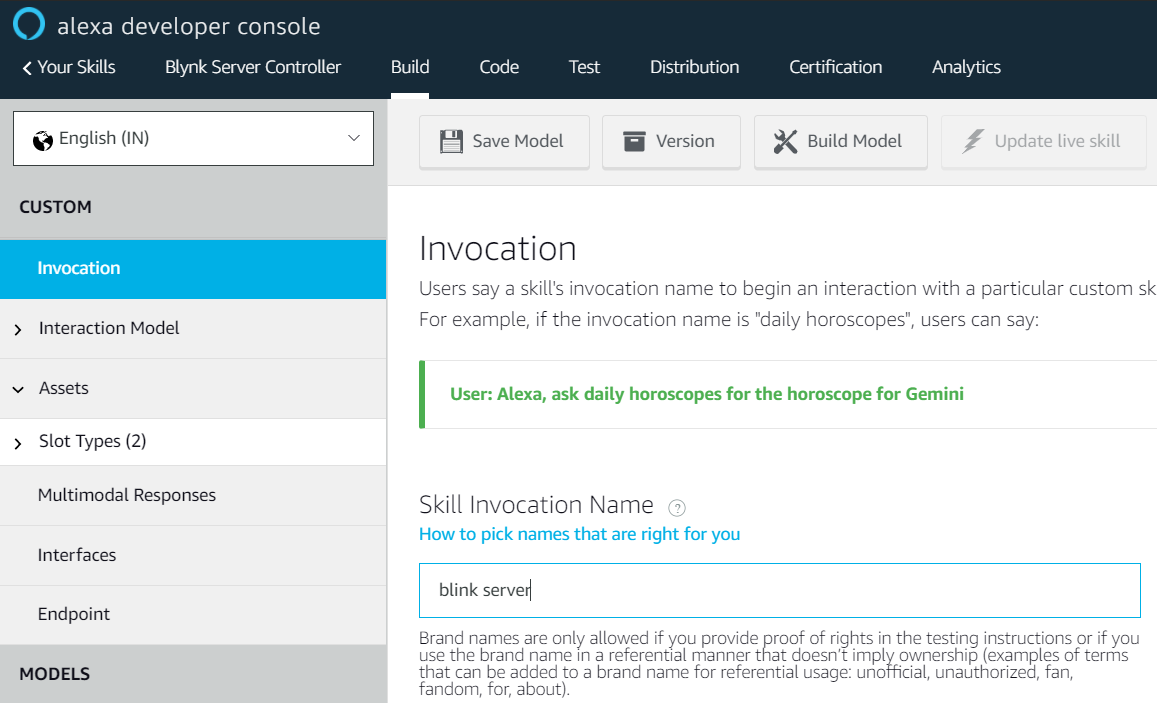
Set an Invocation Name.
-
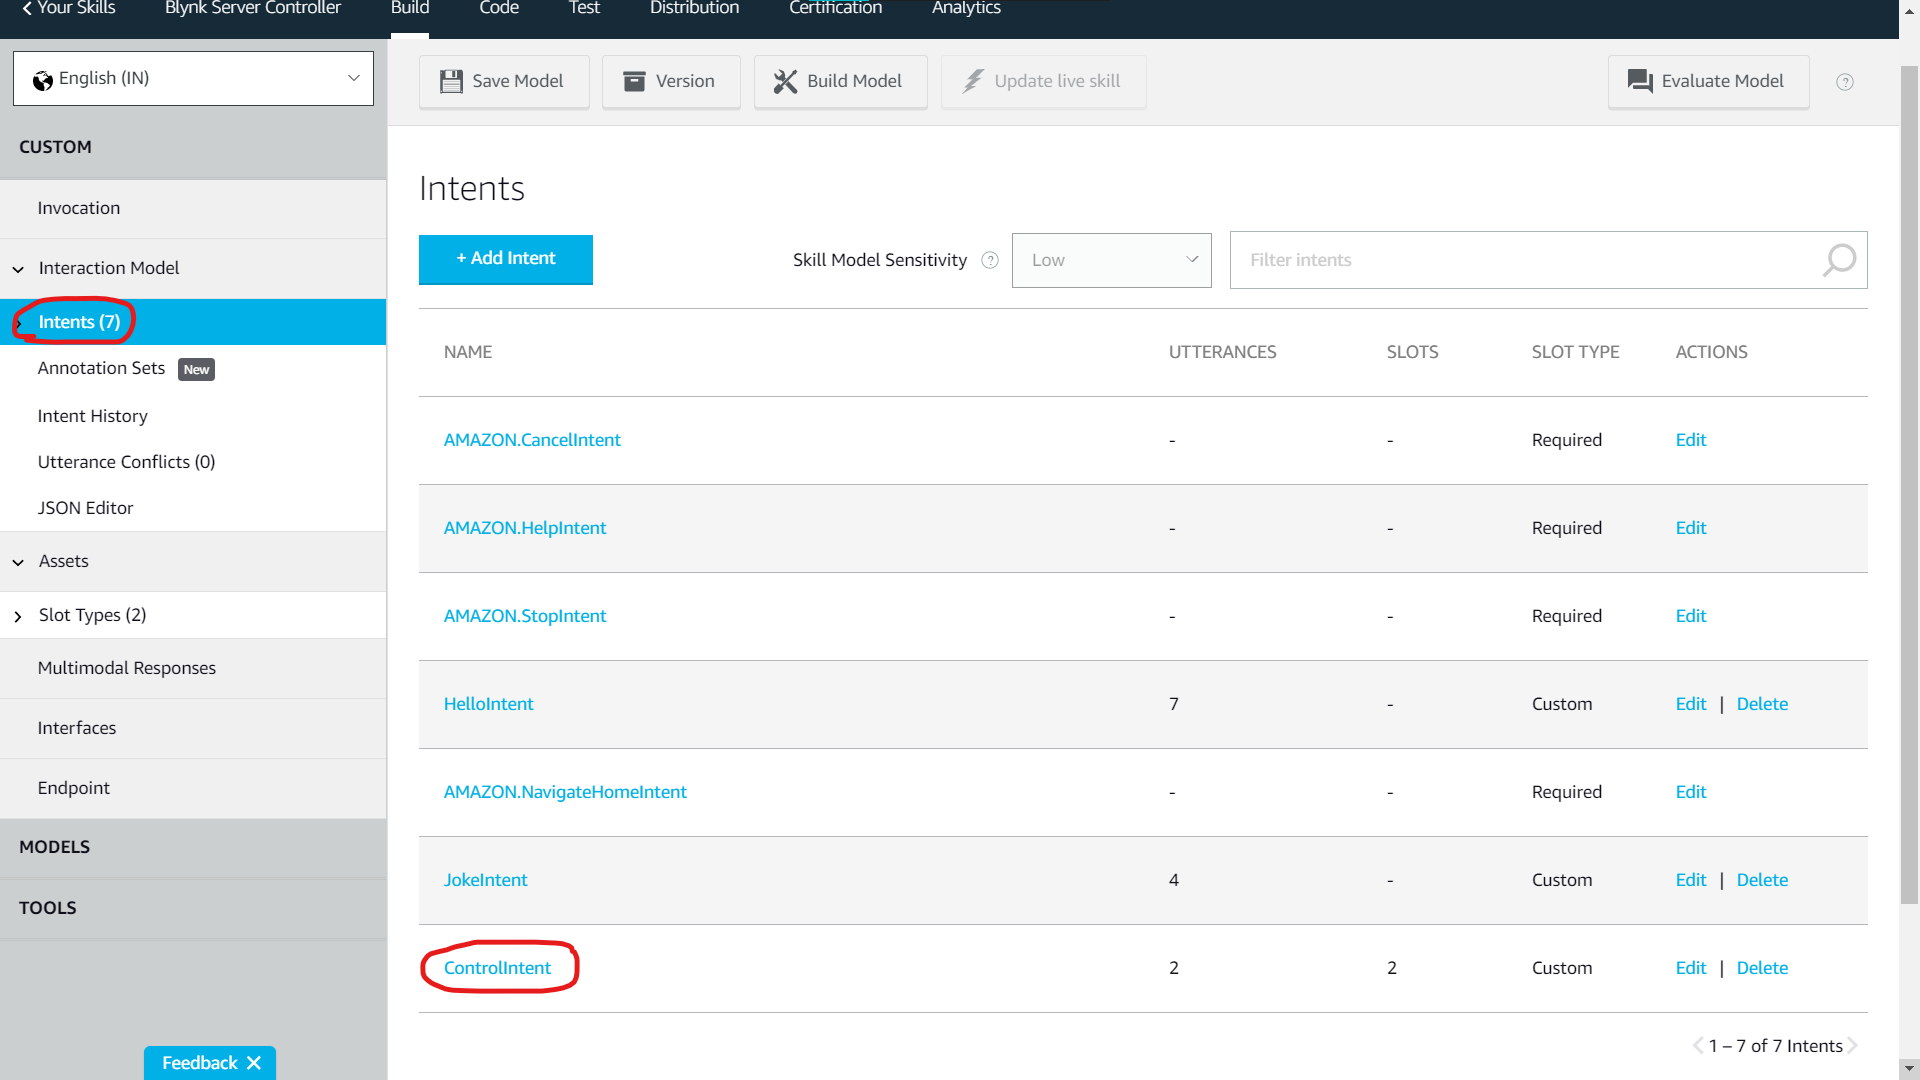
Create an intent named ControlIntent (Case Sensitive).
-
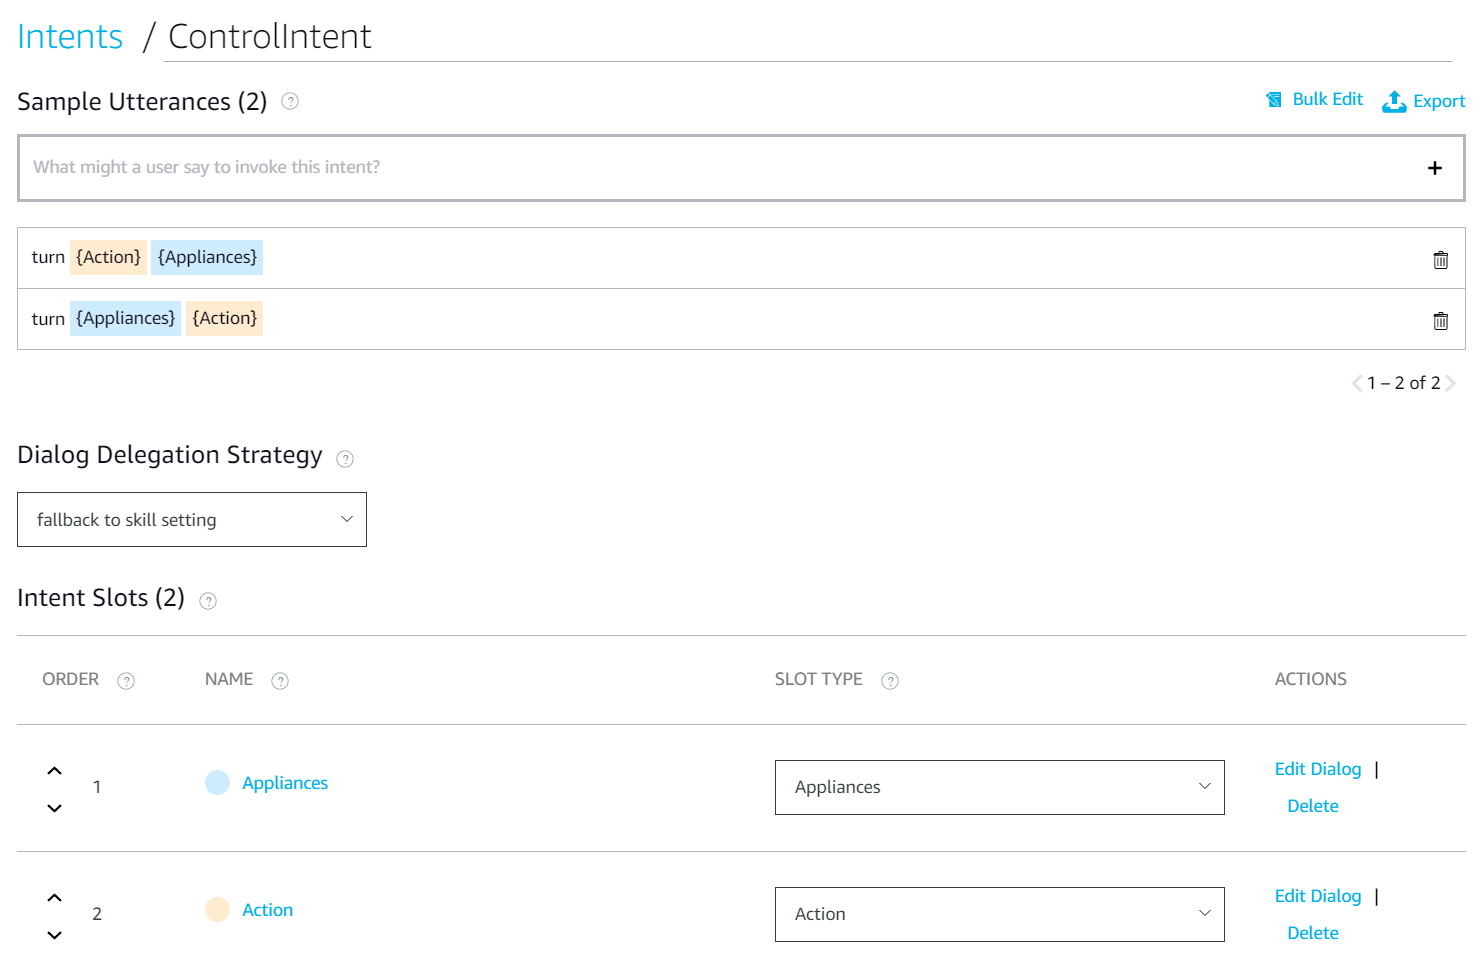
Set Sample Utterances
-
Create Slots
- Appliances
.png)
- Action
.png)
- Appliances
-
Link Slots and Intents
-
Save and Build and Evaluate Model.


.png)
.png)
- Clone this repo.
- Modify lambda/config.json accordingly.
- Create a Pithon Virtual Environment.
- Install all the dependencies from requirements.txt
- Copy all the files from site-packages to lambda folder.
AWS-CLI can also be used but I prefer VS Code.
- Install VS Code.
- Install Alexa Skill Kit (ASK) Toolkit.
- Open the extension and login with the same credentials as before.
- Click on download and edit skill from side bar.
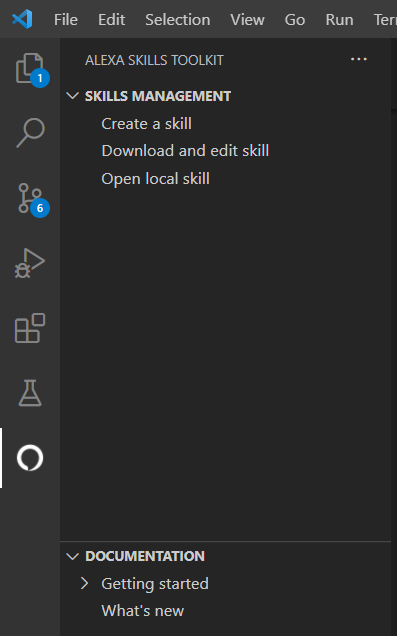
- Select the Skill you created earlier.
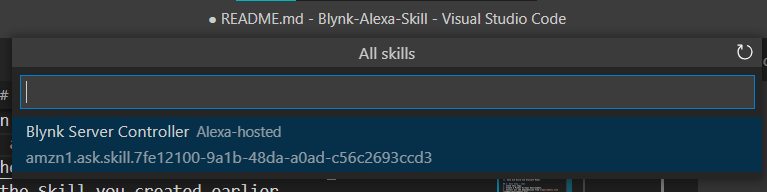
- Wait for it to complete the cloning.
- Copy all the files in the lambda folder in the GitHub cloned repo to ASK cloned repo.
- Commit the changes. Sync the changes. Wait for some time and then deploy from the VS Code plugin.


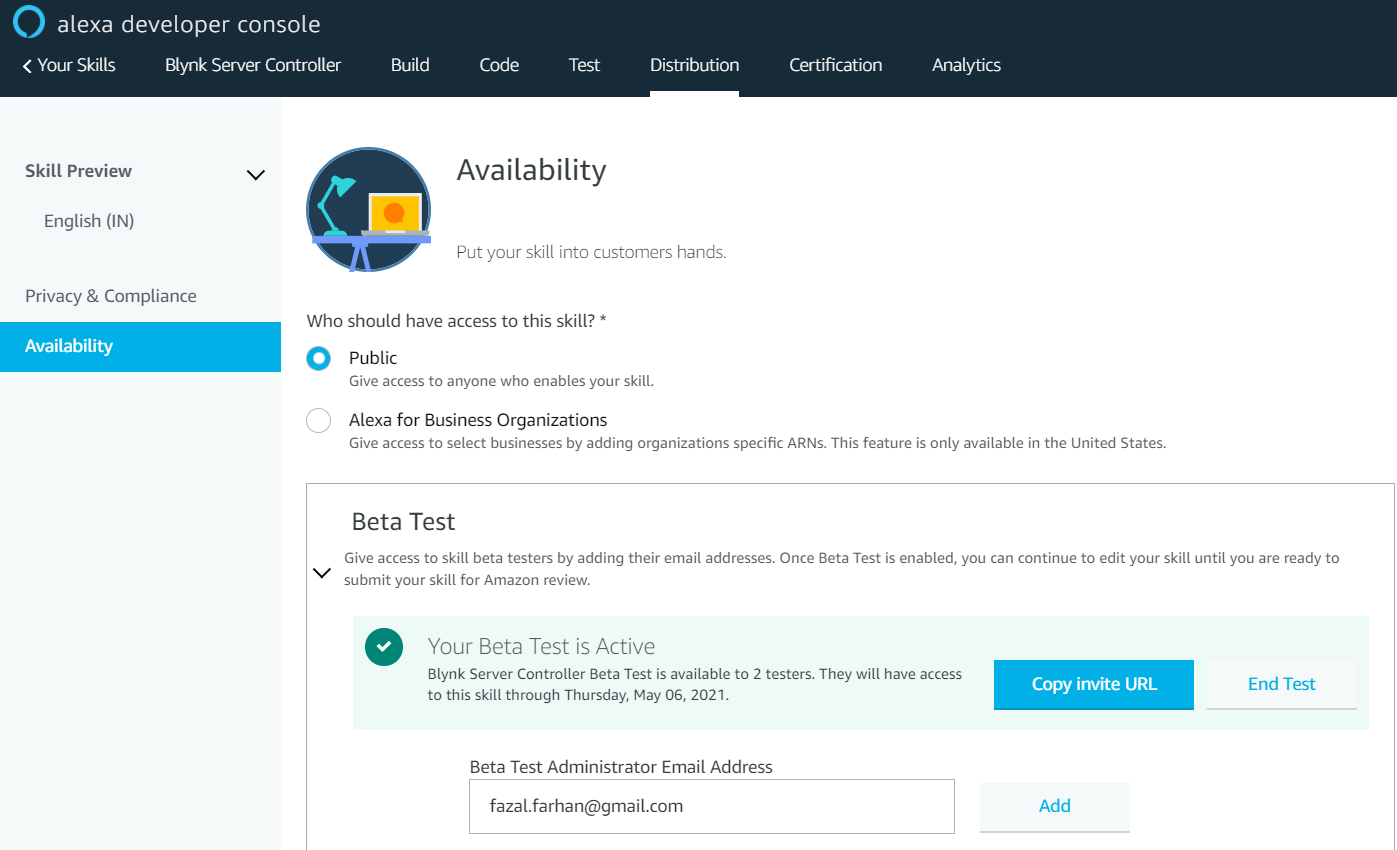
- Fill in all the details in Distribution.
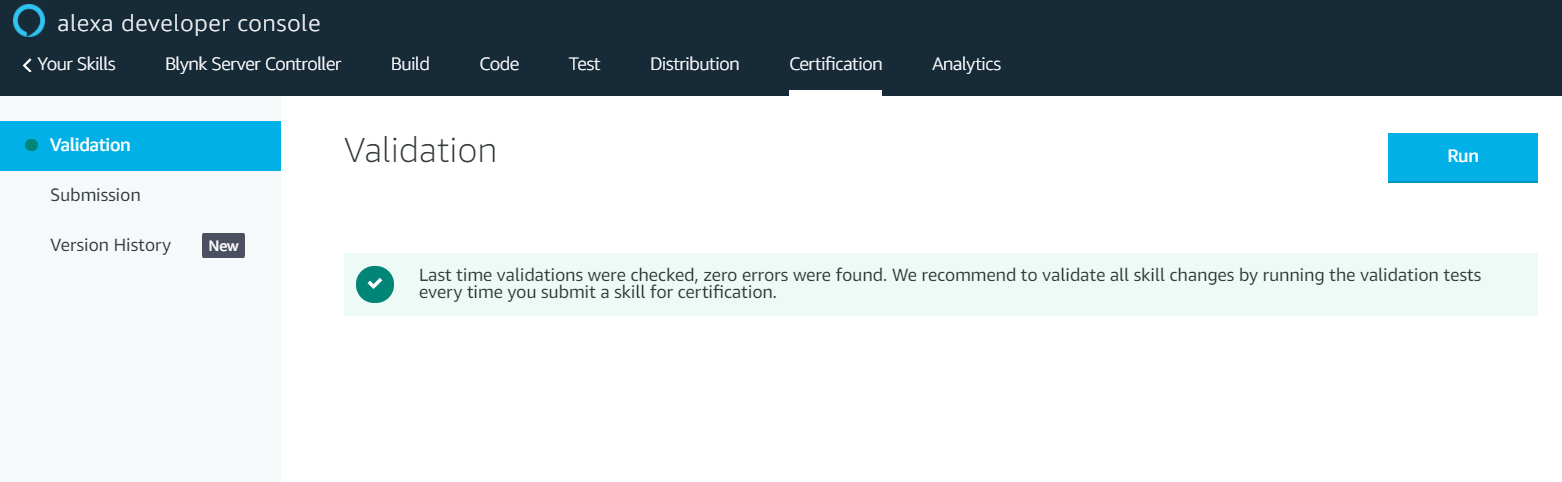
- Then jump to Certification and Run Validation, rectify errors if any. (It's only after this step that you can enable beta testing.)
- Go back to Distribution, select Availability from left tab, enable beta testing. Enjoy..!😁