#FrameX
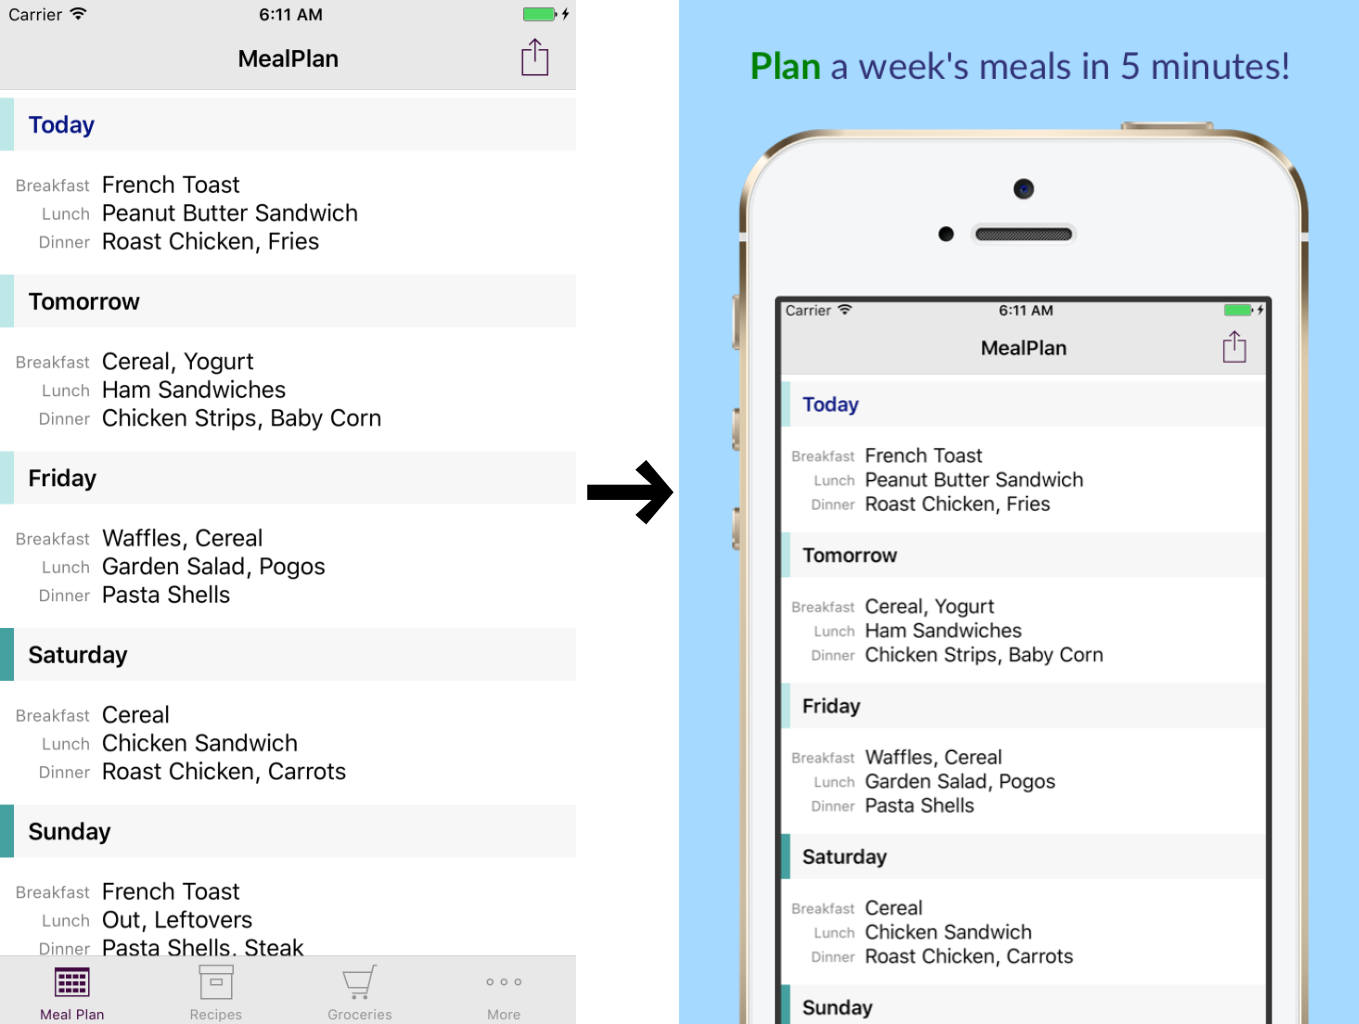
FrameX is a command-line tool that takes screenshot images and merges them with device frames, a caption and a background to create frames ready to upload to iTunes Connect.
FrameX uses the Facebook device frames as packaged by frameit, meaning it expects to find them in ~/.frameit.
Typical usage:
framex ---screenshotPath=screenshots/en-12.9-1_Main.png --targetSize=2732x2048 "--frameName=Apple iPad Pro Space Gray" --caption="My Caption Here"
This will read the screenshot en-12.9-1_Main.png and stamp it onto the iPad Pro frame, with the caption "My Caption Here" at the top. See the styling options below for control over the font and size.
FrameX works on one image at a time. You can create a bash script or script in the language of your choice to batch apply captions and frames to all your screenshots.
Building
This is a self-contained Xcode project that produces the framex command-line utility. Copy the product to your ~/bin folder or wherever you like.
It's created using Swift 3 and Xcode 8.2.1.
Command-Line Options
Frame Options
--targetSize=1024x768
Specifies the final image size. Required
--screenshotPath=Path/to/Screenshot.png
Path to the screenshot image. This can be right out of the simulator. Required.
--deviceFramesPath=~/.frameit/devices_frames_2/latest
Path to the device frames (the directory containing the png files, and the offsets.json file which describes the offset from the frame origin to the display screen area). The default value works for the frames as installed by the Fastlane tools.
--outputPath=path/to/output-name.png
Name of the destination file. If not specified, the destination is the source filename but with the base name changed to append "framed".
"--frameName=Apple iPad Mini 4 Gold"
Name of the frame as found in the frames folder. Required.
--backgroundColor="#a5d9ff"
Sets the background colour.
"--caption=Plan a week's meals in 5 minutes!"
The caption to render above the frame. If the caption wraps, the frame will be moved down as required. See note below about HTML support. This option is required, but can specify an empty string.
Styling options
--html
Indicates that the font and colour is specified in the caption's HTML.
"--fontName= Helvetica Neue Light"
Specifies the font name. Not used if --html is specified.
--fontSize=50
Specifies the font size. Not used if --html is specified.
--textColor=#333333
Specifies the text colour. Not used if --html is specified.
Layout Options
--horizontalFrameMargin=50.0
Space to the left and right of the frame.
--horizontalTextMargin=50
Space to the left and right of the caption.
--captionTopMargin=40.0
Space above the caption
--frameTopMargin=40.0
Space between the bottom of the caption and the top of the frame.
HTML Support in the Caption
The caption is converted to an NSAttributedString, and then depending on whether the --html attribute is specified, is used as-is, or has the font and text colour applied.
If you want a single line of plain text, you don't need to use HTML. You can use the --fontName, --fontSize, and --fontColor options to control the appearance of the text.
If you want a more complex caption, you can embed the styling in the caption as HTML. For example:
--html "--caption=<span style='font-size: 26pt; font-family: Lato; color: green'><b>Plan</b> <span style='color: #333377'>a week's meals in 5 minutes!</span></span>"
This caption would render as what you see in the example at the top of this document.
