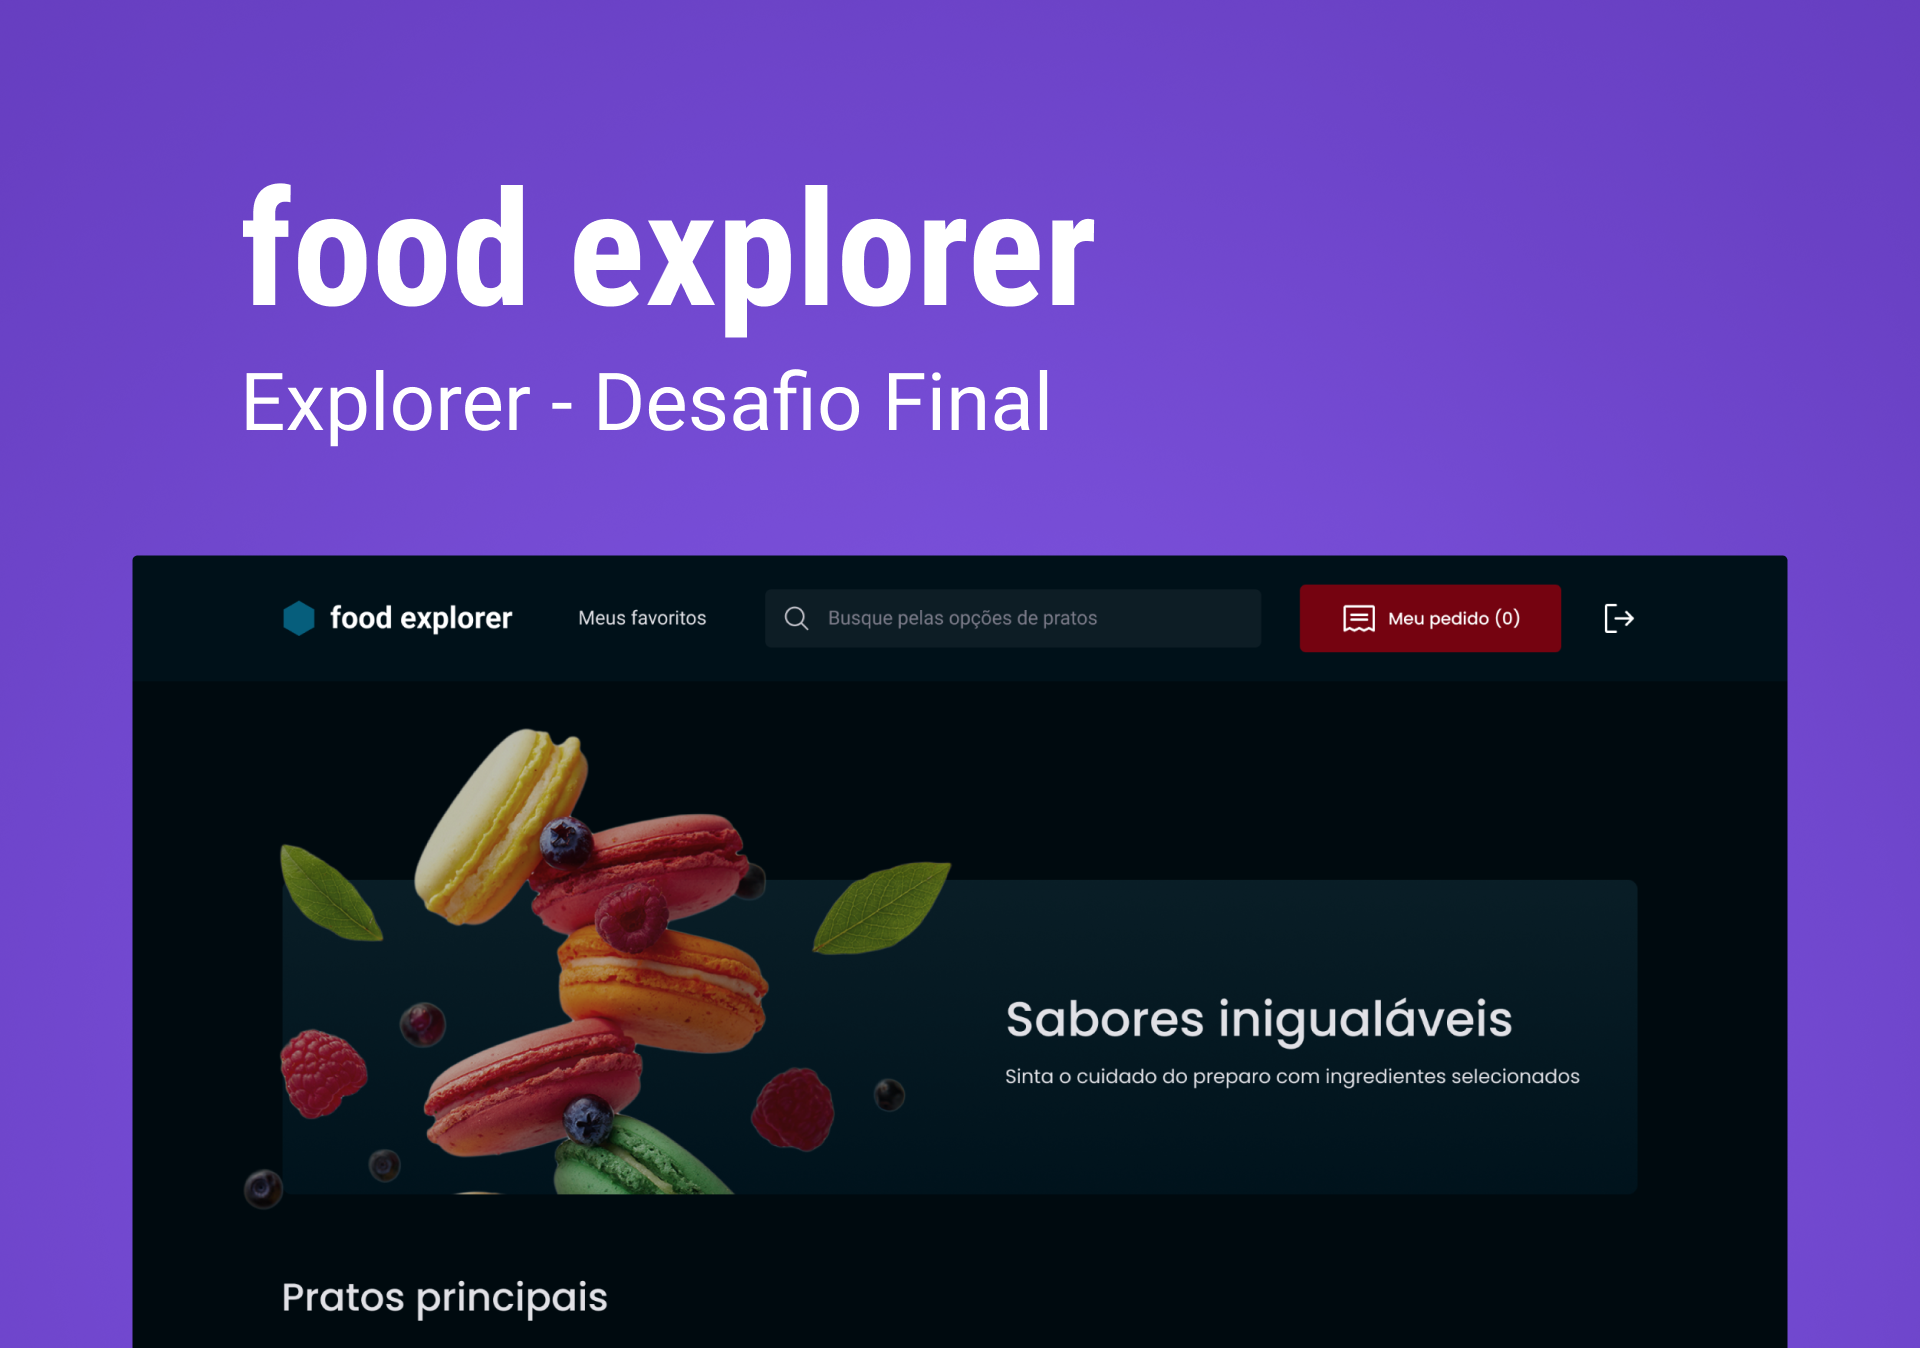
Building a application that we will develop a digital menu for a restaurant, known as Food Explorer. In this challenge, the following topics were addressed:
- React;
- Routes;
- components;
- Props;
- hooks;
- context;
Watch it in action Deploy: Click Here
Login User: cliente@email.com
Password: 123456
What was developed:
- Logic and Algorithms with Javascript;
- Use the Vite;
- Deploy Front end Netlify, deploy back end Render;
- Style and format application with Styled Components;
- Hooks User authentication;
- Building the application in blocks with components with the ReactJS tool;
- Navigation with React Router Dom;
- A structured project, with a good organization of folders, division of components in the front-end, etc.
- A README.md file with specifications on how to run the project in a dev environment.
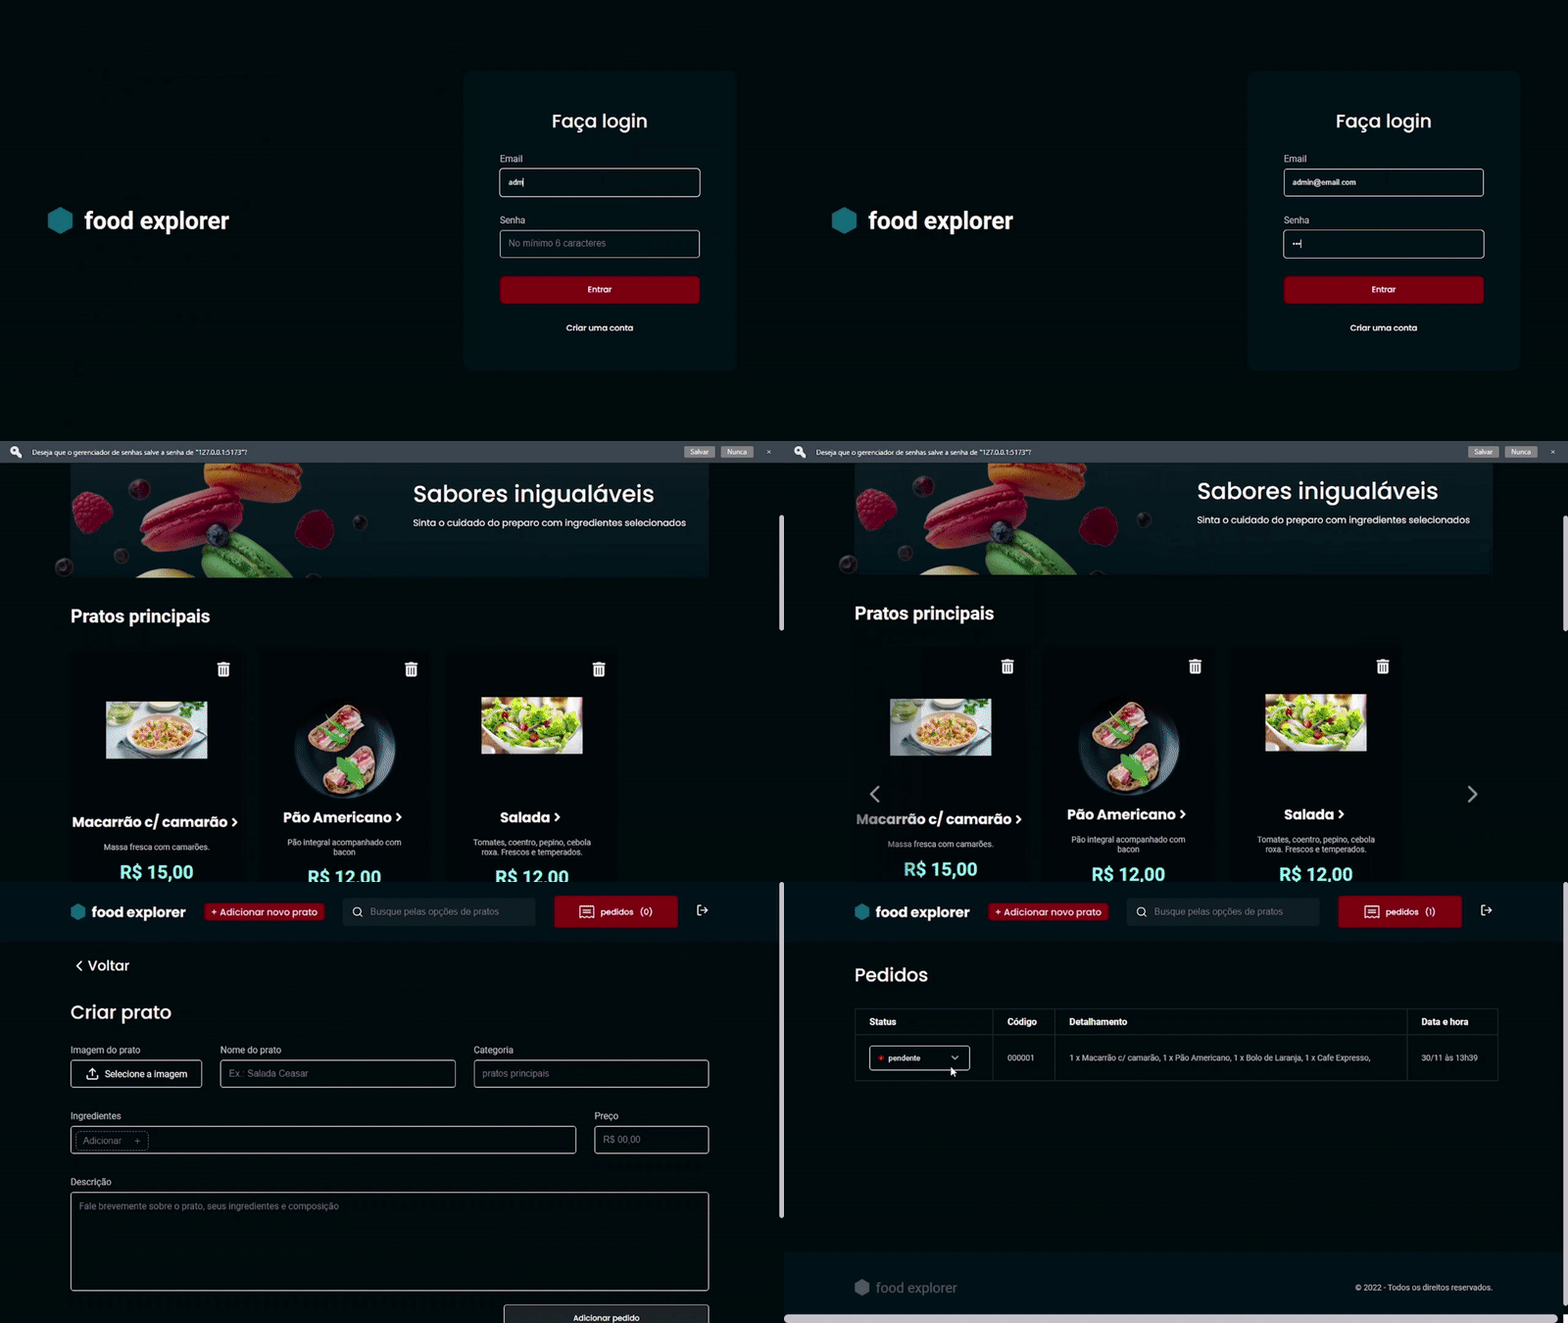
- Users must authenticate themselves to enter the application through the login screen, you can apply what you learned in JWT authentication classes. Authentication must be validated with a password.
- The admin will upload images to register the dishes.
- Finally, deploy your application.
- Give your functions and variables meaningful names: work with Clean Code concepts a bit.
- The admin, restaurant and users data will be stored in a database.
- Possibility to search by dish name, ingredients or favorite dish
- It is essential that your interface consumes its own API.
- Interesting to make the application responsive: use the concept of Mobile First that was learned in class.
- It's up to you where to apply animations, transitions, and transformations.
- It meets the model proposed in Figma and contains elements indicative of action and state. opcionais
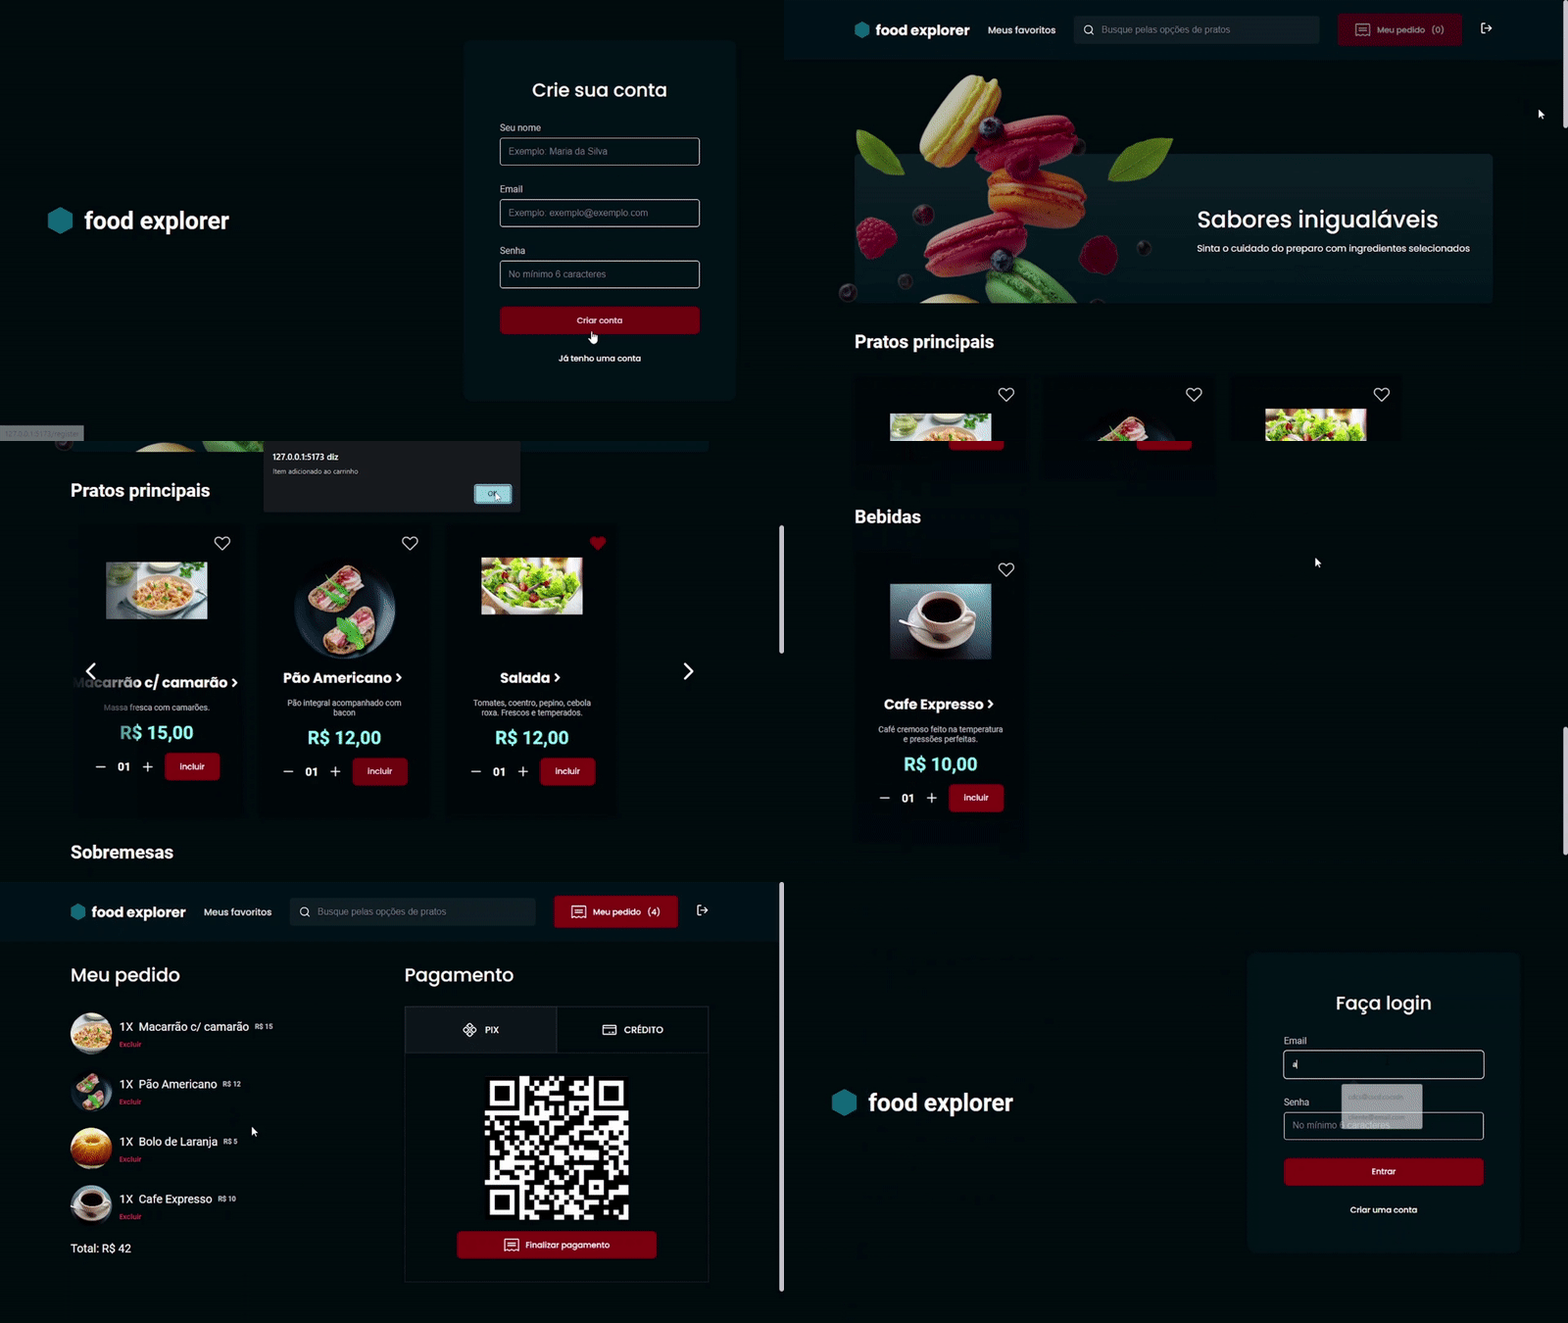
- The user can add items to the cart by clicking the add button. The amount is controlled by the “-” and “+” buttons;
- By clicking on the my order button, the user will be redirected to a screen where he will see his order, the sum and the payment methods;
- The user will be able to delete a dish from the cart and the total amount of the order should be updated automatically;
- The user can mark a dish as a favorite, just click on the heart that appears next to each one;
- The admin will view and control the status of each order, through a select field. Orders will appear in a table when you click Orders;
Web Food Explorer CLient
Web Food Explorer Admin
Mobile Food Explorer
## 🧪 Tools
Application developed using the following tools:
Clone Project and access folder and start the server it is necessary to have NodeJs, Git installed and Visual Studio Code.
This project is divided into two parts:
- Backend (food-explorer-api folder)
- Frontend (food-explorer folder)
💡 The Frontend needs the Backend to be running to work.
# Clone this repository
$ git clone https://github.com/felipe-gomes-vicente/food-explorer-api.git

# Access the project folder in your terminal
$ cd food-explorer-api

# Install the dependencies
$ npm install

# run the migration and seed
$ npm migrate
$ npm seed

# Run the application in development mode
$ npm run dev

# Admin login
$ email: admin@email.com
$ password: 0908

# Client login
$ email: cliente@email.com
$ password: 123456

# The Server will start at port: 3333 - go to http://localhost:3333
Clone the project and access the folder
# Clone this repository
$ git clone https://github.com/felipe-gomes-vicente/food-explorer.git

# Access the project folder in your terminal
$ cd food-explorer

# Install the dependencies
$ npm install

# Run the application in development mode
$ npm run dev

# The application will open on the port: 3000 - go to http://localhost:5173/ or http://127.0.0.1:5173/ This project is under the MIT license. See the file LICENSE for more details.
Done with 💜 by Felipe Vicente👋


