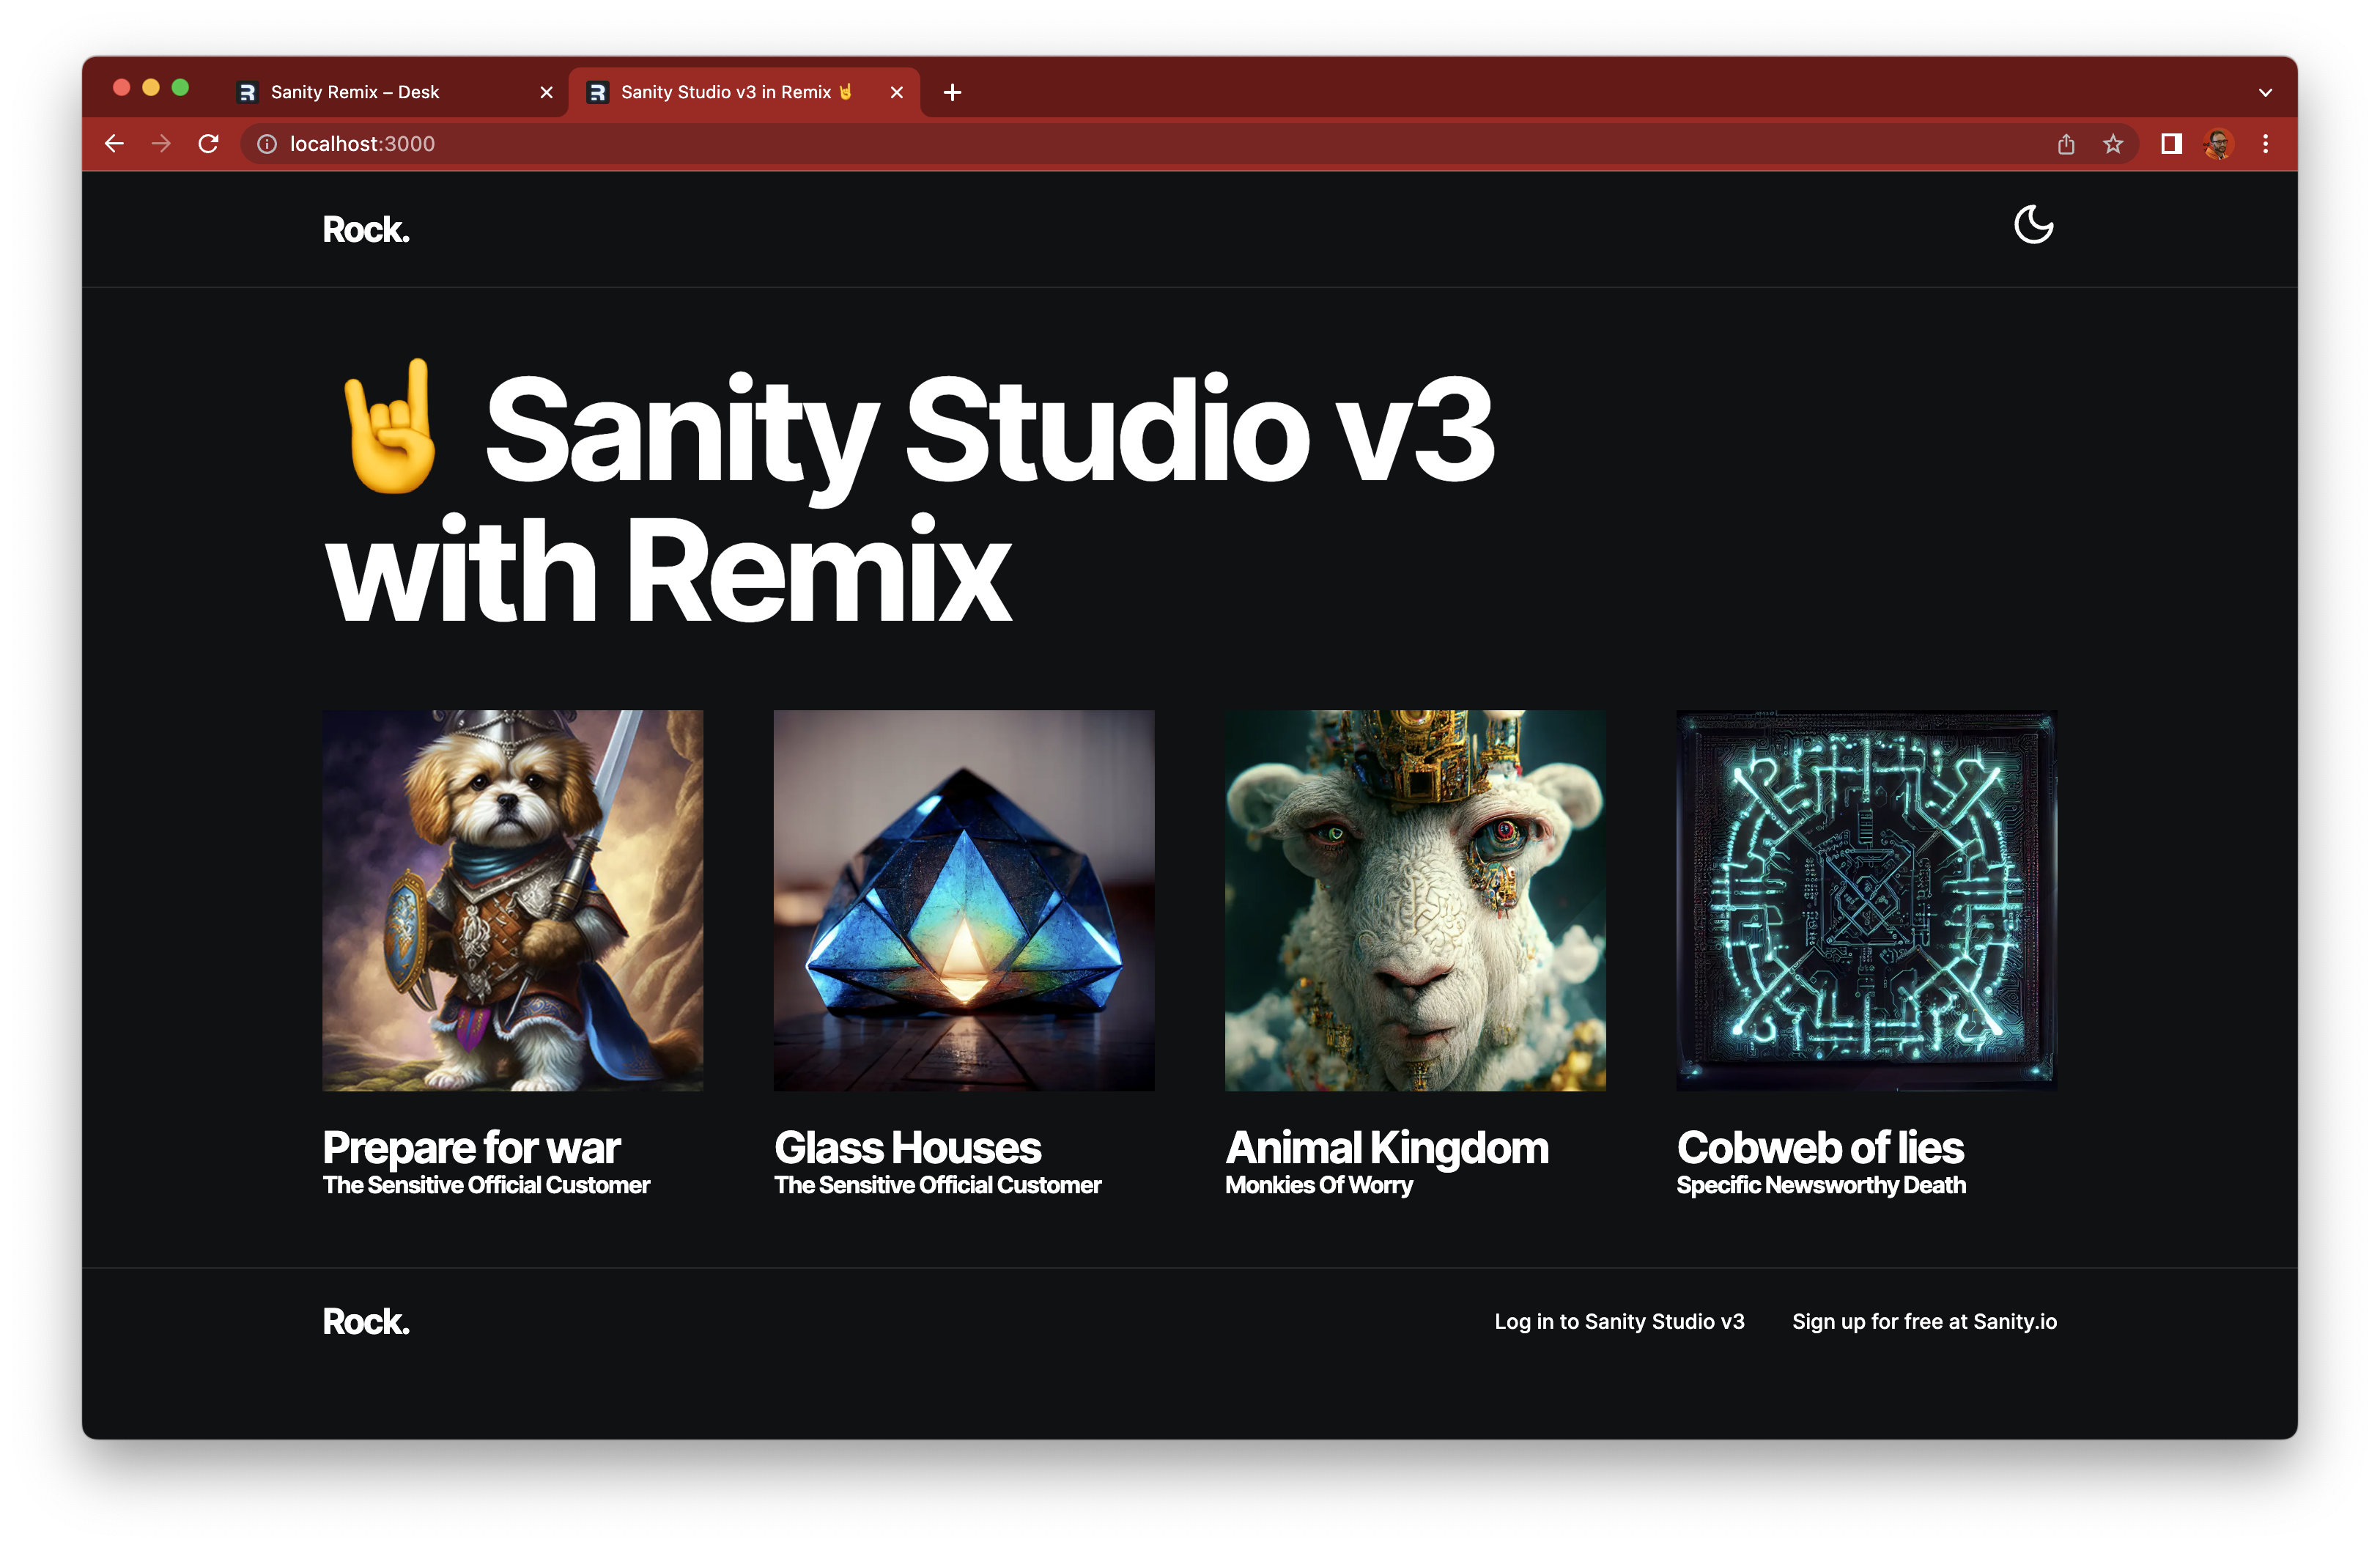
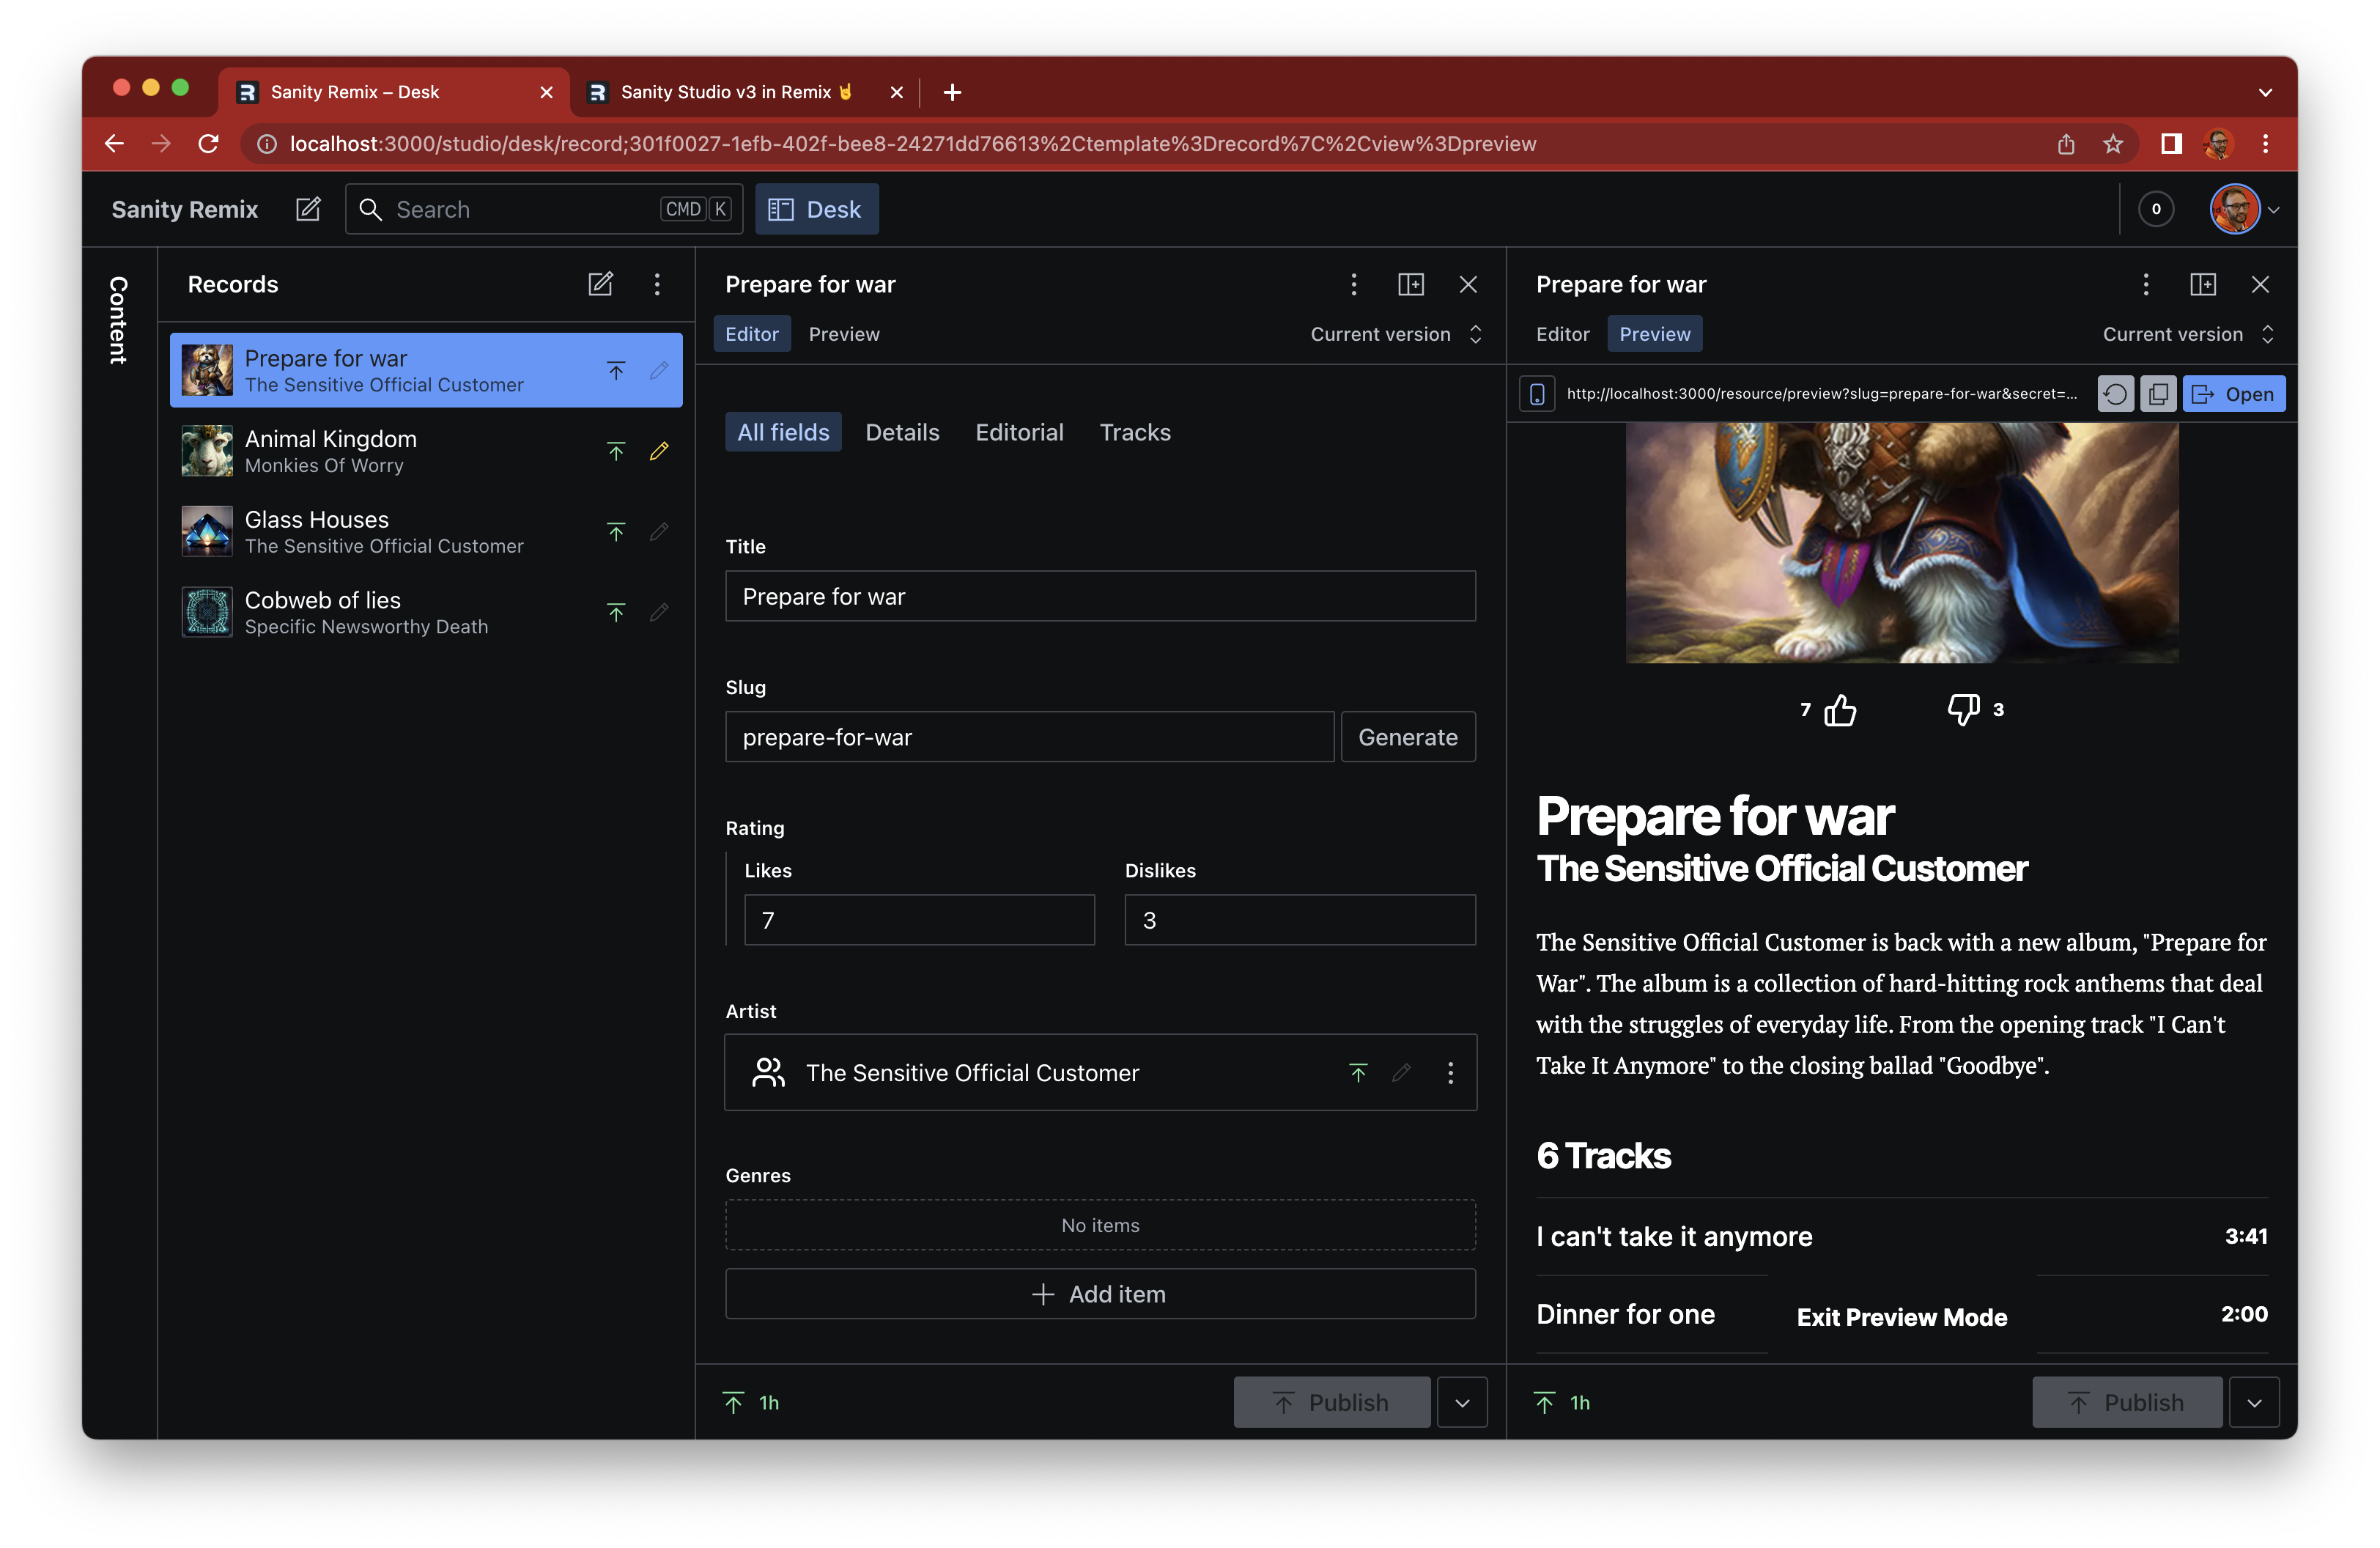
Batteries-included website template for a content-editable, live-preview enabled Remix website powered by Sanity Studio.
From the command line, install this project as a Remix template:
npx create-remix@latest --template SimeonGriggs/sanity-remix-templateAfter setup, npx sanity@latest init --env will run to populate your .env file with the details of a new or existing Sanity Project's ID and dataset name'.
npm run devNow open the Studio at localhost:3000/studio and start authoring content!
Useful Sanity examples with a light sprinkling of opinionated patterns
Access to Sanity Studio v3 from within the Remix application itself. Now the whole Studio is a component, it lives at the /studio route.
Powered by @sanity/preview-kit
Requires a token with viewer permissions in .env, so that live preview links can be shared with guests. Uses an auto-generated, short-lived secret in the dataset to authenticate users to use the token in their session.
The Studio has been pre-configured with a basic "Record Collection" schema, as well as a basic Desk Structure to include live preview within a view pane.
Powered by @portabletext/react
This component allows for the customisation and extension of how Portable Text is rendered within your app. The Rich Text field in Sanity is an array of objects. Content as data!
Powered by @sanity/image-url
The <RecordCover /> component has an example of how to generate a full Sanity CDN asset URL based on just the asset's ID. This is useful as we do not need to resolve the full image document in the query.
Powered by @sanity/ui
Creating "decorated" inputs has never been easier than in Sanity Studio v3. ./app/sanity/components/Duration.tsx is a 13-line example where a number field type to store duration as seconds can also be visualised in minutes. Minimal developer effort, maximum author impact.
Powered by @sanity/client
Requires a token with editor permissions in .env. Clicking the like/dislike buttons on a Record's page will trigger a Remix action which will send a mutation to the document. This is an example of how user actions on the site may trigger changes on your Sanity dataset.
Powered by Zod
The results of the Sanity query in ./app/routes/$slug.tsx are parsed with a Zod validator. This ensures that content is always returned in the expected shape at run time, and auto-generates Types which are fed from the loader into useLoaderData().
The record type generates dynamic open graph images using the ~/routes/resource.og resource route.
- eslint and Prettier
- Tailwind CSS with presets by @sanity/demo
- Tailwind Prose and Prettier plugins
Visit https://localhost:3000/studio in your Remix app. You will need to:
- Rename
.env.templateto.env - Set the correct Project ID, Dataset Name and preferred API Version from a project in your Sanity Manage
- Add
http://localhost:3000to the CORS settings on that project, with Allow Credentials privileges
First, build your app for production:
npm run buildThen run the app in production mode:
npm startNow you'll need to pick a host to deploy it to.
If you're familiar with deploying node applications, the built-in Remix app server is production-ready.
Make sure to deploy the output of remix build
build/public/build/
When you ran npx create-remix@latest there were a few choices for hosting. You can run that again to create a new project, then copy over your app/ folder to the new project that's pre-configured for your target server.
cd ..
# create a new project, and pick a pre-configured host
npx create-remix@latest
cd my-new-remix-app
# remove the new project's app (not the old one!)
rm -rf app
# copy your app over
cp -R ../my-old-remix-app/app app
